Mini Cooper 2001-2006: How to Replace the Fuel Filter
Changing the fuel filter on a Mini is really very easy. You don't even need to drop the tank.
This article applies to the Mini Cooper (2001-2006).
If you are having starting, stalling or fuel economy problems with your Mini, you may have a dirty or clogged fuel filter. If you have checked your spark plugs, coils, air supply and just about everything else you can think of, the fuel filter could be the culprit. On these cars, both the fuel pump and the filter are very easy to get to and replace. The fuel pump is electric, so it's either going to work or not, and if you are able to start her up but she struggles, it is likely the fuel filter that needs your attention. You could take it to a pro to have the work done for you, but once you realize just how easy it is to do on your own, you will be kicking yourself for spending the extra money to have it done. You just need about an hour of your time and no special tools at all, so let's get to it.

Materials Needed
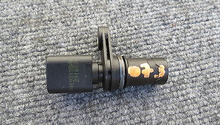
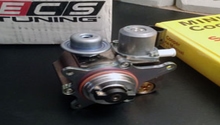
- New fuel filter assembly with gasket and O-rings
- Ratchet and 10mm socket
- Flat head screwdriver
- Rubber mallet or hammer
- Plastic drop cloth or sheeting
- Plenty of shop rags
- Lubricant such as Vaseline
- Eye and skin protection such as goggles and rubber gloves
- Needle nose pliers or a thin picking tool to remove old O-rings
Step 1 – Remove the rear seat
There is an access port to the fuel filter under the rear passengers side seat. There is a similar port for the fuel pump under the driver's side rear seat. We need to remove the passenger side rear seat in order to access the fuel filter port. The seat comes out in two parts. In between the two seats close to the floor is the locking mechanism that keeps the seats locked in and locked together. Remove the bolt and then you can pull up on the locking mechanism to pull out the back of the seat. You'll need to swivel the seat to get the other side to come out. Once the back is off, the bottom seat is merely lifted from the front edge and it will pop right up and out.
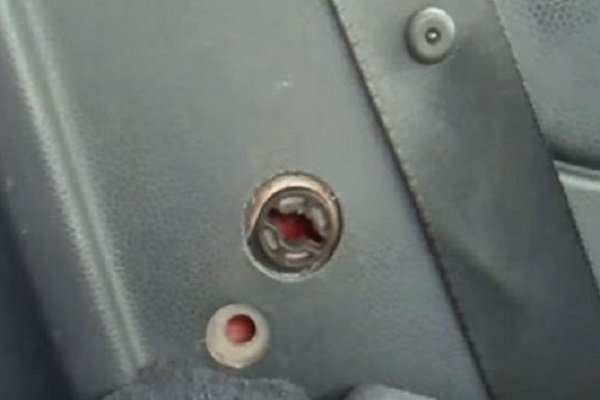
Figure 1. Once you remove the locking pin from the center, the seat needs to be swiveled at the right angle to pull the outer edge rock pin from the interior trim. 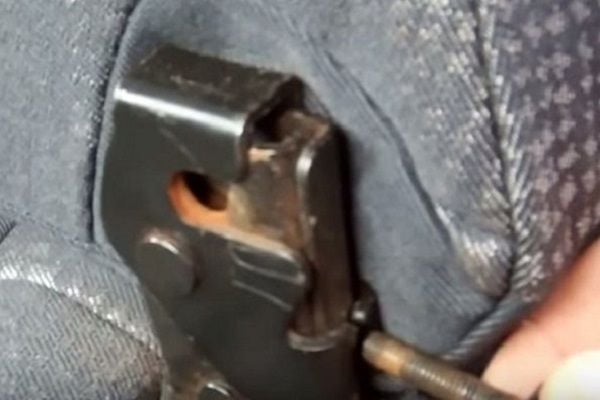
Figure 2. The center locking pin. Remove the bolt and then flip the metal latch up to release the center part of the seat.
Related Video: How to Remove Rear Seats
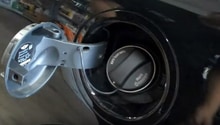
Step 2 – Locate the fuel filter housing
Once the seats are out, you will see the access panel for the fuel filter housing on the floor on the passenger side. The driver's side houses the fuel pump. Before starting your work, be sure to lay some plastic drop cloth all around the housing so that you protect the fabric from absorbing any spilled fuel.
Step 3 – Remove the filter assembly from the housing
- Apply your plastic drop cloth before proceeding.
- Use a 10mm socket and ratchet to remove the five nuts that hold the panel in place.
- Once the panel is off, be sure to vacuum or clean the area so you don't get any debris into the filter housing once you remove it.
- The top of the fuel filter housing is secure with a locking ring. Use a flat head screwdriver to turn the ring counterclockwise.
Figure 4. Make sure to protect your work area. 
Figure 5. Use a 10mm socket to remove the five nuts. 
Figure 6. Use a flat head screwdriver to unlock and unscrew the lock ring that secures the filter housing.
- Once it is unlocked, get a rag under the fuel line and disconnect it by pressing in on the green tabs. Be prepared for a little spray and protect yourself as well as the area with the shop rags.
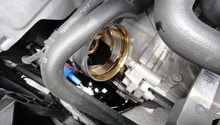
- Once the fuel line is disconnected, remove the lock ring and set it aside.
- Use a flat head screwdriver to pry up the filter assembly a few inches.
- Grasp the top of the assembly and twist while pulling up to remove it completely.
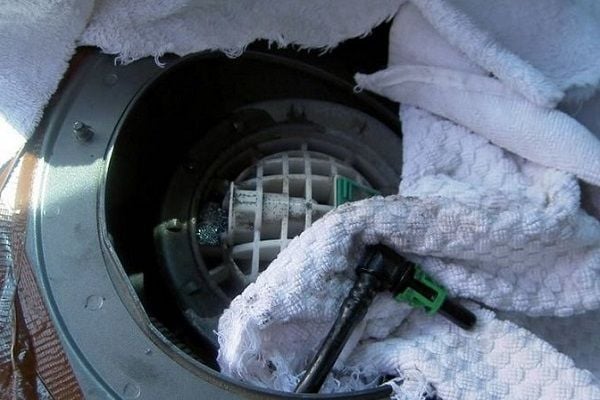
Figure 7. Press in on the green tabs to pull the fuel line and be ready for some leakage. 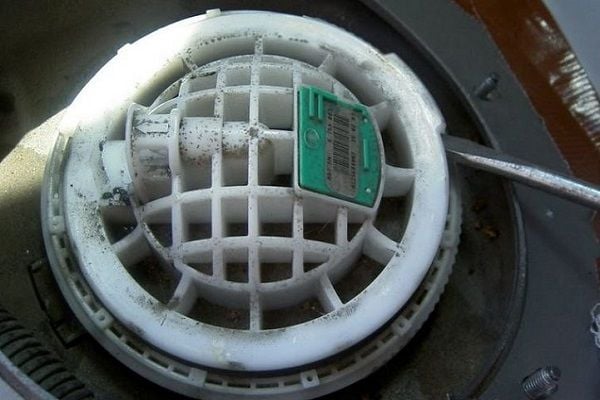
Figure 8. Pry up the fuel filter assembly, just enough to get a good grip on the top. 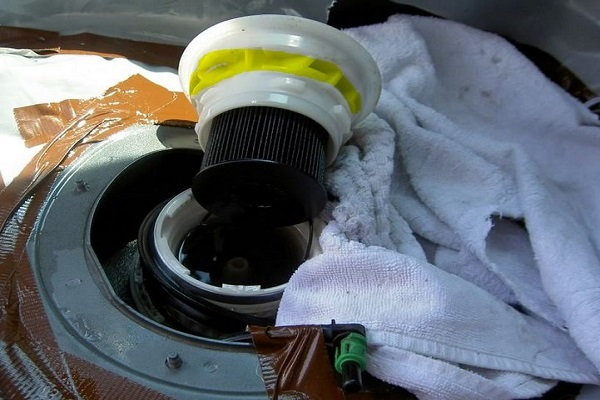
Figure 9. You can see here how the assembly needs twisted as you are pulling up in one motion in order to remove it from the housing.
Pro Tip
The fuel system is pressurized, so you may get some spilled gas and definitely a lot of fumes. Please only work in a well ventilated area and do not smoke or otherwise have anything around that can cause a spark.
Step 4 – Remove and replace the fuel filter and O-rings
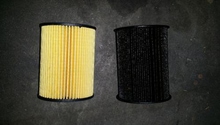
Once the assembly is out, you can remove as well as replace the old filter and O-rings.
- The filter will pull right out with relative ease from the assembly.
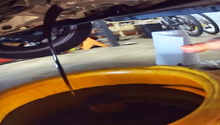
- You will need to suck out with a turkey baster, or soak up with old rags, the nasty fuel from the bottom of the housing in order to expose the lower O-ring.
- Remove the lower O-ring as well as the upper O-ring that is inside the cap.
- Apply some Vaseline to both the new upper and lower O-rings before installing them.
- Grab the internal assembly inside the housing after you install the lower O-ring and insert the new filter firmly into it. You will likely need to twist the filter back and forth to get it solidify in place.
- Once the filter is in, you may need to pull up the assembly a little from the housing to get the cap back in place. When installing the cap, you will have to push down and twist in the opposite direction of removal to lock it in place.
- Drop the assembly back down into the housing.
- Your replacement kit also comes with a larger gasket ring that goes around the top of the assembly. This can only go on in one direction, so make sure you are putting it on the correct way and make sure it is completely flush with the edge of the housing.
- Replace the locking ring, hand-tighten only and then give it a slight whack with a hammer or mallet to make sure it is snug. Be gentle because you do not want to strip it.
- Replace the housing cover and tighten the five 10mm nuts.
- Reattach your fuel line.
- Wipe up any spilled fuel on your drop cloth and then dispose of the drop cloth.
- Replace your seats and congratulate yourself on a job well done.
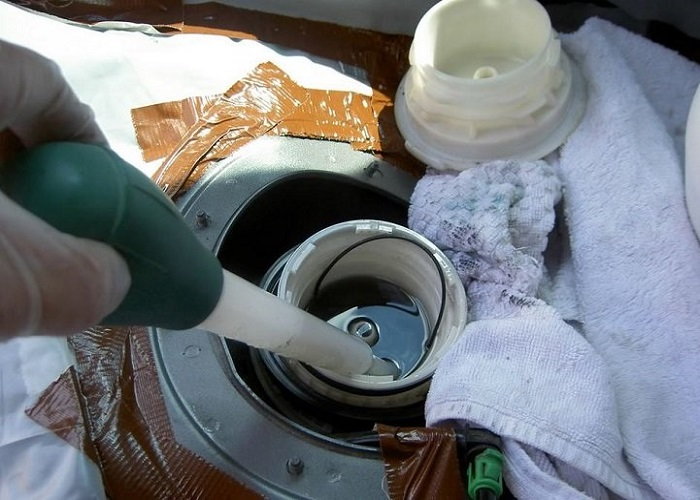
Figure 10. Remove the old filter, then get that old gas out of the housing to remove and replace the O-ring. 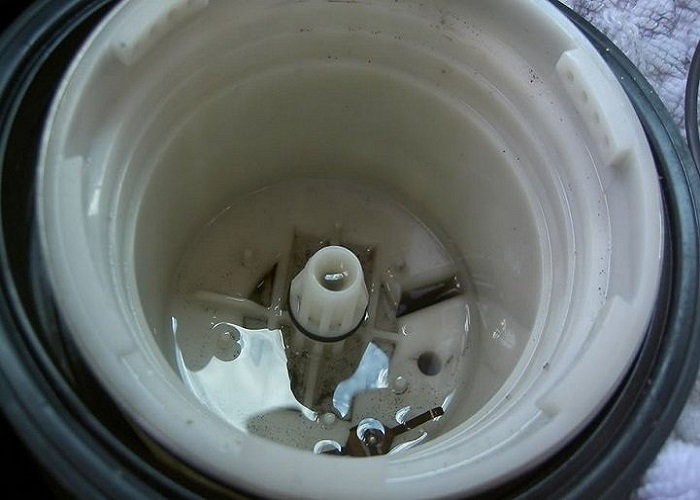
Figure 11. Make sure to get all the debris out and any pieces of the O-ring left behind. 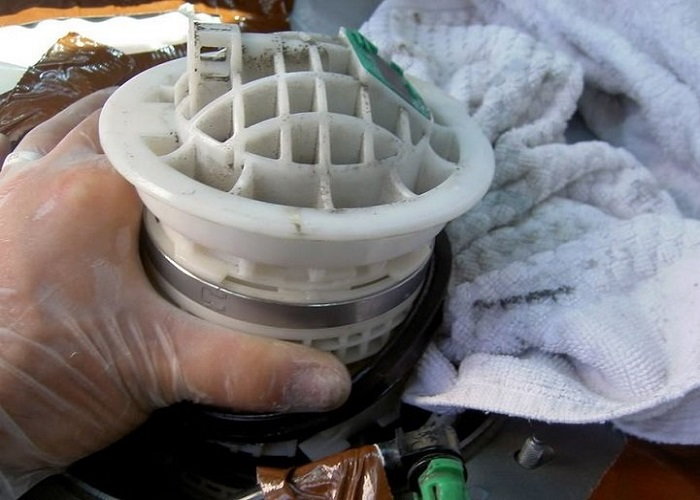
Figure 12. Replace the filter assembly and install the gasket flush with the inside edges. 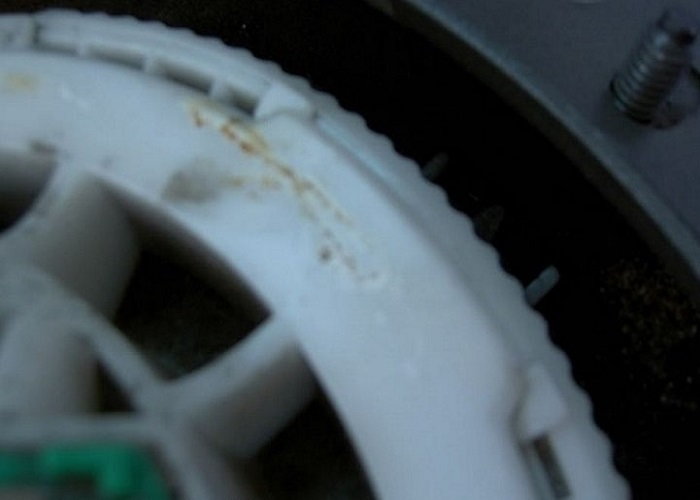
Figure 13. Make sure the gasket is seated properly.
Pro Tip
Before you fire her up, just turn your key to get the electrical system to light up, and then turn it off again. Do this a few times to get the fuel system re-pressurized. She should be good to go.
Related Discussions
- DIY Filter Change MCS - NorthAmericanMotoring.com
- Replace Fuel Filter - NorthAmericanMotoring.com
- Fuel Filter Replacement - NorthAmericanMotoring.com