Mini Cooper 2001-2006: How to Replace Your Tail Light Assembly
Broken tail lights can be dangerous for yourself and anyone driving behind your Mini. This how-to will help you in replacing your tail light assembly.
This article applies to the Mini Cooper 1st Gen (2001-2006).
Your tail lights may not seem all that important to you, but they are very important for other drivers. If other drivers around you aren't aware of your braking and turning, it could quickly lead to an accident. That's why it's a legal requirement to have good tail lights. The steps below will show you how to replace a tail light assembly in the 1st Gen Mini Cooper.

Materials Needed
- Replacement tail light assembly
- Ratchet w/ 10 mm deep well socket
Step 1 – Remove the tail light assembly
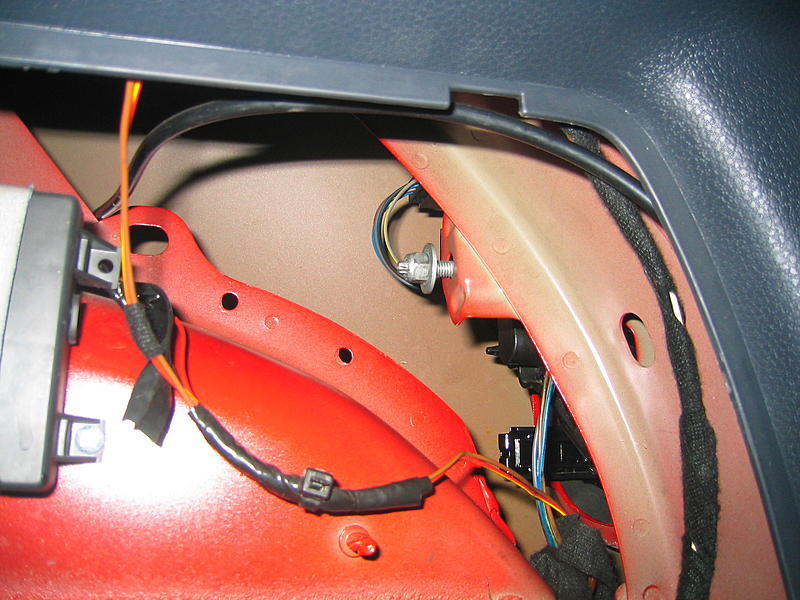
Start by opening the hatch of your Mini and looking to the side of the trunk. There should a removable panel. Push down the tabs on the panel to remove it, then set it aside. Inside the compartment you should be able to see the back of the tail light assembly. It's fastened to the vehicle with a single long bolt and nut. Use your ratchet and 10 mm socket to remove the nut.
On one side of the tail light assembly there are two clips. Push in the two clips as you push out the tail light assembly. With the clips pushed in, the tail light should easily slip away from the vehicle. Be ready to catch it. On the back of the assembly you'll see the back of the bulb board. Locate the black tab on the back and push it in to release the bulb board from the rest of the tail light assembly. Now you can replace the bulbs and tail light assembly.
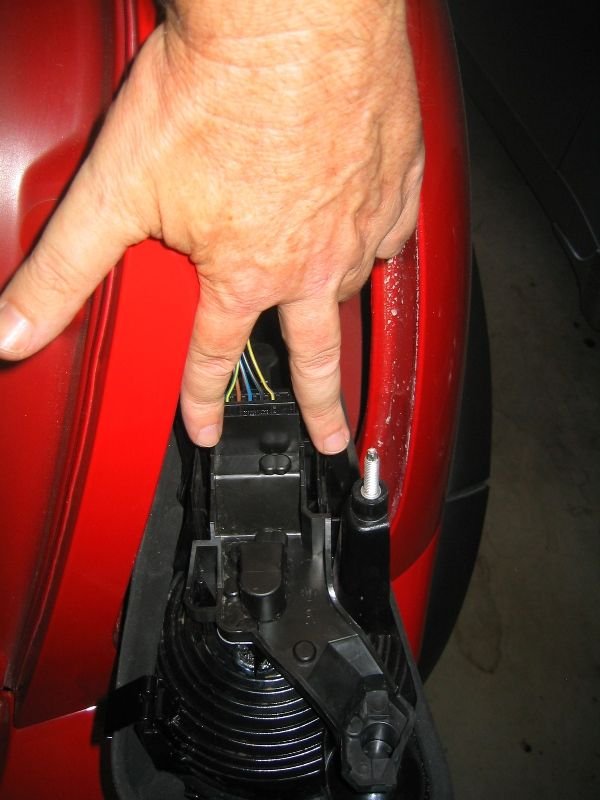
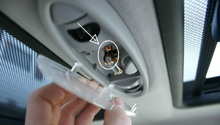
Figure 2. Push in the tabs to release the tail light assembly. 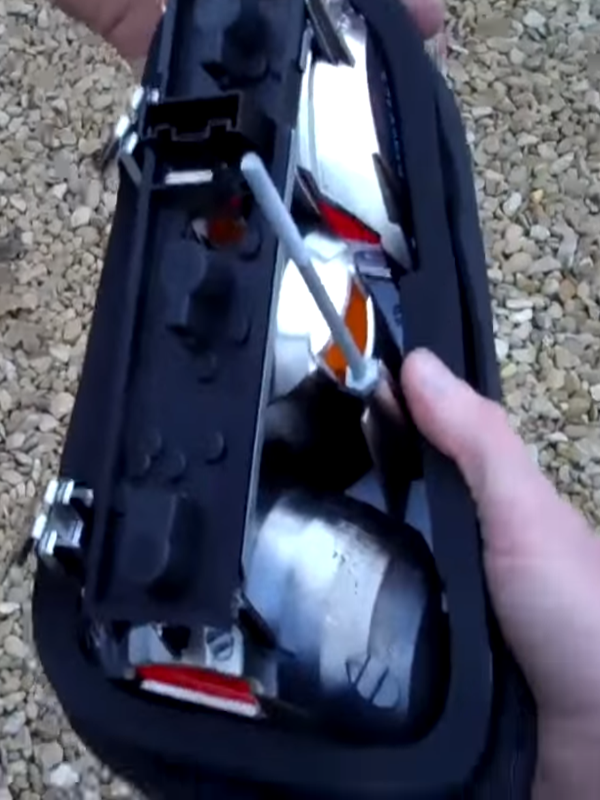
Figure 3. Disconnect the bulb board from the tail light assembly.
Pro Tip
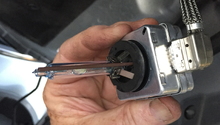
To remove the bulb board you only need to disconnect the electrical plug after removing it from the tail light assembly. To replace the bulbs themselves you only need to twist them off the bulb board.
Step 2 – Install the new tail light assembly
Press the bulb board to the back of the new tail light assembly until it snaps into place. Line up the tail light assembly to the opening in the Mini, then press it in until it snaps into place. Go inside the trunk and fasten down the nut to the back of the tail light assembly. Return the trunk cover, then you're done.
Featured Video: How to Change Rear Lights in Mini
Related Discussions and Sites
- Girl's Guide to changing tail/brake light bulb - NorthAmericanMotoring.com
- Rear Taillight Joey Mod With Pictures - NorthAmericanMotoring.com
- Facelift Tail Lights Installation Instruction - MotoringFile.com
- MINI Cooper - Replacing Lens and Bulbs - PelicanParts.com