Mini Cooper 2001-2006: How to Replace Your Headlight and Fog Light Bulbs
You won't be able to see far at night without good headlights. This article explains how to replace the 1st Gen Mini Cooper's headlights and fog lights.
This article applies to the Mini Cooper 1st Gen (2001-2006).
Headlights are essential for safe driving, so why take the risk with old or low-powered headlights? Upgrading or replacing your headlights and fog lights is easy, and this article will show you how.

Materials Needed
- Replacement headlight and fog light bulbs
- Phillips screwdriver
Step 1 – Remove the headlight bulb
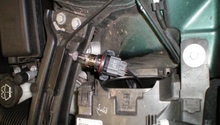
On the first generation Mini, the headlights are attached to the hood so accessing them is simple. Open the hood and remove the rubber cover on the back of the headlight assembly. Reach inside and disconnect the electrical connector by squeezing the tabs. The retaining clip may seem tricky to remove at first, but it's quite simple. You'll see a latch on the clip. Push it down and to the side, then swing the retaining clip out. Then, you just pull the headlight bulb out.

Figure 1. Disconnect the electrical plug from the headlight bulb. 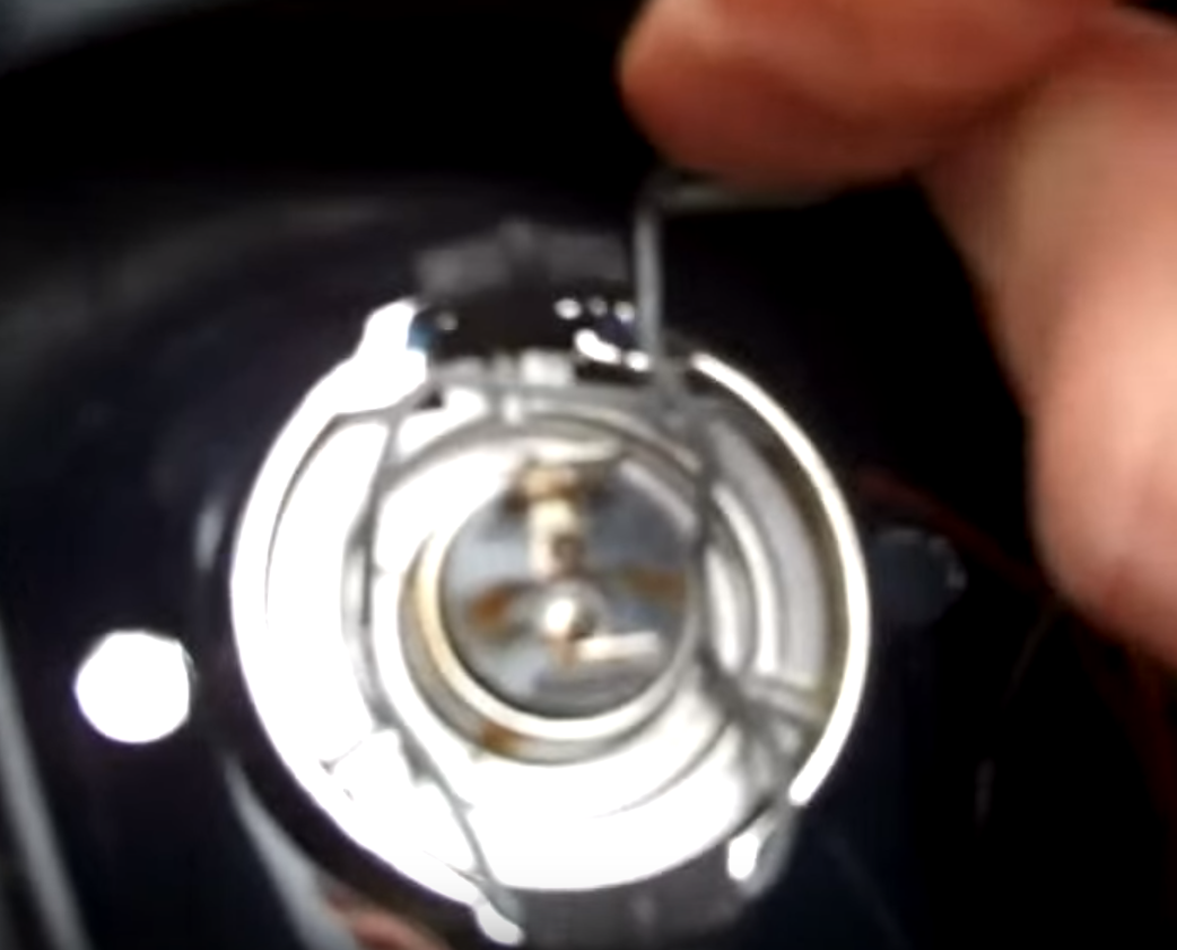
Figure 2. Release the retaining clip. 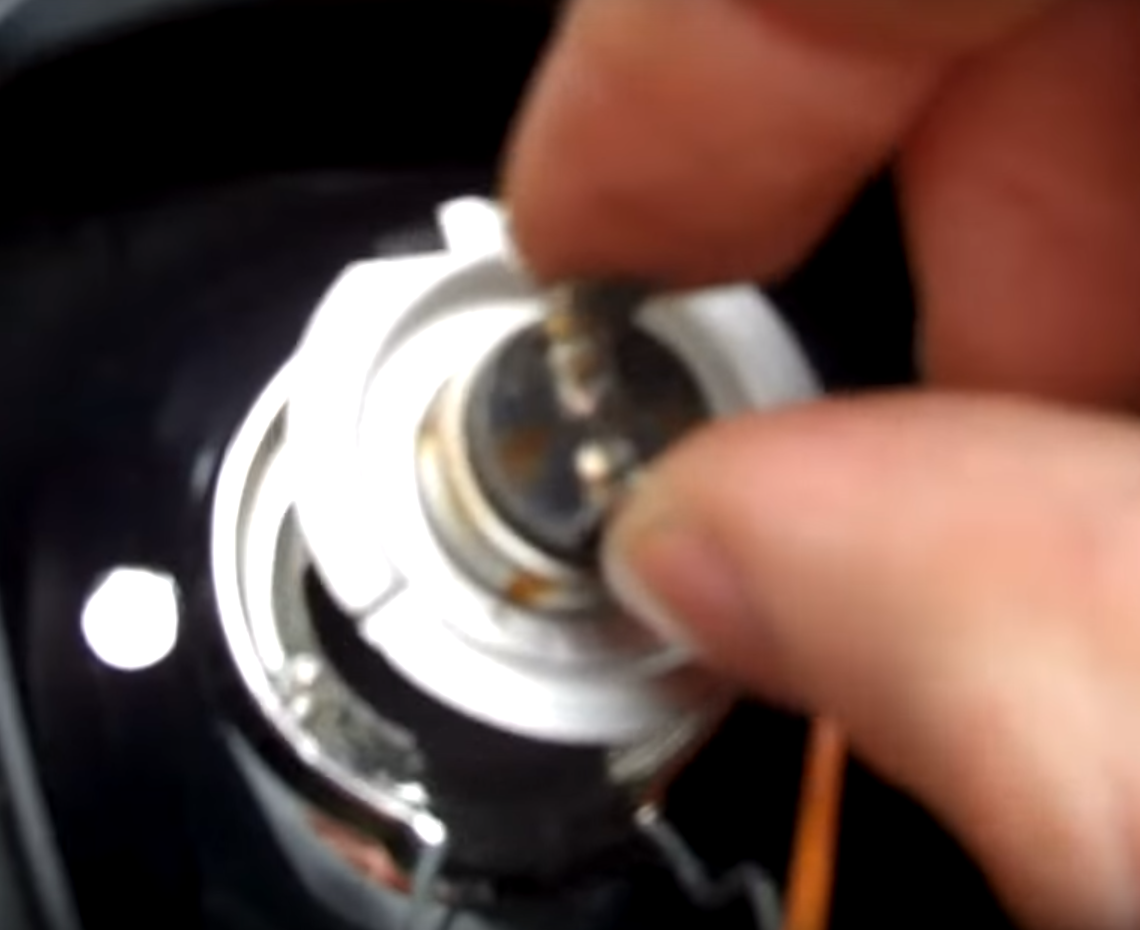
Figure 3. Remove the bulb from headlight housing.
Step 2 – Install new headlight bulb
Insert the new headlight bulb into the headlight assembly. Make sure that it's facing the same way as the old bulb. Push up the retaining clip and push in the latch to lock in the retaining clip. Then, reconnect the electrical plug and return the cover.
Pro Tip
Don't touch the glass on the new bulb. Touching the glass will transfer grease from your hands to the glass. This can cause the bulb to quickly heat up and burn out.
Step 3 – Remove the fog light bulb
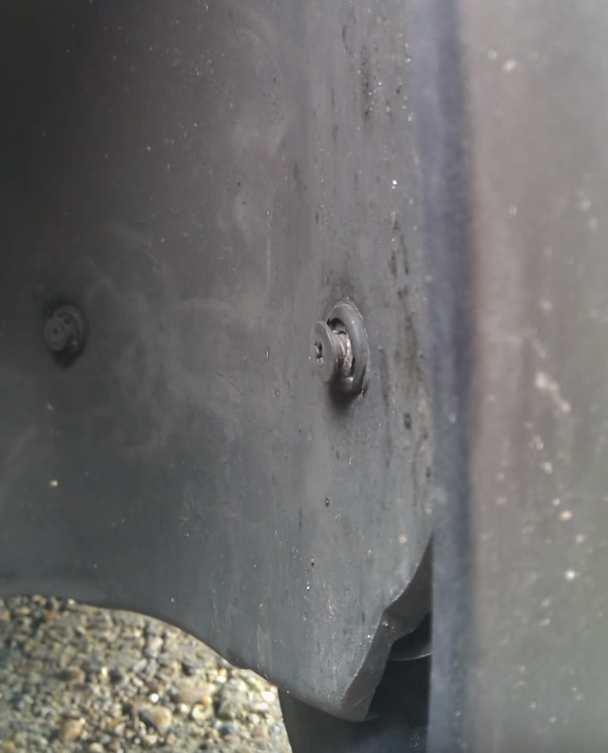
Replacing fog lights is more or less the same as replacing the headlight bulbs, but it's a little harder to access the bulbs. You'll have to get to them by going through the wheel well lining. So start by turning the wheels so you have more room to work with. There are five screws you need to remove. Four are along the front of the wheel well lining while another is at the intersection of the wheel well lining and the front bumper.
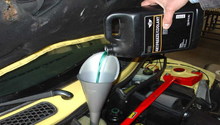
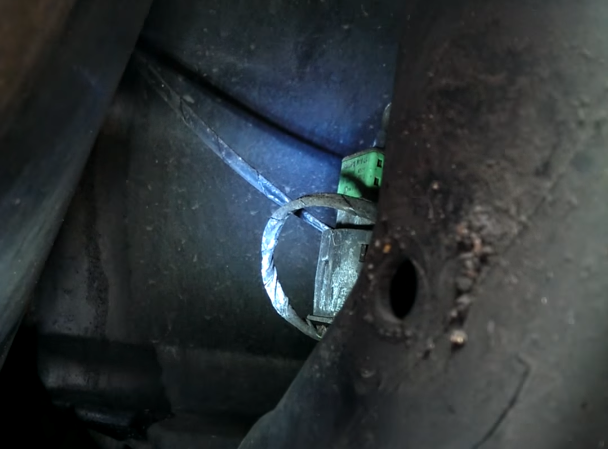
Peel back the wheel well lining, and inside you should see the back of the fog light. Reach in and disconnect the electrical plug. Then, twist the bulb socket counter-clockwise to release the bulb from the housing.
Step 4 – Install new fog light bulb
Carefully insert the new fog light bulb and twist it clockwise to lock it into the housing. Reconnect the electrical plug. Then, tighten down the five screws to the wheel well lining.
Featured Videos
-
How to Change Headlight Bulbs
-
Front Fog Light Change Mini S 1st Gen
Related Discussions and Site
- Headlight Lamp Replacement - NorthAmericanMotoring.com
- R35 How do I change the Xenon Bulb - NorthAmericanMotoring.com
- Changing headlight bulbs quick question - Mini2.com