Mini Cooper 2001-2006: How to Replace Fuel Door or Change Flush Door for Chrome Cap
People love to customize their Mini, and a popular as well as easy mod to make is swapping the flush fuel filler door for the chrome cap on the S and John Player Works model. Oddly enough, some owners of the higher spec models prefer the look of the base model flush door, too. Luckily, you can change one for the other in an afternoon.
This article applies to the Mini Cooper (2001-2006).
If you're looking for a way to personalize your Mini Cooper, consider replacing the car's fuel filler door. Many people prefer the flush mounted door on the base model to the blinged out chrome cap on the Sport model. These same instructions will work if you accidentally leave the cap open and break the hinge off too. It's a simple enough project, and compared to other modifications, relatively inexpensive. The result is a custom look to your car that will make it stand out from the rest.
To learn how to replace the fuel filler door yourself, read on!


Materials Needed
- Fuel filler door
- Plastic pry tool
- Flat head screwdriver
- Phillips screwdriver
- WD-40 (optional)
- Painter's tape (optional)
Step 1 – Remove the inner fender
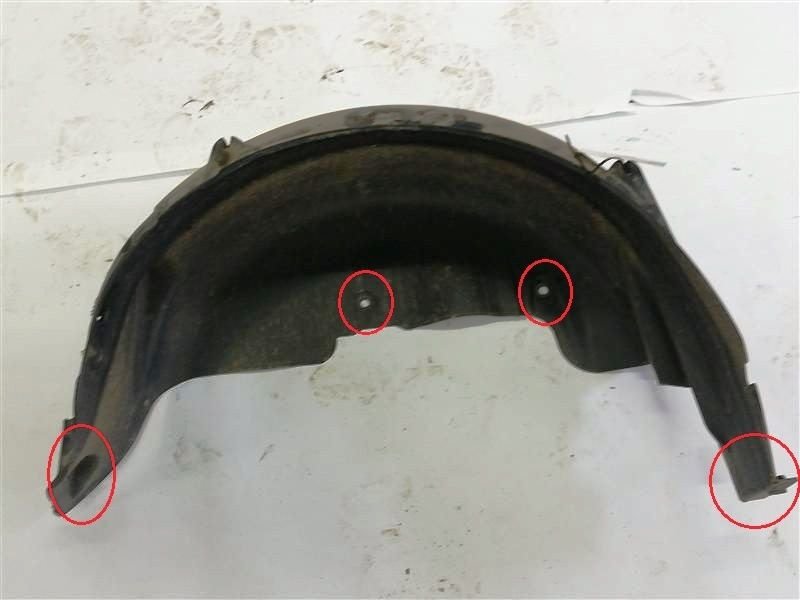
While some people on forums have claimed to be able to do this without removing the inner part of the fender, it is much easier to do if you take the time and do it right. Removing the plastic inner fender requires only the removal of a few clips and screws, which doesn't take much time at all. There are two screws at the bottom, one in front and one behind the wheel opening. Then there are two plastic clips, which can be removed by turning a 1/4 turn with a Phillips screwdriver (see red circles in Figure 2). Now look up inside the fender and you will find the last two fasteners, which are 10mm nuts inside the fender flares. Once that is done, you should be able to pull the inner fender out, exposing the fuel filler neck.
Step 2 – Loosen the fuel filler neck
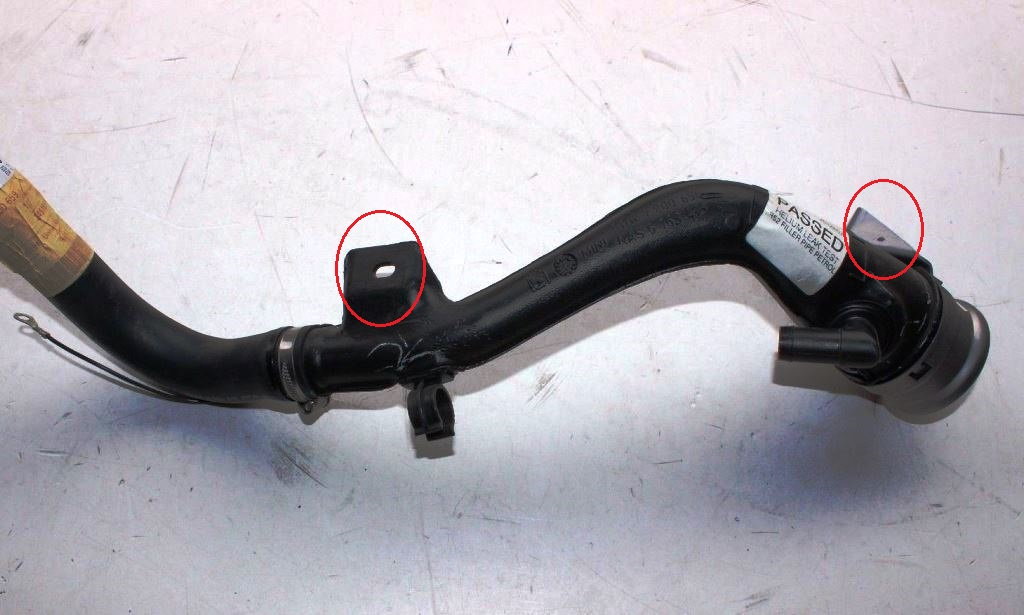
You don't have to pull the filler neck out of the fuel tank, but in order to get the filler cap out and the new one in, it is helpful to pull it up and away from the body so you have room to work. To release the fuel filler neck, loosen the two nuts on studs that are holding it in place. There is one toward the bottom and another at the very top, as seen in Figure 3. Work the neck up so you have enough room to work.
Step 3 – Remove the outer ring
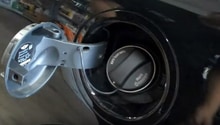
Mini uses a color matched outer trim ring with the chrome caps, so fill in some of the area covered by the door on the other type. On the flush door type, there is no separate ring to remove, but you still start the same way, by carefully prying the outer edge away from the painted body. This is held in place by four plastic tabs. Gently pry these up and the ring itself will pop out. Your best bet is to use a plastic pry tool, or paint can opener. Avoid using a flat head screwdriver, as it could lead to you breaking the tab.
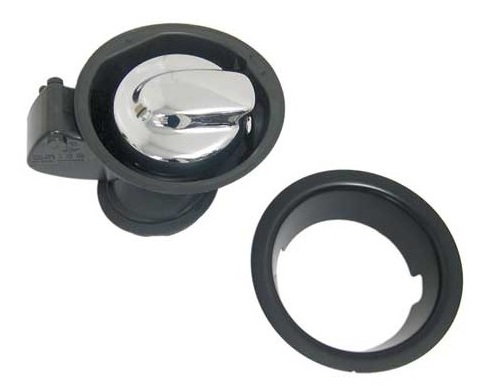
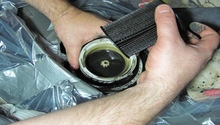
Figure 4. A Mini S type filler and the trim ring. 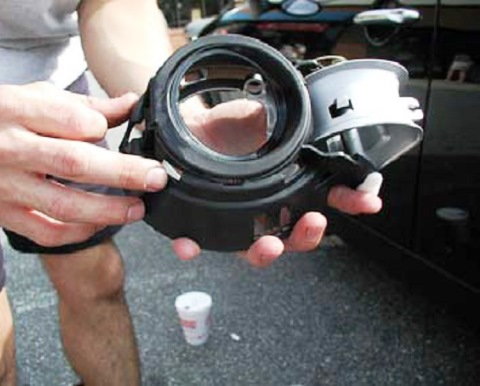
Figure 5. Fuel filler door assembly from non-S model Mini.
Step 4 – Remove the housing unit
This step is the same, no matter which filler door type you are starting with.
With the filler neck loose, it should be fairly easy to remove the rubber grommet from it that holds the pieces together. Use a thin flat head screwdriver to pry around the inner edge, while gently pulling on the housing. You may want to spray a little WD-40 or similar lubricant around it to make things simpler.
You can now remove the old housing.
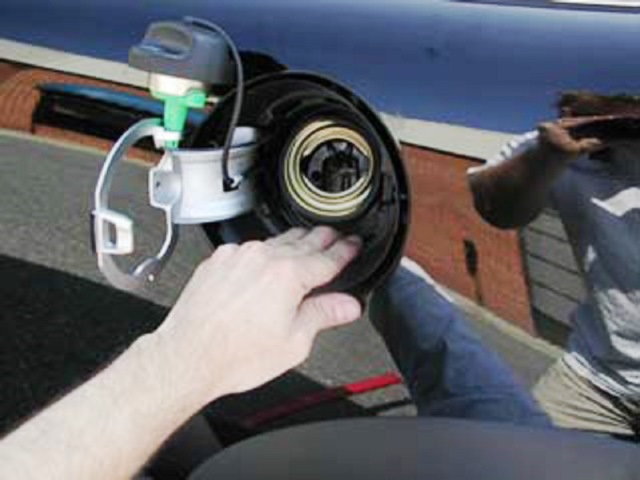
Step 5 – Replace with new housing unit
The new housing unit should just snap into place. Start by holding the filler neck and pushing the inner rubber grommet back onto it first. Next, make sure the unit is aligned correctly, then press into the opening on the body until the clips clip into place. The flush filler door will just snap into place and you are done. On the S-model door, there are five clips around the edge, three of which need to be snapped into the opening, the other two are there to retain the outer trim ring. Once the inner clips are in place, gently press the trim ring into the opening until the other two clips snap in. Carefully pull on it to be sure it is locked in, or you may lose your trim ring on the road.
Be careful when replacing the fuel filler door–it can scratch the car in the area around the opening. If you’re worried about doing this, then cover the surrounding area with painter’s tape.
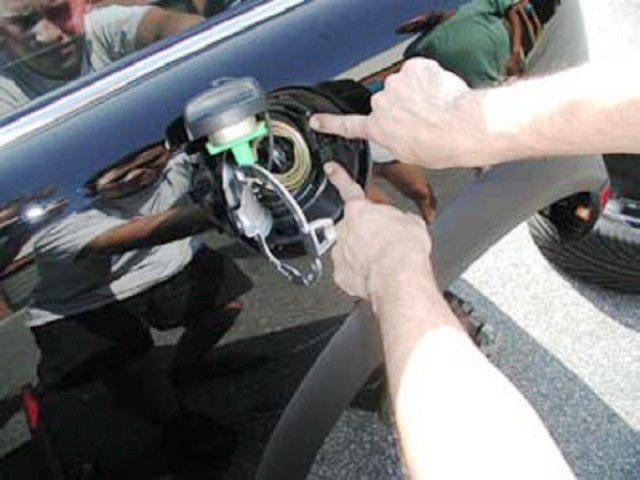
Figure 7. Snap the three clips into the body opening. 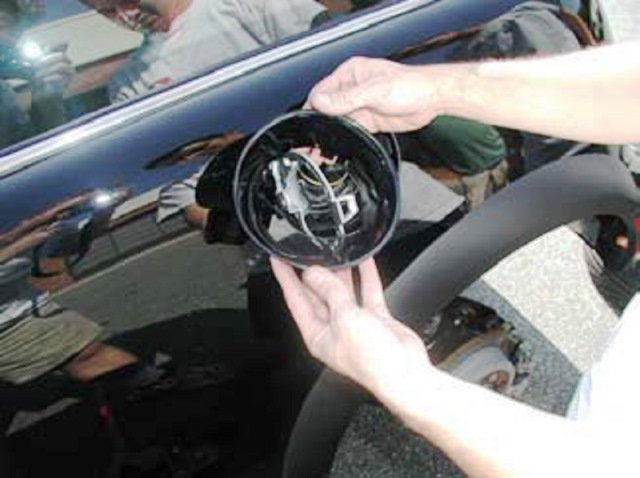
Figure 8. Snap trim ring into place with the last clips, and be careful not to scratch the paint.
Step 6 – Replace inner fender and filler neck
Now that you have your new fuel filler door installed, it is time to replace the other parts you had to remove or loosen. The filler neck bolts are straightforward. If you damaged the plastic 1/4 turn fasteners in disassembly of the inner fender, you can get them at most auto parts stores. Don't forget the pair of screws and the 10mm nuts either.
Releated Discussions and Site
- Fuel Cap Replacements - NorthAmericanMotoring.com
- Fuel Door Hinge Replacement - NorthAmericanMotoring.com
- How to DIY Paint Gas Cap Door Handles and More Lots of Pictures - NorthAmericanMotoring.com
- Filler Cap - OutMotoring.com