When you click on links to various merchants on this site and make a purchase, this can result in this site earning a commission. Affiliate programs and affiliations include, but are not limited to, the eBay Partner Network.
A hair dryer is sufficient heat. Perhaps you're not doing it properly? Also, before painstakingly separating the lights, but a $15 lens repair kit at wal mart. Spend 15-30 minutes using some elbow grease and it will look brand new. Trust me. I couldn't see through mine, so foggy and hazy. Crystal clear now.
Ok so I've got the headlights to my wife's 2005 jcw apart and can't figure out how to get the projector shroud off. All the pictures to the installs don't work so I'm having a hard time figuring this step out.
It's been a long time, but I'm thinking it is just held on by some small tabs on the shroud itself and basically just pops on and off.
But as I said it's been a while.
Ok... so I'm knee deep in the Joey Mod and hit a snag.
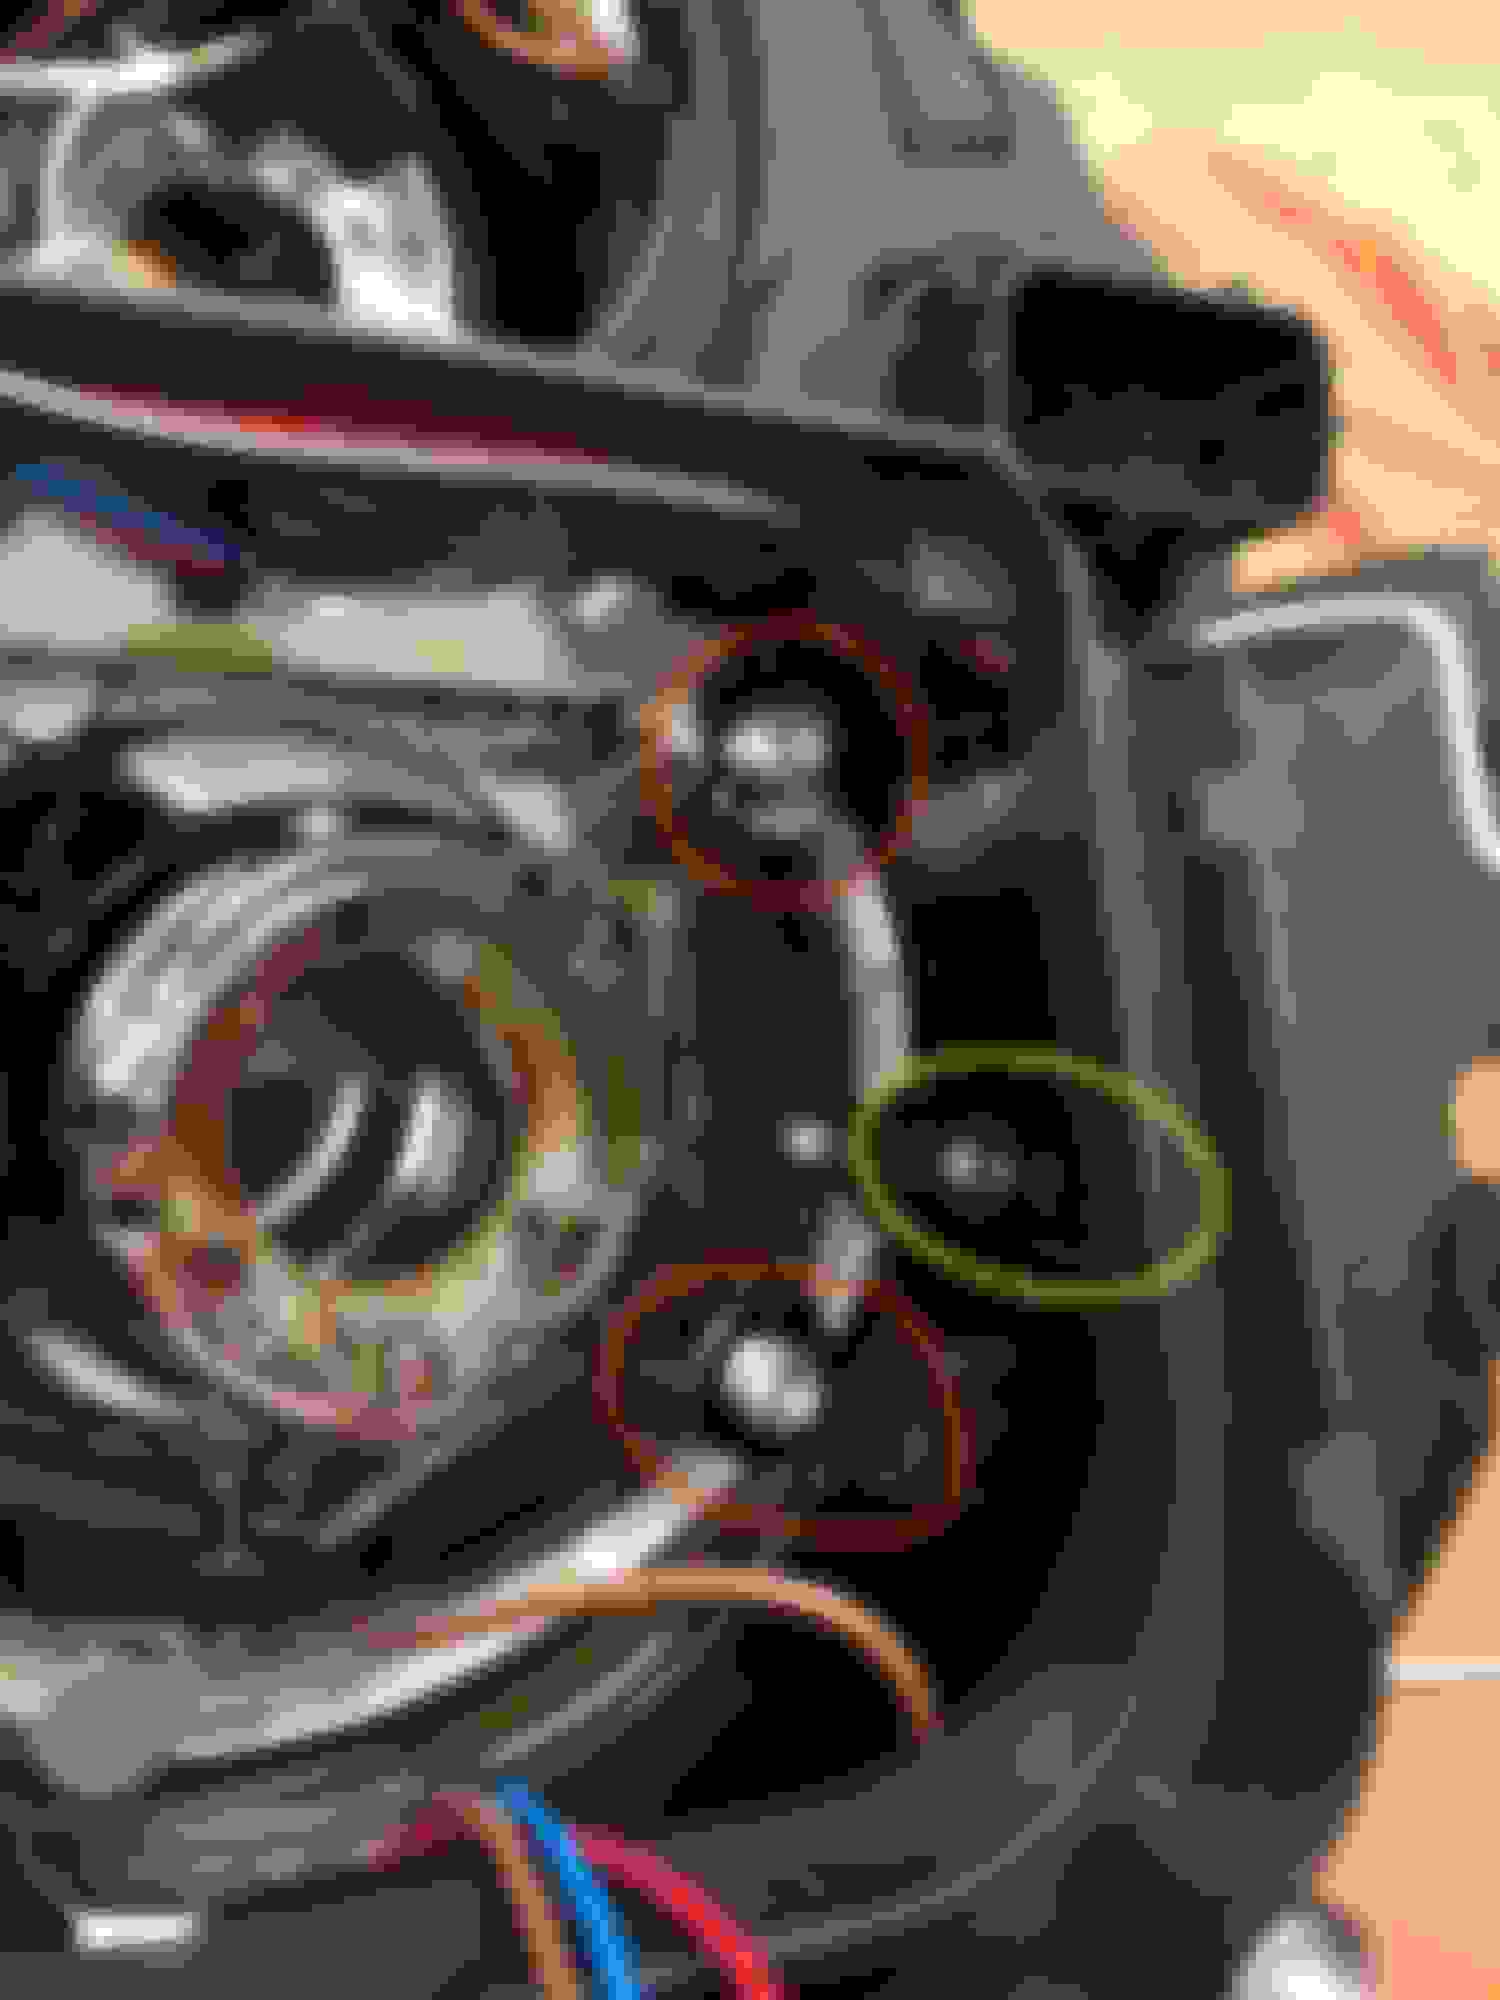
I cannot get the lower reflector (high beam) chrome piece out. (Picture 1 yellow circle) EDIT: So I ended up leaving this piece chrome. Joey Mod midwayThere are 3 torx screw that I can reach and unscrew no problem... (2 in red shown, 1 on the other side of the upper xenon mount)
But there are 3 more (one shown in yellow) that are ridiculously buried deep in the housing with no way of reaching???? Are people just painting this piece in the housing? Or leaving it chrome? EDIT: These bolts were super deep in the housing and I was not able to get them out. I decided to leave the piece in picture 1 chrome.
Couple of things that might help the next guy that tries this. (it's not to bad... just go slow)
1) For those of you that (like me) couldn't see the pictures on page 1 from DrPhilGandini's super helpful "how to"....(images not showing up for me) I found them....upon digging into DrPhilGandini's Albums, I was able to find some of the pictures.
And....
2) In order to pop off the Chrome piece around the xenon projector I had to go from the backside (yellow arrow) (where the bulb goes in) with a long dentist tool to pop the two tabs. (yellow circles ] You can set up a light to shine back in the projector bulb to see the tabs.
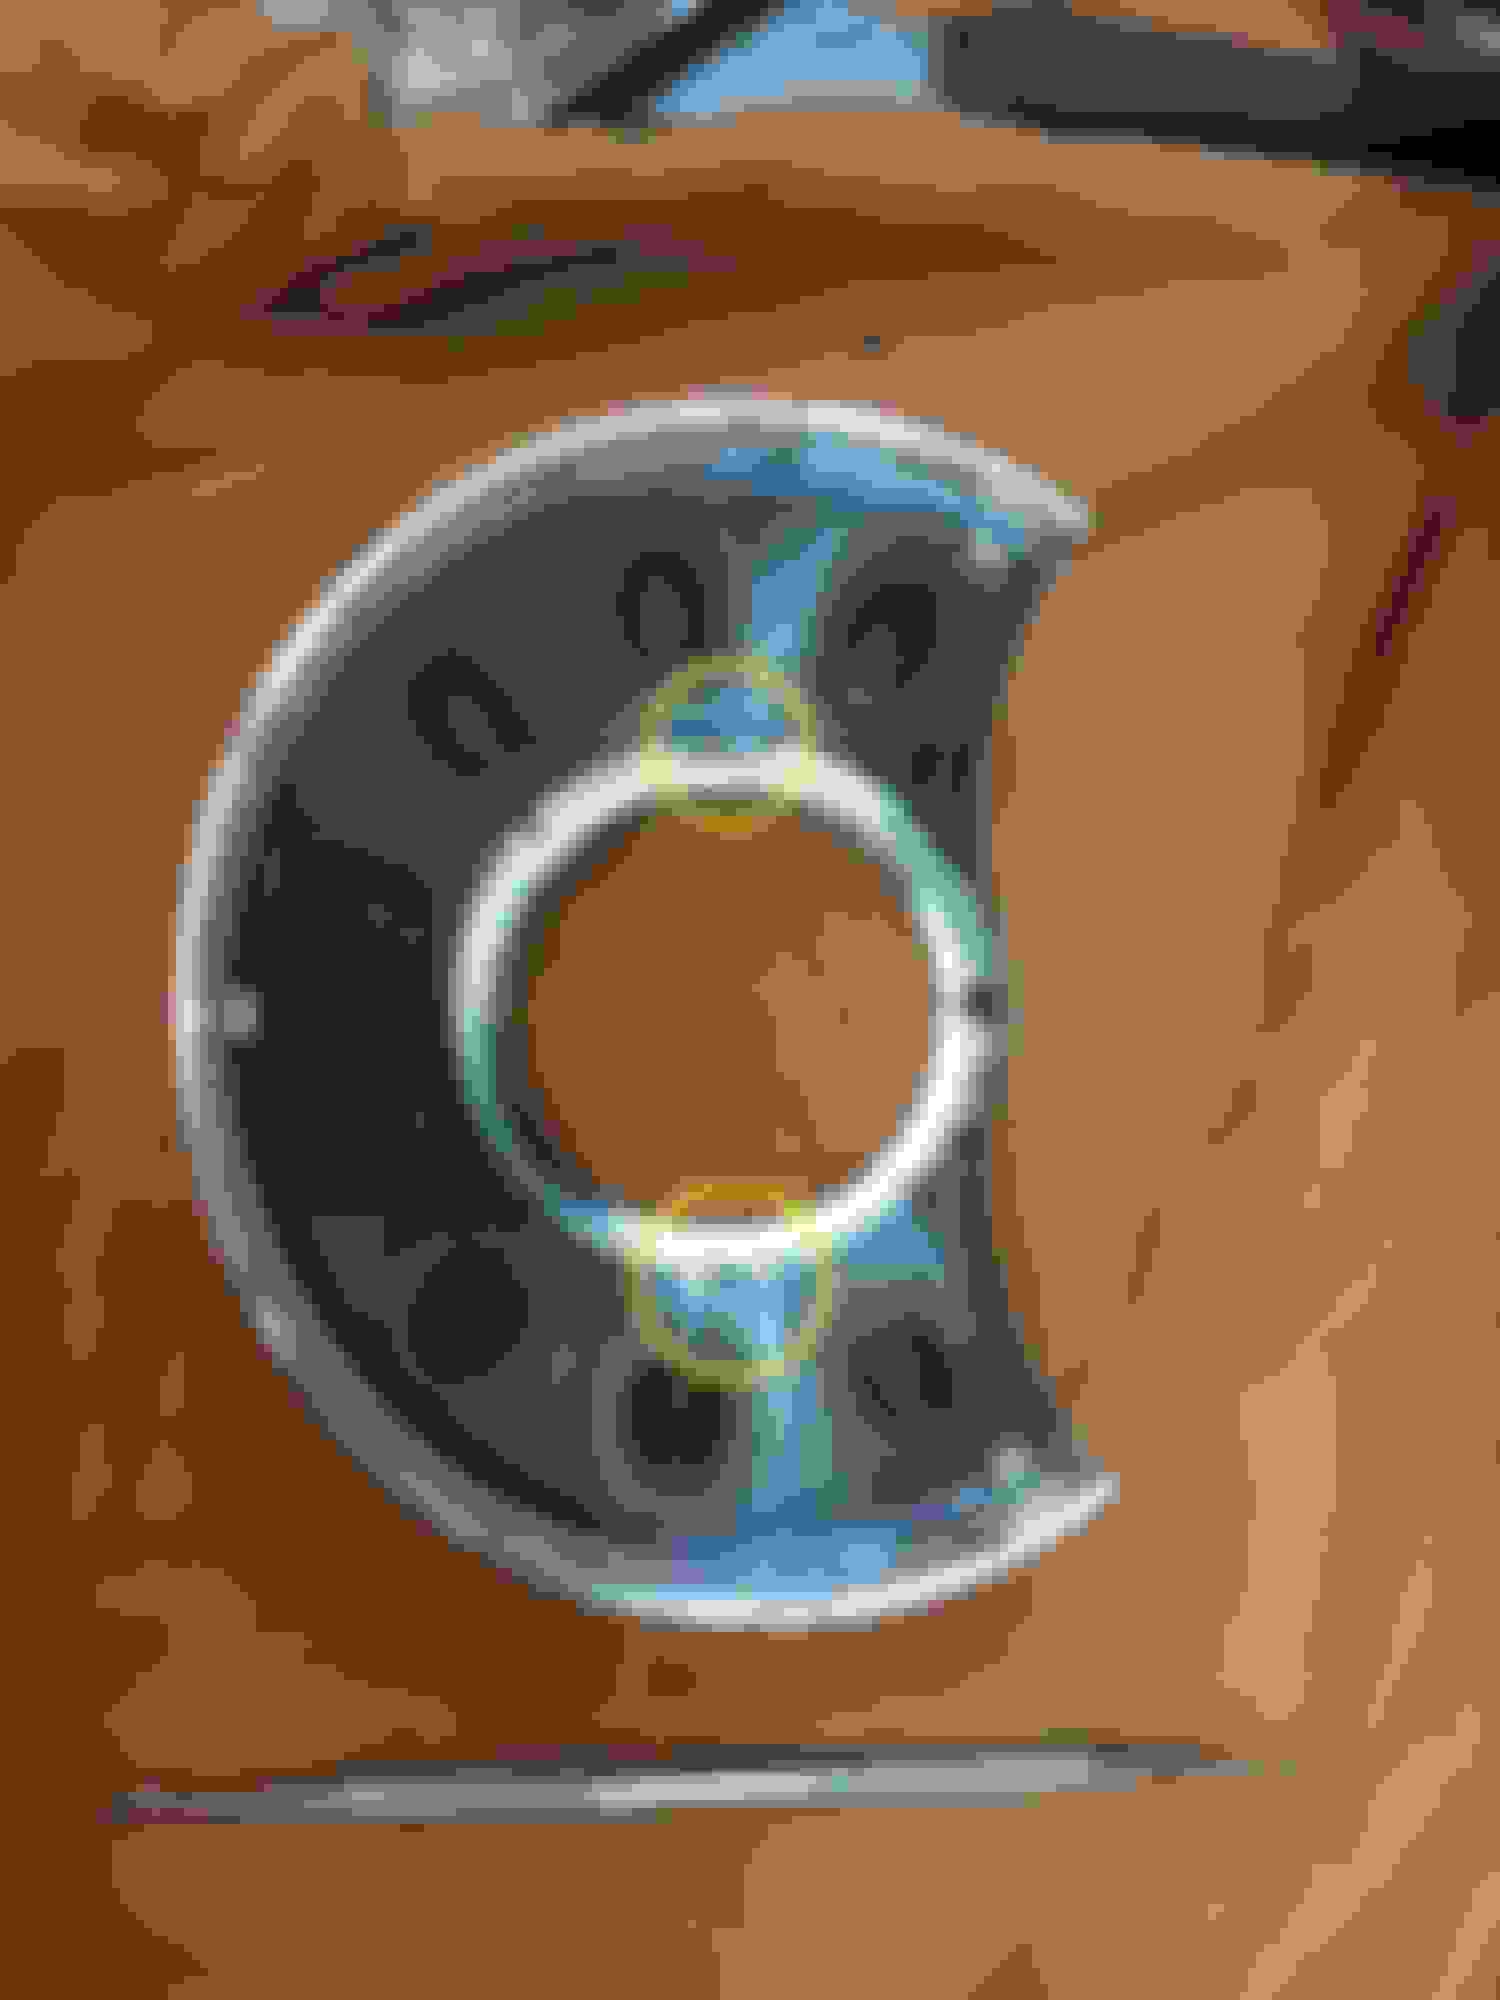
Here's the two little tabs that need to be pop out in order to get this piece off.
Then you can remove the smoked clear piece from inside the chrome with the three outside tabs. (DrPhilGandi has a good picture of this too on his album)
Hope this helps the next guy.
Last edited by bump32; May 20, 2018 at 08:12 AM.
Reason: more pictures
It seems as if your "How To" on the Joey Mod is the best one out there! I am getting a good idea of how to do it just from the text, but all of your photos are gone!! Is there any way to view these? There just seems to be blank space between the text where the photo would have been. Thanks so much. Looking forward to doing this!
Going to attempt this tomorrow. A few last questions for some experts:
-After reading through this post, I still haven't seen any final word on if High Temp paint is needed? (I bought some facelifted xenons). Would some classic Rustoleum paint work? Or should I get some High Temp BBQ paint?
-As far as timing goes, can I start putting everything back together after a few hours, or should I let the painted internal components dry for a day or so?
Thanks for the all help!
Standard paint will work fine, something formulated for plastic would be best, but not needed (plastic formulated paint is designed to adhere to slick surfaces better)
And no, if the paint is dry, your good to reassemble.
And lastly, what was your prep process for the plastic? Did you take the time to sand down the surfaces, then wipe with alcohol wipes? Do I actually need to acetone off the existing chrome?
You can just wipe them down with alcohol or a couple lite wipes of acetone but it all depends on how oily your hands are and where you touched the chrome you are painting.
If you spray light coats of black and you see “fish eyes” a.k.a. spots where paint will not stick it’s because there is oil still on the chrome. Stop painting and wipe that area down again.
Ditto, I would get some acetone if you can (even Wal-Mart has it) but if not at the very least use some rubbing alcohol.
The thing about the acetone is that it will actually start to take some of the chrome finish off, which will give you a better surface for the paint to adhere to.