When you click on links to various merchants on this site and make a purchase, this can result in this site earning a commission. Affiliate programs and affiliations include, but are not limited to, the eBay Partner Network.
Nice, the weathertech mats will save those nice clean floors now.
Just in time too, since it's supposed to snow this week.
Originally Posted by Black-eyed-Purple-Mini S
Looks great. GLWS. I truly enjoyed following your project. Have fun Racing.
Thanks. I'm really looking forward to the next Mini project. I bought a Yaris yesterday, but restoring it is definitely more of a chore/work. I'm trying to get my hands on a 2008 MCS turbo with a bad tranny. The seller wants 4K, but that's too much IMO with the bad tranny and 138K miles. If I can pick it up for 2-2.5K, I'll have my spring autocross car.
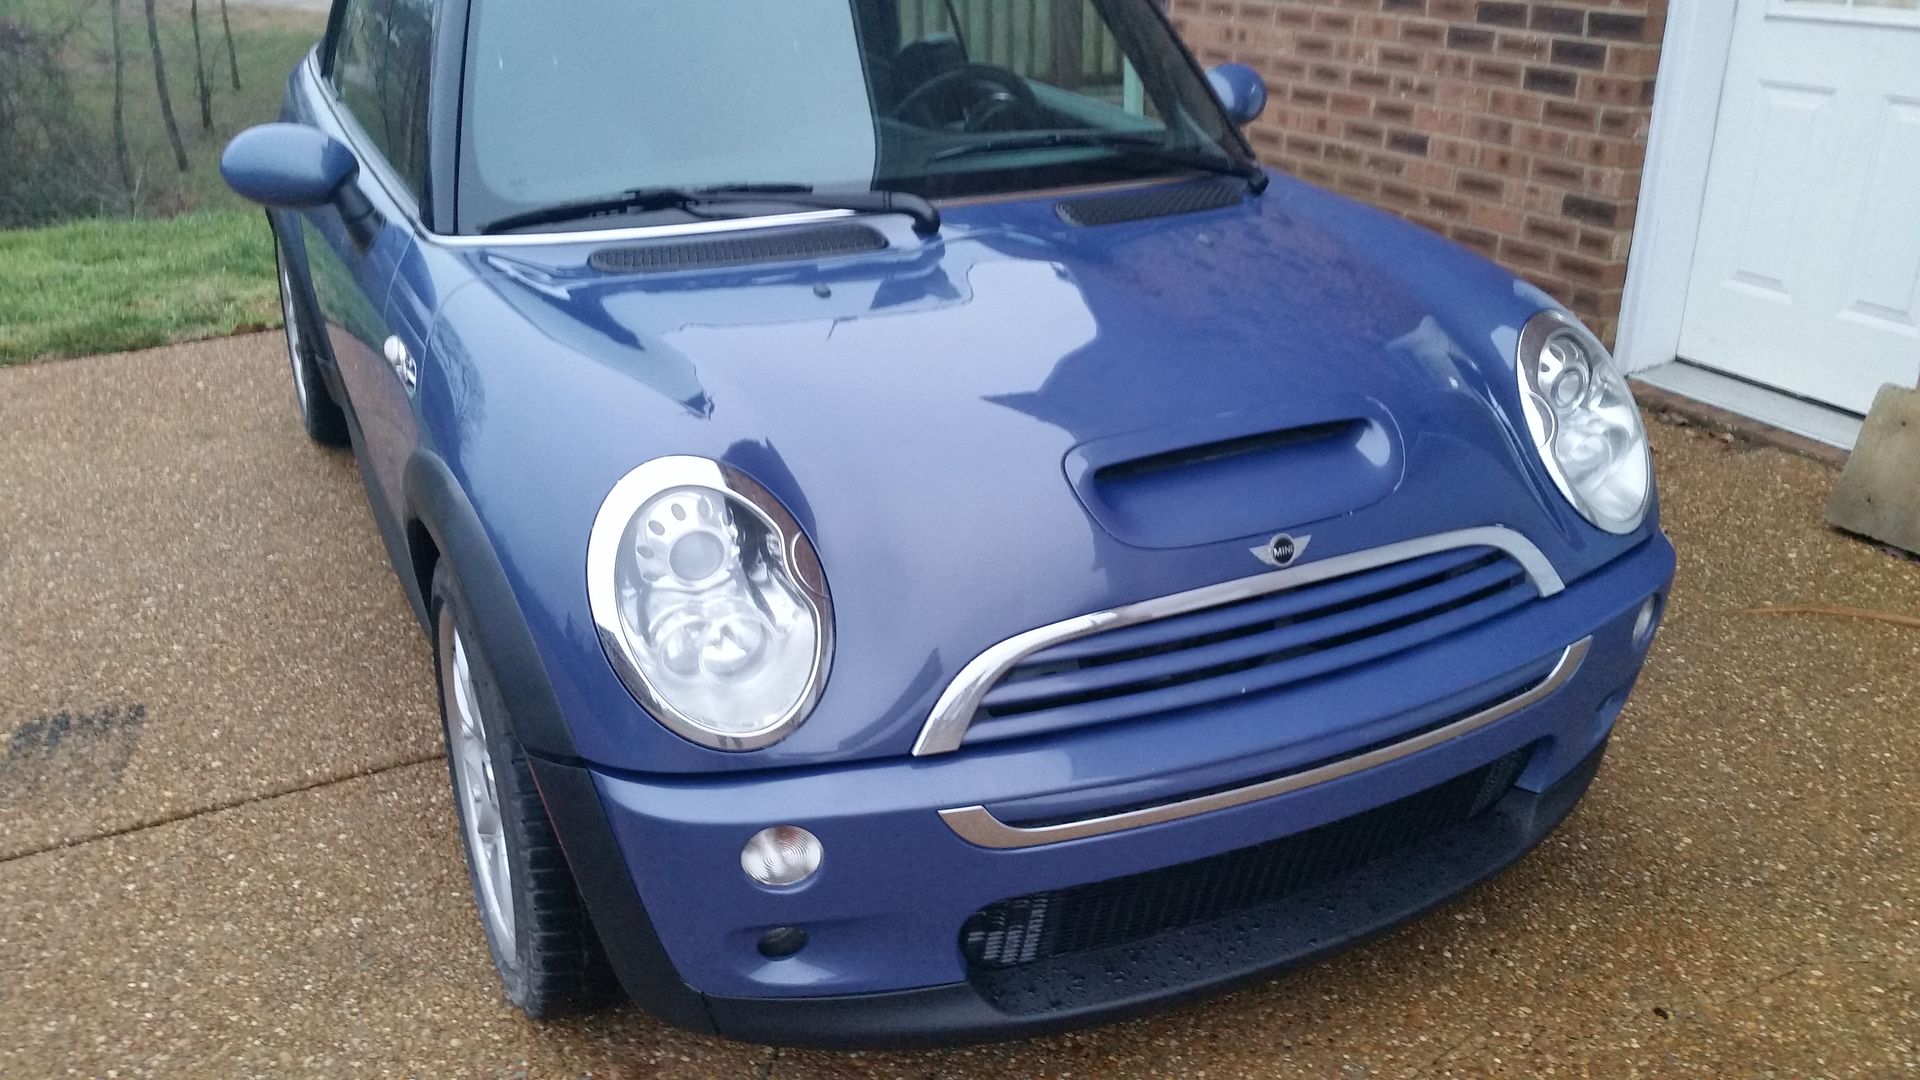
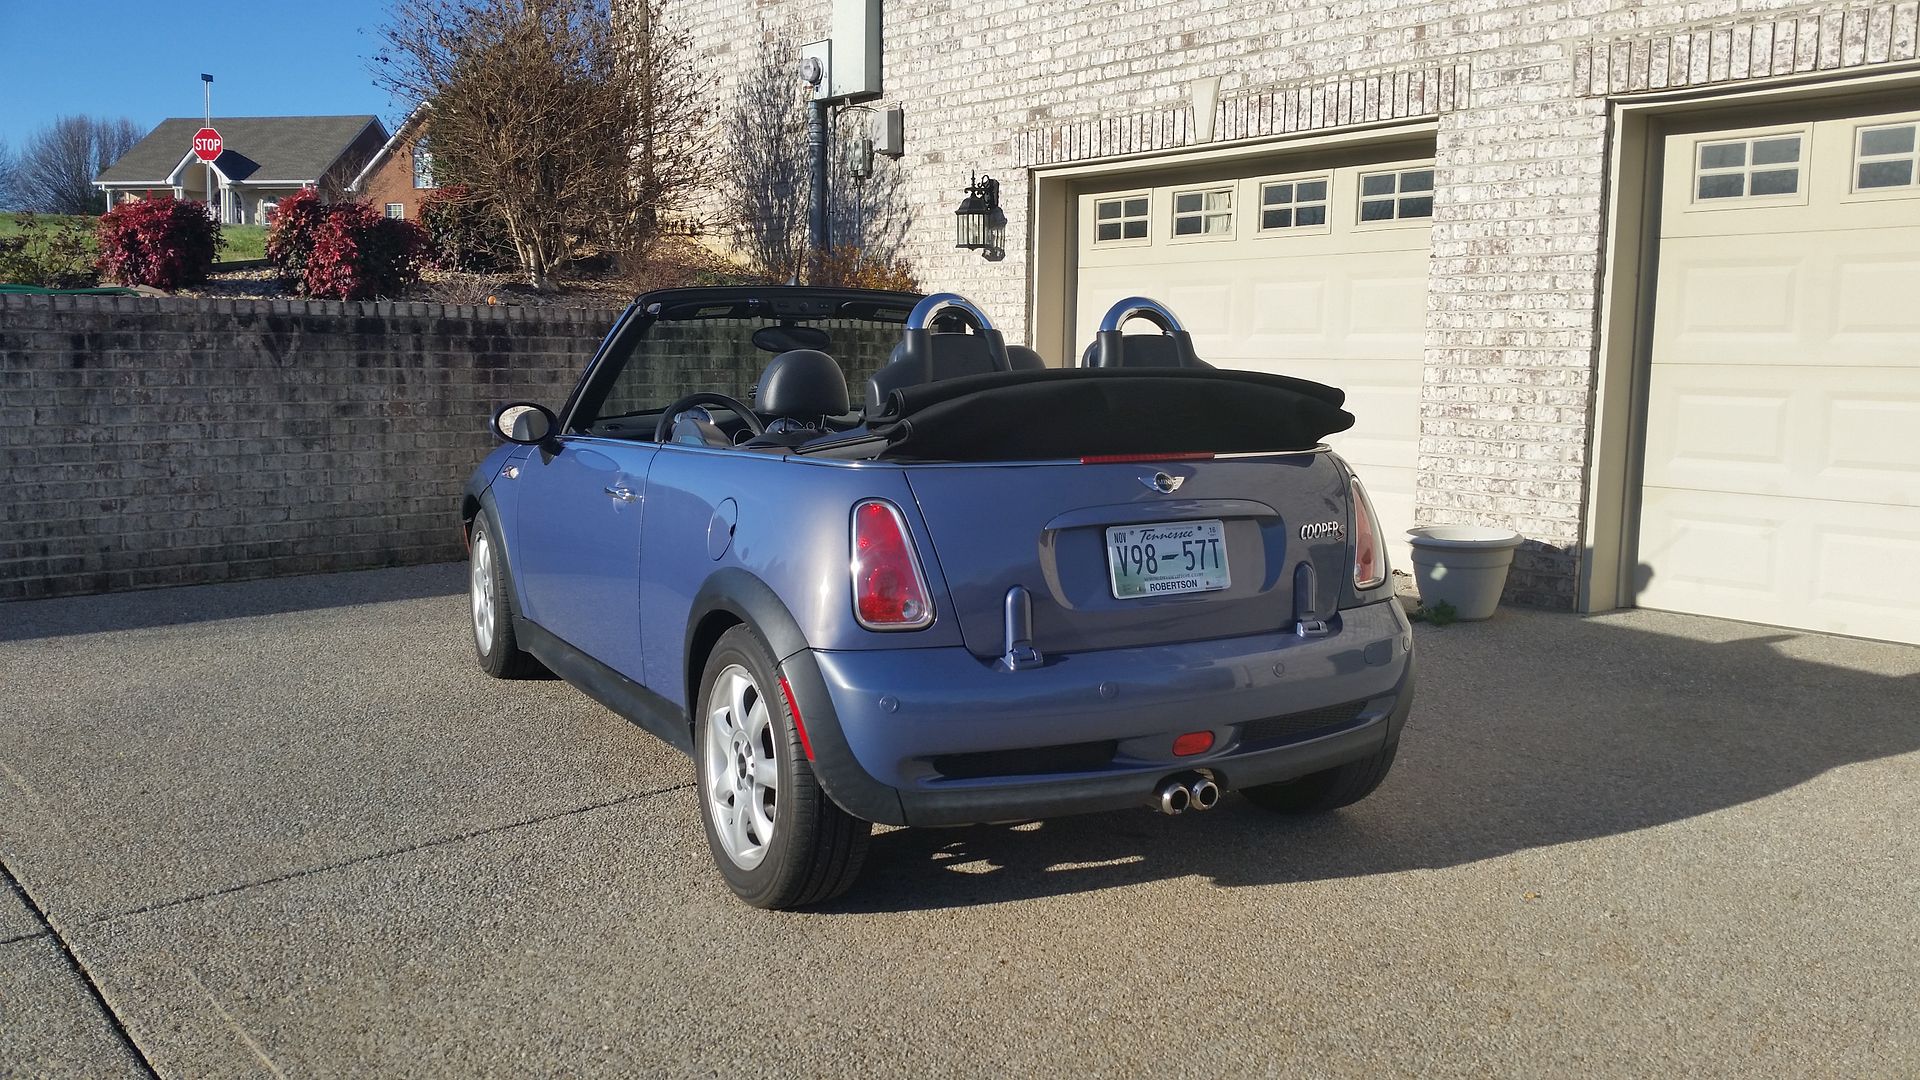
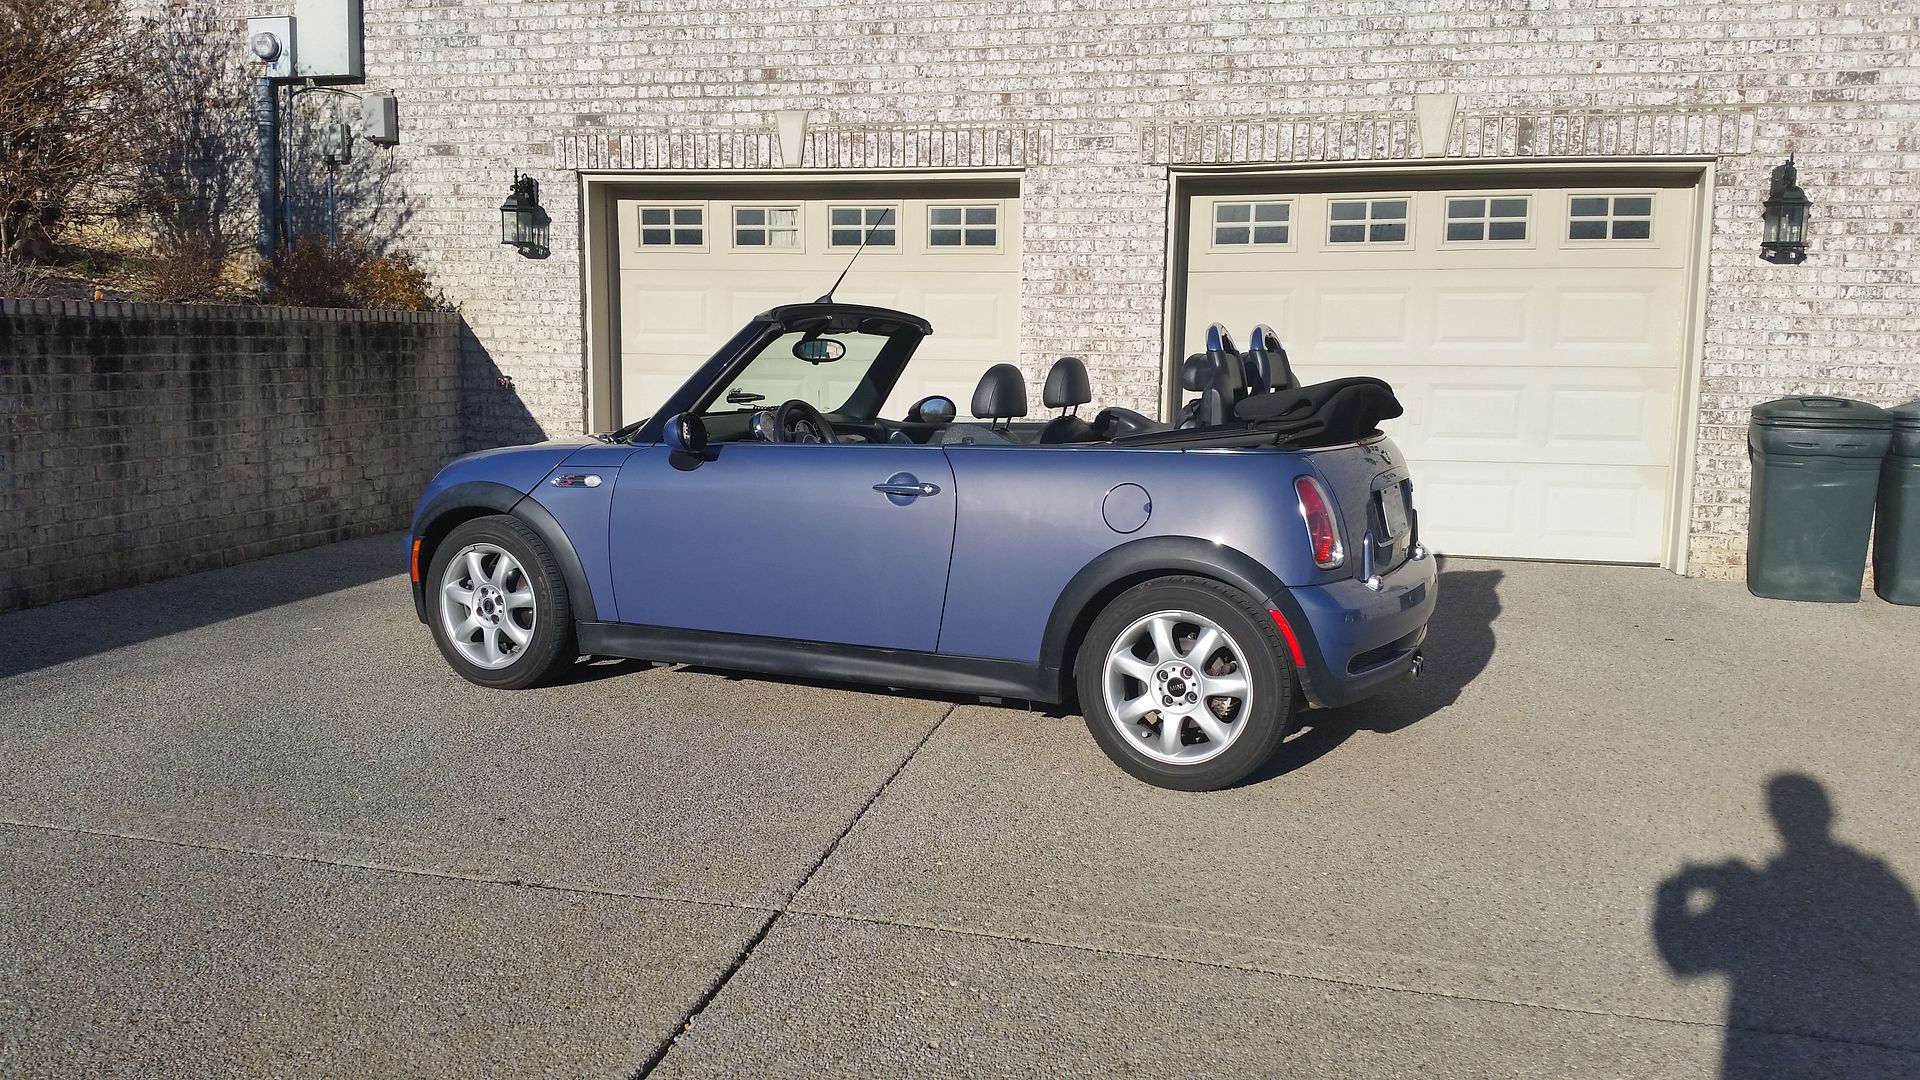
$550 down the drain, as I had the paint work down on Friday. Once the hand brake grip comes in the Mini will be complete. By the way, what's a fair asking price for it (2007 MC S R52) with 88K miles in excellent condition? It's a two owner car with a clean carfax. I'm thinking I'll be lucky to break even, but it's been fun nonetheless.
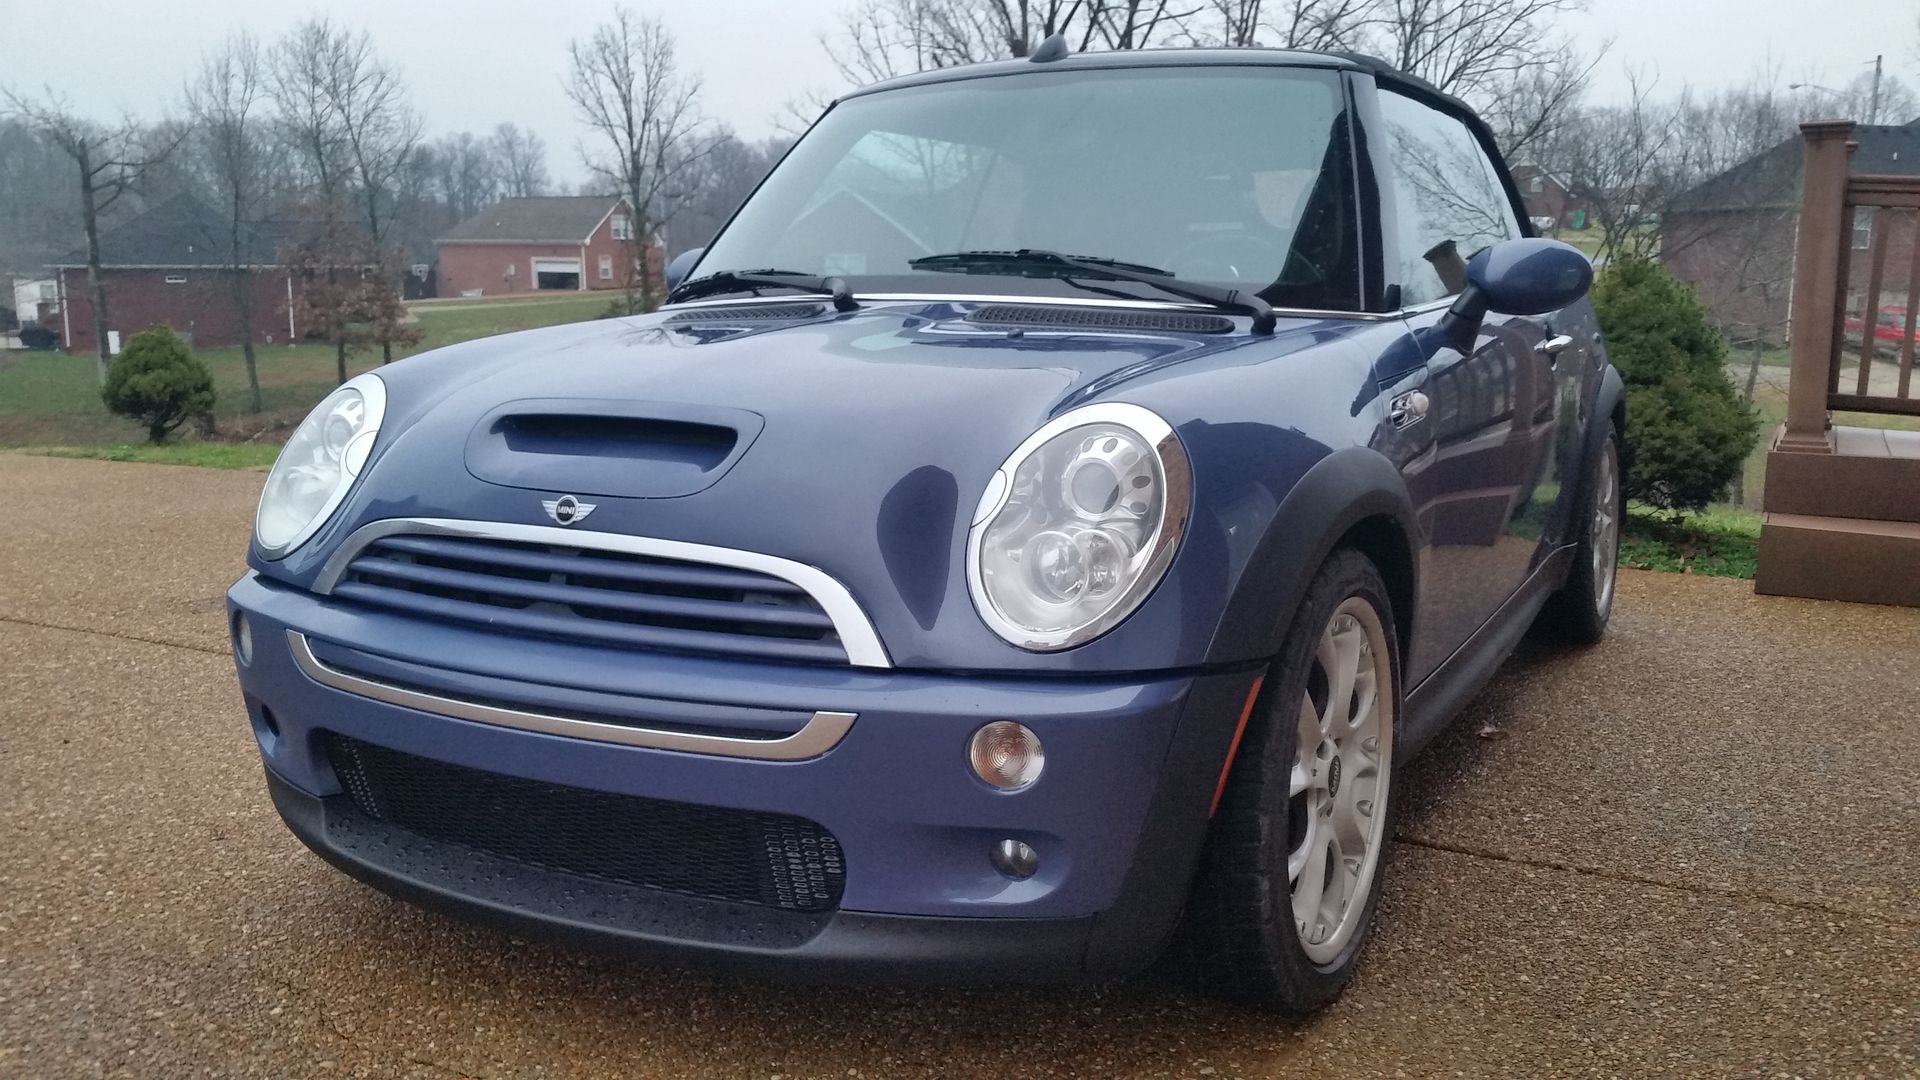
I was going to wait until spring to sell it, but I think I'll let it go this winter and pick up the lighter turbocharged 2007 hardtop for autocross. I'll be running against my buddies 1K WHP Porsche 993.
Looks good. 1,000hp 993? Nice! Any pictures of this beast? Good luck with the sale as well. You did a great job fixing the MINI up.
Good luck with the sale, looks like you have some watchers.
Thanks. There's 8 watchers, but most are probably just curious what it sells for.
Originally Posted by PelicanParts.com
Looks good. 1,000hp 993? Nice! Any pictures of this beast? Good luck with the sale as well. You did a great job fixing the MINI up.
Thanks. His Porsche is currently at Silly Rabbit Motorsports in Las Vegas for more power. He's shooting for 9's in the 1/4 this year and around 185 MPH in the 1/2 I think.
Thanks. His Porsche is currently at Silly Rabbit Motorsports in Las Vegas for more power. He's shooting for 9's in the 1/4 this year and around 185 MPH in the 1/2 I think.
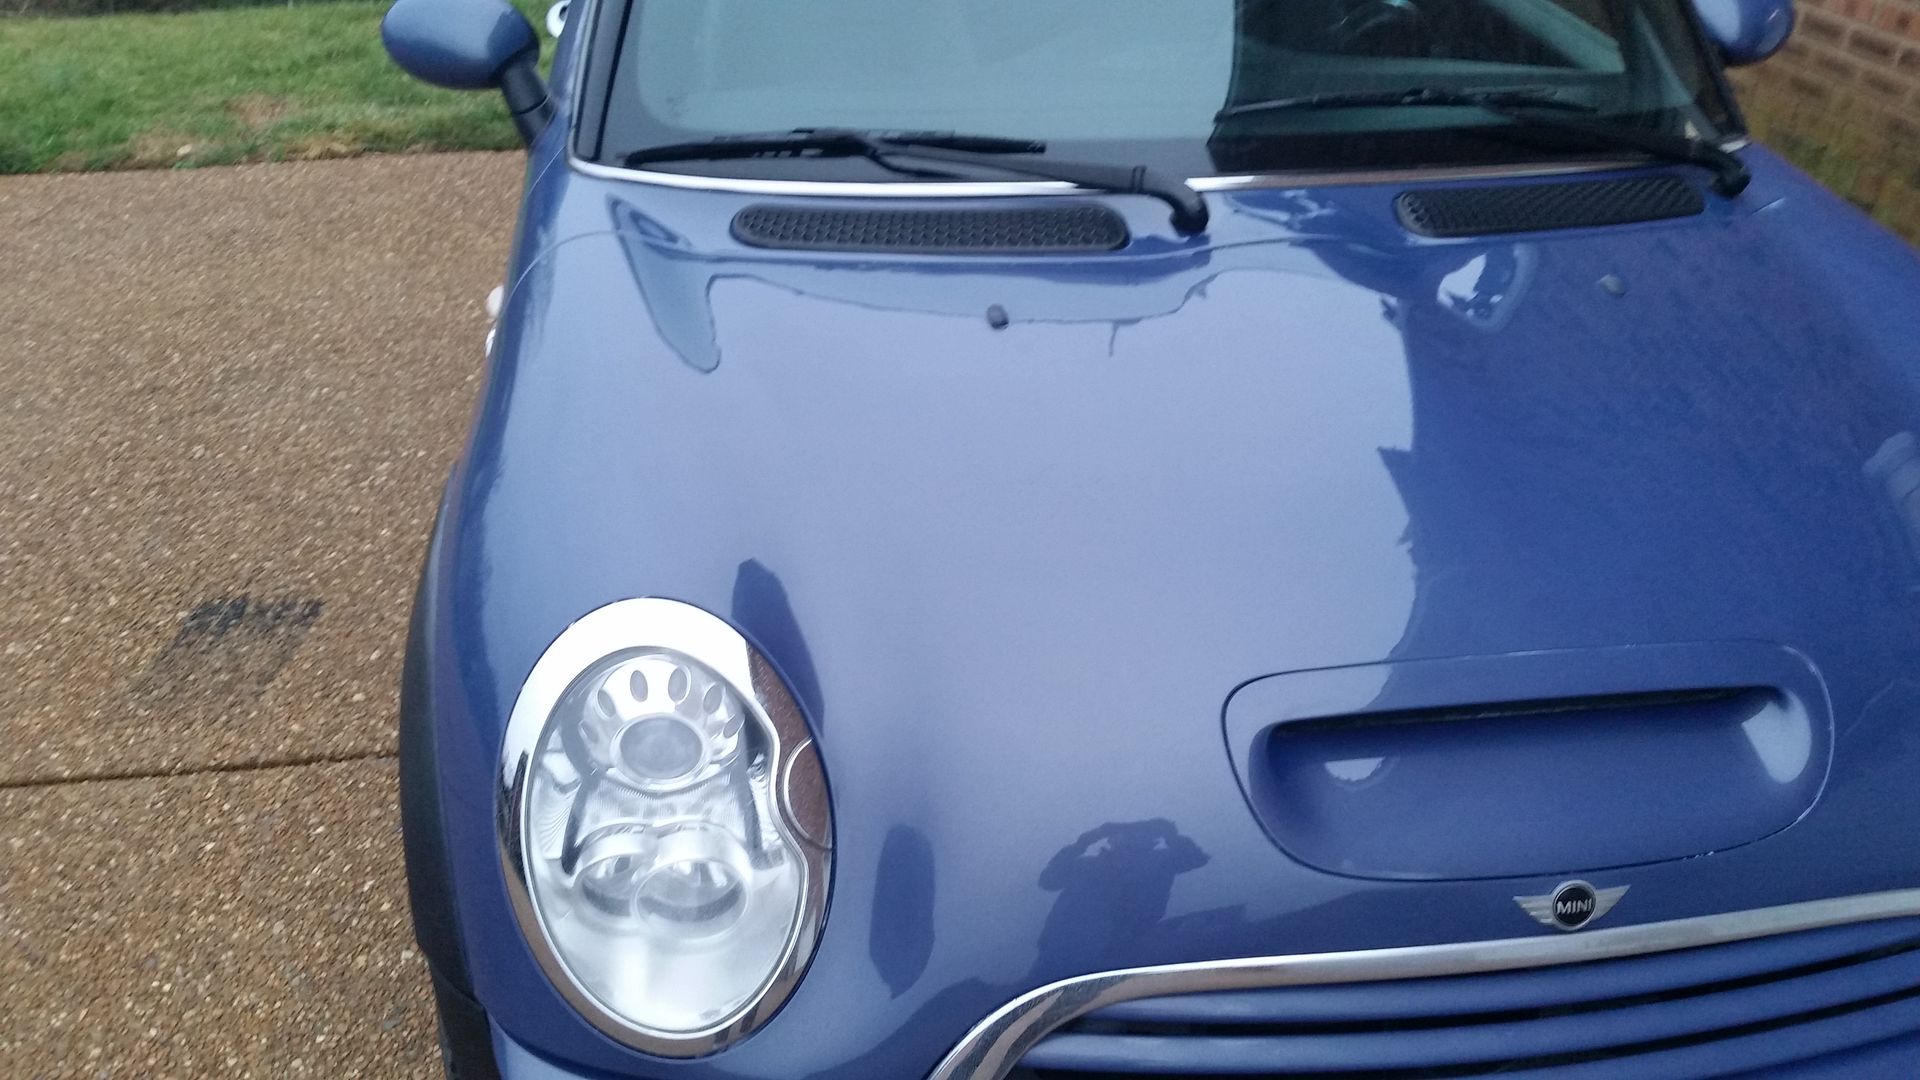
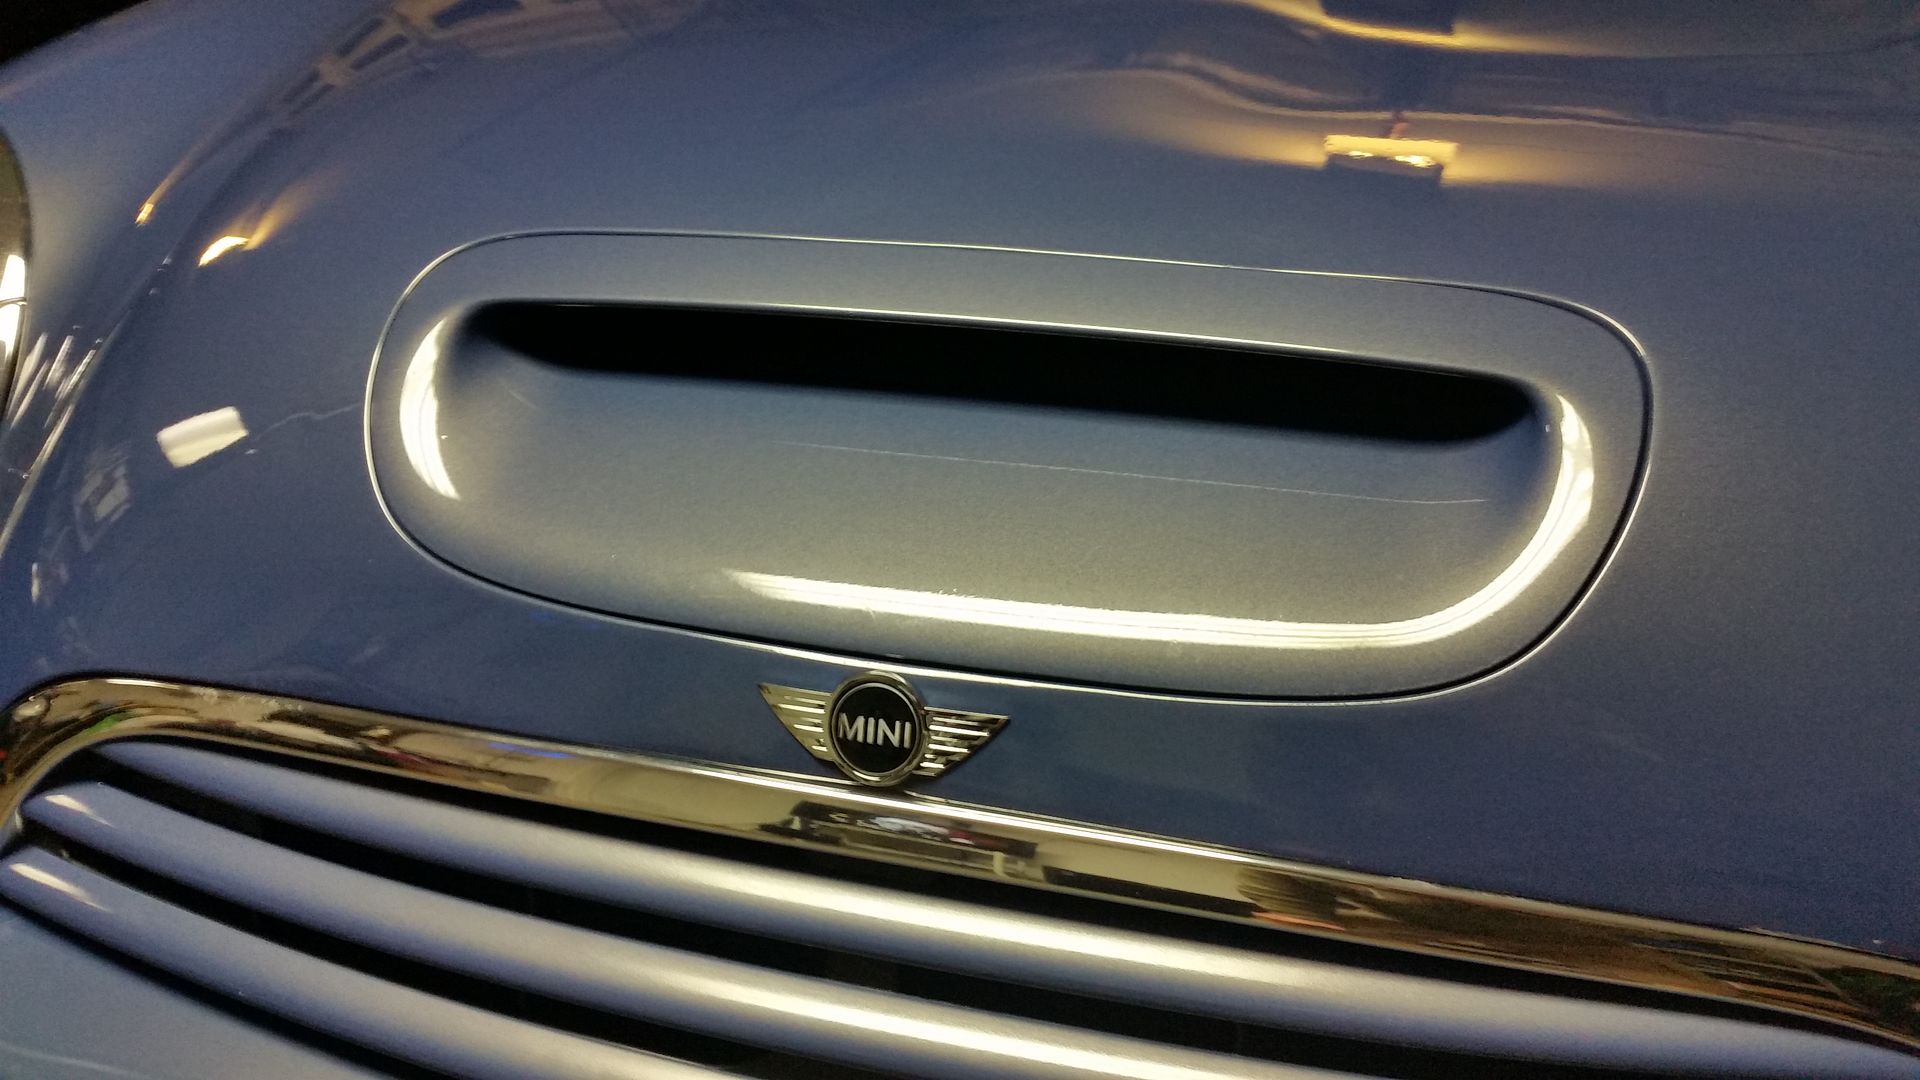
Installed the plugs, front emblem, and rear seals over the past two days. Car is loving the plugs. It felt as though the car was losing power around 4,500, so I've been short shifting. With the new plugs the car seems to continue building power way above.
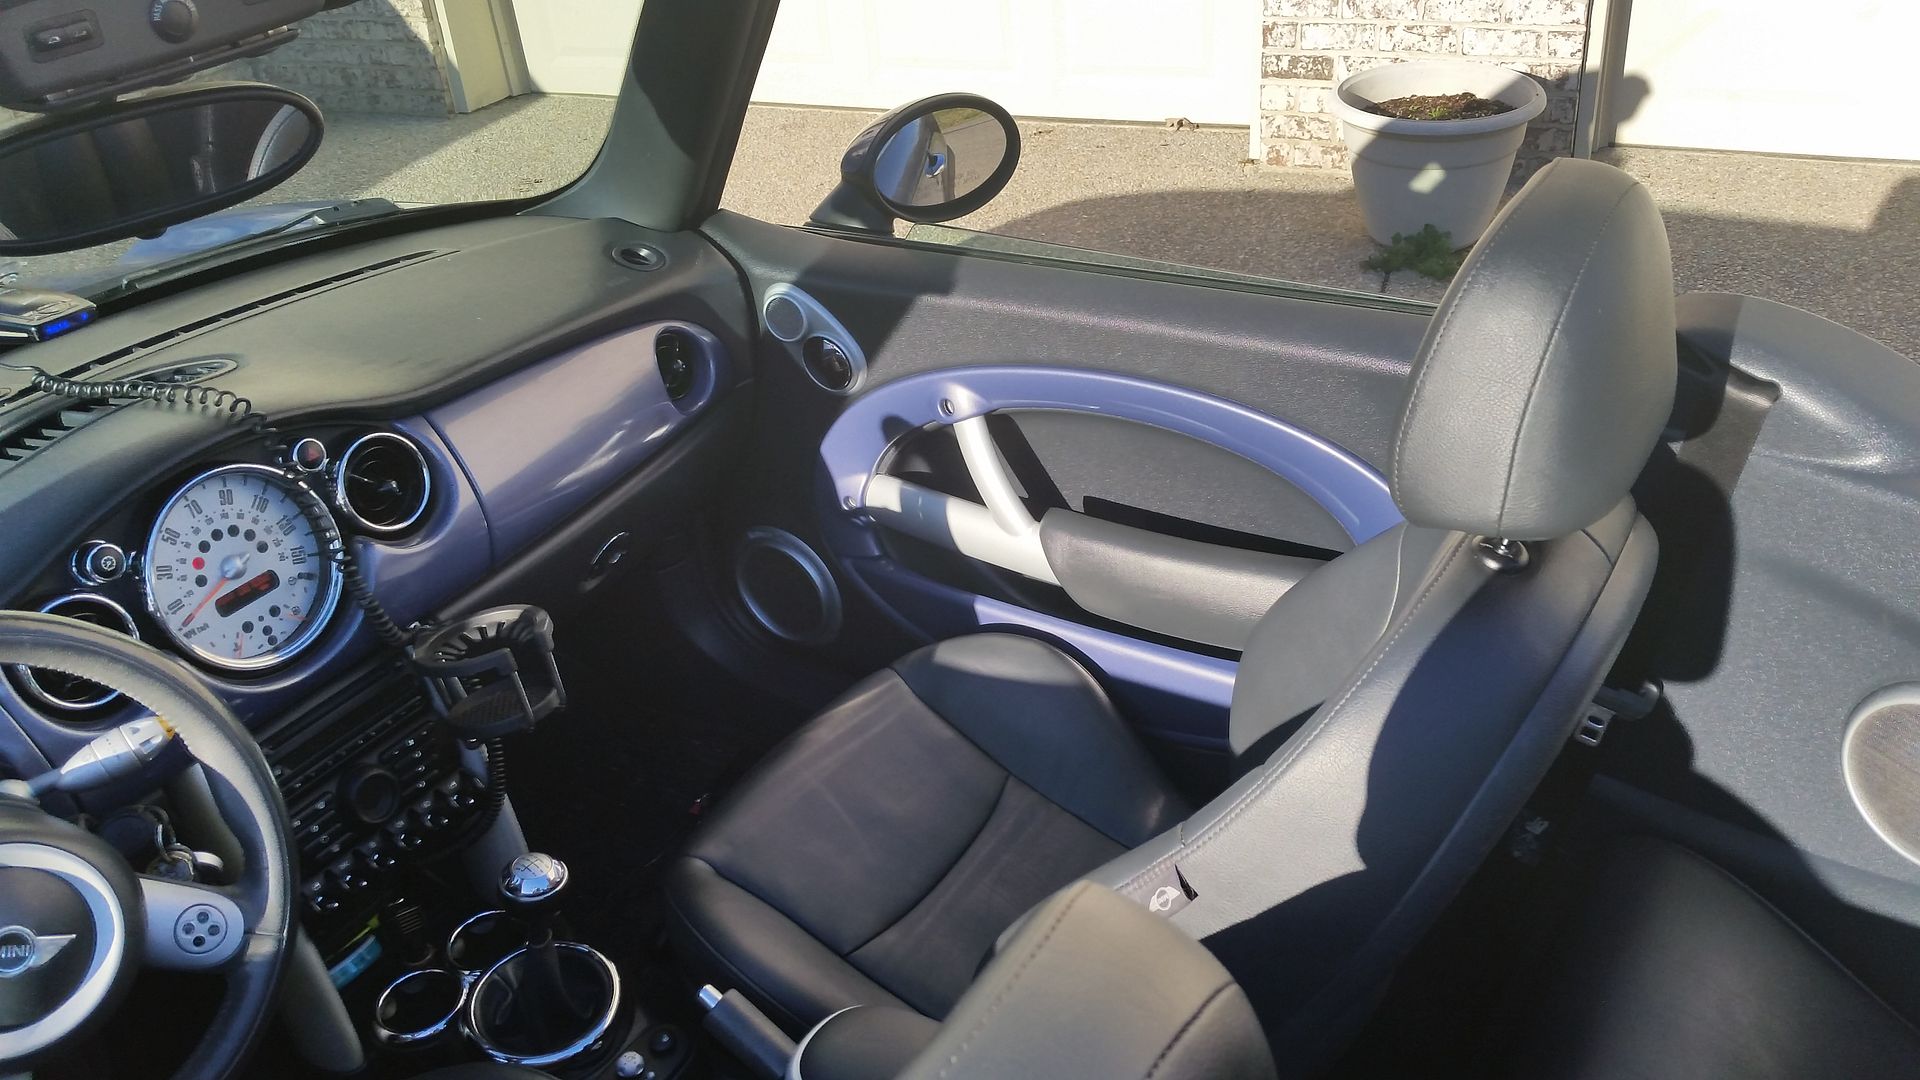
I am almost content with the car. Once the hood and door is repainted, along with the new armrest cover and insert, as well as the new driver's side door panel I think I'll be able to stop spending for a while.
I did just purchase a new owner's manual off ebay since the original is crap.
By the way, I was driving it today with the top down thanks to the 70F temps. Nothing like a mild sunburn on Christmas eve.
Merry Christmas guys and gals.
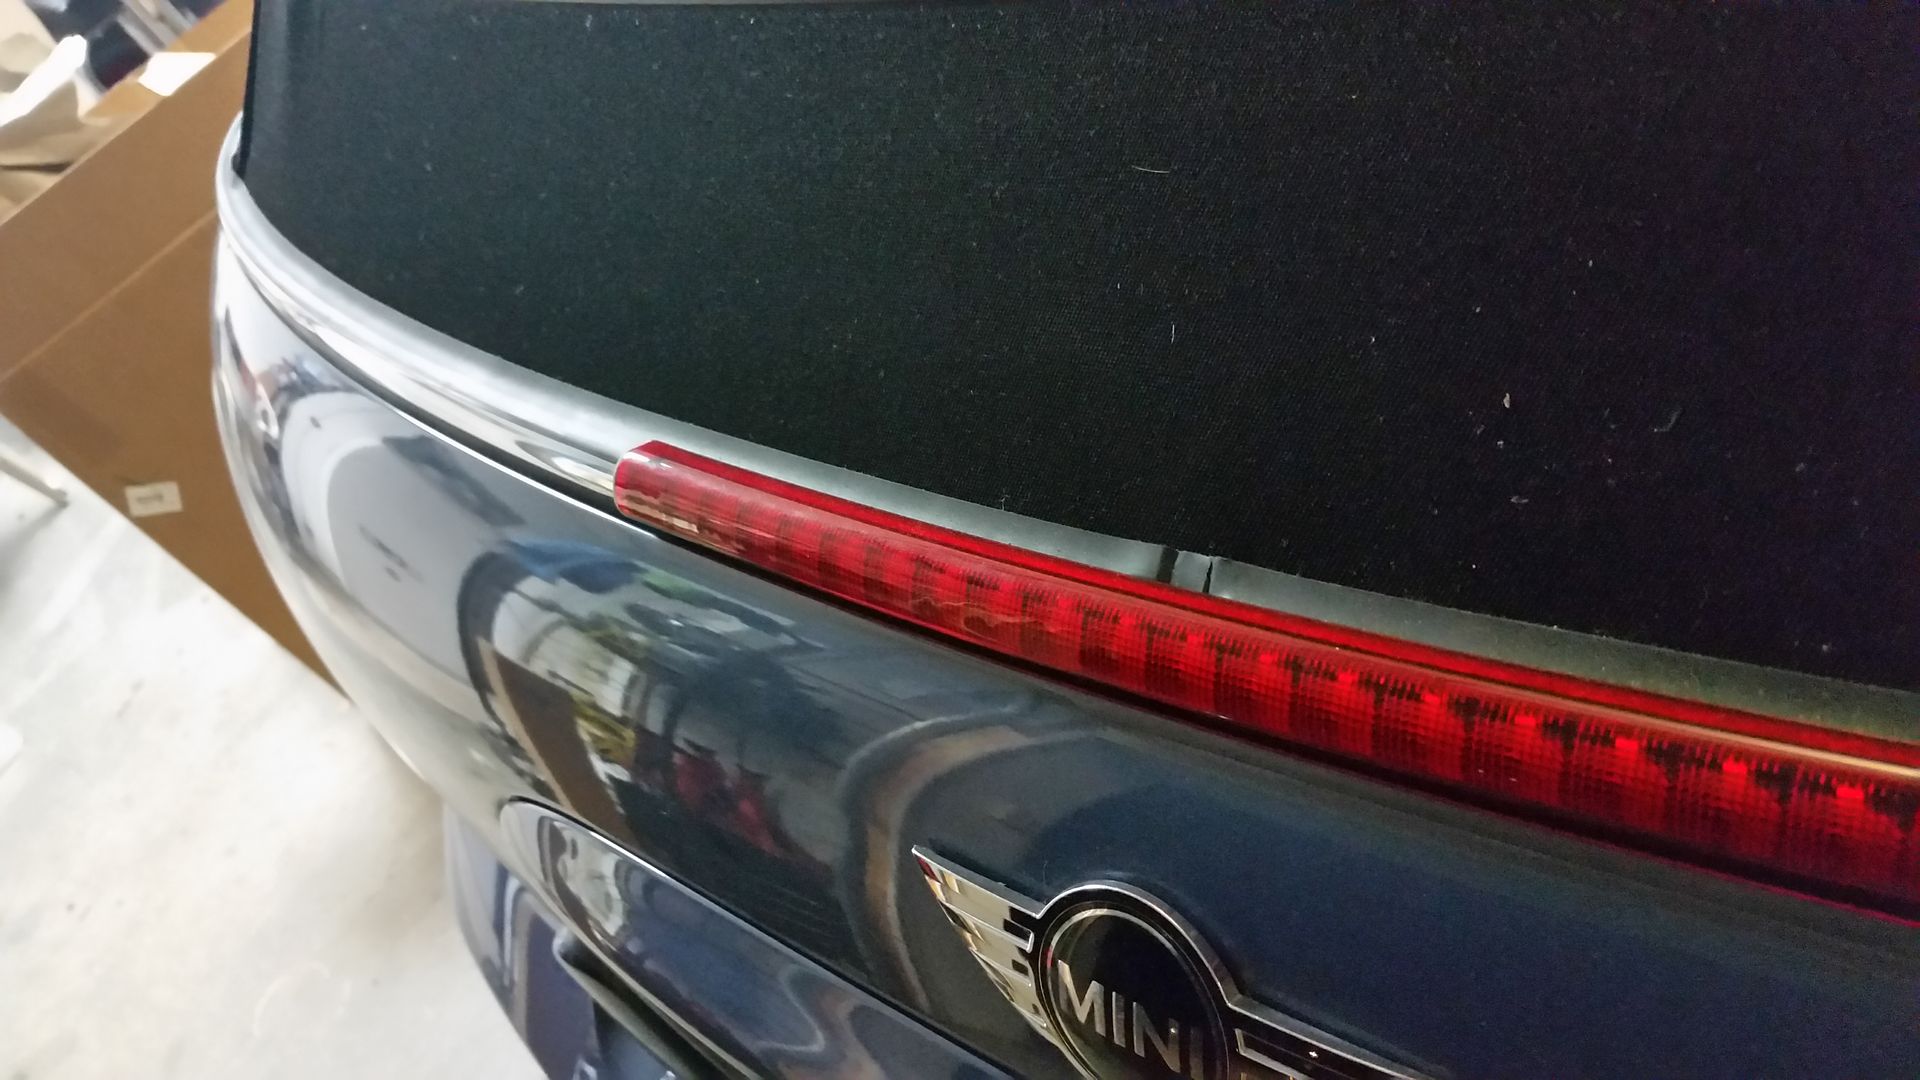
How much of a PITA was it replacing the cracked molding around the convertible top and replacing the emblem? I have the same car except in an 05 and I think the molding pieces are my next stop. I have the emblem on order and should be here later this week.
How much of a PITA was it replacing the cracked molding around the convertible top and replacing the emblem? I have the same car except in an 05 and I think the molding pieces are my next stop. I have the emblem on order and should be here later this week.
The emblem was easy. Use dental floss to cut the adhesive backing.
As for the rear trim, take your time and be sure to pay attention to wiring connection to the brake light. It takes longer to clean up under the old trim than the install.
Thanks. A little hard work saved be a few hundred dollars. I hate throwing my money away, unless it's for tools.
Thanks for the kind words.
Thanks. I elevated the wheels on a table, so I had more control of the socket, and to save my back. I then carefully loosened them in a crisscross pattern. Once they were fairly loose, I used my 18V impact to back them out. Saved more time than you'd think.
The best method for milder damage was to use the grinder to level out the rash and call it a day. I used the epoxy to fill in the bad stuff, and sanded it smooth. I wore a dust mask and safety glasses.
Once they were smooth, I took them outside and applied paint stripper to the lip down to the bolt holes. I loosened up the clear coat with a plastic scraper. When you spray off the paint stripper and clear coat, make sure you spray a jet of water into each bolt hole to clean out debris. There will be lots of it from the sanding/grinding.
I flipped the wheels face down so the water would drain from the holes. Once dry, I placed the wheel back on the table and installed the bolts. Make sure you apply the loctite. I started the bolts by hand and used my impact to firm them up. Then I used a torque wrench to finish the job.
Hope that helps. I've seen the BAVmotors videos on youtube, so I'm very certain you didn't need all that detail. However, I mostly posted that for the regular Joe that comes along a couple years from now.
Hi, did you have to repaint the lip or does the steelstik just blend in perfectly so the color difference is not visible?
I used very little of it and it blended in well, so I didn't bother with painting.
Thanks! might try to tackle the wheels myself. The corrosion is so unsightly. But I was a bit worried that some said you have to re-align the two pieces perfectly or there will be uneven stress around the rim, and someone stripped n sheared the titanium bolts when removing them. Did you ever run into these problems?
Thanks! might try to tackle the wheels myself. The corrosion is so unsightly. But I was a bit worried that some said you have to re-align the two pieces perfectly or there will be uneven stress around the rim, and someone stripped n sheared the titanium bolts when removing them. Did you ever run into these problems?
You need to be careful removing the screws. Slowly loosen them with a tool that allows you lots of control. I stood the wheel/tire up on it's tread one at a time, and straddled/set on top of it with the screws to my right (I'm right handed). Then, using a ratchet and socket, I'd slowly loosened a screw until it was still fairly tight, but noticeable no longer binding up from the thread lock, and was coming out without huge resistance. Then I'd move to the next screw in a crisscross pattern. Once all them were no longer binding up, I placed the wheel flat on my work bench and loosened them the rest of the way with an electric impact.
Don't attempt to reassemble the wheels until the screw holes are clean and free of dirt and water. The mating surfaces of the wheel face and barrel need to be clean and free of debris that would keep them from mating up properly.
Don't try to just hit the screws with a strong impact right out the gate to loosen them. This will likely snap a head off.
If you're near Nashville, you can just stop by and I'll walk you through it.
Grip Grip - I've got the same wheels that you refurbished on this car. Mine have a little curb rash but mostly the clear coat has failed in areas and the aluminum is corroded. Did you use the abrasive disc to strip the clear coat that is still intact? Or did you use chemicals?
Also, did you torque the bolts to 28 ftlbs when putting back together? I think that's what I read.
Thanks
I used chemical stripper on the clear coat. Obviously you'd do this after the screws are removed and face is separated. I used a plastic scraper to prevent scratching. Try to avoid getting the stripper on the inside of the barrels.
I don't recall the exact torque figure, but it was available on here somewhere.