When you click on links to various merchants on this site and make a purchase, this can result in this site earning a commission. Affiliate programs and affiliations include, but are not limited to, the eBay Partner Network.
My wife's 2006 R50 with 148k miles has a pretty good coolant leak. There's a fair amount of coolant under the car and she has to top off the reservoir maybe every week or every other week (she only drives probably 20-30mi per week at this point). There is also a small oil leak (level is still well in good range a few months after last oil change).
Shop quoted me $2450 to replace radiator, hoses, and thermostat, along with valve cover gasket for the oil leak. I figured with parts under $200 I'd do the coolant stuff myself and just monitor the oil situation. With the car being this old and not in the best shape overall we don't want to sink a ton of money into it.
When I took off the lower radiator hose, there was some engine oil in it. Not a lot but still. Googling makes it sound like this would likely be head gasket or oil cooler, replacing either of which is beyond my ability I think and certainly beyond our budget to have a shop do it. Is there a cheaper/easier potential cause of this?
Also, though I am not finished disassembly, I haven't yet found the source of the coolant leak. When I moved the car and jacked it up, the next day the only drips seemed about midway back from the front, the fresh drops seemed to be on the trans axle (?). Having removed the radiator it definitely does not have any leaks on it. Today I'll get to the thermostat.
The water pump seems corroded but no signs of fresh coolant on it, at least from the front side:
Is it an automatic or manual? A manual can only have oil in the coolant when the head gasket has failed. (or the head or block is cracked but that can only happen when you overheat badly)
That price quote is insane. Changing the rad is easy and the oil leaks can be done within reasonable time as well.
As for the coolant leak, on the back of the the waterpump there is a weep hole and a very short hose going to the block. Both can be leaking.
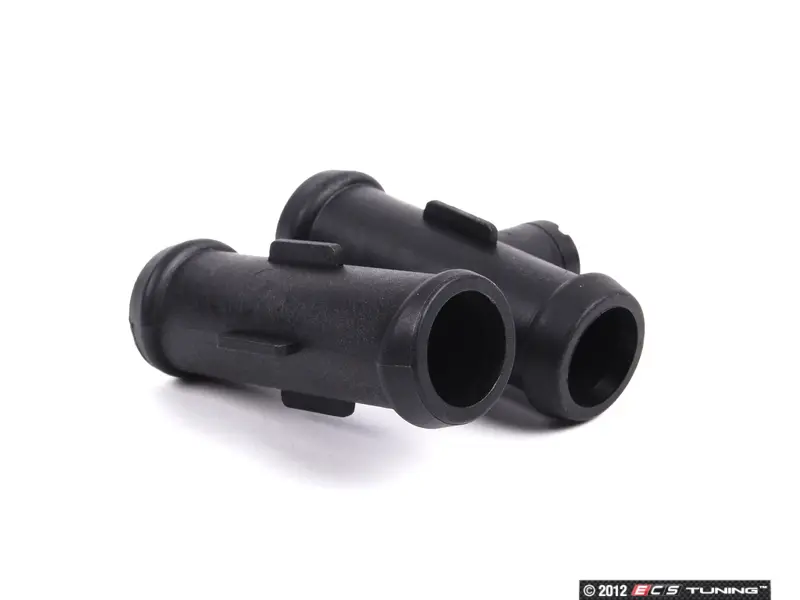
I would bet the issue is the seal on the Overflow/Expansion tank. They have a history of failing overtime and should be replaced. See this article: MINI Cooper Expansion Tank Replacement - Issues and solutions I just replaced one of mine last Friday, my #211 176K miles.
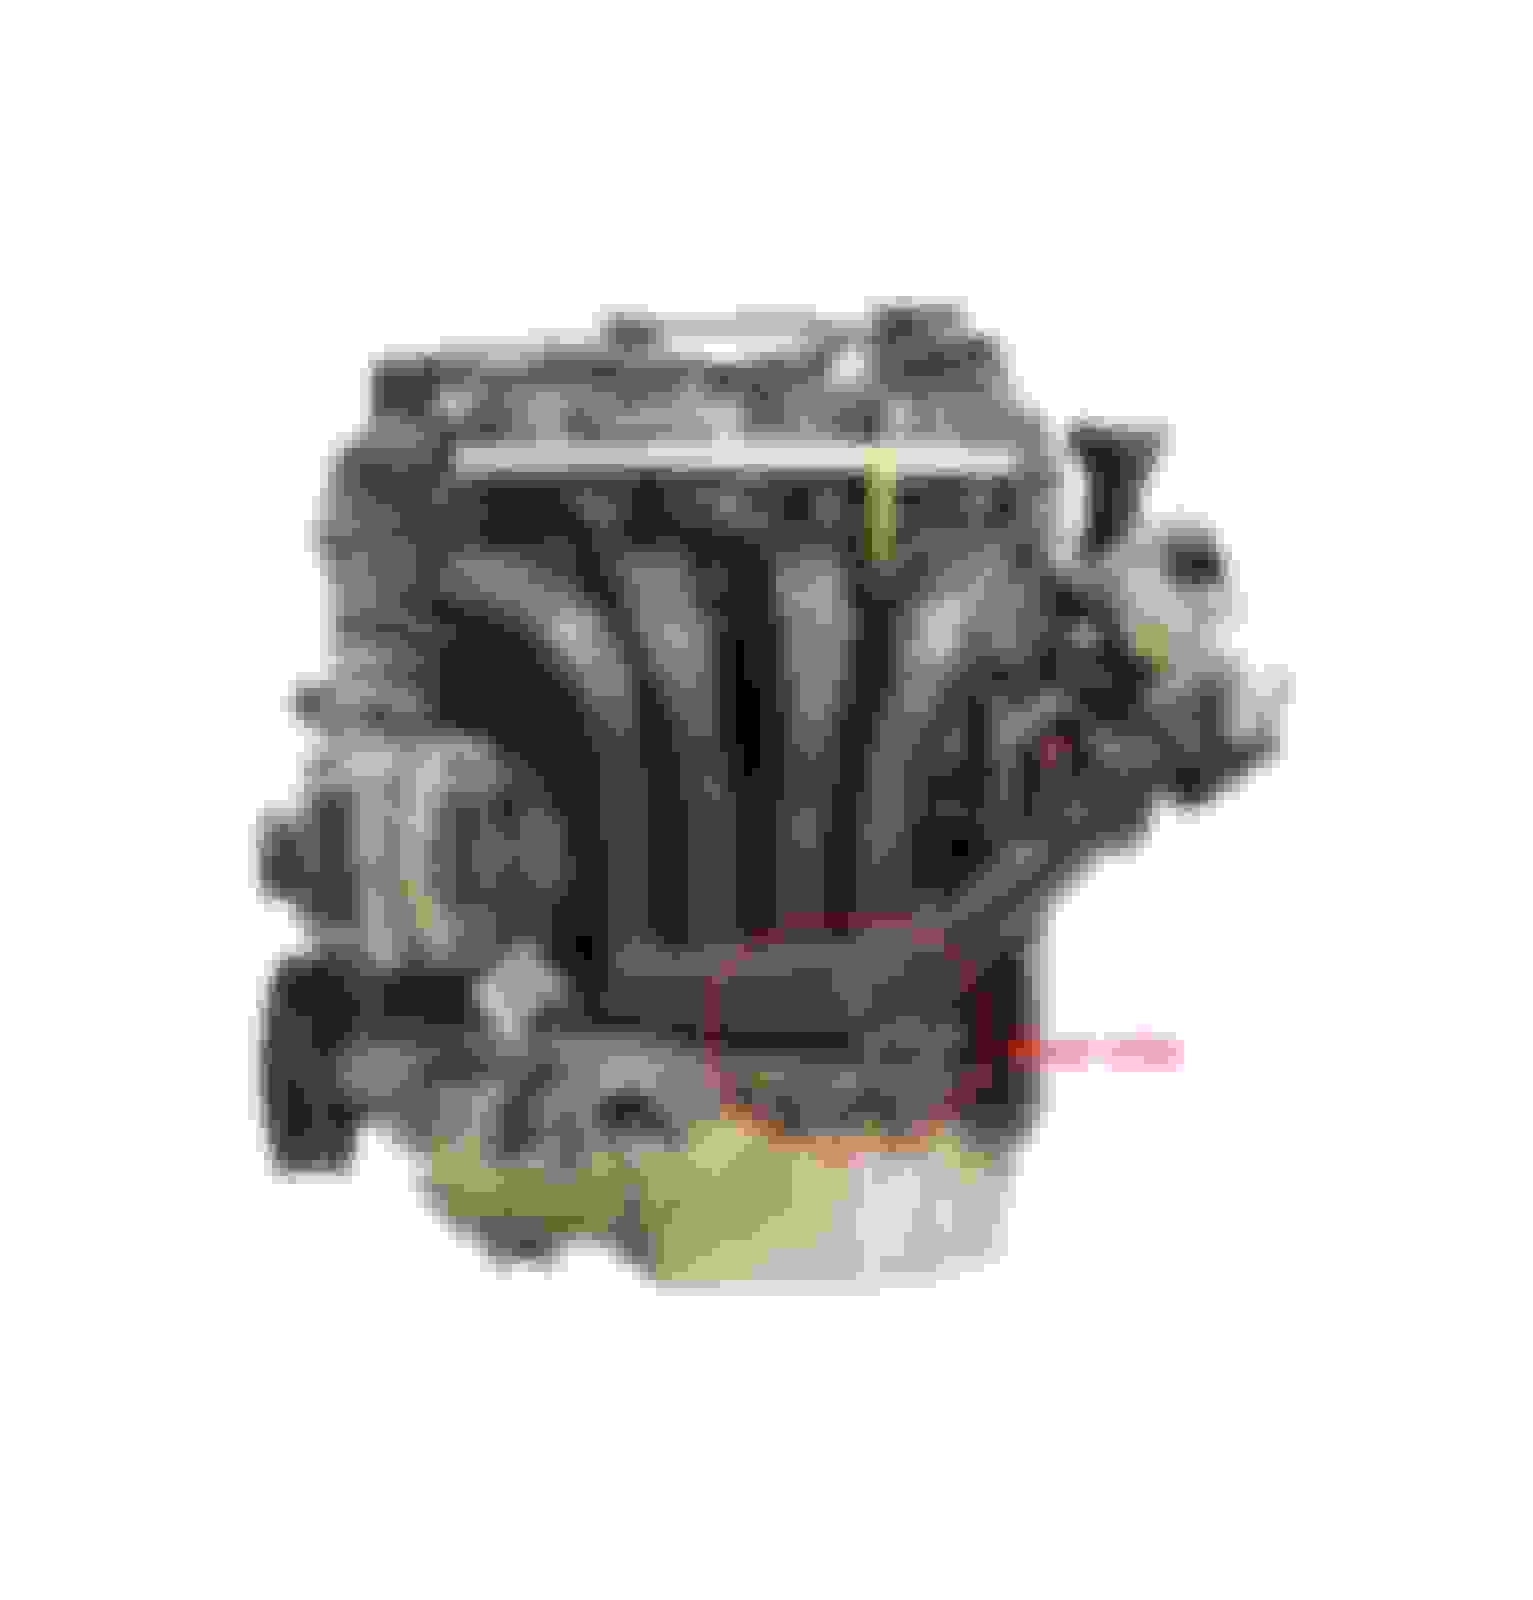
The other issue may be the Oil Filter Housing: I'm pretty sure it has both oil and water jackets (I know positively the newer ones do) and over time the seals can/will fail causing both oil and water to leak from the mount and possibly mixing. Search SiteSearch R50 oil filter housing - 11427563522 - Oil Filter Housing (11-42-7-563-522) the seal/gasket can be purchased separately. But take a look there as well.
Motor On!
Last edited by JABowders; Mar 11, 2025 at 05:14 AM.
The R50 does not have an oil cooler, so there is no water jacket in the oil filter housing. The coolant tank is also not pressurized like the R53, so there�s no seal.
The plastic thermostat housings do have a history of cracking and leaking, but that shouldn�t lead to coolant and oil mixing.
The right fitting is one of the metal ones.
Removing the airbox allows to get a better look at the thermostat, though unless it's actively dripping or the seal has blown, you likely won't see anything.
Removing the skid plate also gives a better idea of where the leak is coming from, since the skid plate will mask the location.
And as deepgrey said, R50s don't suffer from expansion tank issues since the expansion tank is not pressurized. They can suffer from stuck radiator cap though (overpressuring the coolant system).
I got the thermostat off but in wrestling one of the hoses off I broke the plastic connector with bleeder valve between that hose and another hose. I'm not sure what the other (lower) hose goes to/from or what I'm going to get sprayed with if I remove it lol. Is there a good diagram source with labeled parts? I think I need to disconnect it from whatever it's attached to to have any leverage to get its other end off the bleeder connector in order to remove and replace the connector:
Still don't know where coolant leak came from or the oil in the radiator hose....
Also, probably a dumb question....why hasn't the coolant reservoir (not leaky btw) emptied with (I thought) the rest of the system? It's still full with upper and lower radiator hoses removed and all thermostat hoses.
Re: pressure tester: Radiator, hoses, thermostat already removed. Isn't it too late for pressure test since the system is wide open? Sorry, not someone who knows anything at all about cars, just a dude following some walkthroughs!
Last edited by Curttard; Mar 11, 2025 at 10:23 AM.
Thanks yeah - I'm trying to figure out what the 15-16-17 hose in that first diagram is connected to before I disconnect it (I can't get the connector piece out while that hose is still attached to whatever it's attached to on/near the engine, just above and to the right of where the thermostat was).
Last edited by Curttard; Mar 11, 2025 at 11:36 AM.
Well that's definitely what I thought which is why I started this project, but now that I've followed the NAM/Pelican walkthroughs to replace radiator and thermostat and have what feels like half the car disassembled I'm not so sure ;P
Thanks yeah - I'm trying to figure out what the 15-16-17 hose in that first diagram is connected to before I disconnect it (I can't get the connector piece out while that hose is still attached to whatever it's attached to on/near the engine, just above and to the right of where the thermostat was).
The thing attached to the engine block is the thermostat housing. It has two big and two smaller hoses connected to it and is attached to the block with 3 or 4 bolts
This is not what you are pointing to. The diagram is not complete imo. There is a very annoying hard steel line right below the thermostat housing and the coolant temp sensor. It goes from the cabin (heater matrix) to the waterpump hugging the block all the way. It begins as a rubberhose near the bleeder valve and changes into a steel line. The steel and rubber part cannot be separated. You can create a bit of room for that steel line by undoing a bolt (foing into the block) near the coolant temp sensor.
Hope this helps.
Btw , you are this far, you'll get there. In the end its just nuts and bolts really.
The thing attached to the engine block is the thermostat housing. It has two big and two smaller hoses connected to it and is attached to the block with 3 or 4 bolts
Yeah - I've taken that off to replace it. The hose I'm asking about was connected to one of the thermostat hoses with a connector with a bleeder, and I broke that connector removing the thermostat hose. To replace the connector I need to remove all the hoses attached to it including the mystery one. I can't just pull off the end at the connector because I have no leverage or space to push/pull/twist to do so while all the hoses are still connected at their other ends.
This is the hose I'm talking about, I just want to make sure I don't screw something up or start spraying something everywhere when I disconnect the end of #17 from whatever it's attached to:
Its a push fit with a spring clamp on it. Try to break the bond of the rubber and the plastic first before trting to wiggle it lose. Use a small flat screwdriver and pry all around it to break it free.
Its a push fit with a spring clamp on it. Try to break the bond of the rubber and the plastic first before trting to wiggle it lose. Use a small flat screwdriver and pry all around it to break it free.
Yeah, the problem is there's a big bulge on each end of the connector that the hose needs to go over and with fixed hoses on each end there is just not enough play to work it back and forth.
Originally Posted by deepgrey
Yes that looks right, thanks! Should be no problem removing this hose piece from that then.
Also, probably a dumb question....why hasn't the coolant reservoir (not leaky btw) emptied with (I thought) the rest of the system? It's still full with upper and lower radiator hoses removed and all thermostat hoses.
Yes, that's due to the shape of the hose between the reservoir and the thermostat housing. If you lift the coolant reservoir, it'll flow into the thermostat housing. While you're there, I recommend removing the reservoir and cleaning the gunk at the bottom of it.
Originally Posted by Curttard
Re: pressure tester: Radiator, hoses, thermostat already removed. Isn't it too late for pressure test since the system is wide open? Sorry, not someone who knows anything at all about cars, just a dude following some walkthroughs!
Yes it's too late, you need the system closed and filled. Some pressure testers do come with a tool to vacuum fill the system, it can be handy to avoid having to purge. You can always test it after you're done. Your call.
For the thermostat housing, look for cracks, though if the gasket sit flat and doesn't protude from the housing when it's removed, chances are it's the culprit. I'd replace it anyway, along with a new thermostat (they often come together anyway).
Yes, that's due to the shape of the hose between the reservoir and the thermostat housing. If you lift the coolant reservoir, it'll flow into the thermostat housing. While you're there, I recommend removing the reservoir and cleaning the gunk at the bottom of it.
Yes it's too late, you need the system closed and filled. Some pressure testers do come with a tool to vacuum fill the system, it can be handy to avoid having to purge. You can always test it after you're done. Your call.
For the thermostat housing, look for cracks, though if the gasket sit flat and doesn't protude from the housing when it's removed, chances are it's the culprit. I'd replace it anyway, along with a new thermostat (they often come together anyway).
Yeah -- I'm replacing radiator, thermostat + housing + gasket, and all hoses I messed with. Plus the connector I broke.
The thing attached to the engine block is the thermostat housing. It has two big and two smaller hoses connected to it and is attached to the block with 3 or 4 bolts
This is not what you are pointing to. The diagram is not complete imo. There is a very annoying hard steel line right below the thermostat housing and the coolant temp sensor. It goes from the cabin (heater matrix) to the waterpump hugging the block all the way. It begins as a rubberhose near the bleeder valve and changes into a steel line. The steel and rubber part cannot be separated. You can create a bit of room for that steel line by undoing a bolt (foing into the block) near the coolant temp sensor.
Hope this helps.
Btw , you are this far, you'll get there. In the end its just nuts and bolts really.
My wobbly red arrow is definitely pointing to what I'm talking about. 16 is the hose I'm talking about, below hose 13 which goes to the thermostat housing; both are joined with the single connector piece 18 that I broke and need to replace. .
Are you saying 16 can't be removed from the hard line coming out of it to the left? Isn't that site selling that piece of hose 16? I just don't see how I can get 16 and the other hose to the right off of those bulges on 18 when I can't pull 16 to the left (because it's fixed to that tube).
Last edited by Curttard; Mar 11, 2025 at 07:42 PM.
Ok, taking hose 16 off the hard line was pretty easy and from there it was still a struggle but I got that connector removed. Nothing left but to wait for the parts and then put it all back together!
Watch that metal pipe in the front. Mine rusted and cracked when i moved it. It cracks down near the bottom where it connects near the water pump. The short rubber hose on the water pump to that pipe get brittle due to heat soak and engine heat.
Watch that metal pipe in the front. Mine rusted and cracked when i moved it. It cracks down near the bottom where it connects near the water pump. The short rubber hose on the water pump to that pipe get brittle due to heat soak and engine heat.
That pipe is rusted but doesn't appear cracked. The hose there seems okay too.
Still a few hose bits left to arrive before I can really get going on this. I'm going to lose my mind if I get it all back together and it still leaks haha.
Am I crazy or do none of the NAM or Pelican Parts walkthroughs ever have torque for any of the bolts when it comes to reassembly? Some of this stuff seems pretty important...