When you click on links to various merchants on this site and make a purchase, this can result in this site earning a commission. Affiliate programs and affiliations include, but are not limited to, the eBay Partner Network.
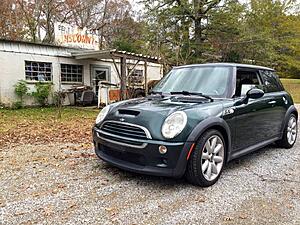
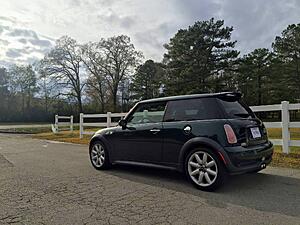
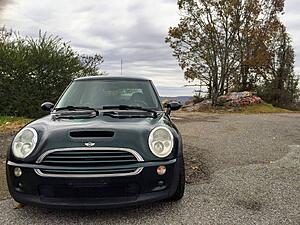
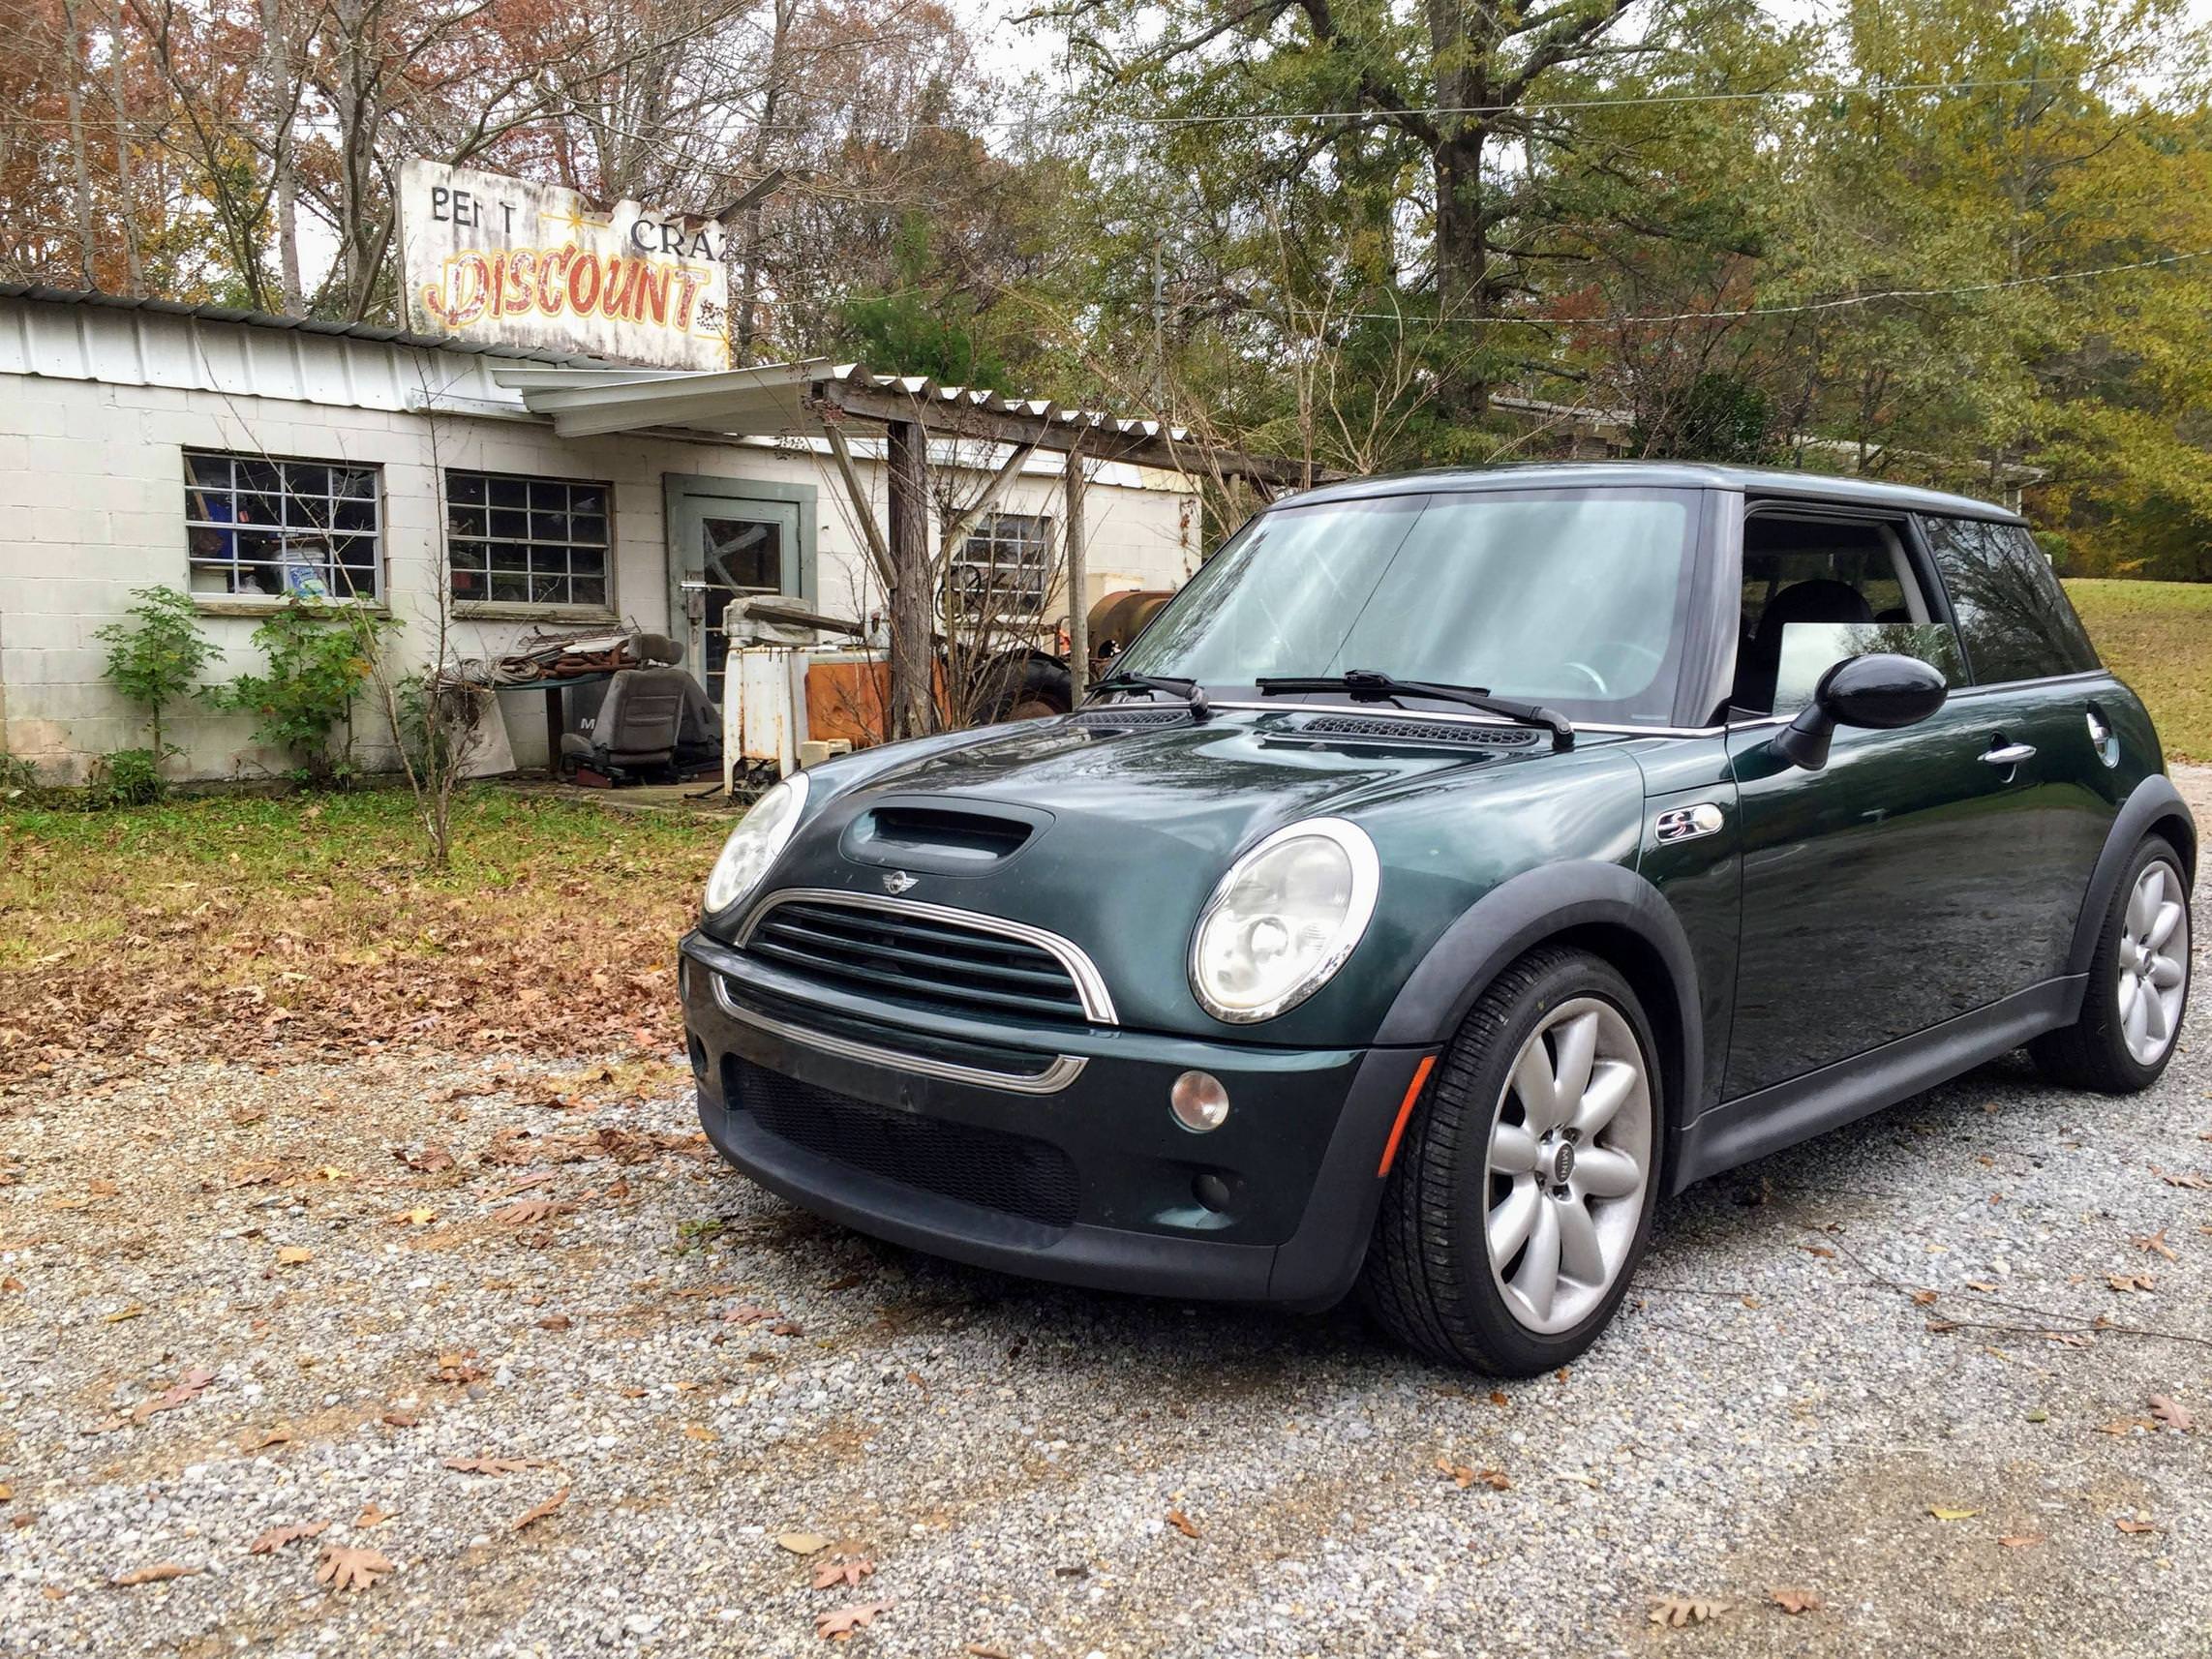
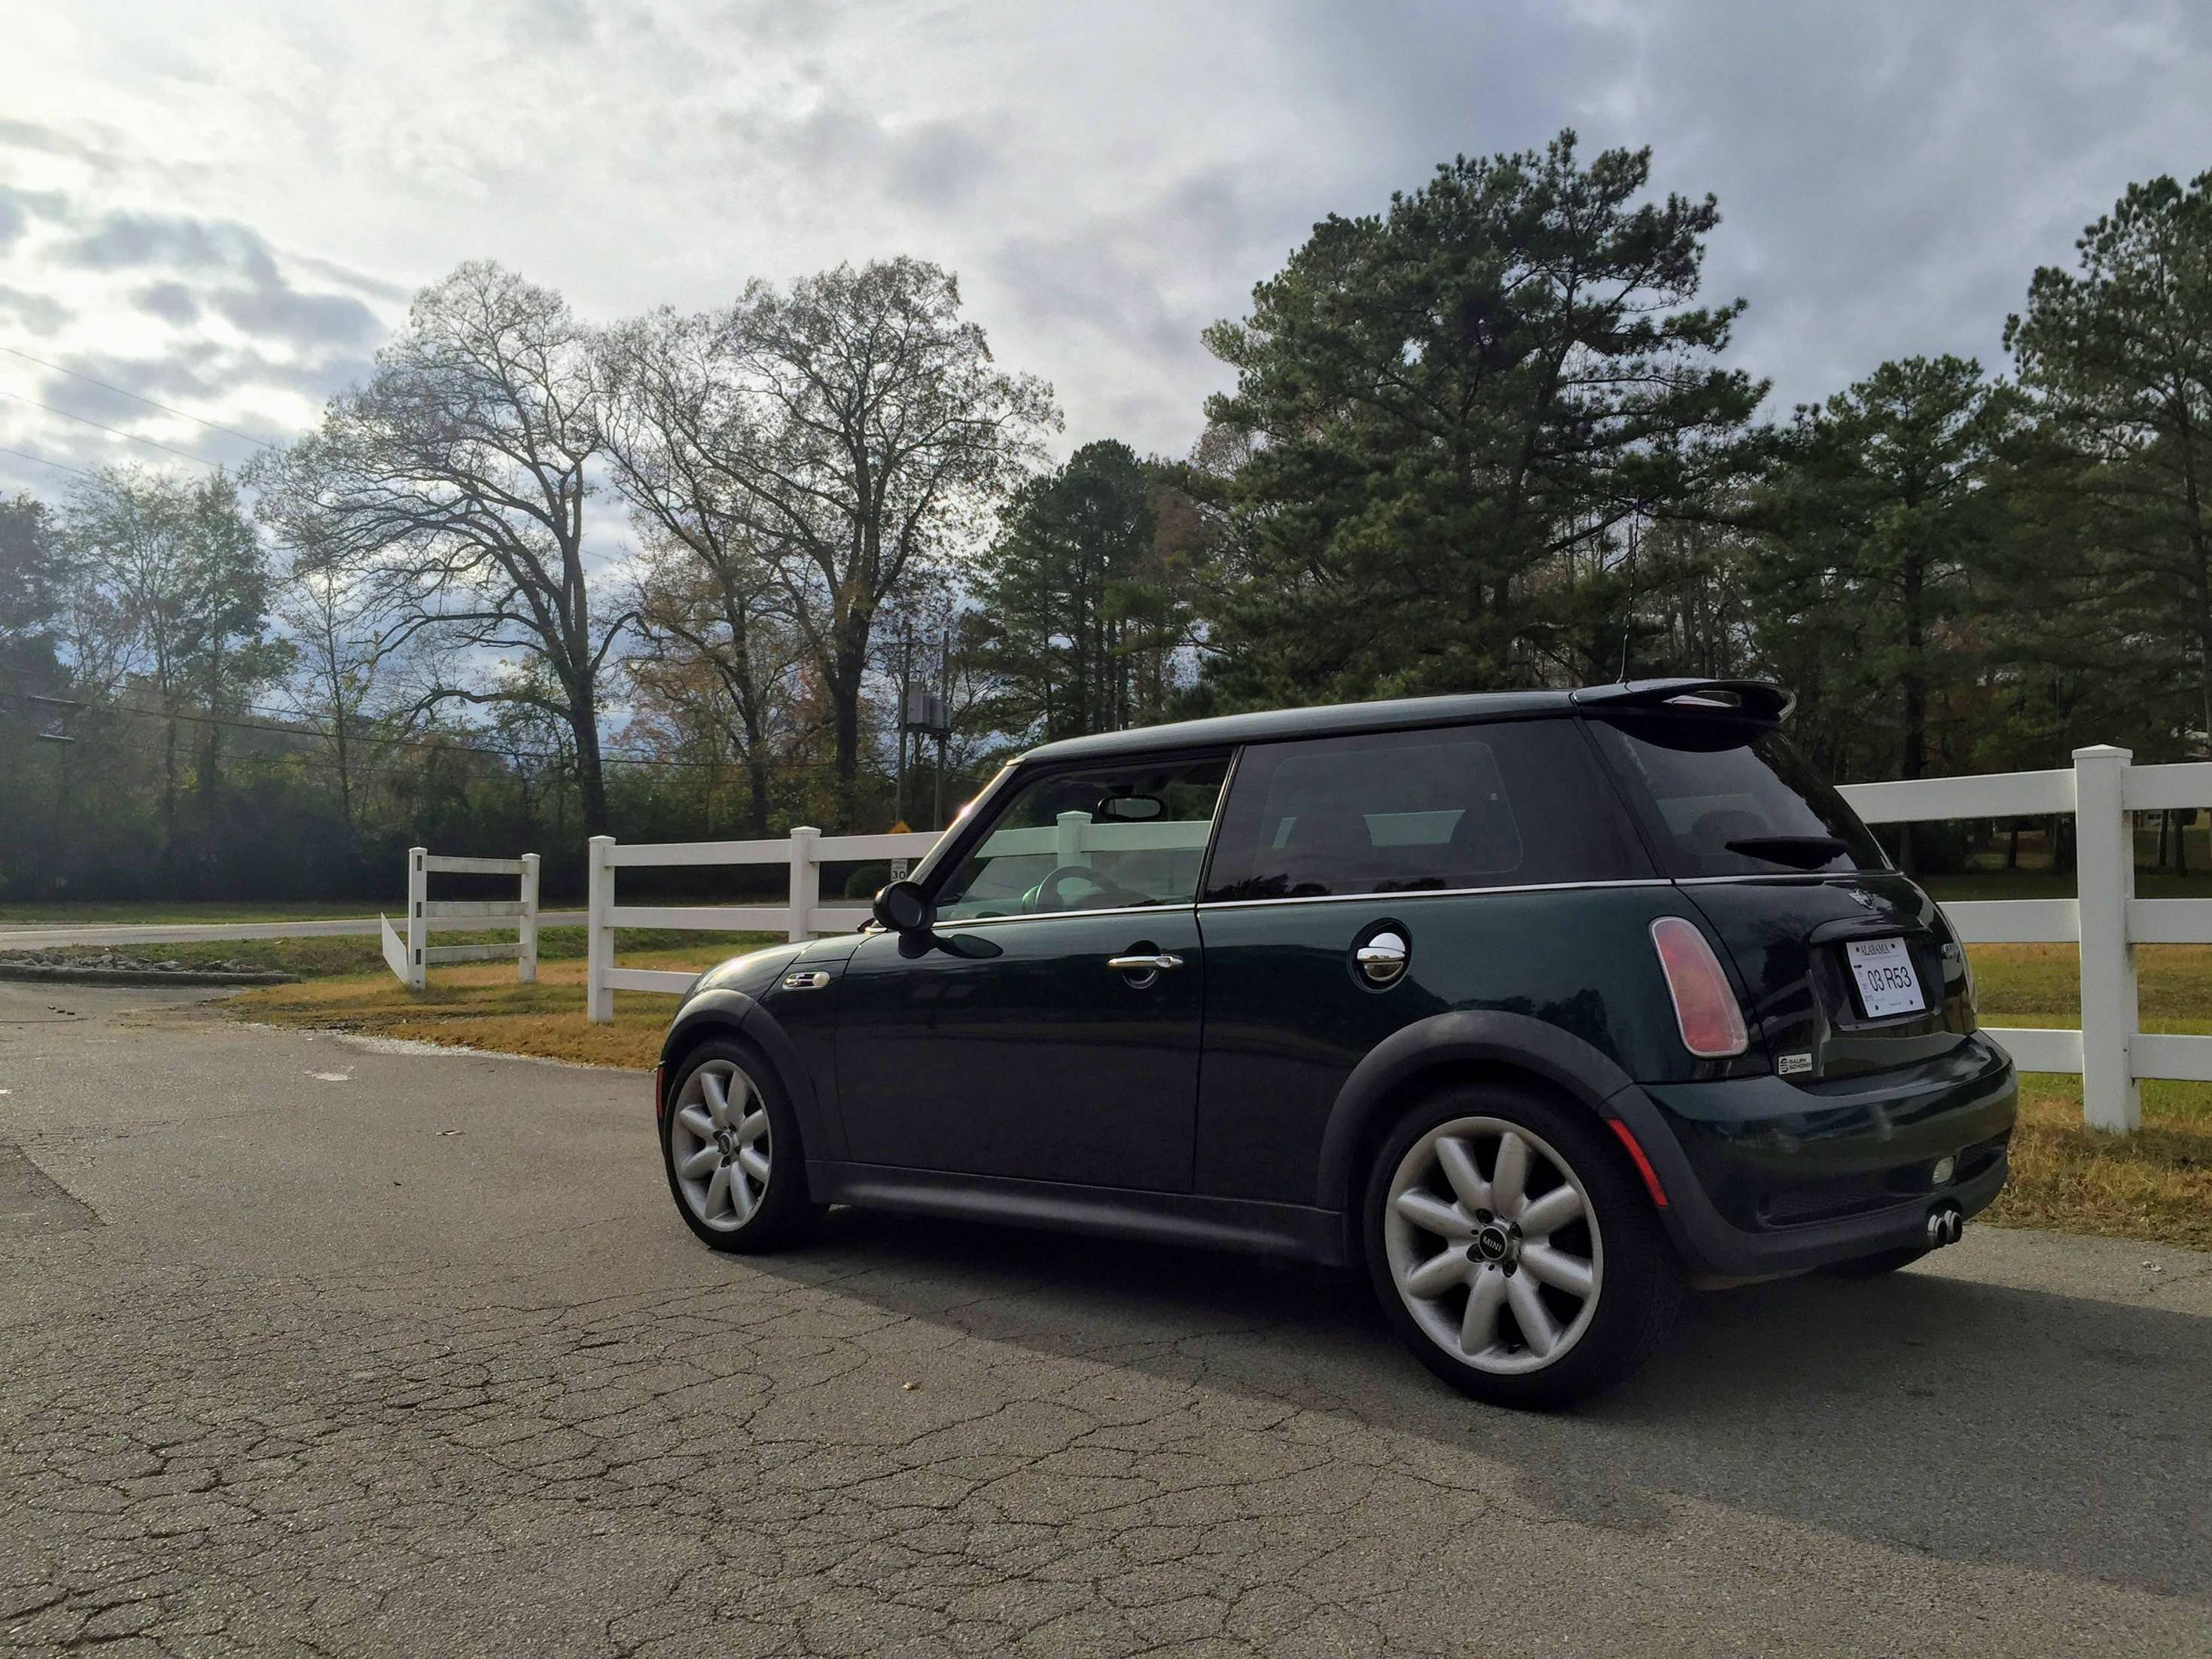
I've been lurking for a bit, finally thought I would say hello. I've got quite a varied past of cars, but in late November I bought my first Mini. It's a 2003 Mini Cooper S (R53) in British Racing Green, just under 100k miles, no sunroof car. With as many options as exist with Mini's, this is actually the spec that I would have chosen. I'm pretty happy with it.
This was purchased purely for fun, autocross, track days, club drives, etc. That means there will be projects to come. More on that list later, but here is some eye candy.
I stole this car. It�s in great condition, and the price I paid was peanuts. But, that said, it�s not perfect. Let�s take a look at everything (that I know of) that is wrong with the car:
First, the control console (windows, door locks, etc.) is loose. Not too bad, but just enough that you have to mess with it to roll down the windows. I haven�t really looked at what it is going to take to repair it, my guess is some double sided tape.
The next thing is a small piece of trim off the dash on the passenger side. Vent cover, or air flow directer thing. It�s just not there. I suspect it will be harder to figure out the name of the piece so I can order one that it will be to actual replace it.
The third item on my list is a real annoyance. It appears that a tail light was replaced at some point. That doesn�t bother me too much, except they replaced it with one off a 2005 Mini and the cover has this terrible milky complexion.
Forth is a question. The seats. I don�t know. The car came with some really nice leather and suede seat covers. I�m not sure if under them are pristine factory seats, or a scene out of a crime drama. Long term plan is to put in some racing/street style seats, so I�m not hugely worried about them either way.
The remaining list is stuff you would expect:
Standard Mini squeaks and rattles
The clear bra is old and needs to be replaced
The clutch is on the last half of its life and will need to be replaced in a year or so (depending on my driving)
A little curb rash on a couple of the wheels
That�s about it. I lucked out on this car. No one believes me when I tell them it is a 2003.
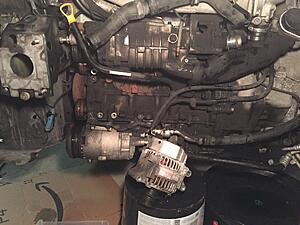
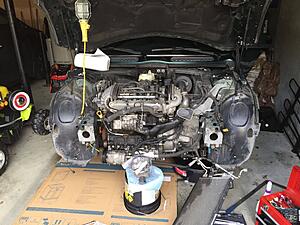
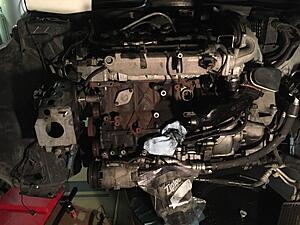
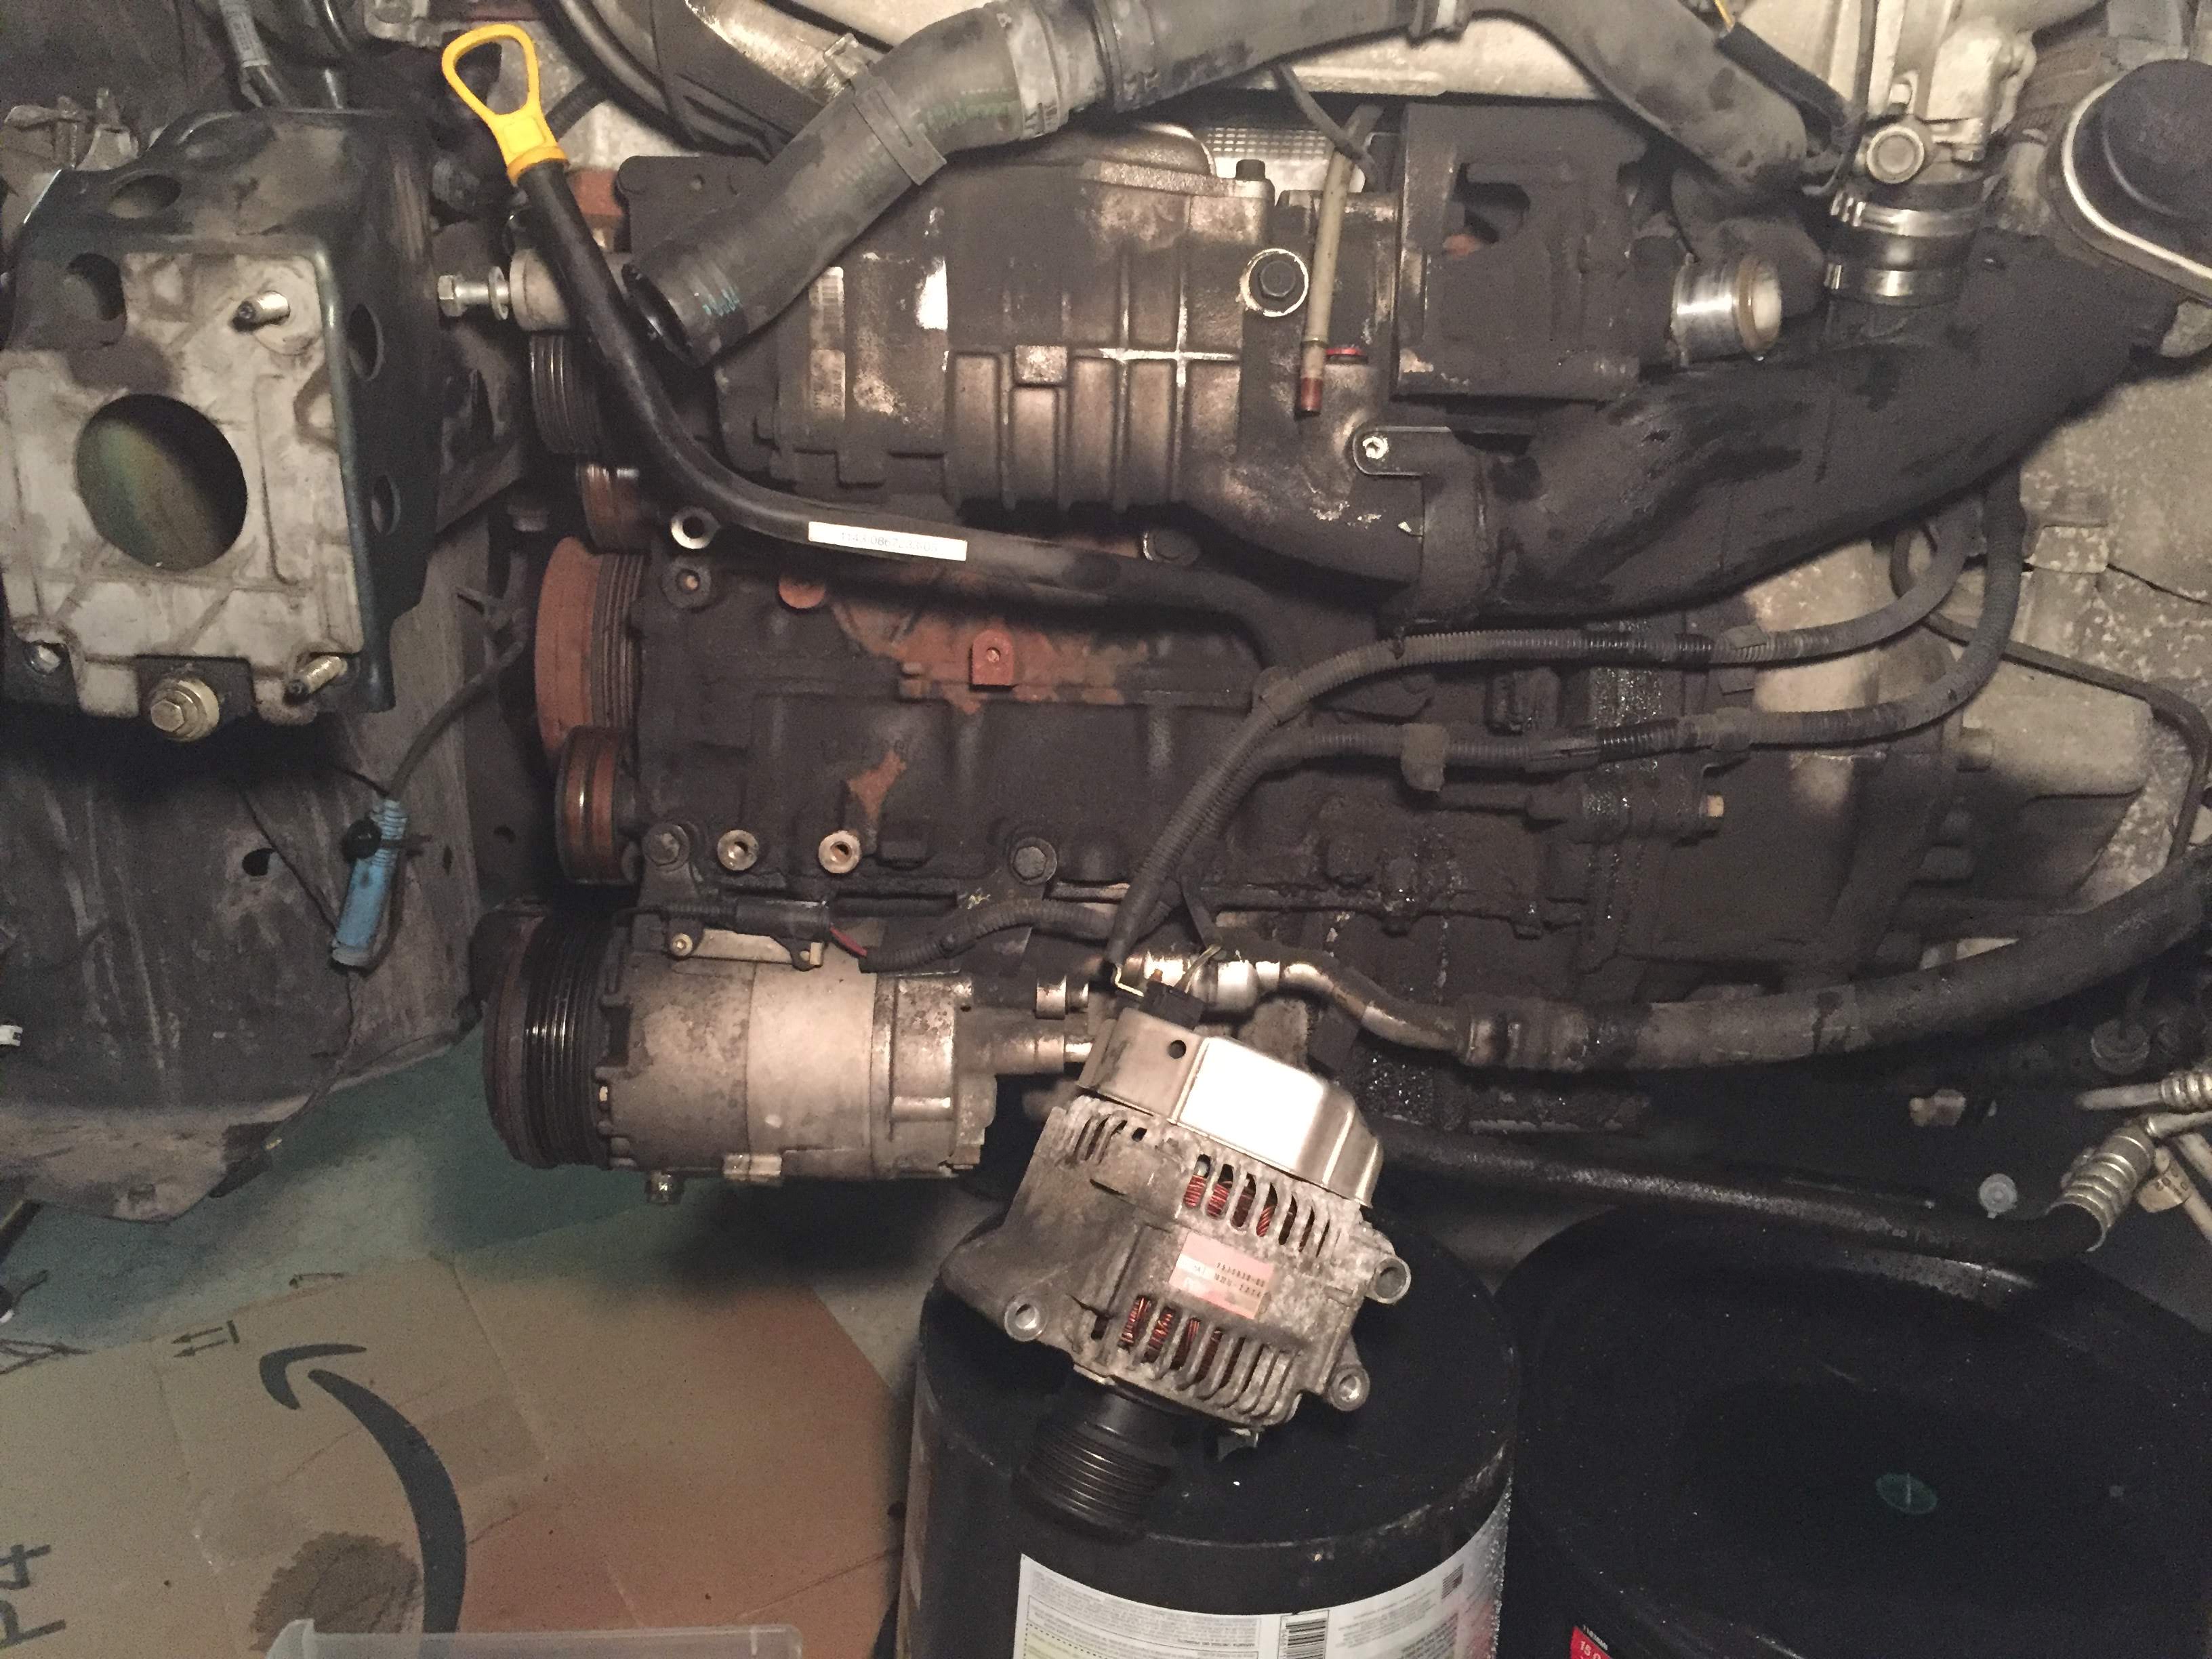
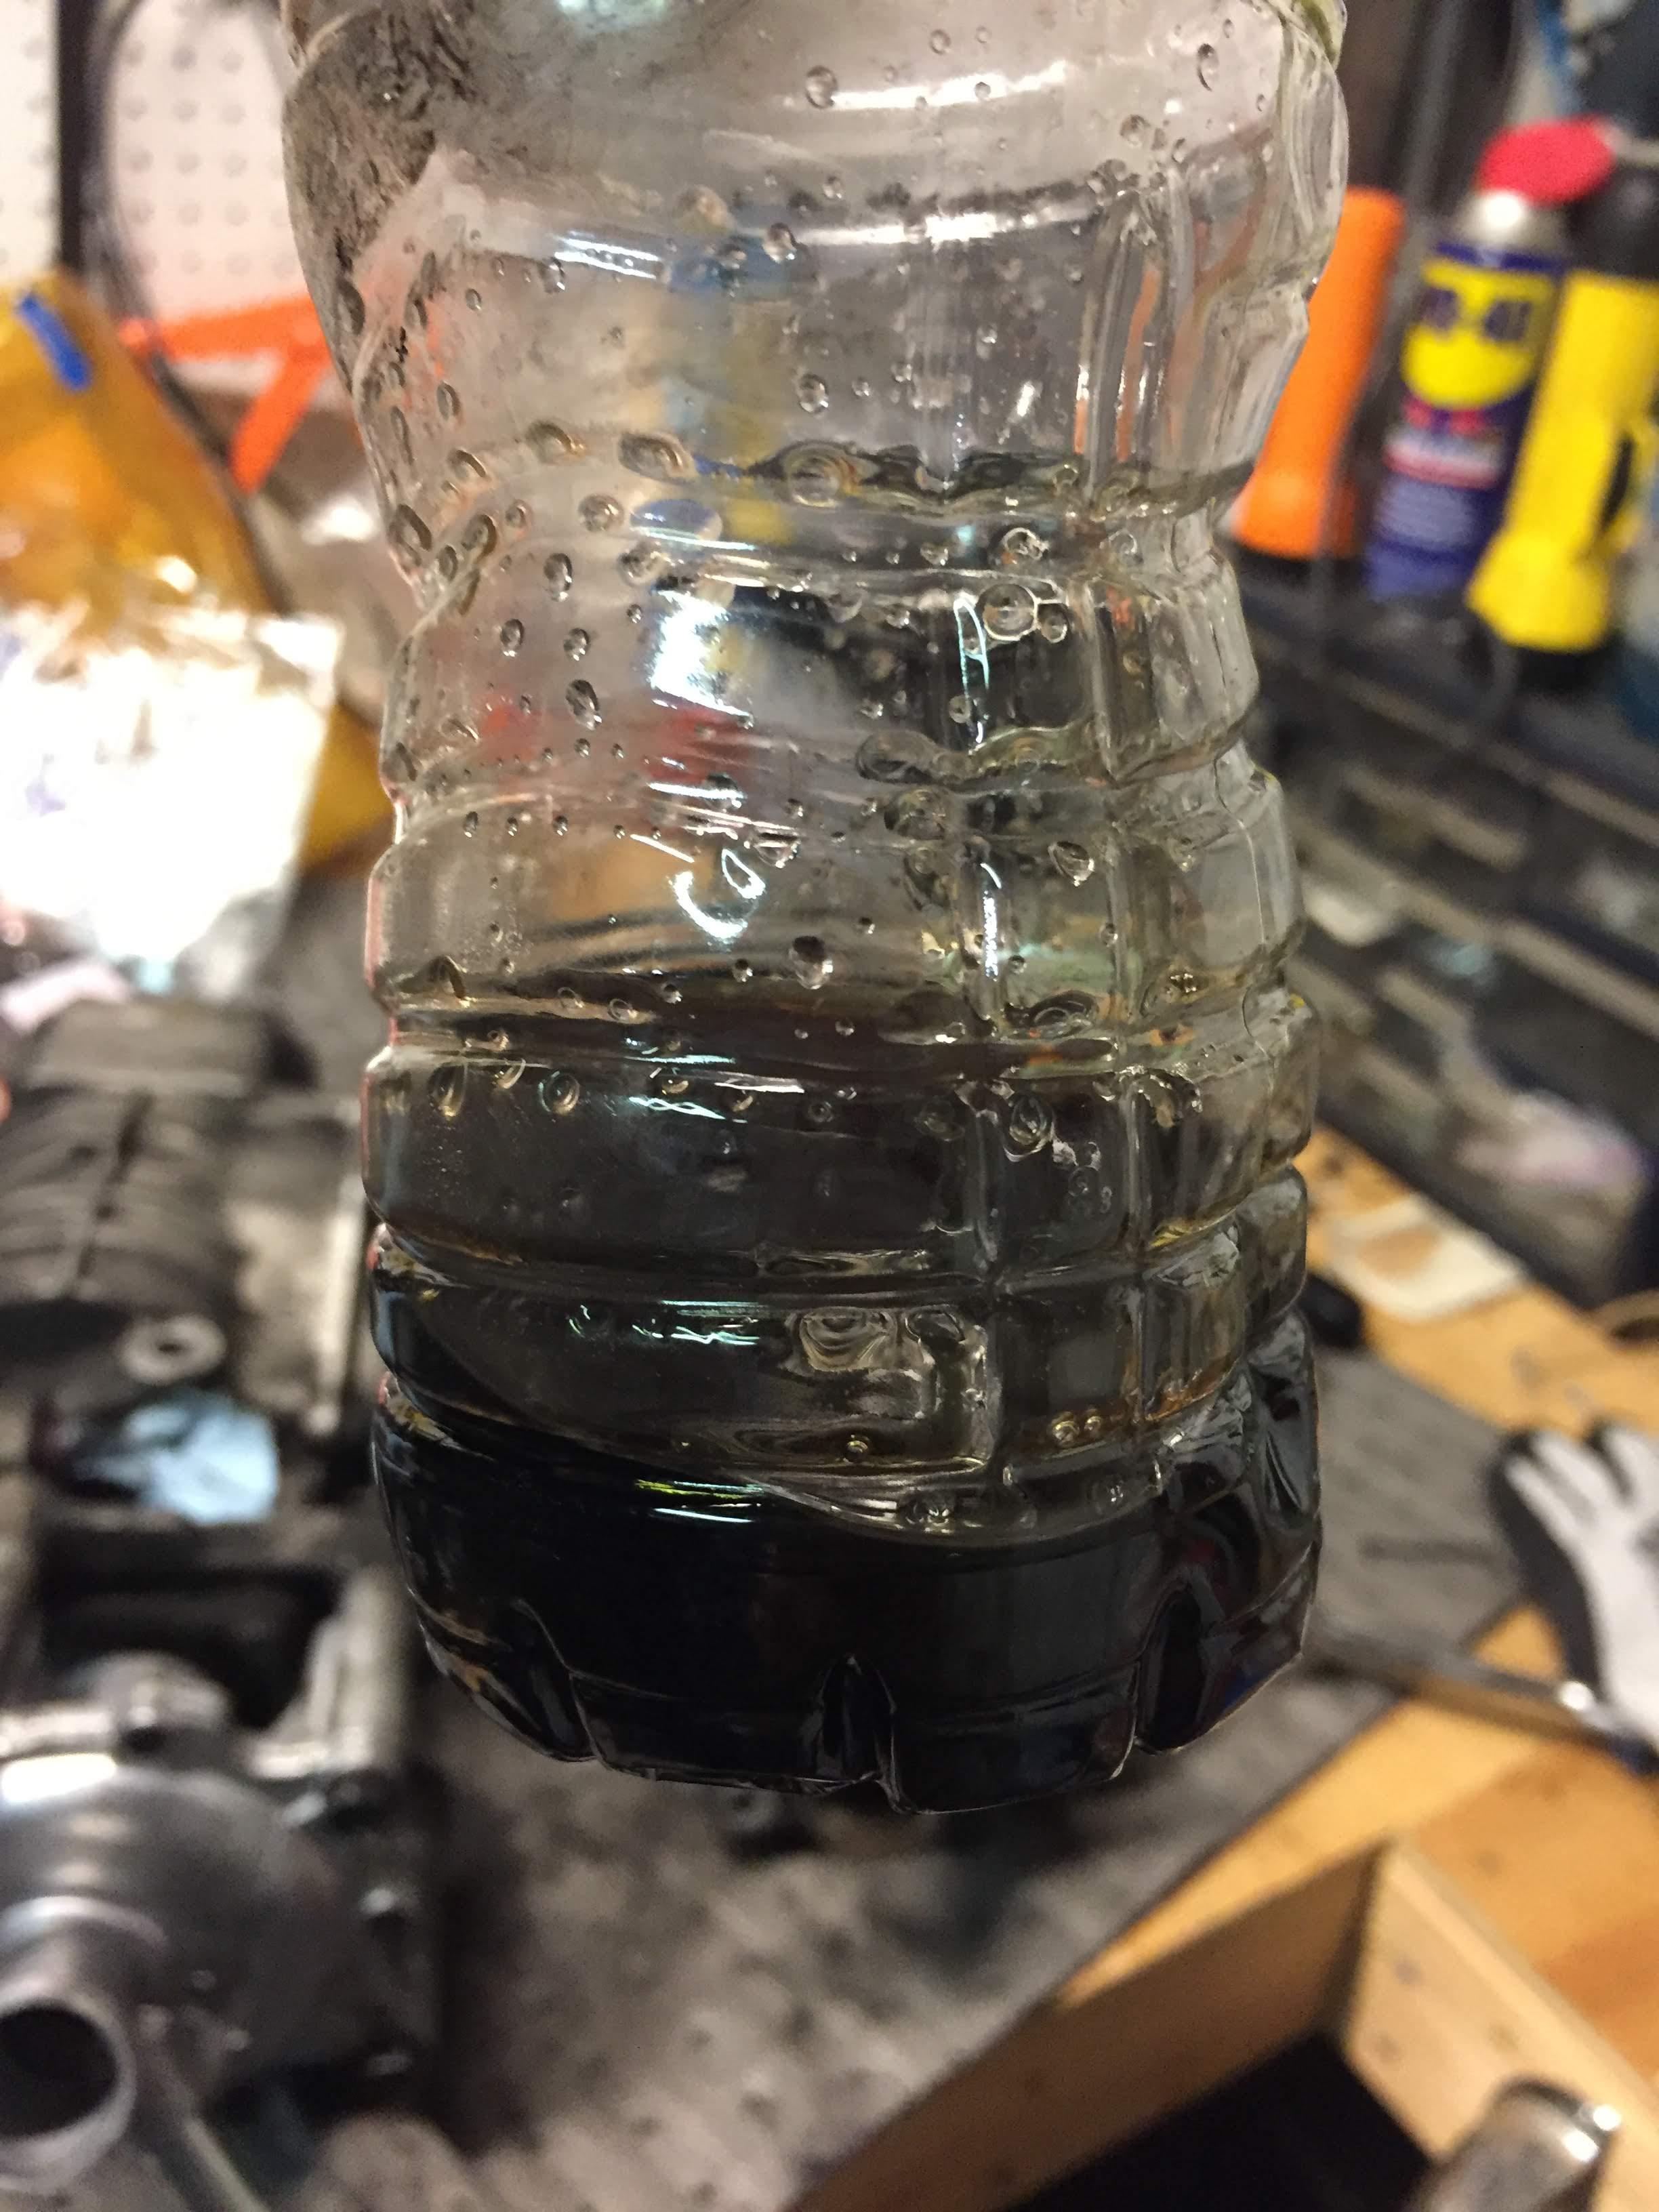
Now, that I have a good car... time to take it apart. I'm about to get in over my head on this car. On the docket for this weekend is the 100k service, plus supercharger oil refresh, plus new pulleys and ignition.
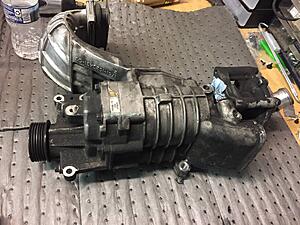
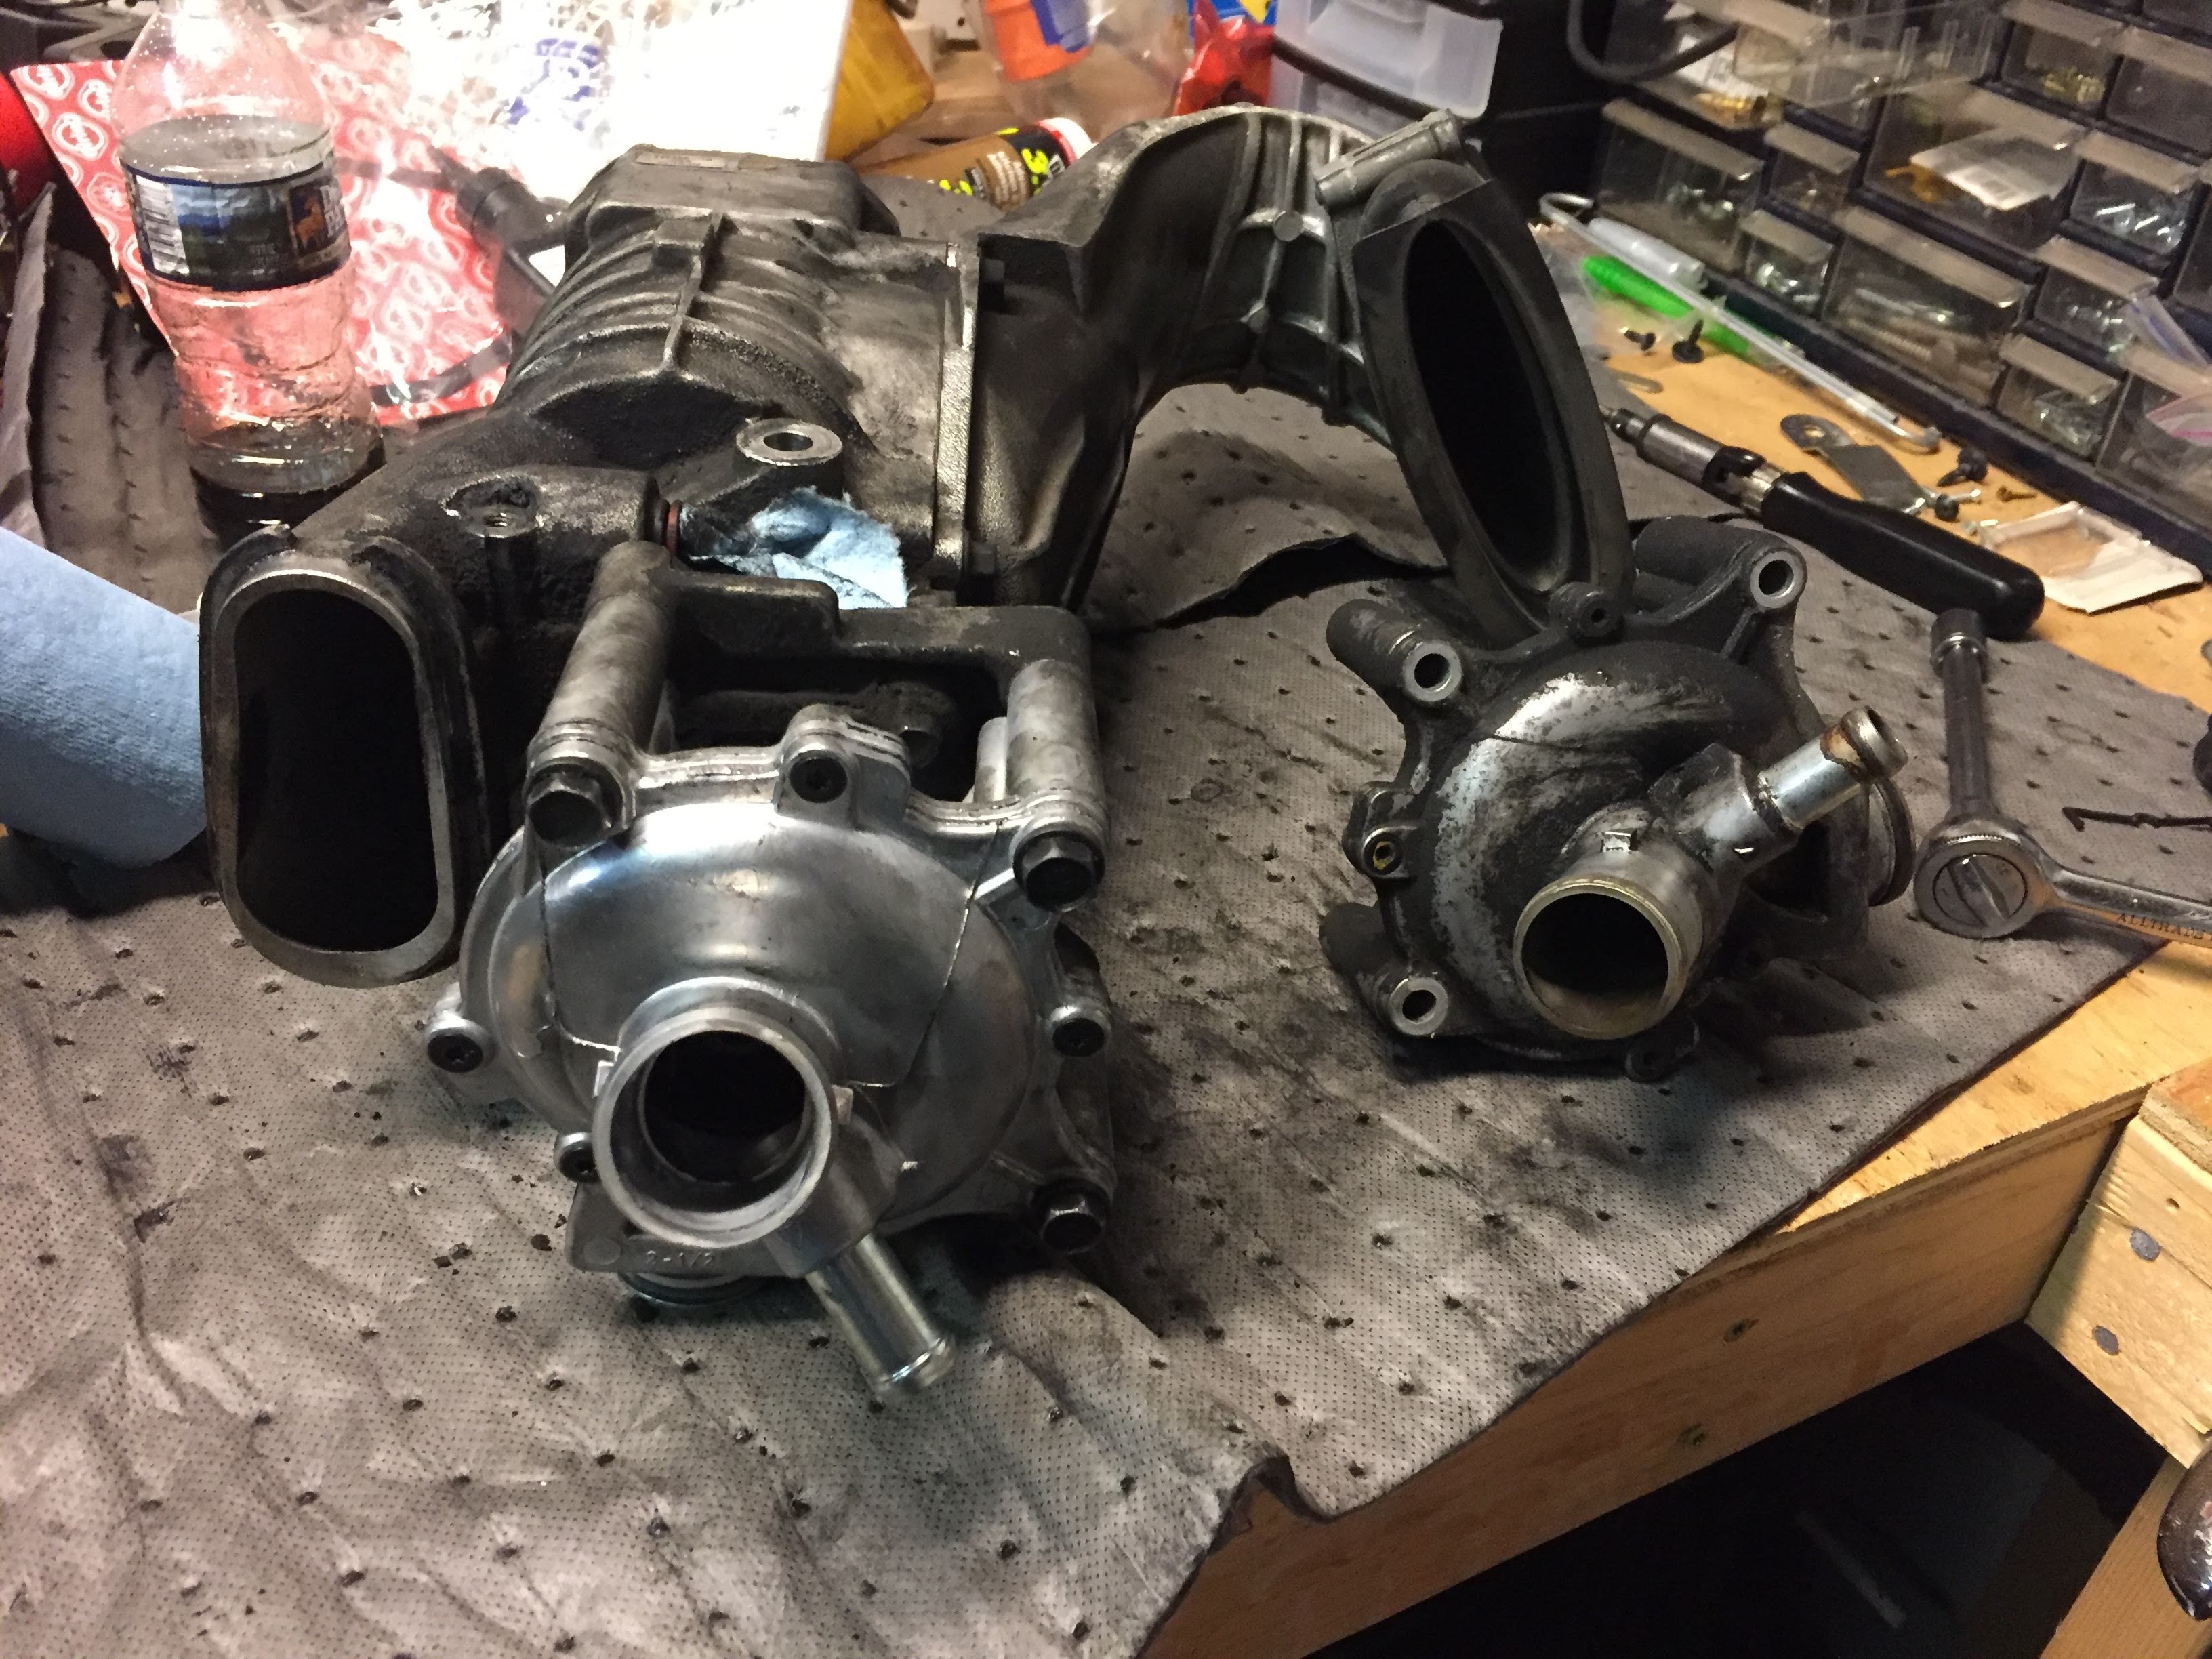
I got the supercharger out and replaced the oil. It was black, but mostly there so that is a good thing. I also put on a new water pump. The engine was filthy and needed a bit of cleaning to just get to the point where it was workable (not detailed). A few more pics:
Anyway, that about catches you up. Looking forward to being part of this community.
Man... has it been that long? Damn I'm terrible about updating things. Yes, there are many updates....
When we last left our story, the hero had taken apart everything and was in a struggle against evil to put it back together....
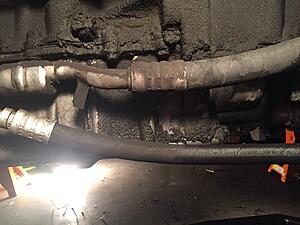
Yes, putting things back together is never as easy as taking them apart. That said most of it went fine. The biggest struggle was putting on the m7 4% lightweight crank pulley. The instructions said to heat it in the oven and then it would "slide" right on. Yea, no. That didn't work like that at all. It took many reheats and retries and then (some ill-advised) use of force. Eventually I got it on and was able to finish putting everything back together. Once everything was assembled, it was time for a test drive. Just a short one to make sure all was well. I drove it about 5 minutes and everything seems really good. I didn't go crazy and push the engine or anything, just a simple cruise. Came home and parked it, and was going to inspect everything to make sure I didn't see any issues. I ran inside for a few minutes and when I came back out, I was greeted with this:
All the coolant was all over the street. Turns out, I'm an idiot. I forgot to connect the hose back the water pump. I spent a substantial amount of time trying to reconnect it without having to tear down the front end again... eventually I gave up and tore down the front of the car so I could get my hands and tools on the hose and clamp and reconnect it. Painful lesson, hopefully I'll only have to learn it once.
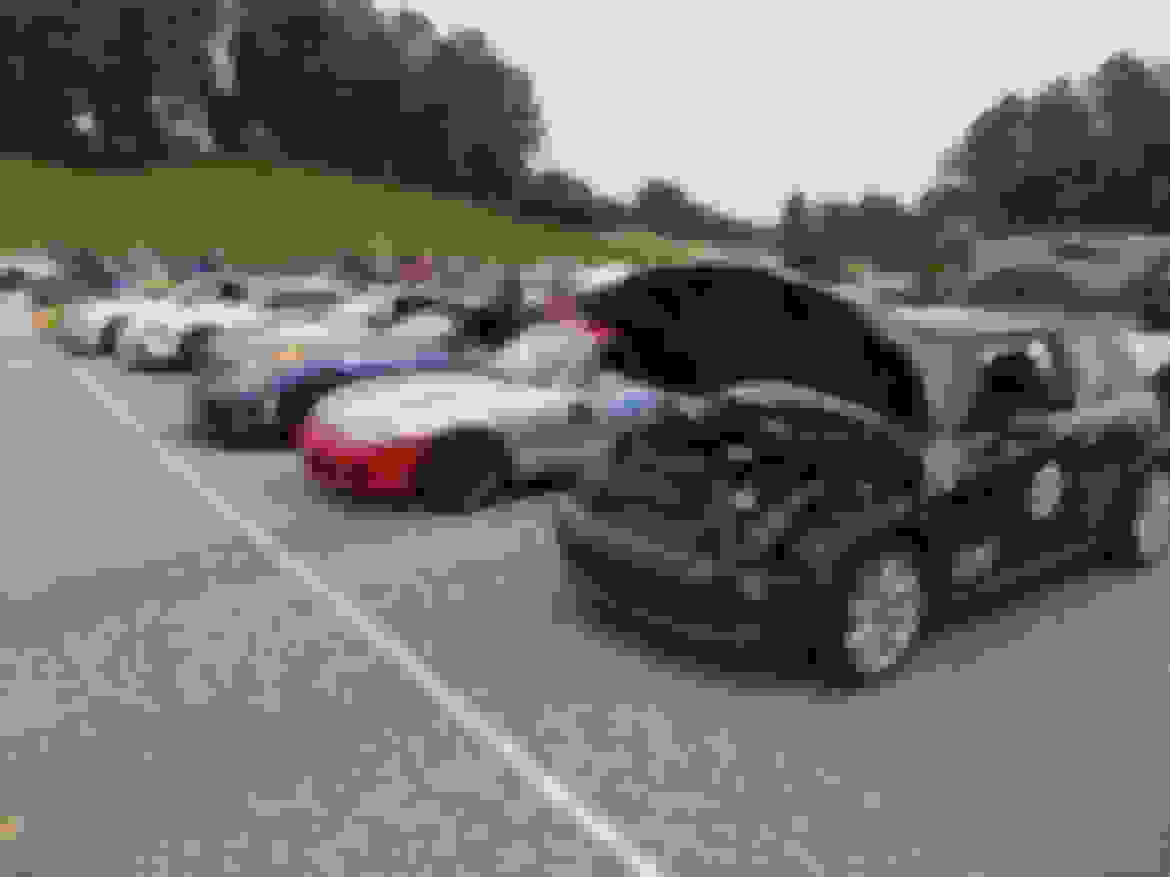
Another test drive confirmed the car was better. Now was time to start enjoying it. Hit up a few Cars and Coffee events, and then a track day at MidPond in Alabama. The car did remarkably well considering the minimal setup and prep. This was my first time out in this car at any real speed and my first visit to this track. The first lapping session was just sighting in. Also it took me several attempts to actually figure out how to get the video to capture. I managed about 35-40 laps before I broke something. Here's some of the video:
If you listen closely at around the 5:30 mark, you'll hear a pulsing in the supercharger. As far what is broke, I think it is just the pulley tensioner. As I came around the back straight and hit the gas, there was a skipping our a intermittent loss of boost from the supercharger. I let off and pulled off the track. As I was pulling into the pits, I could hear a ticking sound. I had fear of a rod/valve. Looking at the engine though you could clearly see the tensioner bouncing with the ticks. So, not fully diagnosed but it doesn't seem tooooo bad.
It took awhile for me to get to it, but eventually some Mini club friends put together a tech day and I sucked it up and bought the part to fix it. The issue was the belt tensioner, and after we got it off we could tell the damper on it had completely blown out and failed. I bought a mid-range 3rd party OEM style replacement. I didn't go to the bottom of the barrel and get the $70 one, but I didn't pay the BMW premium of $300 either. Replacing it was ok-ish. It took 2 of us about 90 minutes to complete, with at least 30 of that trying to get a single bolt out (an offset wrench would have saved a ton of time, but we didn't have one). It also could have been done with one person, but 2 made it a lot easier than constantly switching from top to bottom to get the old one out and the new one in.
Back on the road again, we took to the hills and twistys with the Mini Club:
And then the next thing happened. I went to run an errand, nothing special but when I started to pull out of my driveway I heard a "whack-whack-whack" noise. Ugh...
The belt failed and was fraying to pieces. Best guess was that when I installed the crank and supercharger pulley and new tensioner, I did a bad job aligning them and this was the result.
So, I bought a new belt and resigned myself to the tedious work of taking everything apart and aligning it. It wasn't going to just be one thing though... as I was taking it apart, I found this:
Now, I had to replace the motor mount along with aligning the pulleys. Good times.
This whole global pandemic thing gave me time to fix those issues. Things finally started opening up, and I was able to play with cars again. Hit a C&C event, and then took the Mini to the first autocross event at the Barber Motorsports Proving Ground.
Here's a look at my best run of the weekend (this was also my first autox in about 6-7 years):
A few weeks later, another fun trip to the Barber's Proving Ground for an ALSCCA AutoX. This time I didn't run the "eco" tires that came with the car. A friend sold his Mini and ended up with some leftovers, they found their way to my house. Included was another set of wheels and tires. The tires were a mismatched set with 2 P-Zeros, and 2 Potenzas. Both were 220 treadwear, so even being mismatched they had to be better... right? I don't know, but they weren't enough. I need real race rubber. I spent more time spinning tires than putting power down. Here's the best run:
Ran probably my last AutoX of the season this past weekend. There are 2 more scheduled, but I'm not sure if I'll make those. It may be time to park the car and start on the winter projects to truly be ready for a competitive next season.
Winter projects planned are:
Poor man's big brake kit upgrade
Light weight wheels and race rubber (more of a purchase than project)
New exhaust
Custom engine tune
These are subject to change based on money / time / talent. Brakes will be first, I already have most of the parts, just need the rotors and lines.
It was a fast and fun event. It was also the first time my oldest wanted to come with me. He had a good time and wants to come more. It was a good father + son day. And... Managed to win the class. Good result to end on for sure.
My app that I use to record runs, had an issue and missed the video for the last 2 runs (it recorded the audio, but no video). So this is the last run it captured, but was 0.6s off my fast time:
You'll be able to see my lack of traction in this video. On the run prior to this, I lit up my tires coming out of the tight right hander. Left a good bit of Pirelli rubber on the track:
I think that catches you up... if you survived that epic.
I was asked on another forum to do a review of the mods on my car, so I'll share that with this forum as well:M7 4% Crank and 16% Supercharger Pulleys
There is a lot of feelings out in the Mini community about M7, most of it is negative, but I was never able to find someone who would say specifics of problems or issues that were directly related to their products. More it was just people questioning their approach and arguing as if they were mechanical engineers who spent their entire careers designing internal combustion engines. I wanted to get the most out of my Mini, and M7 offered one of the few lightweight crank pulleys on the market. I took a chance on their products.
Installation on both of the pulleys was a PITA. The SC pulley I installed while the supercharger was off the car. Getting the old pulley off was fairly straight forward, if you have the special tool. The pulley itself is a two piece self centering one. First part slides on, then the second goes on top, 3 bolts to hold it together and that was done. The crank pulley was not so straight forward. Getting the old one off was a job in itself (but that really isn't M7's fault). The installation instructions tell you to put the pulley in the oven and heat it up, and then it "slip right on". Yea, that crap didn't work at all. After multiple attempts of heating and fitting, I was finally able to get it on, and almost seated. It took more force that I was really comfortable with to get it all the way on an into position.
I don't have before/after dynos or anything, but the pulleys did their job. The car has a lot more power which makes it a lot better to drive (around town as much as at the track). The only real drivability downside is from the lightweight crank pulley. Being in gear and letting off the gas to coast isn't as smooth. There's no momentum in the pulley to keep the engine spinning so you get a lot more engine brake feel. It can feel like small / quick taps on the brakes, or a small jerk. It's fairly easy to drive around, but was noticeable when I first put the pulleys on. I don't notice a lot of additional heat soak or anything negative from a performance perspective. I ran 8 autox runs on Saturday in late summer Alabama heat and sun and the car never complained. After the 6th run, the electric fans kicked on and I opened the hood to vent out the heat between runs, but the engine temp never moved. The sound is significantly more pronounced. Above about 3500 rpm the SC screams and sounds amazing. At idle there is more noise as well. I'm not sure how to describe it, not quite a grinding noise or a rattle... but somewhere in between. Other Mini drivers tell me "it's just supercharger noise" but I'm not sold. It's probably just self doubt on my mechanical abilities. I've had the pulleys on for about 3000-4000 miles now and have had no issue with them. I did have to replace the belt tensioner, but from what I have read I should have done that when I did the pulleys.
Overall, I'm happy with the product. It performs well, and I've had no adverse side effects.
Screamin' Deamon coil and NGK Irridium Plugs
With the new pulleys, you need new (colder) plugs. And while you are doing that you might as well do a new ignition and wires. So I did. I got the Out Motoring Stage 3 Ignition Kit. The installation is really straight forward here. Everything fit, installed easy, and most importantly worked right. I went with the red wires, because red is a faster color right? Each wire had the appropriate length for the plug it was going to, and frankly that was the hardest part of the install.
K&N Typhoon Cold Air Intake
This came with the car, so I can't tell you a before / after on it. I have taken it off and put it back on the car and that isn't terrible. There's a finicky screw here and there, but nothing too terrible (especially considering it's on a BMW). It uses the stock airbox location and comes with a sheild to block off engine heat. It's in two pieces, a tube that directs air from the front of the car to the airbox and the intake tube and cone filter. I'm sure it is better than factory, but I can't tell you if it's work 1 or 10 HP. The best part to me is blipping the throttle and being able to hear the supercharger gulp air.
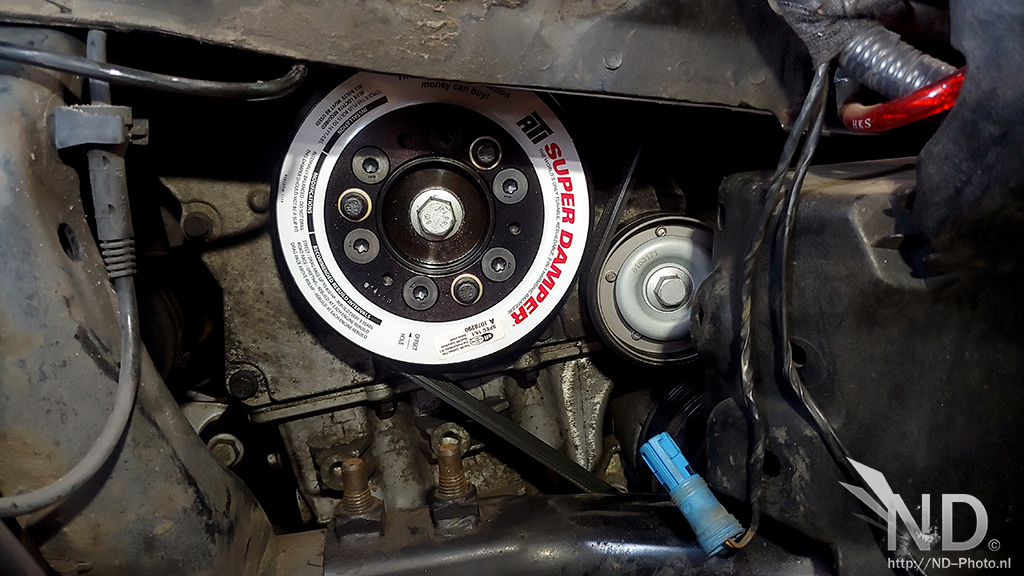
As a "heads-up on your "light weight" crank pulley...
You've lost the "dampening" effect of the OEM damper. It's doing you NO favors. It's a VERY real thing.
The harmonics that is created every time a spark plug fires the charge in the cylinder, the load put on the piston is transferred to the connecting rod, then to that journal of the crankshaft. This, in a small way "twists" the crank shaft out of alignment. Then the next cylinder fires, then the next, then...you get the idea. What a Damper does is to help quiet or dampen those "harmonics". The higher the RPM, the greater the harmonics is transferred through out the engine.
With a proper damper, the bearings will live longer, the crankshaft lives longer, the timing chain lives longer, even the camshaft will live a happier life.
Maybe...a proper "damper" might be in order ?
The ATI is a very respected brand. The also have one that's 2% larger to spin the blower a little faster..!
As a "heads-up on your "light weight" crank pulley...
You've lost the "dampening" effect of the OEM damper. It's doing you NO favors. It's a VERY real thing.
Mike
I know the concern. I've read all the threads on here and a few other places with the same content and then follow on flame war. I certainly understand the physics (at a normal person level... not an engineer), but 2 things lead me to my choice to go with the lightweight pulley:
This is not a daily driven car. It is a fun/project/race car. So, I have a measured risk if something does go wrong.
I wasn't able to find any real world example of where a lightweight pulley directly or was assumed to have caused the problems that are potential.
I choose the pulley because I felt it would provide the best performance. I don't have any brand loyalty when it comes to these mods, and I'm not above swapping parts out if I feel there is a reason to do so. The ATI was my second choice.
So far, it's been great. Which I suspect will be the case right until it's not. I'm not sure if the belt and tension issues above were related to the parts or the terrible mechanic doing the work. So all I can do is share my experience.
Well first of all if you don't write for a living you should. You have mad story telling skills. (disclaimer: I'm so bad at written and oral story telling that my own children get bored and wander off....so take that with a grain of salt ha ha).
Awesome update! Two gold stars for pictures and videos!
As far as red plug leads making more power? Yes red parts always make 4-9% more power than the exact same part in another color. Carbon fiber also makes car go very very fast.
In regards to your crank pulley, I do industrial maintenance for a living, and when I have to install friction fit couplings on motor shafts I actually heat them on a gas grill. I wrap them in aluminum foil to keep the smokey goodness off it (grease) and use a laser thermometer to monitor the temperature. Usually 350-400 degrees and they will in fact slide right on. *For anyone reading this, NOT ALL PARTS CAN BE WARMED UP TO THAT TEMPERATURE* so do your homework and figure out how hot is too hot. The grill I use is a skillet style grill from Lowes or Home Depot. It also has a custom stainless lid on it so it's easy to regulate temperature. I'm not sure how well an open flame grill would work because I've never tried it.
Keep the updates coming.
Oh and mad props for taking your son with you! More father's need to be a part of their children's lives.
As a "heads-up on your "light weight" crank pulley...
You've lost the "dampening" effect of the OEM damper. It's doing you NO favors. It's a VERY real thing.
The harmonics that is created every time a spark plug fires the charge in the cylinder, the load put on the piston is transferred to the connecting rod, then to that journal of the crankshaft. This, in a small way "twists" the crank shaft out of alignment. Then the next cylinder fires, then the next, then...you get the idea. What a Damper does is to help quiet or dampen those "harmonics". The higher the RPM, the greater the harmonics is transferred through out the engine.
With a proper damper, the bearings will live longer, the crankshaft lives longer, the timing chain lives longer, even the camshaft will live a happier life.
Maybe...a proper "damper" might be in order ?
The ATI is a very respected brand. The also have one that's 2% larger to spin the blower a little faster..!
Mike
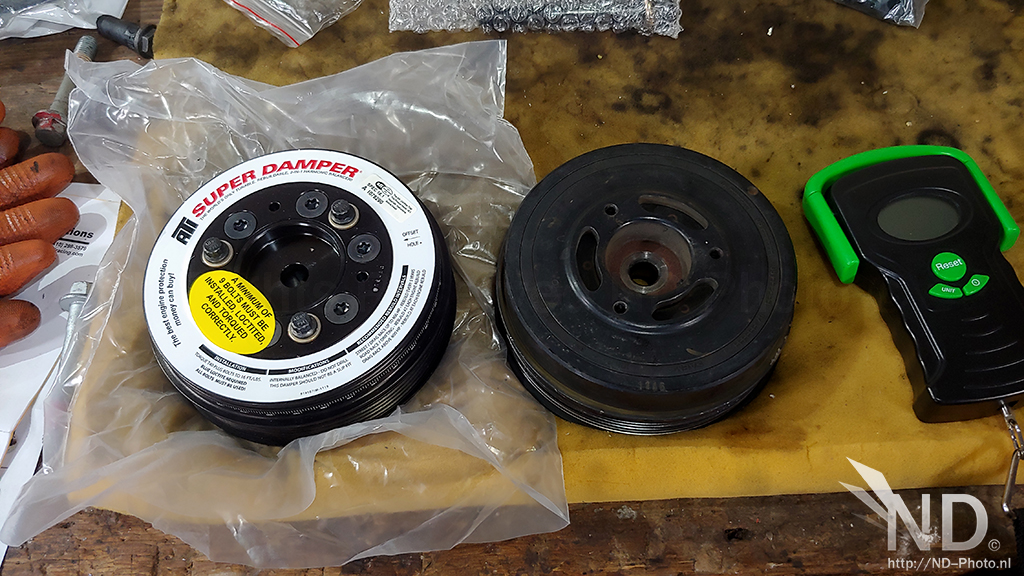
Agreed, that is also the first thing I noticed. I can highly recommend the ATI damper, I installed the 2% overdrive edition days ago and tested it for the first time properly yesterday. See full installation review here: https://www.northamericanmotoring.co...rogress-8.html
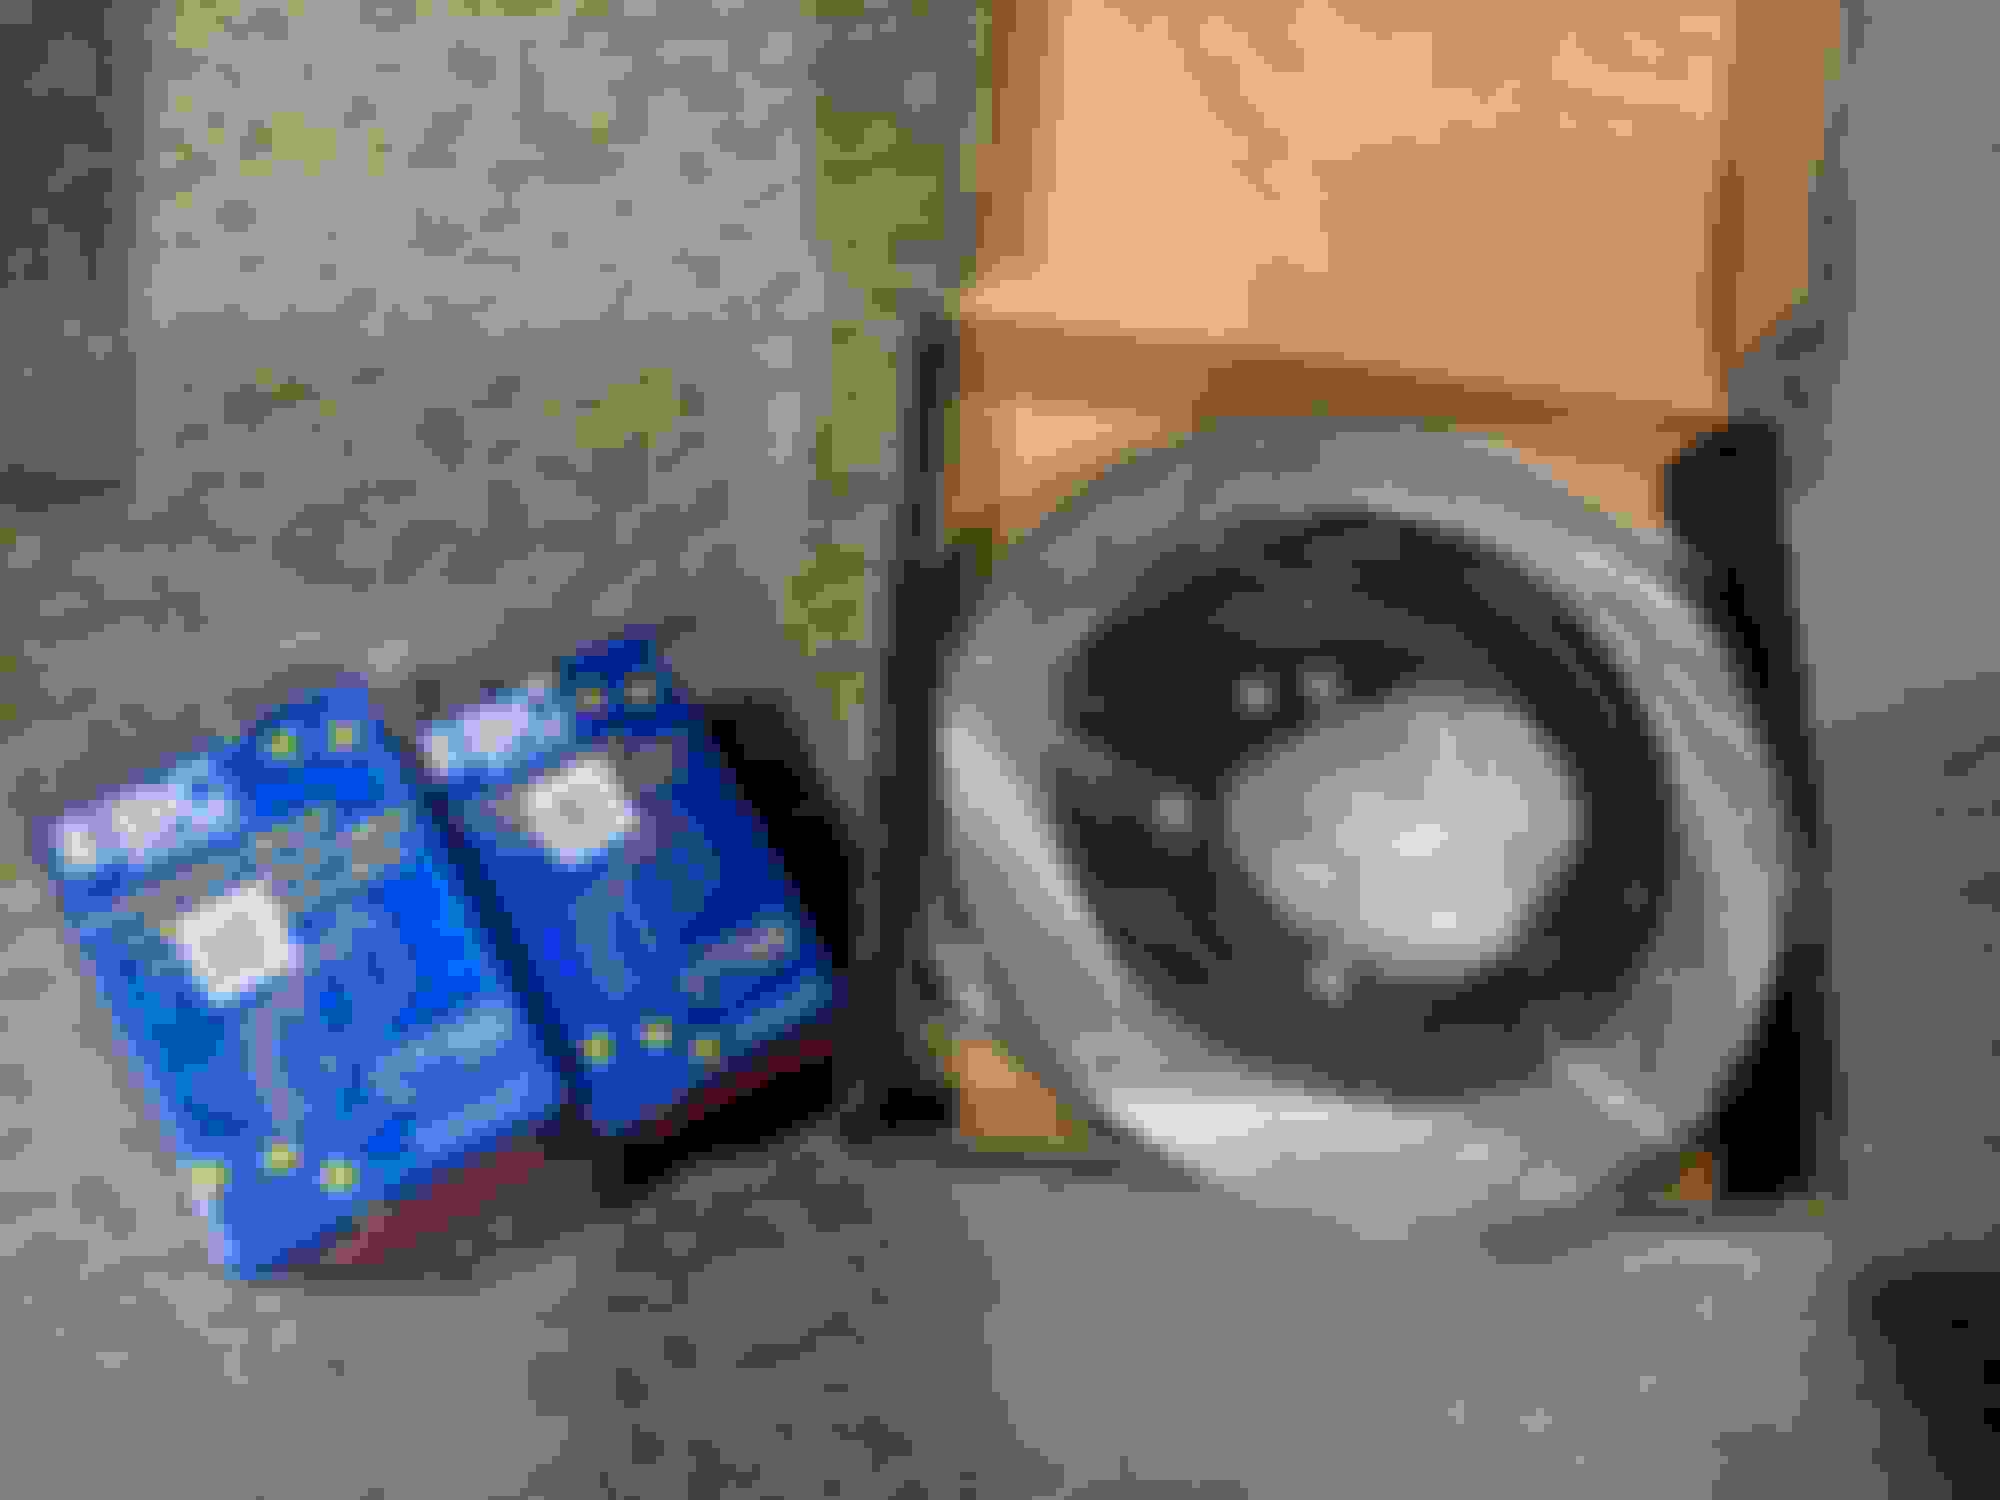
A few new updates for those that are interested. It's winter, which means project time. First on the list of things to complete is the Poor Man's JCW/BBK upgrade. A friend had pulled some calipers off for me last summer, but they've just sat in a box. I went ahead and bought the rest of the pieces from Way Motor Works. I also got the brake duct kit, but now that I have it, I'm not sure about it. I need to get back with Way and make sure I'm not missing pieces and know how to do the install.
My kids also got me a new set of tail lights for Christmas, and I was able to replace the eyesores on the back of the car.
Lastly, I just ordered a set of 15x8 Konig Dail-Ins wheels from Goodwin Racing. Based on what I've read, I think I will be good on spacing even with the R56 brakes up front:
Ooo, I like those wheels. I just finished the poor mans brake upgrade. I'm still bedding in pads and new discs, but I think I'm going to like it. What's your plan for routing those ducts?
That's a great question. I'll probably route them to a shelf in my garage. I bought the wrong ones (although I need to recheck my order), I thought I was buying these: https://www.waymotorworks.com/mini-brake-ducts.html
One other thing: touch base with "adriancl" on this forum if you're exploring a remote tune. He's tuned quite a few members' Minis, including mine. Super, knowledgeable guy to work with and very reasonable. I swapped my '04 pre-facelift ECU for a post-facelift [MS5150 (more mapping capability)] ECU with a remote tune from Adrian and gained a dyno-tested 18hp. Made a massive difference in the car's performance.
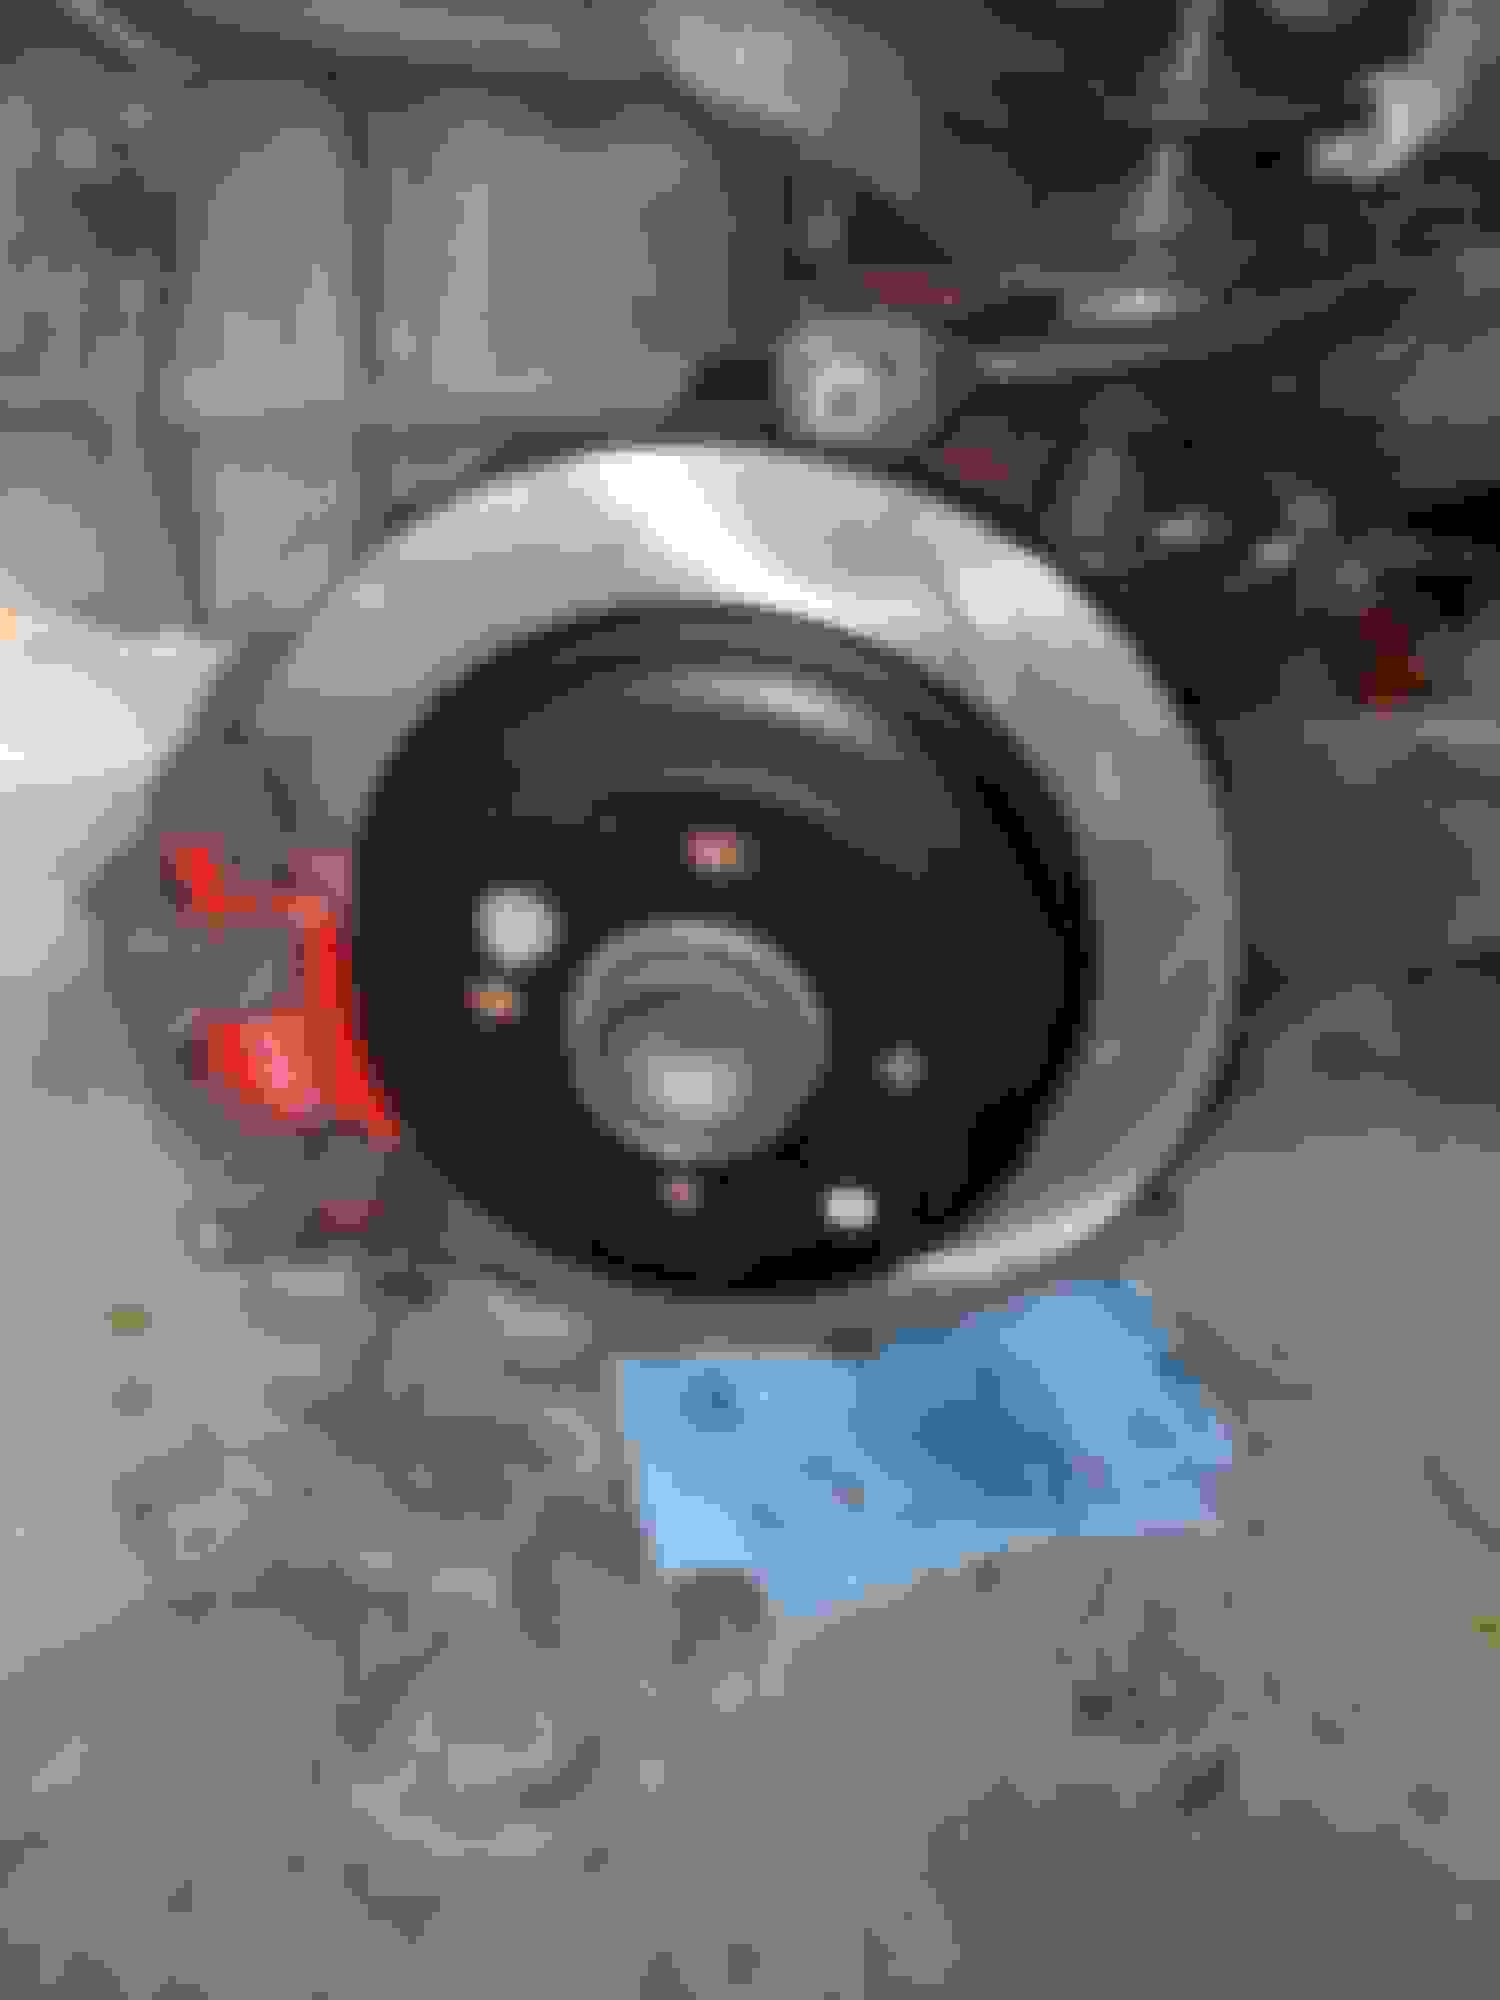
So, I planned today to do the brake upgrade. A little cold, but tolerable. People say they can do it in 2 hours, I figured on at least 4.
Well, after my 4 hour allotment I'm about 30% complete. On the front everything went fine until I got to the 16mm bolts holding the carrier bracket. They are seized as tight as can be, and I can't get my impact in at the right angle.
Then I moved to the rear on the same side. It went better. Still had to fight on the carrier bracket bolts, but they came off. Had a little trouble compressing the piston to get the caliper back on but eventually got it. Then I started swapping the brake line. After fighting for awhile I called it a day. I felt I was trying to cross thread the bottom bolt and then stripping the top one. Frustrated, I figured that was enough for today.
That's a great question. I'll probably route them to a shelf in my garage. I bought the wrong ones (although I need to recheck my order), I thought I was buying these: https://www.waymotorworks.com/mini-brake-ducts.html
That's interesting if that's all that's included with the kit, I definitely have always thought that everything in the picture was included, and I feel you on the rear brake lines. I bought both front and rear lines from Way as part of my R56 caliper upgrade, but after struggling to get the front lines done, and looking at the rears, I've been putting off swapping the lines out. Are there copper washers with the banjo bolts on the rear lines?
I enjoy this build and for a scond their looking at the rear rotor i was like what happened to it and then i saw the bag inside the bag on it. For a second it looked like it broke from the center out. lol
The underside of your MINI looks like in great shape and like no rust.
I'm pretty frustrated right now. Spent another 75 minutes on the brakes tonight and literally made 1 bolt of progress. I get the new line finally seated correctly on the rear caliper. That's it.
I'm stuck in 2 different spots on 2 different corners. On the rear, I can't get the old line to come off the hardline. It's to the point we're I'm starting to strip the bolt.
On the front, same thing, just different bolts. I can't get the bolts holding the carrier bracket to budge and don't have enough space to get my impact wrench on them.
All of the bolts are currently enjoying a WD40 soak. Any other tips?
Lots of people will probably squirm when I tell you this but heat is your friend for any and all stuck bolts. Usually a handheld torch is enough. I use Mapp gas, it burns hotter than propane. I'll throw a disclaimer in here for anyone that may read this: Fire is dangerous! Have a fire extinguisher ready just in case. Pay attention to anything near by that you don't want to get hot. Fire will melt plastic and ruin paint. Also if you get the brake hose hot enough it will burst. I've only had that happen once, it was startling but I was replacing the rubber line anyway so I didn't care. Safety glasses and gloves are a good idea when using a torch....or hammer for that matter. I have replaced hundreds of lines/hoses/calipers. If they are bad enough sometimes the hard line gets ruined in the process but flaring a new end is actually quite easy. A flare nut wrench set is also a good investment. It helps keep the bolt/nut head from stripping. One more thing, IMHO WD40 isn't a very good penetrant. Try something like PB Blaster or Penetroil (in the red can, its made by Nu-Calgon)
On the front, can you get to the carrier bolts with a swivel and/or extension? Hitting a box end wrench with a hammer is another very effective way to get brake bolts loose. I have a cheap set of Pittsburg wrenches in my tool box specifically for hitting with a BFH. Some form of impact weather from an air tool or a hammer is the best way.
Last edited by JerBear; Feb 11, 2021 at 02:50 AM.
Reason: Forgot to mention a tool
+1 on heat and PB blaster, though I would be nervous heating brake lines. Are you using a flare nut wrench on the brake lines? I bought a set of them from home depot for like $20 before I started doing my brake lines and have been very happy to have them.
Are you using a breaker bar on the caliper brackets? The front ones get torqued to 81ft/lbs, I think, which is not much less than the wheel bolts, so they take a fair amount of force to break loose, especially after they've rusted in place for a while. I use a roughly 2 foot long breaker bar on bolts like that and find it very helpful, or if you're feeling fancy, a long handled ratchet is also handy, but make sure that it has a lifetime replacement because ratchets don't like being breaker bars.
With the brake lines, are you trying to spin the fitting on the hard line? or the rubber line? I don't know about the rears, but when I changed my front lines, I was surprised to find that the flexible lines were held in place and couldn't spin, so I had to just remove the hard line fitting. If you're worried about stripping the hard line nut, you might clamp some vice grips on it, and use those to get it loose. Vice grips are not really my favorite tool, mostly because they're a sign things haven't gone to plan, but you might be able to use them to avoid completely rounding the nut off.
With the brake lines, are you trying to spin the fitting on the hard line? or the rubber line? I don't know about the rears, but when I changed my front lines, I was surprised to find that the flexible lines were held in place and couldn't spin, so I had to just remove the hard line fitting. If you're worried about stripping the hard line nut, you might clamp some vice grips on it, and use those to get it loose. Vice grips are not really my favorite tool, mostly because they're a sign things haven't gone to plan, but you might be able to use them to avoid completely rounding the nut off.
I thought about this too when I looked at the picture but since as far as I can tell he already replaced one of the rear lines I figured he knows how its assembled now.
Vice grips are pretty good for stuck bolts but once you use them on something that is REALLY stuck, you'll probably never get a wrench to work on it again. I'd personally only do that as a last resort. That being said, its probably still a better option than damaging the hard line.
Edit: I went back and re-read the post and tried to look at the pictures. Looks like maybe you haven't gotten any of the old hoses off? Racingguy04 is correct. You need to turn the flare nut on the hard line to get it off, not the side with the rubber hose. See the link below, it shows how the rear is assembled.