When you click on links to various merchants on this site and make a purchase, this can result in this site earning a commission. Affiliate programs and affiliations include, but are not limited to, the eBay Partner Network.
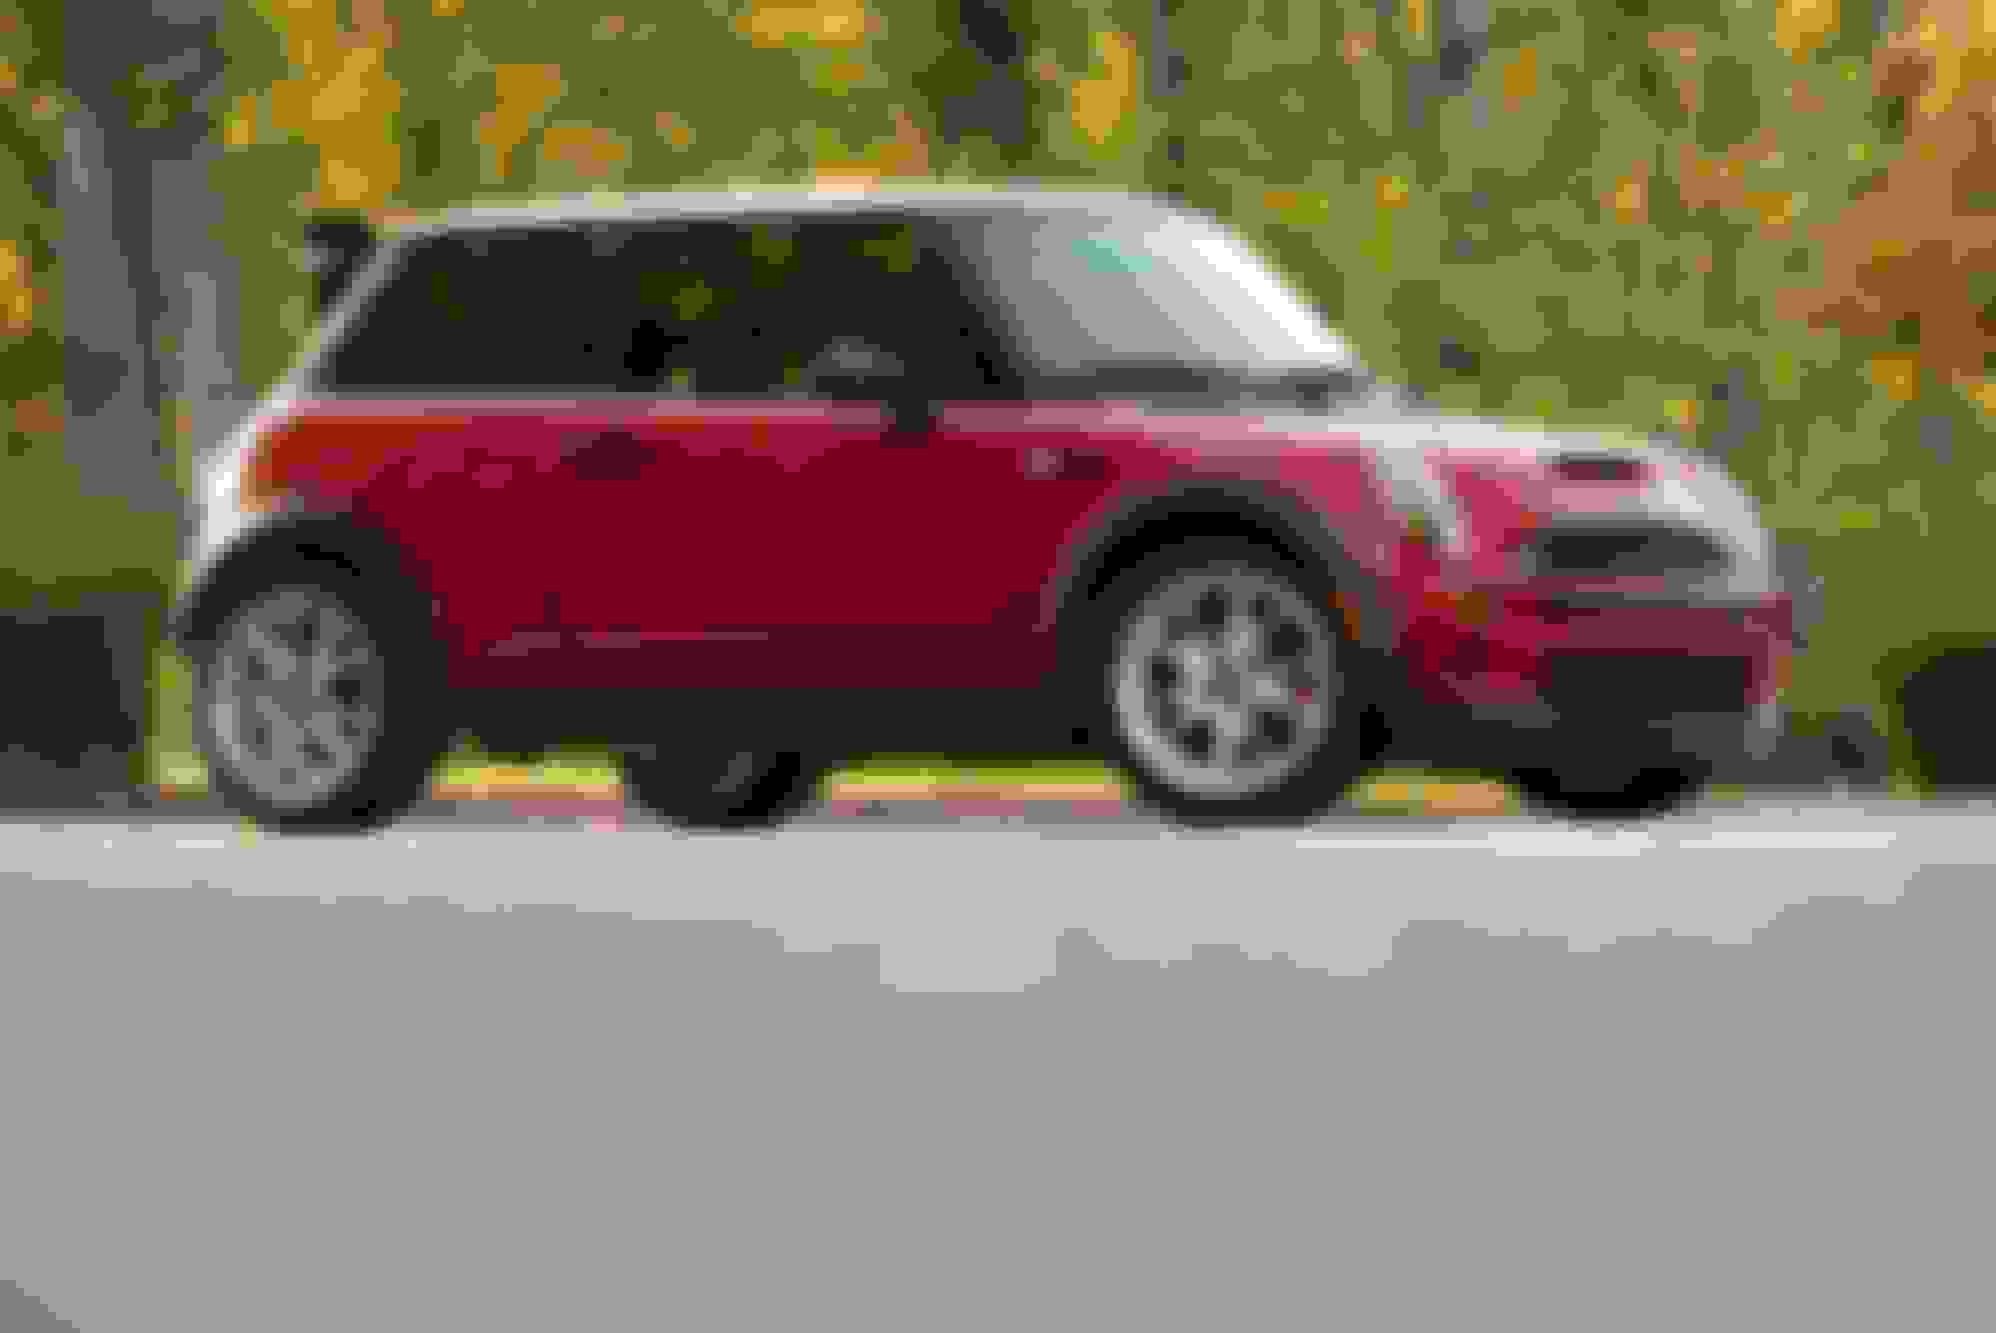
I don't know... dark silver with red looks pretty good - although this car is screaming for cobra style or dual stripes in red on the bonnet too... I think the opposite color scheme would look pretty darn good too!
My Orranje wing got here from Seattle and I decided to paint it. Way easier said than done.
Found a company here in town that has all the codes to mix auto paint colors. I was a little leary on the color match but he said they had Chili Red 851and could put it in rattle cans so... here we go. Wing blade, fins& headlight surrounds all getting paint.
Fins are going red. Used some auto primer first, then sanded so more.
Chili Red
So if I ever do this again... I know what I used.
My head light surrounds were chrome to begin with. Then they were black which was better than chrome. Took a gamble with the color match and dang... I think we have a winner.
Take Aways:
Industrial Finishes paint match is awesome.
Painting is tedious. There are 1000 ways to mess it up and only 1 way to do it right. It helps to have the surface your painting be horizontal to avoid runs & rattle cans like to be vertical. This adds another degree of difficulty.
I'd rate my paint job a 7. From about 3 feet away its good. Now I need to put it all back together.
Did you get these cans from a body shop or was it a chain store like Sherwin Williams? I need to see about getting some in the same color.
Brake pads:
Eddie07S & NC Trackrat - Thanks for the info.
I have been really impressed with the Carbotechs XP10 pads.. They are my first track pad and they have given me way more confidence when I have gotten into 100% braking on the track. I just swapped back to the Carbotech 1521 pads for street. (which has been nice going back and forth) The XP10s have at least one more track day in them so maybe I'll give the rotors a good cleaning/sanding before the next track day and use them one more time. The 1521s are basically brand new and show almost no wear. Could the mix of the two pads be causing the build up? I ran the XP10s around town for a day (hoping to remove any 1521 in the rotors)and then bedded the XP10s before the track day.... Maybe I'm doing something wrong there?
Mirror caps:
The car came with chrome mirror caps... (First picture in this thread). I am not a chrome guy and I have eliminated almost all chrome on the entire car... inside and out.I like to keep things pretty clean and simple & I like black and red together. Probably not changing the mirror caps... . But I did find a matching red when I painted the wing and headlight trim pieces. Hmmmm
John Jordan
You are digging deep in the thread....
The paint came from a place called Industrial Finishes here in Portland. They had a code for the Chili Red.... so I rolled the dice and when for it. https://industrialfinishes.com/tualatin-or/
Nov 1 2023 drained about 2 tablespoons out of the catch can.
I am trying to keeping track of roughly how much oil comes out the catch can.... I think the last time I drained it was 11/2021.
Nov 1 2023 drained about 2 tablespoons out of the catch can.
I am trying to keeping track of roughly how much oil comes out the catch can.... I think the last time I drained it was 11/2021.
Thanks for that info on catch can oil accumulation.
I change my oil frequently, 4.7qts of 5W 30 (every 3,500 - 4,000 mi) and also check the contents of my catch can at that time.
Given the location of my can; I have to use a syringe to suck out the contents. Usually, about 1/2 a tablespoon is extracted/accumulated between intervals.
The only time I've extracted more than 1/2 tbls was when I changed the oil adding 5qts opposed to the 4.7 I usually add.
I often wondered what others have been seeing/extracting from their catch can by comparison.
I'm going to be replacing the rear upper shock mount bushings to Powerflex this winter. I have a few thoughts on adding to this project. (I am not replacing shocks/struts at this point, eventually I will go with coil overs but that's a different animal). The rear sway bar bushings have already been upgraded when I upgraded the bar.
Options:
1- Add the bushing inserts OR replace the bushings in the Rear Trailing arms. I'm leaning towards replacing the bushings but then I started thinking about option 2.
2 - R56 aluminum trailing arms. There's a guy near me that has a bunch of Gen1 and Gen2 mini's he's parting out. I could possibly go pull the rear trailing arms off of one for cheap. Then I just need a few parts/ R56 rear bushings from WMW or Almag to get the job done.
Completely subjective question: Is it worth it??? Lighter weight?... yes 6 pounds each side. Does it change geometry? evidently it does.
Full read https://www.northamericanmotoring.co...onversion.html
This thread you reference has a lot of good information in it, and I would say that what WMW has to say about reusing the MINI bolt is true. You can reuse it. However, there is a caveat or 2. That is, you can reuse the bolt as long as the threads in the aluminum have not been damaged. As was said, the bolt must be perfectly aligned when being reassembled and hand threaded. Someone mentioned 10 turns, that would be good to ensure correct engagement.. Also, the bolt must not be over torqued. But there is no torque spec for a reassembly only for the initial assembly. BMW/MINI used self tapping bolts on initial assembly and their torque spec is for cutting the threads and for proper tightening. The reassembly only requires torque high enough for proper tightening. If I remember correctly these are 14mm bolts same as the wheel bolts on the R56. So, I figure that is a good spec; 102 ft-lbs. The Sparco wheels I have said 90 ft-lbs. So that would be another option. Wear of the aluminum is another issue with these with disassembly and reassembly. So I would add a bit of never seize to the threads to minimize this from happening.
If you use a time sert (as was mentioned in the reference) buy the whole installation kit. It contains a special drill and tap for installing those and take extra care to drill out the hole as exactly as possible. The shop that installed them for me got the hole oversized and the insert pulled out on me. Fortunately it happened when I was changing the shock and not during one of the track days before that� The option that I had to go to in that case was to install a thru bolt with a nut on the end. That was a bit of a PIA.
If the aluminum ones you can get your hands on still have the OEM shocks on them, I would say you are good to go, if that is the route you choose. It would become more questionable if the shocks have been replaced.
I'm going to be replacing the rear upper shock mount bushings to Powerflex this winter. I have a few thoughts on adding to this project. (I am not replacing shocks/struts at this point, eventually I will go with coil overs but that's a different animal). The rear sway bar bushings have already been upgraded when I upgraded the bar.
Options:
1- Add the bushing inserts OR replace the bushings in the Rear Trailing arms. I'm leaning towards replacing the bushings but then I started thinking about option 2.
2 - R56 aluminum trailing arms. There's a guy near me that has a bunch of Gen1 and Gen2 mini's he's parting out. I could possibly go pull the rear trailing arms off of one for cheap. Then I just need a few parts/ R56 rear bushings from WMW or Almag to get the job done.
Completely subjective question: Is it worth it??? Lighter weight?... yes 6 pounds each side. Does it change geometry? evidently it does.
Full read https://www.northamericanmotoring.co...onversion.html
Yes going to the R56 aluminum arms is a great upgrade as it doesn't sound like much, but it is a reduction in unsprung weight so it has a larger effect than just the weight removal.
You also will have more tire clearance with the R56 arms.
We have the bushings to make the shocks fit correctly https://www.waymotorworks.com/wmw-re...k-spacers.html
Well it's been awhile but I'm back at it.
I decided not to do the R56 aluminum trailing arm swap. Too big of a project right now and I'm a little apprehensive about cross threading the bolts.
1) Replacing the rear trailing arm bushings with power flex. I have little shimmy under heavy braking at the track, so I'm putting more polly back there.
2) I replaced the rear upper shock mount bushings with power flex.
3) Installed adjustable lower control arms. *I plan to lower the mini a little bit with coilovers at some point.
More pictures coming... cause everyone like pictures.
Had a very nice chat with Way from WMW. He is a wealth of knowledge and I spent most of the conversation trying to write notes so I wouldn't forget all the nuggets.
We talked about a lot of different subjects but with regards to Coilovers: KW's would be great but Megan Racing Coilovers with linear springs could be a good cost effective set up. They are ride height adj AND pre-load adj. They come with front camber plates and the adjuster for the rear. (need to figure out if I want to drill a little hole in the back wheel well) The springs that come with the Megan coilovers are a little stiff and Way recommends changing them out for a set of linear springs. All 4 for $1250ish.
Someday I will pull the trigger on coilovers, but with so many choices, price points and options... it's been very difficult to both justify the cost and find a clear winner.
I do like the idea of being able to change the ride height independent of the spring preload.
Personally (like you) - I absolutely love the ability to adjust, fine tune the ride and ride height on my Mini.
I had once started off with lowering springs combo'd w/Bilstein B4s. The B4's seemed fine but the springs were cheap though. The car looked great sitting 1-1/4" lower than factory when first installed but quickly wore out in 2wo years time.
(B4's should never be used w/ lowering springs. Ask me how I know )...
I went back to stock ride height on factory springs w/ Koni adjustable yellows for a year or so. But I missed the lower stance. I finally found the finances to spring for B14 adjustable coil overs and I couldn't be.happier with the ability to adjust as I liked..
I've had coil overs on my previous cars but I have no other comparative measures between KW, Megan Racing, Godspeed and my current Bilstein 14s on a Mini.
While I am not suggesting or recommending Bilstein's over any others in any way (my knowledge is nil ) - However, I know which ever brand of adjustable coil overs you go with; you'll be happy in the end when you drive or step back and admire the new stance of your Mini once you dial them in. Especially with those wheels you have!
Your Mini looks great and sounds like it's coming along nicely since your initial post.
Looking forward to your progress...
I decided not to do the R56 aluminum trailing arm swap. Too big of a project right now and I'm a little apprehensive about cross threading the bolts.
FWIW I have had my R56 shocks in and out a number of times with no issue. If you ever decide to take the leap and put these in, cross threading the bolts is very unlikely if you take care with the assembly of the shock onto the control arm. Make sure to line up the bolt hole in the shock with the hole in the control arm before putting the bolt in. Then make sure you can thread the bolt in by hand for a good number of turns before using any hand tools; I would not use any power/air tools on this. Use a little bit of never seize on the bolt to lubricant it. Don’t over torque it. It is the same size bolt as the R56 wheel bolts and the recommendation for those is 90-100 ft-lbs.
As for lowering the MINI for the track, going more than an inch will put the car’s roll center below ground level. That will compromise handling. There are (or were?) gen 1 MINI spacers for the steering knuckle ball joint to correct that if you want to lower the car more than an inch. Not sure if these are available at all, anymore.
Here2Go Eddie07S
Thanks for the thoughts.
The mini does not need to come down a lot but it needs to come down. I've read the Megan coilovers drop the car .6 to .75 inches at a minimum as most of them do some drop. I would say I would be in the 1 to 1.5 inch range. I'm going to try the rear bushings first.
When I re-installed the rear shock to the rear trailing arm, I felt that the lower bolt wanted to cross thread on the driver's side. I had to loosen up the upper 2 bolts to where it was floppy to make sure the lower bolt went in straight. I've never had them off so I think the PO or the shop that installed the Koni's on were not careful ~ the top hats were reversed and they may have damaged the threads slightly. I was able to get the threads to go in smoothly by hand but it took a while. Passenger side went on first try.
Anyway... UPS has lost the trailing arm bracket bushings so now the MINI is sitting on jack stands waiting on my wife's side of the garage.
Seems like when ever you need a UPS package it gets delayed, and when you don't need it right away it comes early.
I went with the full set of bushings instead of just the inserts. Original plan was to buy the brackets with the bushings already pressed in from Way. He was out so I ended up with the bushing set and had to press my own. Found a shop that lets people come in and rent tools/space so I figured I would give it a shot.
I thought this was going to be more difficult and I was expecting to bend the bracket. Just gota support, find the right size to press and go slooooooow.
Way did recommend finding something to support the space in the bracket while in the press. Found a little piece of aluminum that fit perfect.
I put the metal sleeve in the freezer (another tip from Way) the night before and they slipped right in. Just need to make sure it's straight so it doesn't catch on in the gap between the two sides of the bracket. You can seed the gap in the next picture.
The poly bushings can get squeezed in by hand or by small threaded rod and washers.
Old vs New. Much much more support... there is no room for any flex/ twist here.
I've only driving the car once. I tromped on the brakes and the back end had no noticeable shimmy. We will see in if I notice any difference on the next track day.... but feels better to me. I think pressing in the full bushings vs. just the inserts was worth it. Especially knowing the rubber is getting close to 20 years old.
I also added a the poly bushing inserts to the lower engine mount. The result is a slight engine vibration in the steering wheel at idle now. Very slight so I'll probably leave it in, with the thought that the engine will move less under WOT.
Just finished a full string alignment in the garage. I will take feed back here but I've been going with these numbers I found in an old post here on NAM somewhere. Car has felt good so I've stuck with them.
Front Camber: Set with IE camber plates
Front Toe: Neutral (0˚ to -0.05˚ total), this is also called "zero toe" Rear Camber: -1.2 t o -1.3˚ Rear Toe: 1/16” total toe-in ( 0.07˚ per side, 14˚ total), to a max of .1 per side, .2 total This alignment was suggested to me by Jeff Bibee, owner of TSW (Texas Speedwerks prior to his selling the parts business to Way Motor Works). Jeff designed suspension bits, and was a fierce autocross competitor. It works well for a quick street car. If you have adjustable front camber plates, and choose less camber (de-camber more) in front, you could take the rear camber to a max of -1.5˚. (The disadvantage of adjustable plates on the street is that they are likely to get noisy over time.)
***If I do a track day, I'm going to try 2 - 2.25 degrees of camber in the rear now that I have adj control arms.
That's it for this weekend.
Alignment for autocross will be different from that for the track. For autocross the alignment will be to make the car less stable to facilitate sharp turns, in rapid succession. Basically you want a car that is slightly unstable in handling and can be readily provoked into oversteer when wanted. For the track (not racing) stability is a worthwhile commodity. Steering inputs will be smooth and slow. There will be little need to provoke oversteer and you definitely don�t want oversteer to happen in an unexpected situation (like hitting antifreeze at the apex of a 103mph corner. Ask me how I know ). With that I would highly recommend a factory alignment, especially in the rear, which determines the stability of the car.
For front toe, I would go with the factory, but feel free to target the factory minimum. Zero toe to a toe-out alignment is great for autocross as the front inside tire will bit more quickly, making for quicker turn-in. However, this is less good for the track as this also messes with the Ackermann geometry of the steering. That is, when fully in a turn the front inside tire will be turned to a smaller radius center point than the outside tire causing scrub between the two tires. Because of the weight transfer, the outside tire will dominate and the inside tire will scrub excessively.
For the rear, on the track you want stability. You want the factory toe-in.
Camber - Front for the street, -1.5 is a boatload of fun. For the track anything above -2 but not over -3 as you will loose contact patch and braking will suffer above that point. Remember that if you are changing camber, toe-in will change (adding camber will add toe-in) so that will need to be reset.
For the rear set camber at about -2 or more if you can get it out of the stock adjuster. For the track, you don�t want the tire rolling over onto its sidewall in a turn. That will likely cause the car to spin. Leave that setting for the street.
Eddie, Thank you again for sharing your knowledge.
Well I finally pulled the trigger and purchased coil-overs. After years of deliberation, I bought a set of Fortune Auto 500 series during the Black Friday sales.
Here's my list of factors:
Keep as much travel as possible while lowering an inch or so....
Adjustable ride height on the shock body vs. spring pre load to adj the ride height
linear spring rate ~ perferably Swift / Bilsteins are progressive.
Spring Rate: attempt to match to tires for track and comfort for street. (option to change springs in the future)
Width of front springs... bubble type have less room for camber and may need spacers. (JCW red springs with Koni Yellow have less room for camber adj)
Twin Tube vs MonoTube: hmmmm
Linear vs. Digressive damping. Lots of opinions out there.
Rebuildable & upgradable: if I ever upgrade springs or the mini becomes a track car.
Under $2000
Damper Adjustment: Compression and Rebound adj. Fortune is rebound adj. *Might not be possible under $2K
I did not get everything on this list but for my budget... I feel good.
Fortune Auto 500 coil overs for the r53
*Kit comes with adj front end links, front camber plates, (reuse rear top hats)
Swift 6K springs front and back (may change this in the future... but this felt like a good starting point even though the recommendations were to put a stiffer spring in the rear)
Rebound adj extenders for the rear. (need to drill a hole in the rear)
I had some very informative conversations with Geoff from Cygnus Performance as well as Fortune Auto directly
Here is some of my Q & A with Fortune Auto....
1. Spring rate recommendation: Your website says/recomends 6K & 6K. What would you say I was thinking of 5K and 5K Swift or Hyperco?
Personally, if you want to set this car up to have a bit less understeer, I would recommend staggering the spring rates, so for instance 5kg front and 6kg rear, or 6kg front and 7kg rear. If you decide upon a 5kg front, I would recommend increasing the shock travel from 97MM to 108MM to make up the difference in droop/compression settings. I think 5kg front and 6kg would be suitable for your needs (maybe a bit soft in the front).
2. Are Swift and Hyperco available in 5K or just the Fortune springs?
Yes, all options are available in that spring rate
3. Are the Fortune springs linear?
Yes, they are linear
4. Do you custom valve for this?
Yes, we valve for the spring rates that you select
5. My thought is I could start here in a couple years go up in spring rate if track more?
The 500 series has a 2kg +/- window of adjustment of spring rate change before we would recommend a re-valve service. This product is modular so, if/when this becomes more of a track day vehicle, we can convert this into the 510 series or if you want the 510 series to start with, we can offer this (but it would be outside of the range of pricing you mentioned).
6. Digressive damping curve going to be too much for the street?
No, the digressive piston on the 500 series is very compliant on the street
7. Adjusters are for the rebound only correct?
Yes, with the 500 series you are mainly adjusting rebound force, with very little compression adjustment happening
8. Does the kit come with front end links for the sway bar?
Yes, it does come with front endlinks and front camber plates. You will need to re-use your OEM rear top hat, and I would recommend adding rear extenders to this kit.
I will post more when I get the coil-overs installed, but I think I'm going to be happy with my choice.
Randy Pobst has written some great articles over the years concerning cars setup to �oversteer� vs �understeer�. As a national champion race car driver, several times over, he prefers a car that understeers to some extent. This setup allows him to take advantage of being able to trail brake heavily in corners. Trailbraking, whether in a FWD or RWD car, will decrease the understeer in a car. So a car that is setup to understeer, slightly, will become neutral with trailbraking. Trailbraking allow for later braking and more time on the gas in a straight line. If a car is setup to readily transition to oversteer, then heavy trailbraking will cause the car to spin. The remedy for that is to straight line brake and get on the gas before the apex of a turn. Also, necessitates earlier braking and less time on the gas. Not the ideally fastest way through a corner or around the track. Gas on increases understeer, braking and gas off reduces understeer.
I am going to suggest to go back to some earlier discussions here and the following posts about the addition of camber up front along with the 22mm sway bar in the rear. Adding springs in the rear that are stiffer than those in the front is the same as further increasing the size of the rear sway bar, and that will have much the same dynamic effect as adding camber up front. Remember increasing the roll stiffness of the rear increases the traction at the front at expense of traction in the rear and traction at the rear determines the dynamic stability of a car. Less traction at the rear means less stability. Ideally a large swaybar in the rear should be paired with a large swaybar and/or stiffer springs in the front to retain the car�s stability.
There is another consideration, that is stiffening the roll stiffness of the front of the car along with the rear of the car will actually reduce understeer. The body roll of the car reduces the camber of the outside front wheel. This can easily go to zero or positive. Not ideal. Increasing only the roll stiffness of the rear of the car does little to reduce the body roll of front of the car. But more roll stiffness in the front will reduce the camber change in a corner, thus reducing understeer.
Some of this can be mitigated by the adjustment of the shocks. Full stiffness in the front full soft in the rear. But I am not sure that with 5 & 6 kg springs front and rear there will be enough adjustment in the shock to compensate for the stiffness of the rear of the car. My experience with this is with a R56 Cooper with a 22mm RSB and Ohlins coilovers, which have stiffer front springs than rears. On first try with that setup, the driver said �this car is trying to kill me�. Fortunately there was enough adjustment in the shocks to compensate for the RSB, and it worked out well for him.
Seat time and instruction (professional if possible) is the best cure for understeer. Early on I went with conventional wisdom to �cure� the understeer in my MINI with a 20mm RSB. A spin in a 90 mph dogleg on a track sent me back to the drawing board. That took me to the R56 setup I have in my signature after spending about 3 yeas on the track with MINIs stock JCW suspension. I learned a lot with that stock suspension, much of that had to do with learning how to tame the understeer.
My suggestion would be to switch the springs around to 6 and 5 kg front/rear. You can use the shock adjustment to modify that. Then you can always switch out springs as your abilities progress.
Eddie... Once again, your 2 cents is worth about $200
1) You might be right 6K in the rear could be a little stiff with the 22mm bar. I'm inquiring about 5K Swift springs for the rear. I'm not sure if they have shipped yet but worth asking.
2) What about changing to a 19mm rear sway bar with 3 holes of adjustment? I could then start with the softest at 19mm and with my 22mm bar I would have 6 steps of increased roll stiffness.
Here is some really crude math based on some random (maybe BS) numbers I found somewhere along the way back when I was researching 22mm sway bars.
OEM Stock Bar (17mm ) Baseline For Rate / Effective Rate =117 LBS/IN ALTA 19mm Bar Setting #1 115% Higher Rate / Effective Rate =135 LBS/IN ALTA 19mm Bar Setting #2 140% Higher Rate / Effective Rate =165 LBS/IN ALTA 19mm Bar Setting #3 177% Higher Rate / Effective Rate =208 LBS/IN ALTA 22mm Bar Setting #1 213% Higher Rate / Effective Rate =250 LBS/IN ALTA 22mm Bar Setting #2 260% Higher Rate / Effective Rate =305 LBS/IN
ALTA 22mm Bar Setting #3 329% Higher Rate / Effective Rate =386 LBS/IN
My current set up is 22mm rear bar on the middle setting. 305lbs/in
The stock rear springs on the Mini are 2.5K ish but progressive. (again, not sure where I go this number)
That would make my rear stiffness between springs and sway bar to be 140lbs + 305lbs = 445lbs/in but getting progressively stiffer the farther I push the rear springs.
The 6K rear springs I would have with the Fortune Auto (not apples to apples but let me play this out) with the lowest setting on the 22mm bar would be 336lbs + 250lbs = 586lbs/in. that's 140lbs/in more than stock (progressive vs. linear as well as damping not taken into account)
Might be tooo much for the Mini's rear end, but it's also relative to the front stiffness.
The 6K springs matched with the lowest setting on a 19mm bar would be 336lbs + 135lbs = 470lbs/in. That is a lot closer to over all stiffness I had...but relative to the new front spring and sway bar combo... I may need more from the sway bar.... which I will have.... but I will also have a safe starting point with solid understeer. Correct?
Does this thought process have any validity?
Get 5K springs or a 19mm sway bar?
Which is a better route springs or sway bars? (Looking for input from those who have tried / tested different combinations)
First off, I think going back to a 19mm RSB is a great idea.
Second, with all of those calculations you still don�t know what it means for the handling of the car. The fact of the matter is that handling is way more complicated than that. It all needs to be simplified so it can be evaluated by the DIY�er, like us. Here�s what I did:
After following conventional wisdom with my first R56 (that didn�t end well), I bought my second with the base JCW suspension, figuring the BMWMINI engineers did know what they were doing, and found it to be really good on the track with a tolerable and usable amount of understeer. Far better than the S suspension. When I was looking to upgrade the suspension in that car my desire was to retain that handling characteristic. This was a very usable goal As I was looking to only change out the sway bars at that time I figured that I would retain the MINI design front to rear stiffness ratio while going to stiffer bars.
It also dawned on me that the BMW/MINI engineers have already done all of the hard work in designing the various suspensions for this car.
Because of the convoluted bends in the sway bars it is not an easy task to calculate the actual ft-lb spring rate. However, because the only change is the radius of the bars and the shape of the bars all remain the same, then only comparison that needs to be made is the effect of the change in radius of the various bars. That factor is r^4. And you need to know the diameter of all of the bars. If I remember correctly the front bar for the JCW sport is 23.5mm, the JCW base bar is 23mm, the S bar is 22 and the base Cooper bar is 21mm. Now just compare, say the JCW 23mm front bar to its 18mm rear bar:
(23/2)^4 / (18/2)^4
and that will give you a target front to rear stiffness ratio for the sway bars alone. Ok it is not exact as the front and rear bars are different shapes, it will get you into the ball park.
You can do the same with the springs using the spring rates. Just make sure you get about the same ratio as with the sway bars. This all should get you into the same ball park as the MINI engineers designed the car�s handling.
Also if you look at the JCW sport suspension (this is the one that came with the Red springs), you will notice that the font to rear stiffness ratio for the its sway bars is proportionally more towards the rear than any of the other MINIs. This actually makes for a really good handling MINI for the track. My suspension with the 25mm hollow rear bar and 27mm front bar gives me, proportionally, just slightly more stiffness in the rear than that MINI suspension, with my rear bar set on the stiffest setting. I�m still on the softest setting and having fun.
[QUOTE
It also dawned on me that the BMW/MINI engineers have already done all of the hard work in designing the various suspensions for this car.[
/QUOTE]
All well and good, but remember that engineers working for Mini's liability Insurance carrier are standing over the Mini suspension team, directing them as to what they can and cannot do......
Also, Mini Sales staff tell the suspension team that they must design to meet the expectations of the average consumer.....


 The option that I had to go to in that case was to install a thru bolt with a nut on the end. That was a bit of a PIA.


 )...
)...


