
R50/53 2004 R53 Build Thread

Thread Starter
|
2nd Gear
Joined: Nov 2015
Posts: 117
Likes: 25
From: Austin, TX
2004 R53 MC40 Build Thread
Quick note: if this is the first time you've seen my thread, welcome! I just want to give you a heads-up that my car has made several changes over the years, both mechanically and visually. It recently came to my attention that people might be upset that my car is an MC40 and instead of preserving it to keep its value I've had fun building it into the car I want. If that bothers you, my apologies, but I have been having a lot of fun in working on my car over the years.
Howdy everyone!
I've seen a few of these pop up and it seems like there's a general interest in project cars. I've been semi-documenting mine so figured I'd upload what I have.
I should note, this is my first foray into really anything mechanical. I've done some basic oil changes and brake pad changes before this.
Second note, my apologies for the long read!
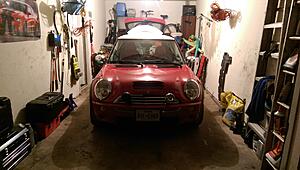
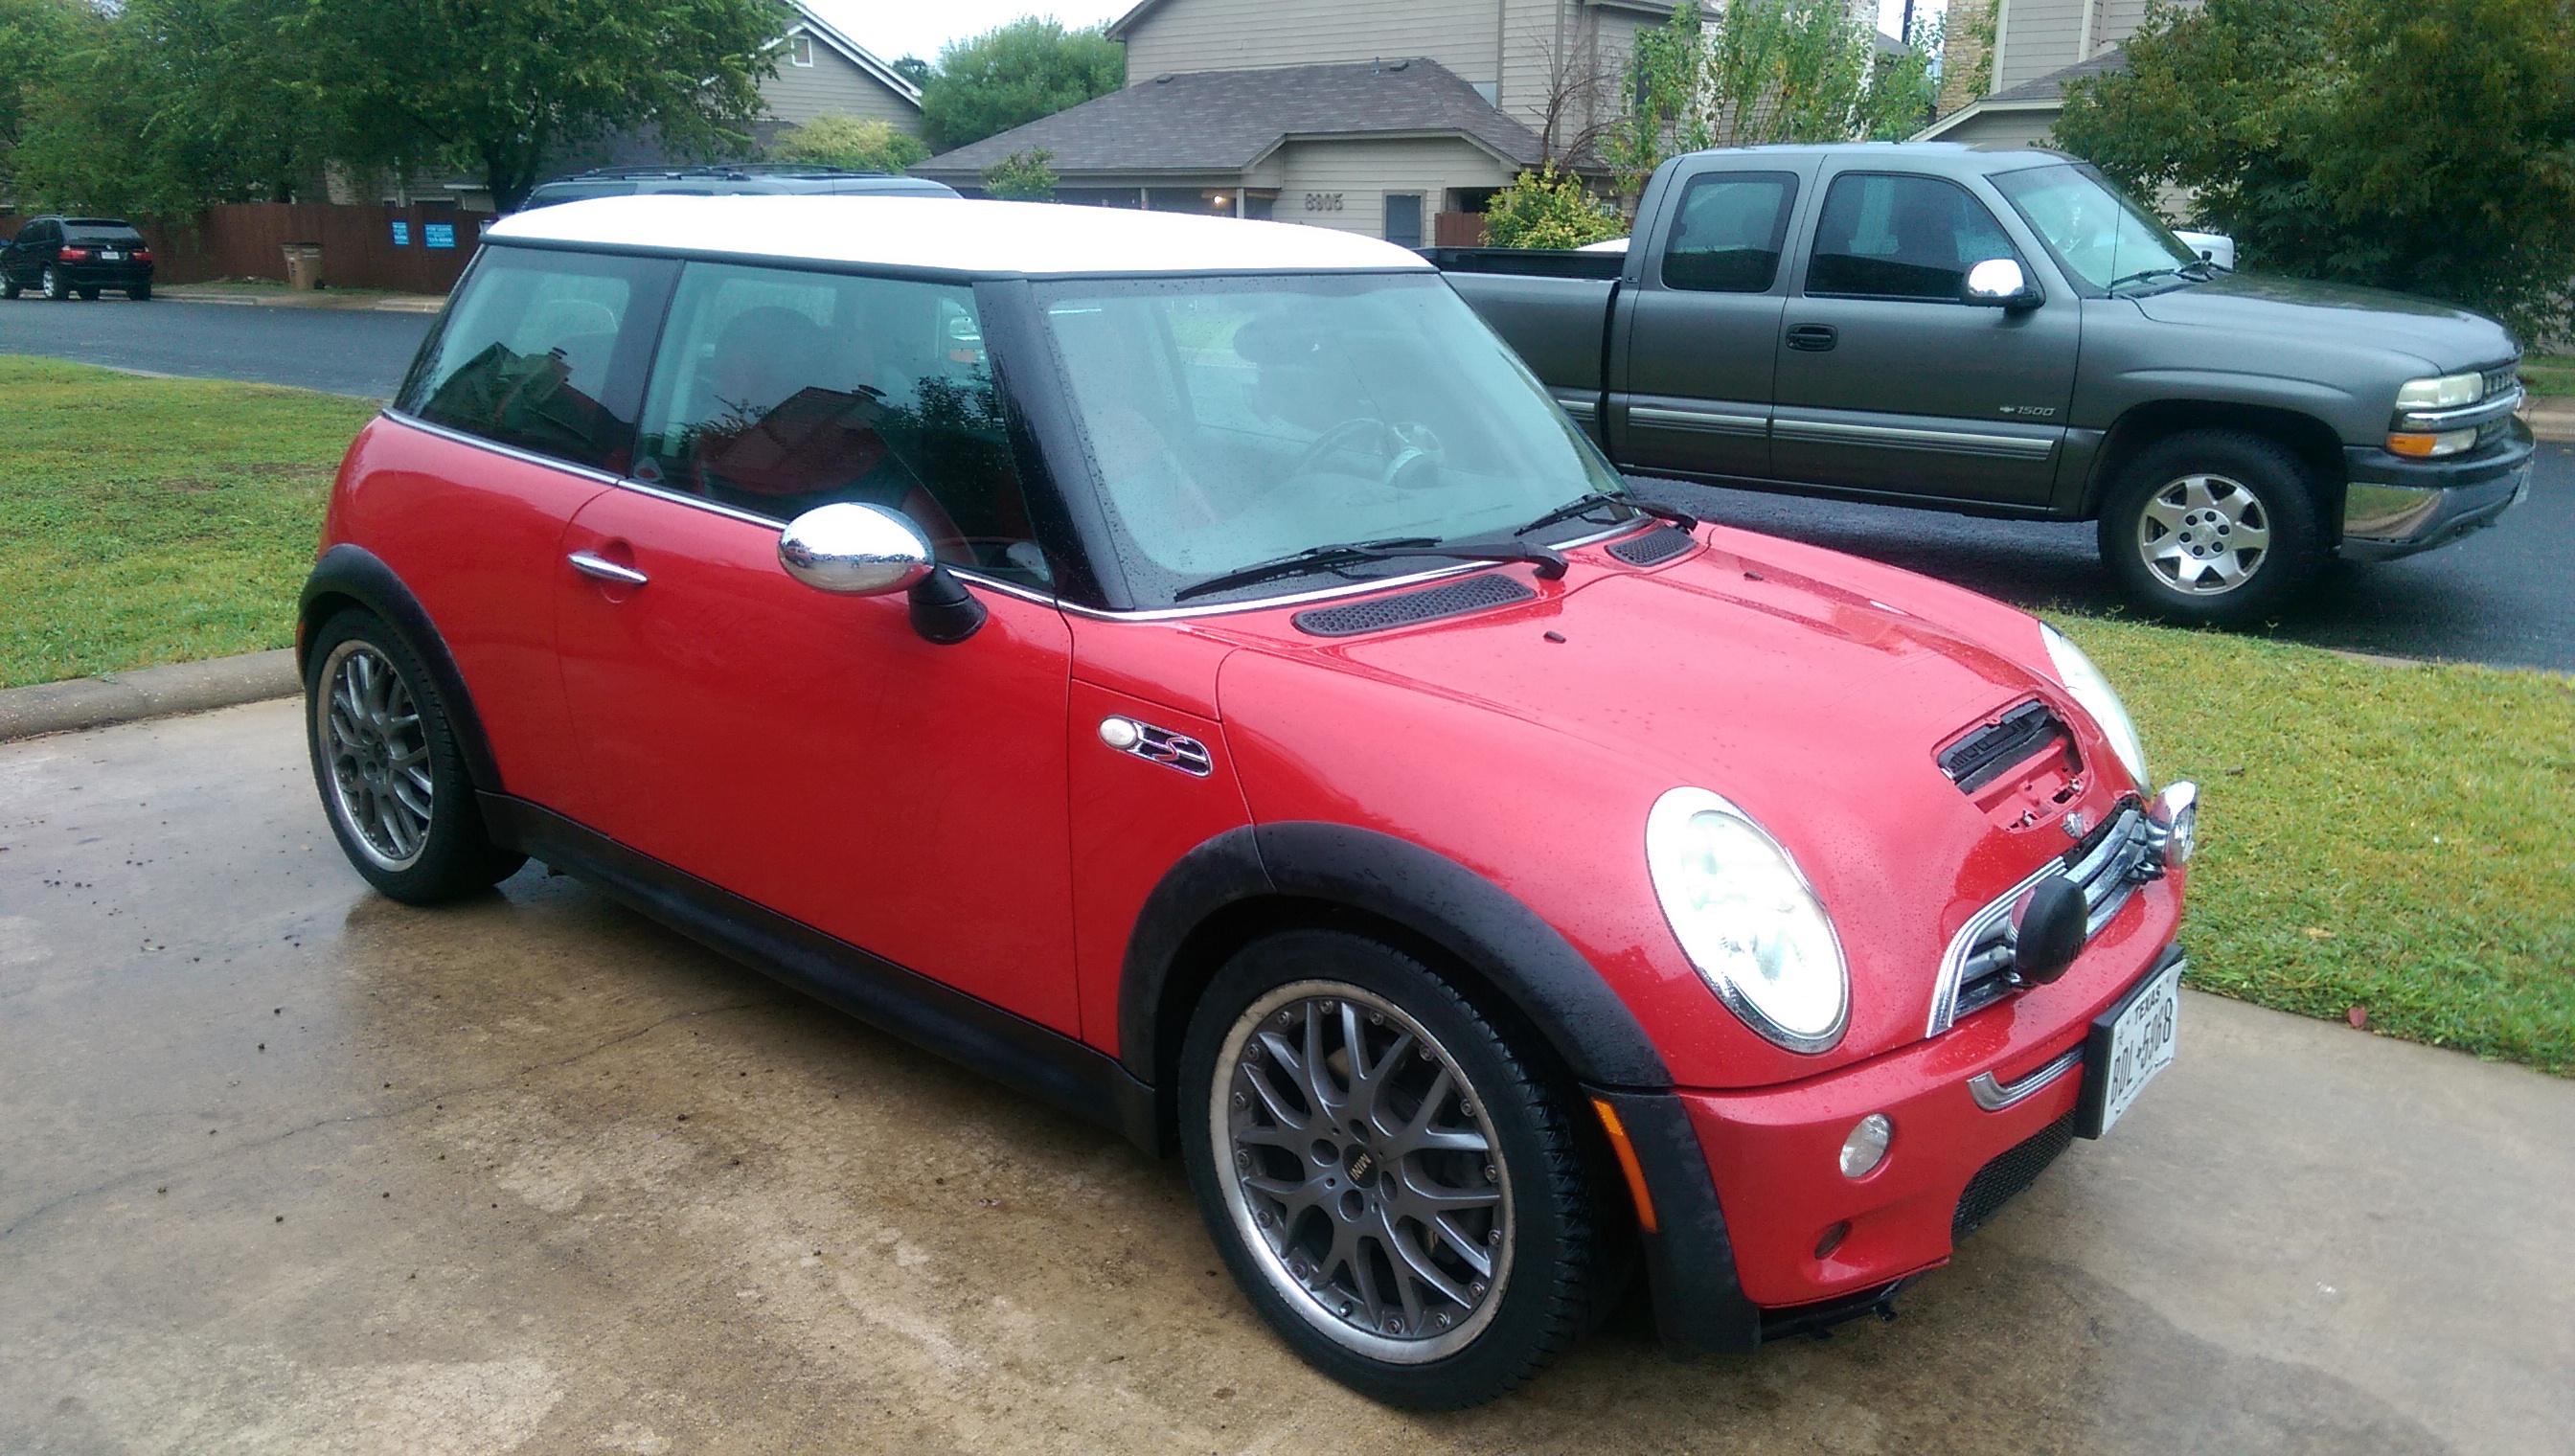
My mother got into a small front-end accident with her 2004 Chili Red R53. Due to the car having 100k miles on it, the insurance company totaled it out. They offered her $7k and the car or $8k and no car. I'd driven it before in the state it was in now and knew it ran and didn't have any body issues, so I told my mom I'd buy it for $1,000 and she agreed. It also had practically brand new tires on it.


I took it to Firestone to get an oil change (didn't want to deal with the disposal of the oil and yeah, again, not too mechanical) and they pulled me off to the side to tell me the drain plug was currently inhabited by a spark plug and they wouldn't touch it in case the pan threads were damaged. He also pointed out some massive oil leaks under the chassis and told me I was better off selling it or trading it in on a new car. It also had thrown a few codes as well that needed to be addressed (camshaft/crankshaft sensors).
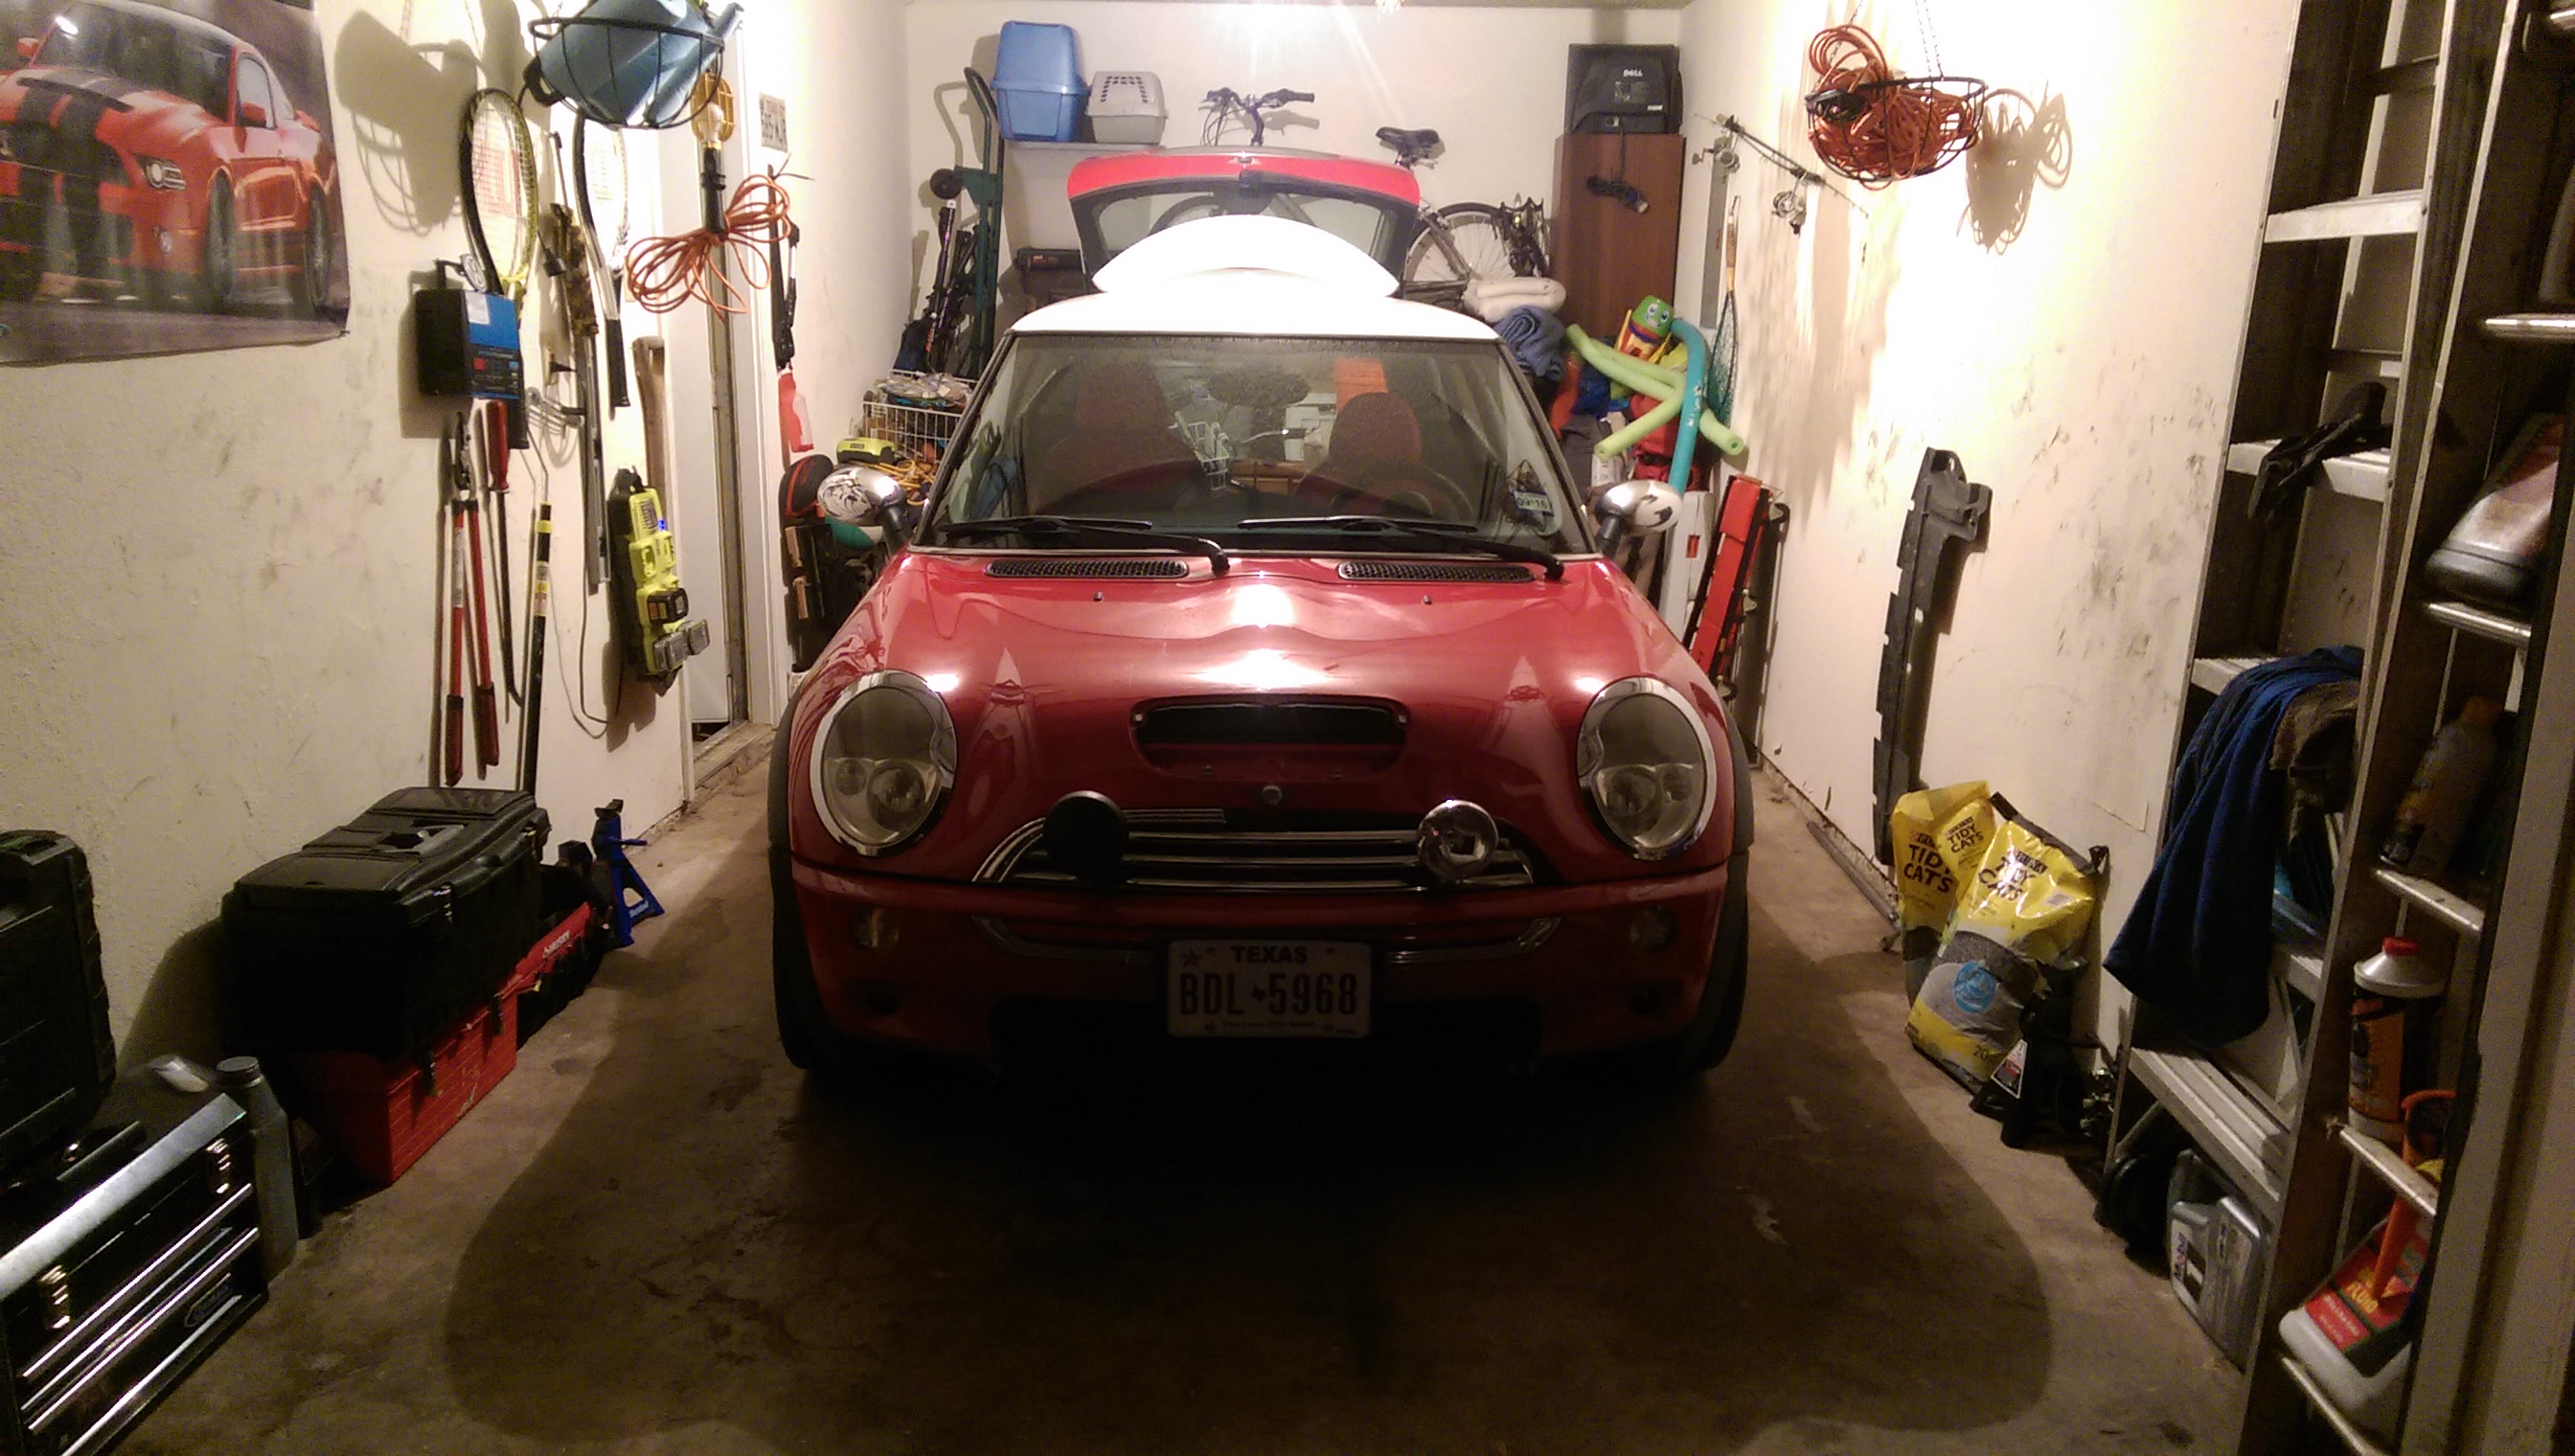
At this point I was really frustrated but my beautiful and intelligent wife told me that it was a project/hobby car, to take my time and it could sit in the garage while I fixed it if necessary. I also found this beautiful YouTube channel inhabited by someone named ModMini. With his help I was able to put it in to front end service mode and replace the crankshaft and camshaft sensors. This was my first "mechanical" thing I've ever done.
A few weeks later I started having an issue where I would mash on the pedal and the RPM's would skyrocket but the car wouldn't go any faster. I also had an issue with a loud creaking coming from the front passenger side strut every time I turned. I took it to Mini of Austin with my fingers crossed that it was just belt slippage (belt looked fine though) and they gave me the dreaded news: the clutch was bad and they wanted $2,300 to fix it.
I, again, got overly frustrated but was talked down, again, by my wife. I watched the ModMini videos for the clutch replacement over and over and over again and decided: I can do this.
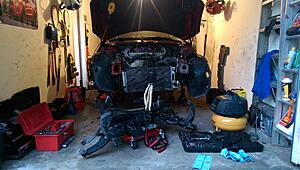
And so, it began:
Up on jacks the next day:
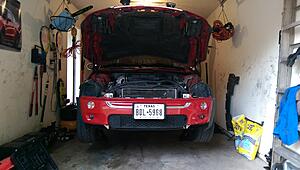
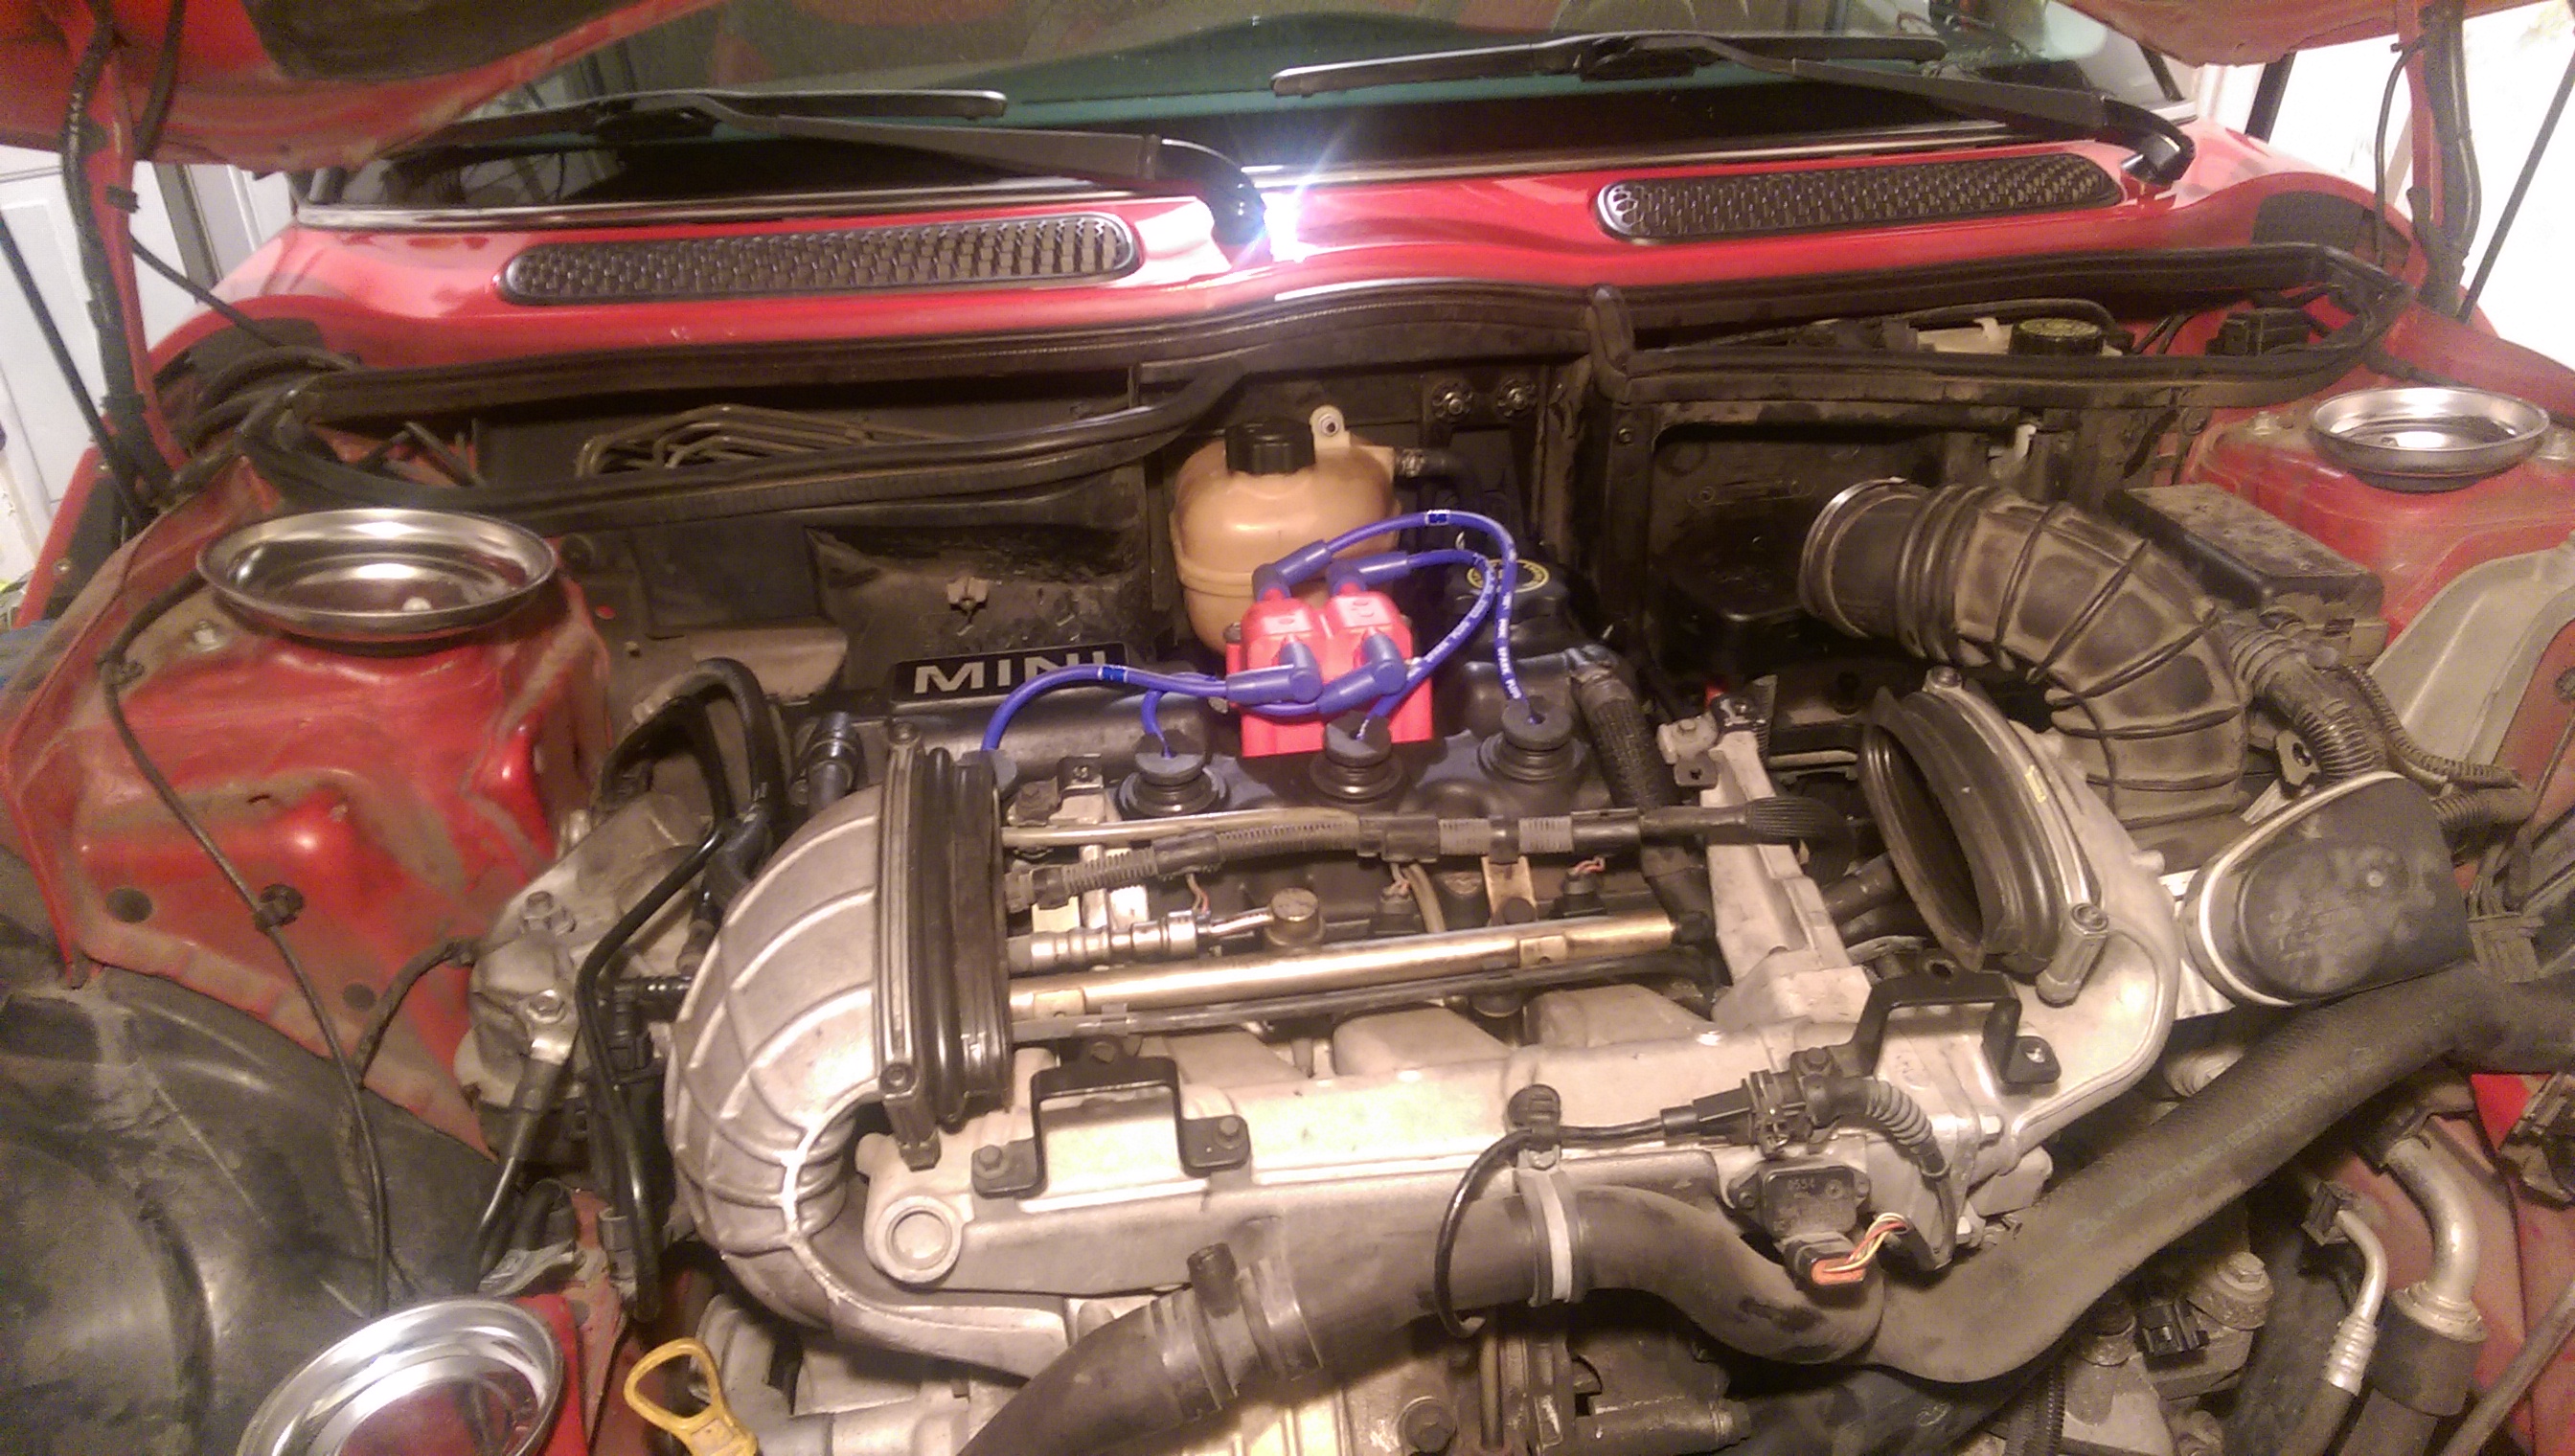
Front end service mode:
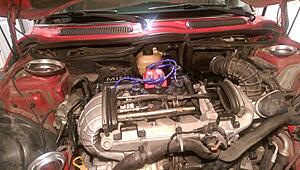
I noticed one of the distributor cap ends was rusted out and wasn't making any contact, so went ahead and replaced that badboy. While replacing the spark plugs I noticed there was oil seeping into one of the reservoirs so I went ahead and replaced the valve cover gasket and the spark plug gaskets:
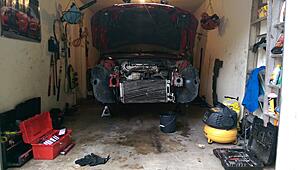
Subframe OUT!
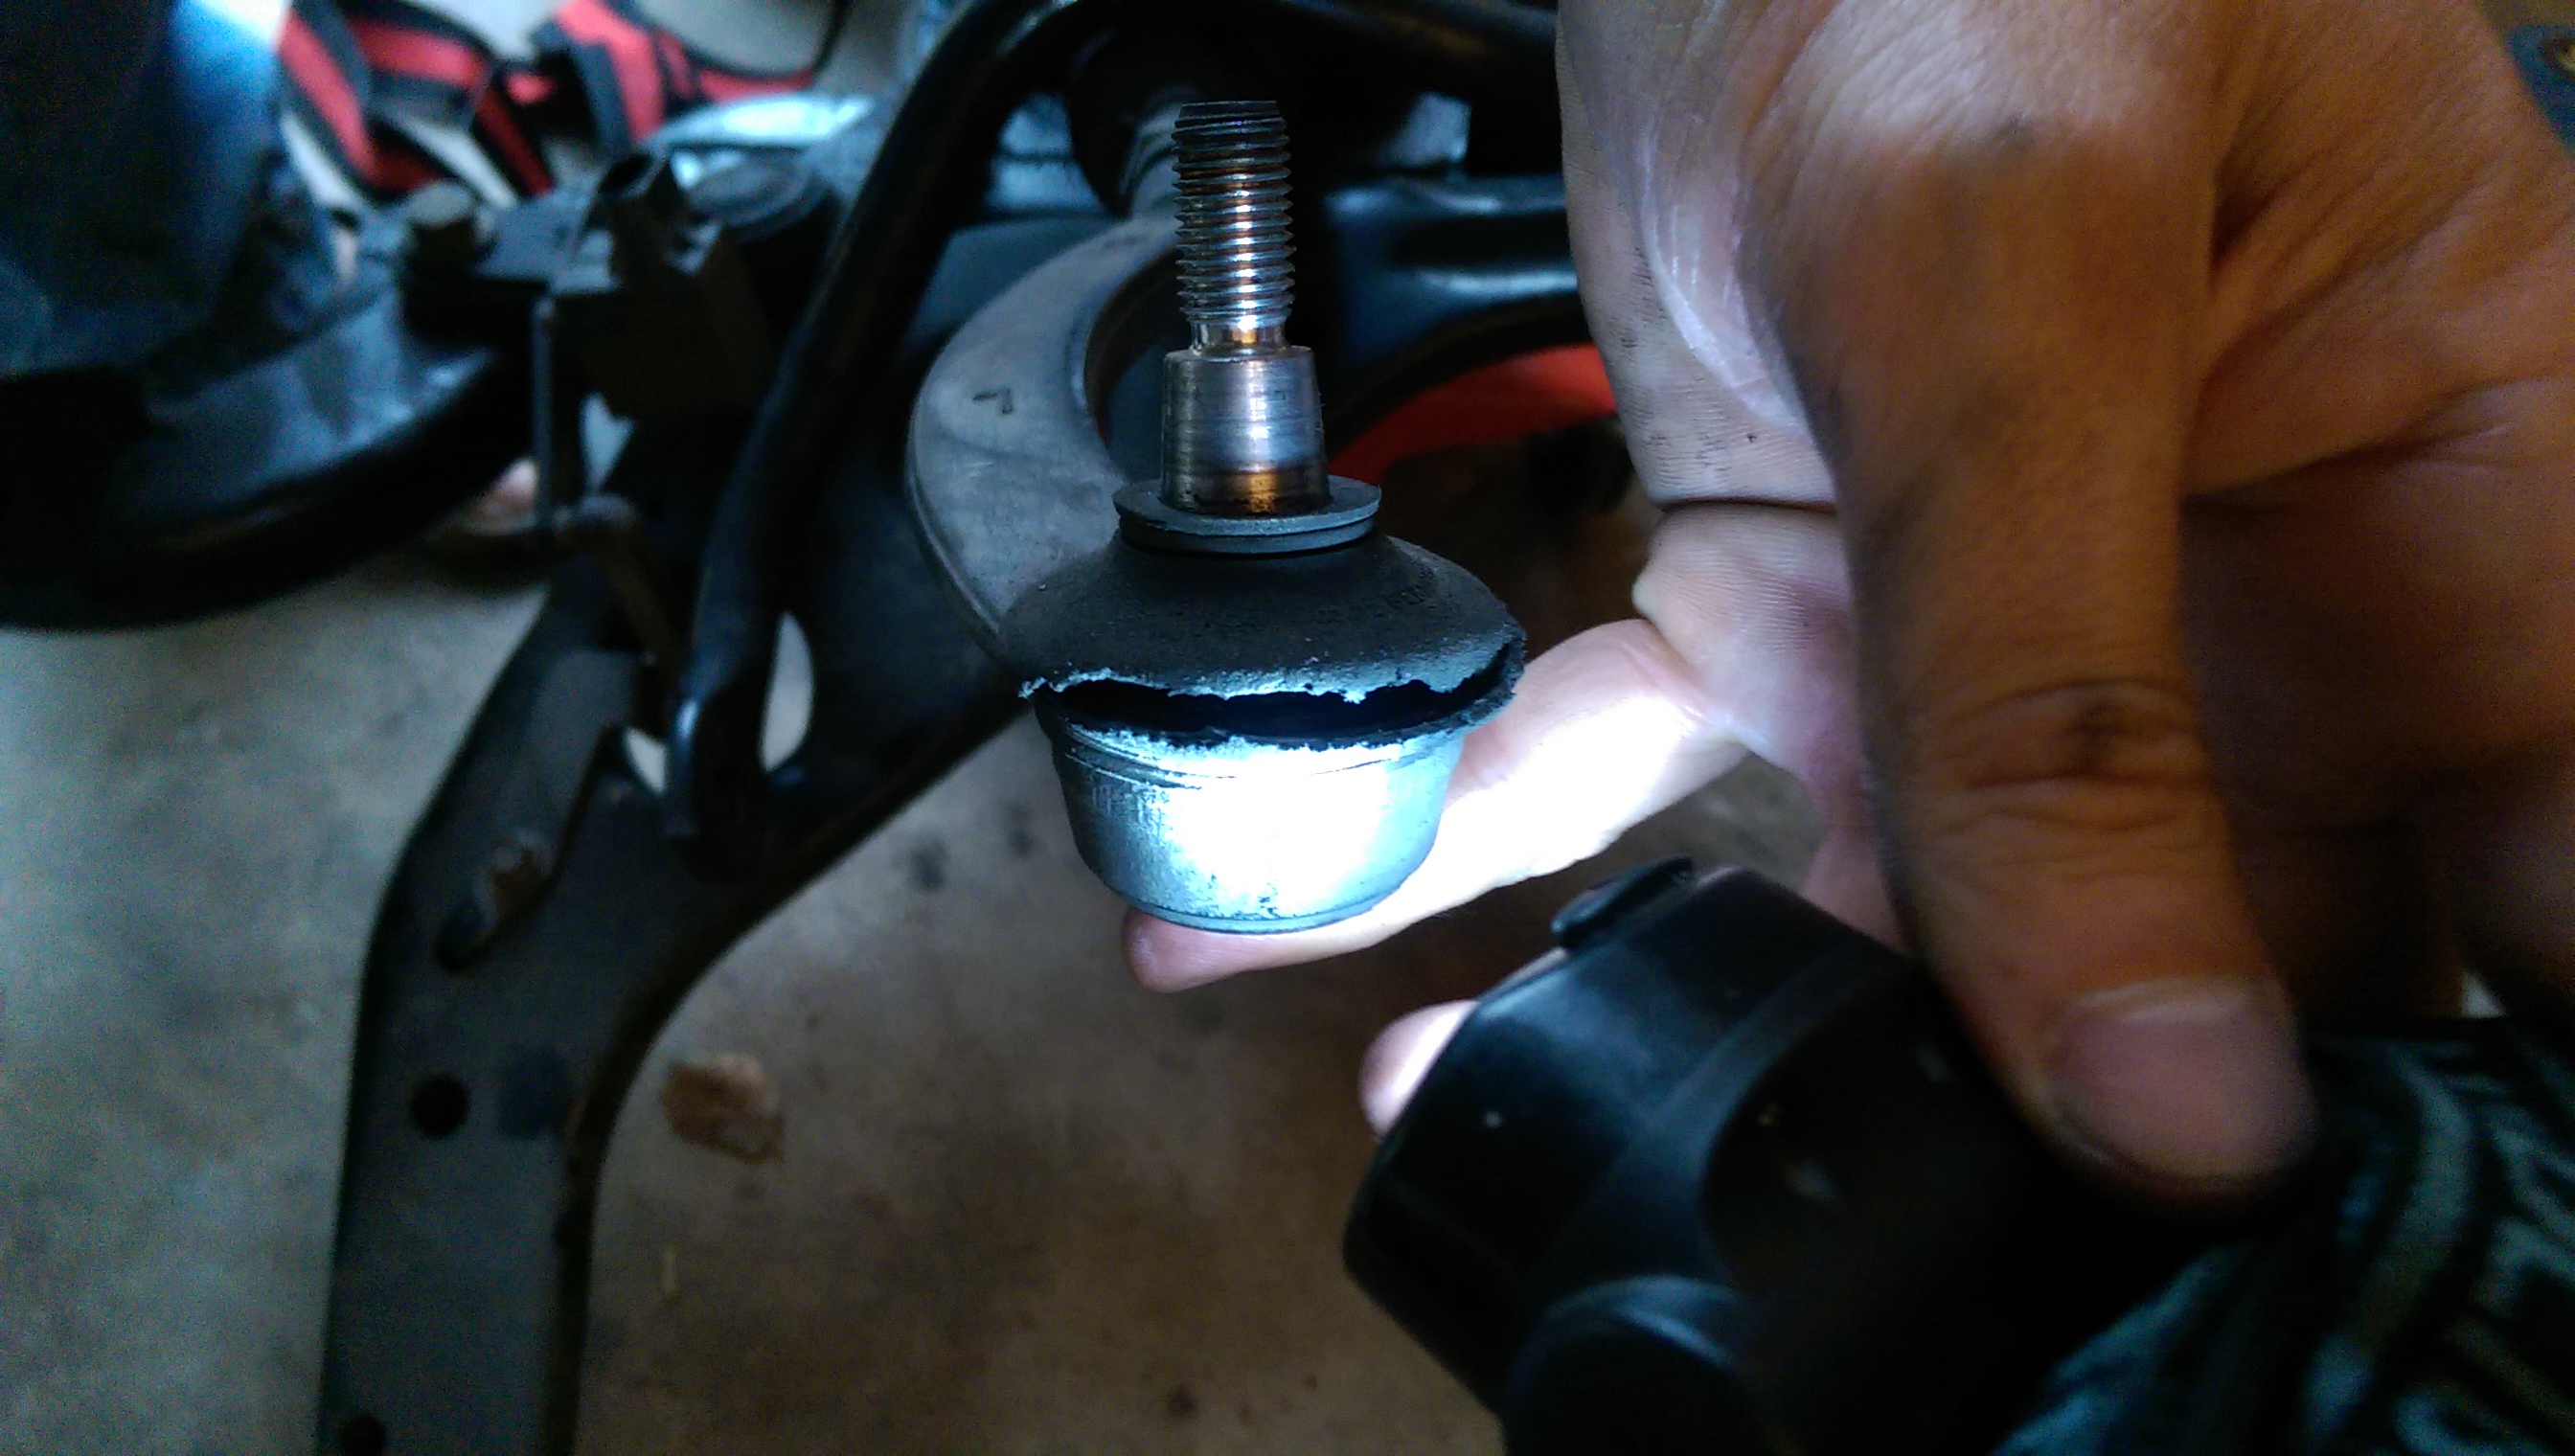
Most of the ball joints were pancaked:
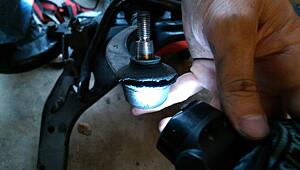
So I went ahead and ripped them all out, including the LCA bushings. I'm waiting until the 15th to order the new Powerflex bushings from WMW.
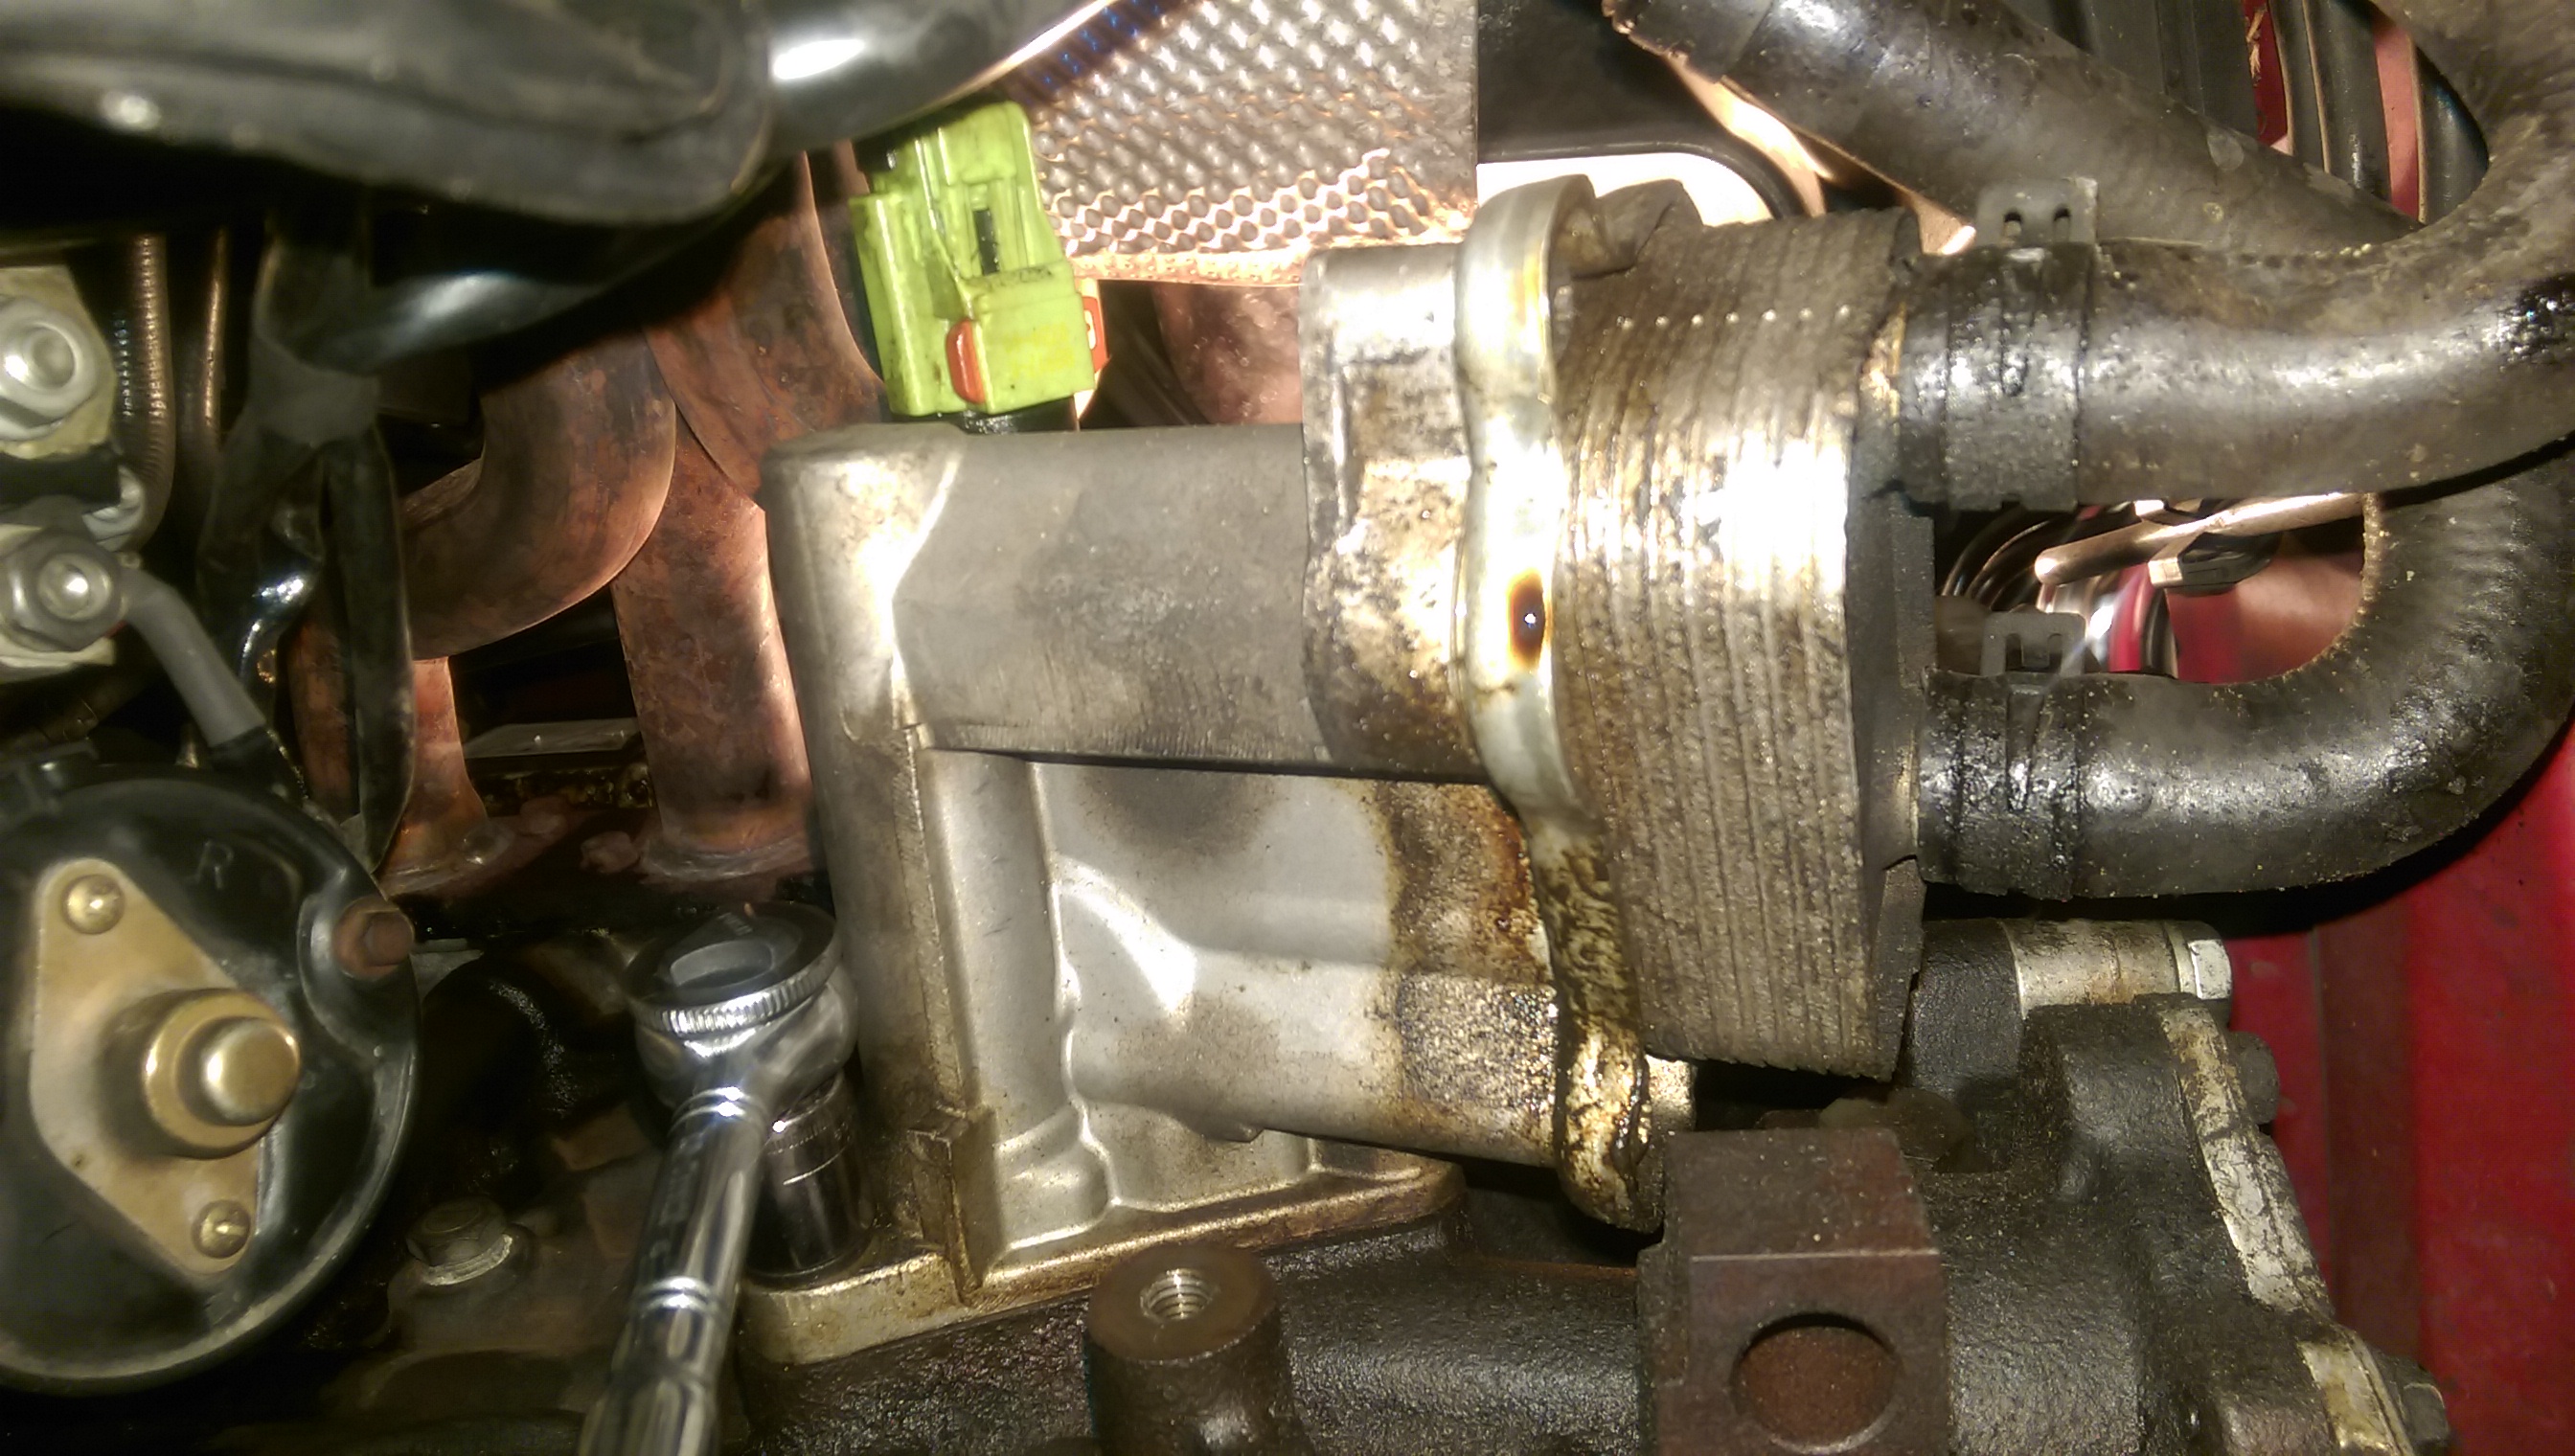
Now that I'm working on the car I'm starting to get a little more mechanically sound. I noticed some oil dripping from a few places...might as well replace the gaskets while I'm down there.
Fuel filter (Note: This apparently is an extremely common failure in R53's. Make sure you replace the intercooler gaskets while you're down there as ModMini's video doesn't mention it):
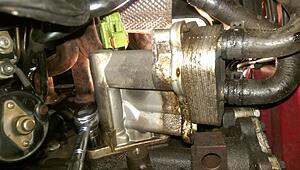
Oil pan:
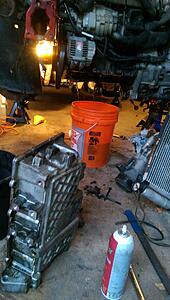
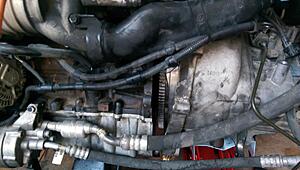
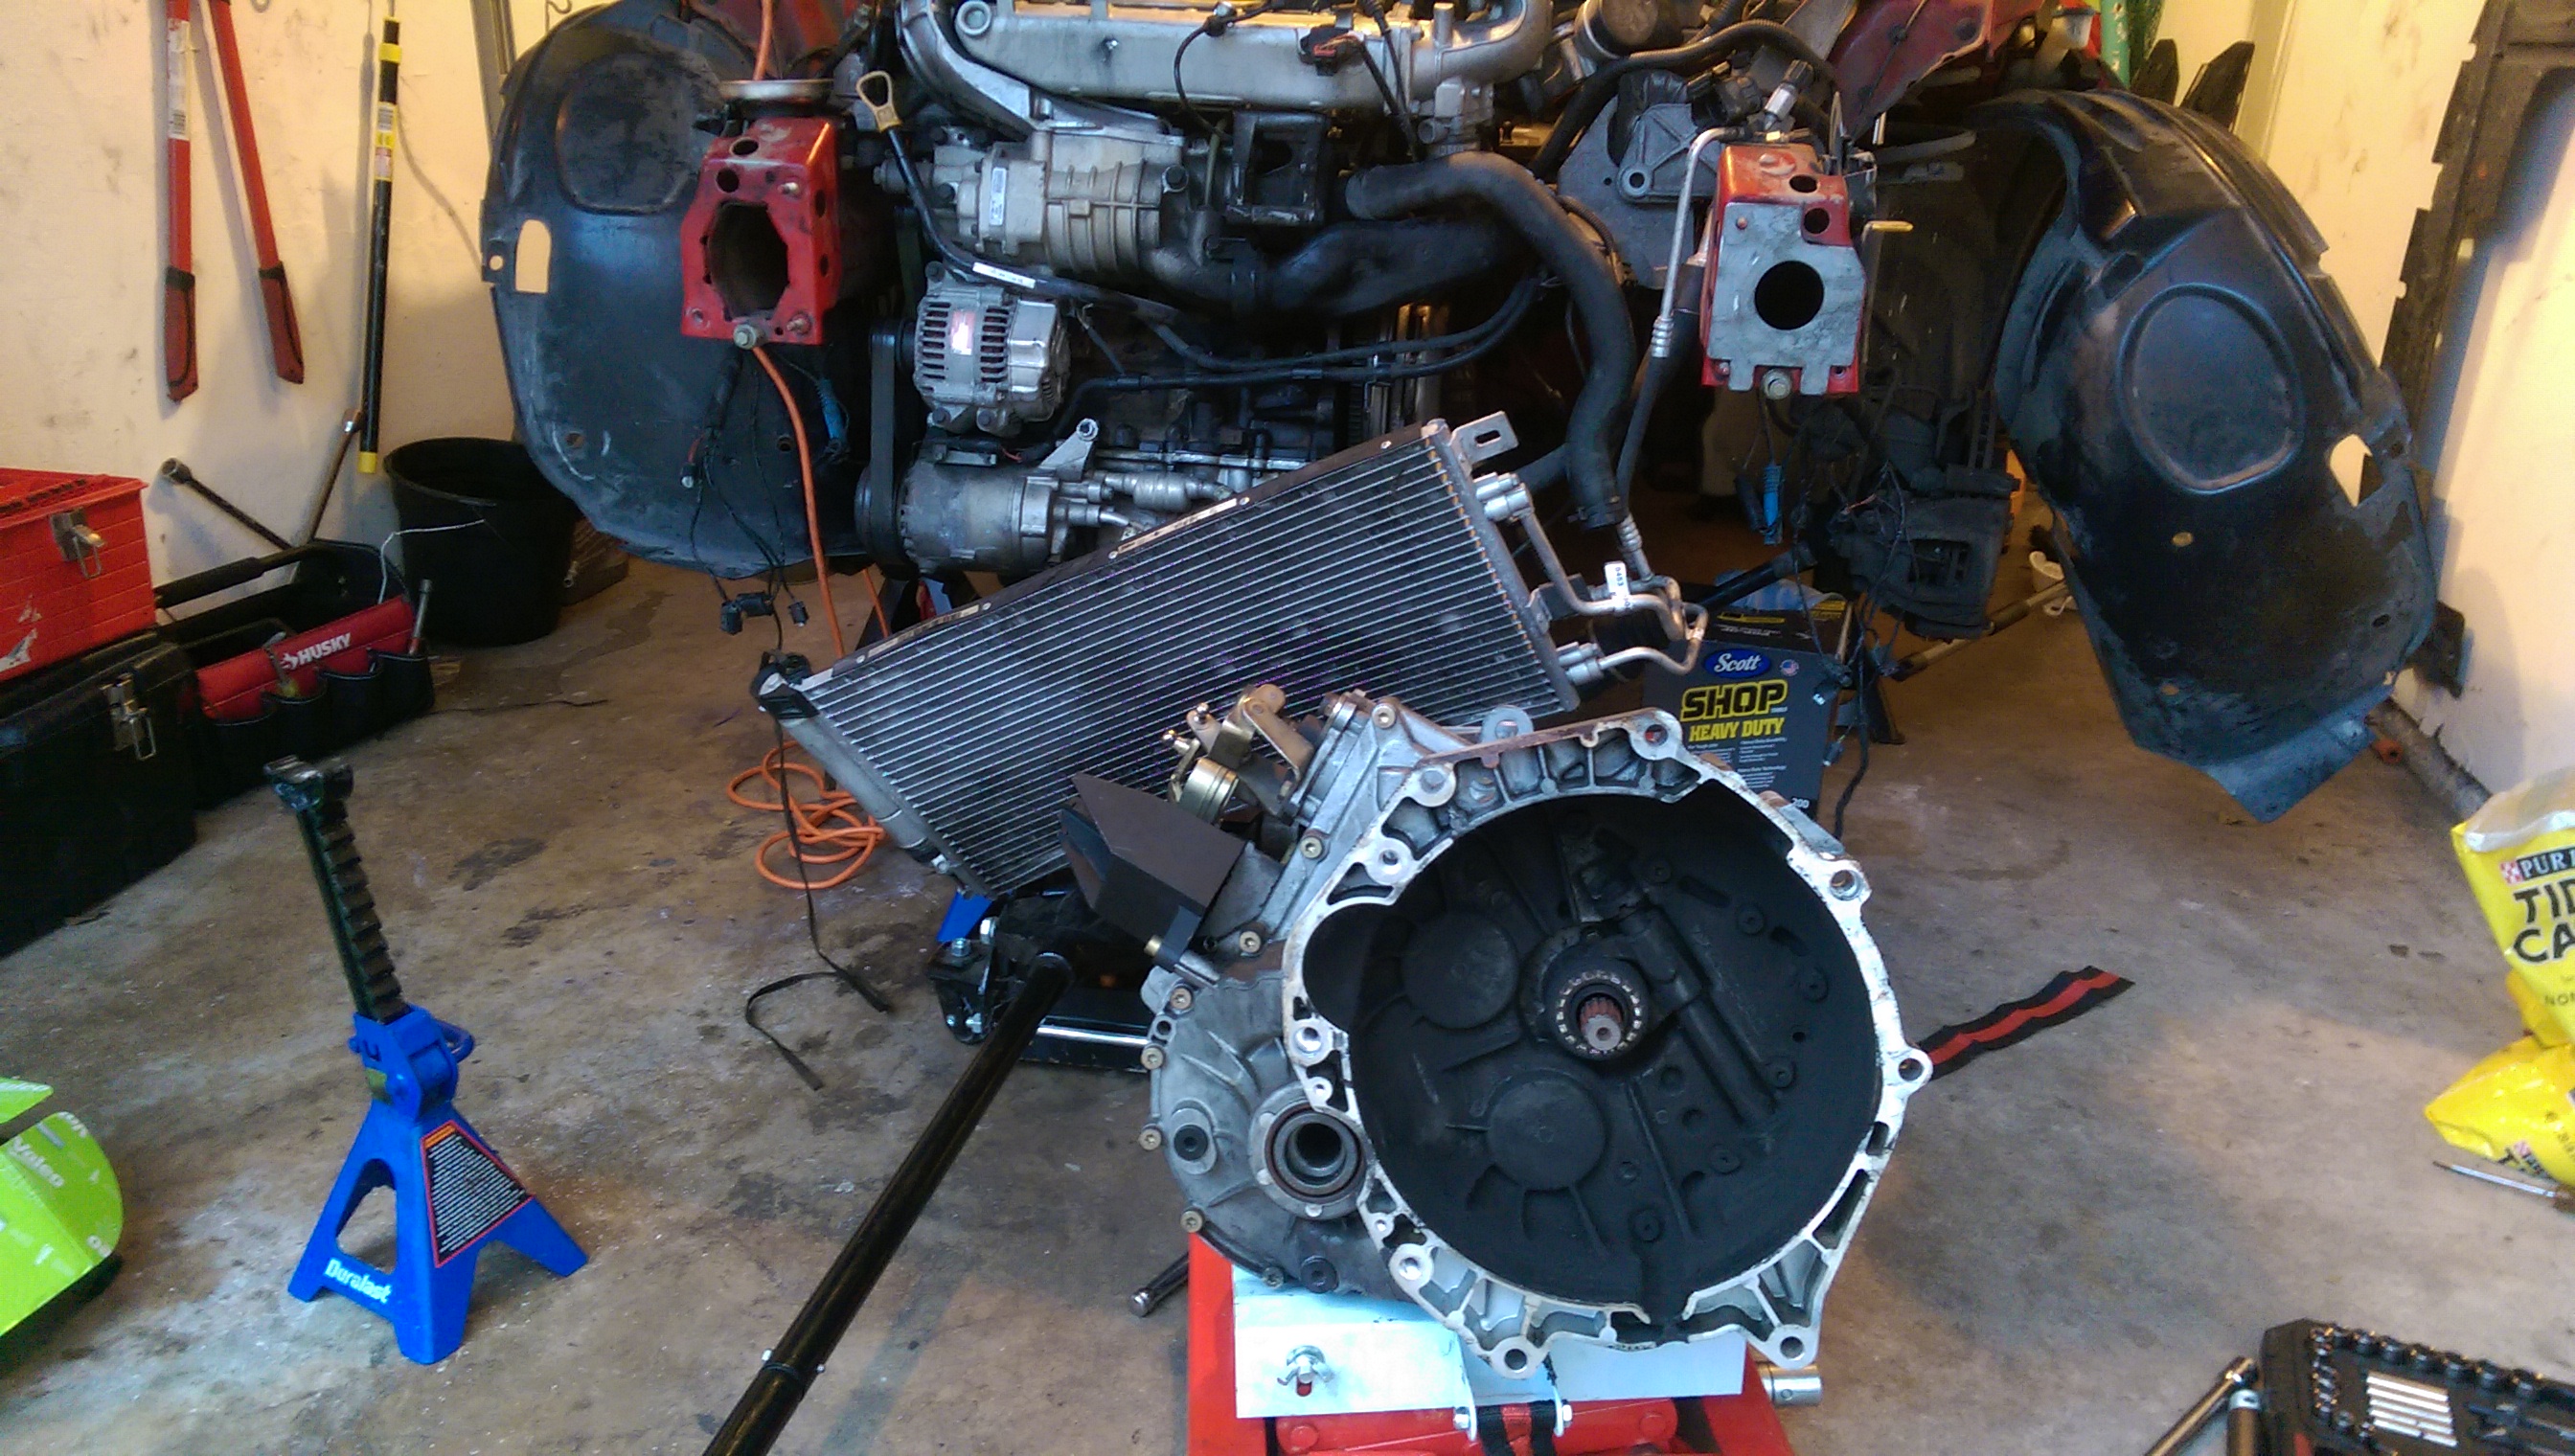
After tons and tons of finagling (stupid upper bell housing bolts were a PITA), finally got the transmission off:

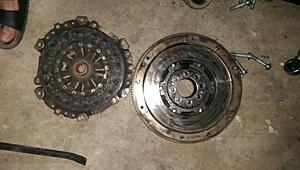
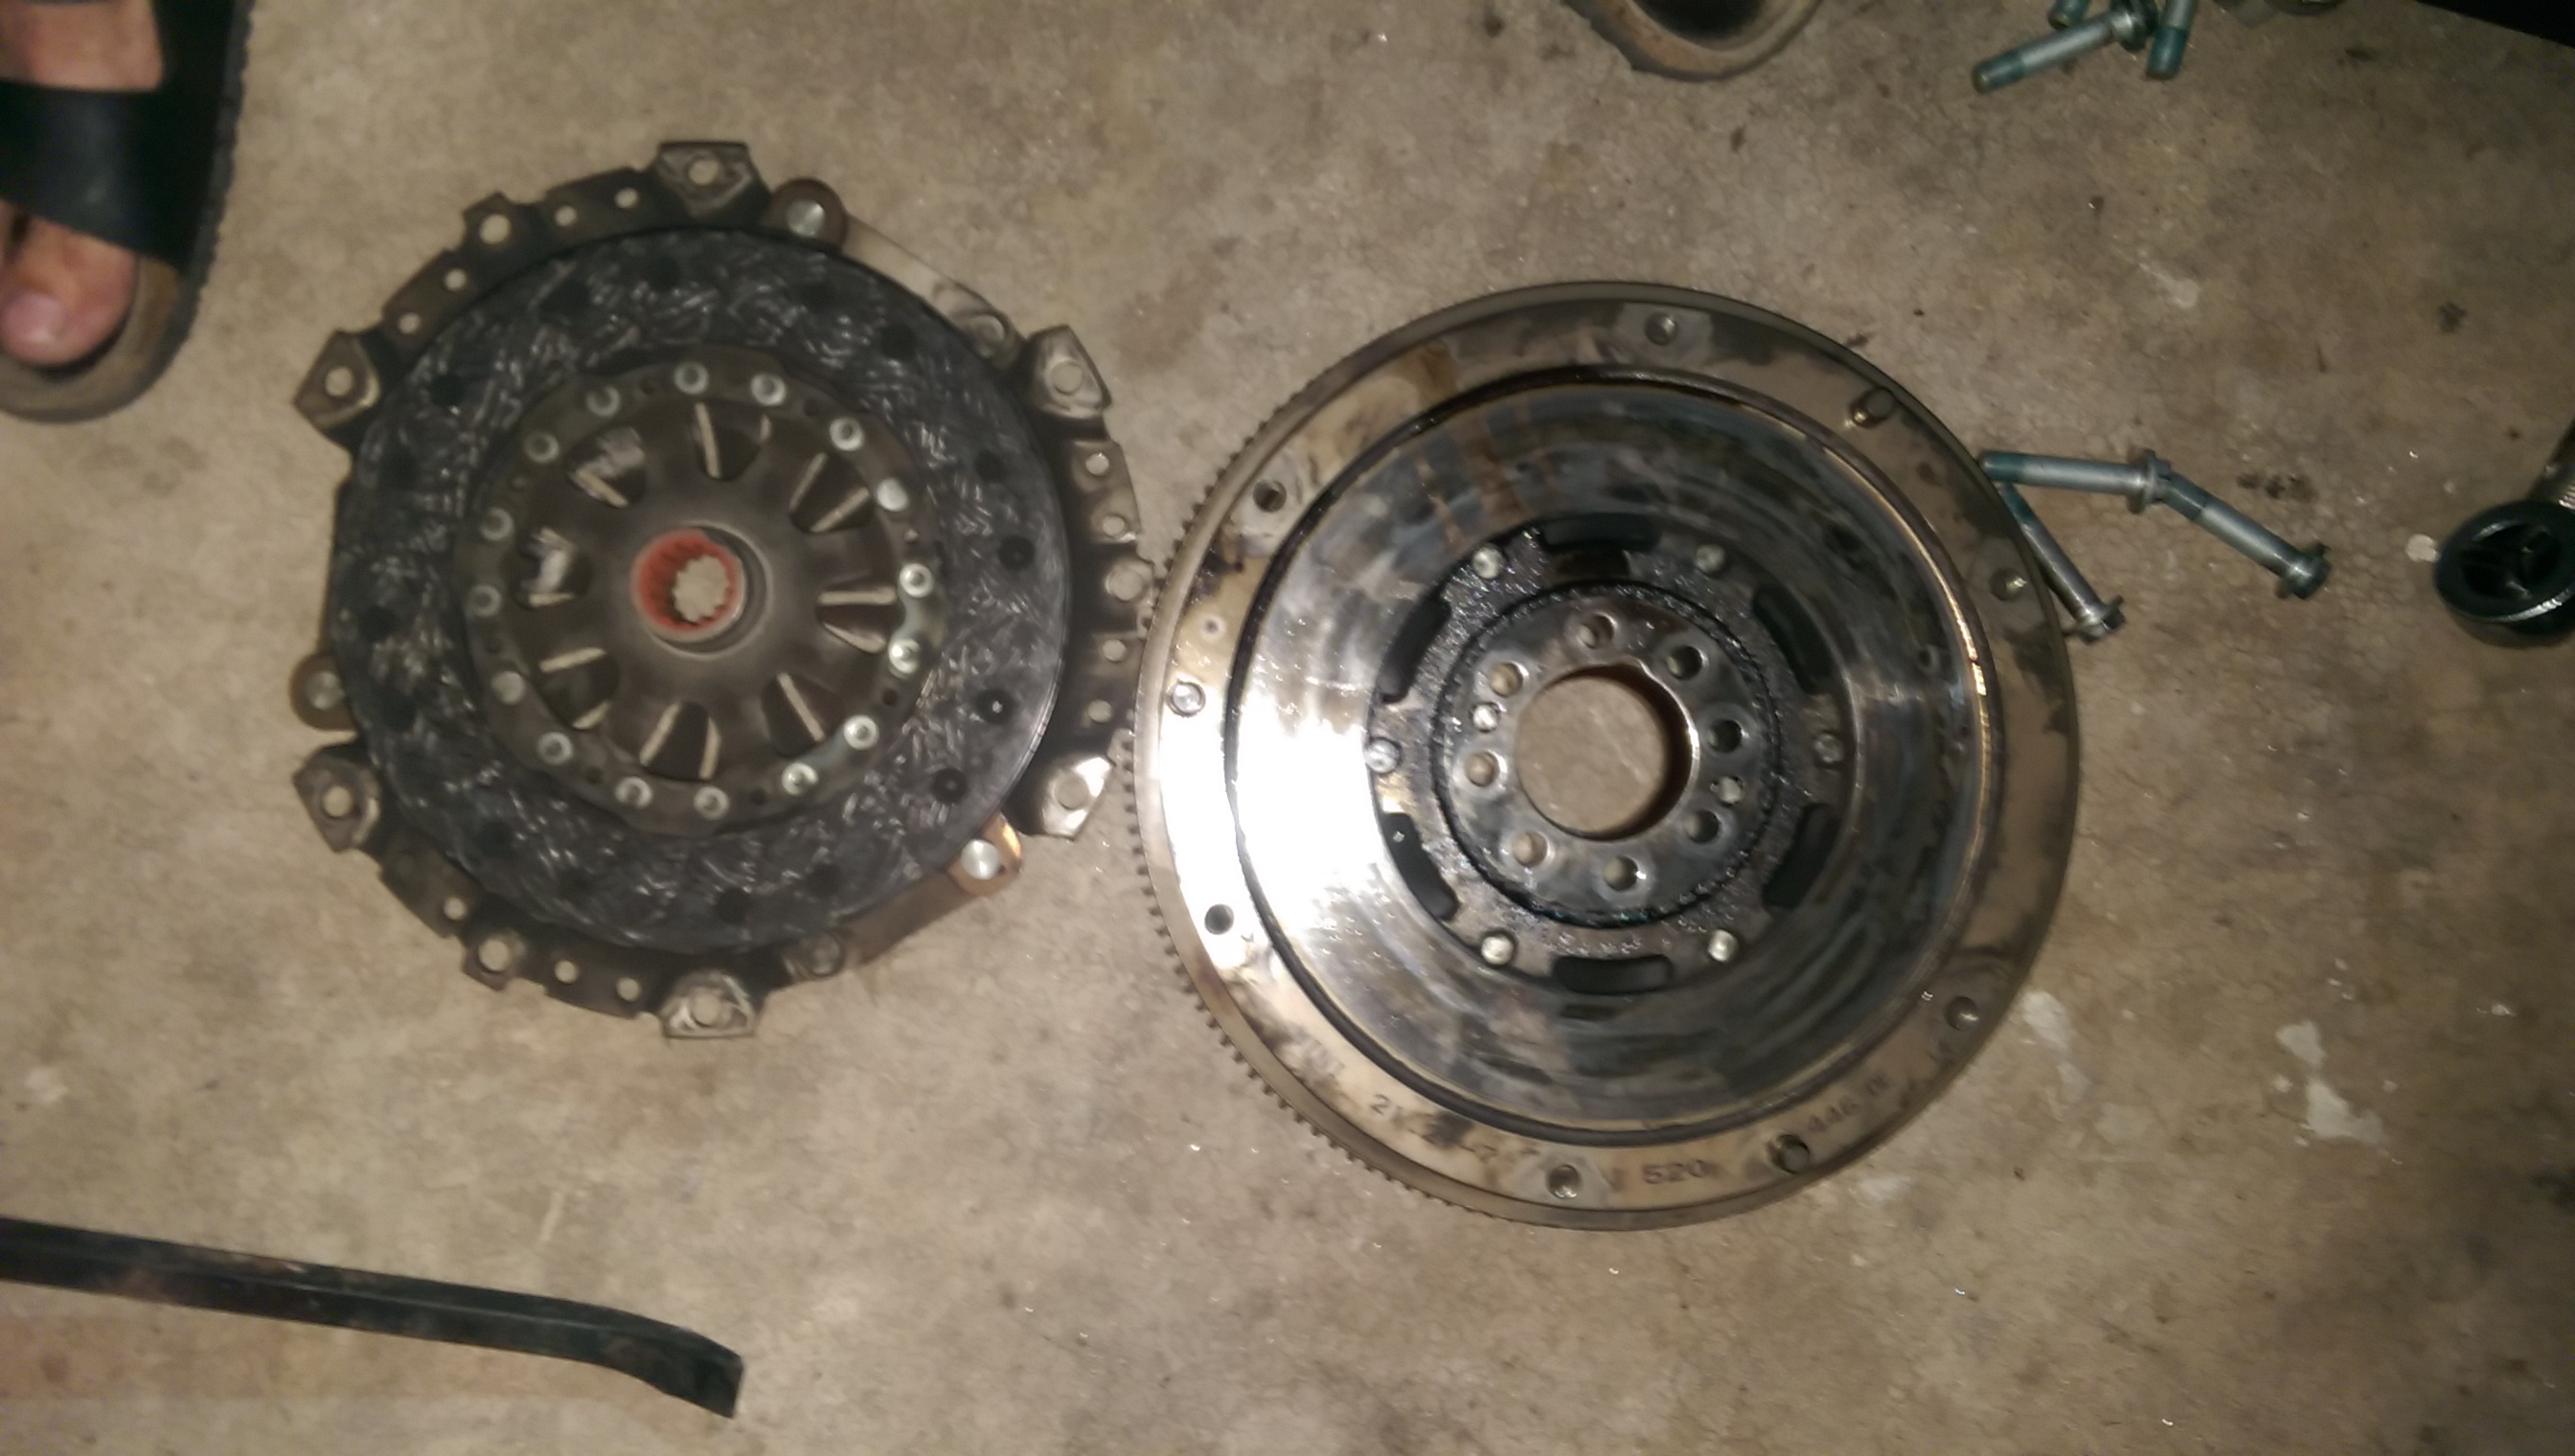
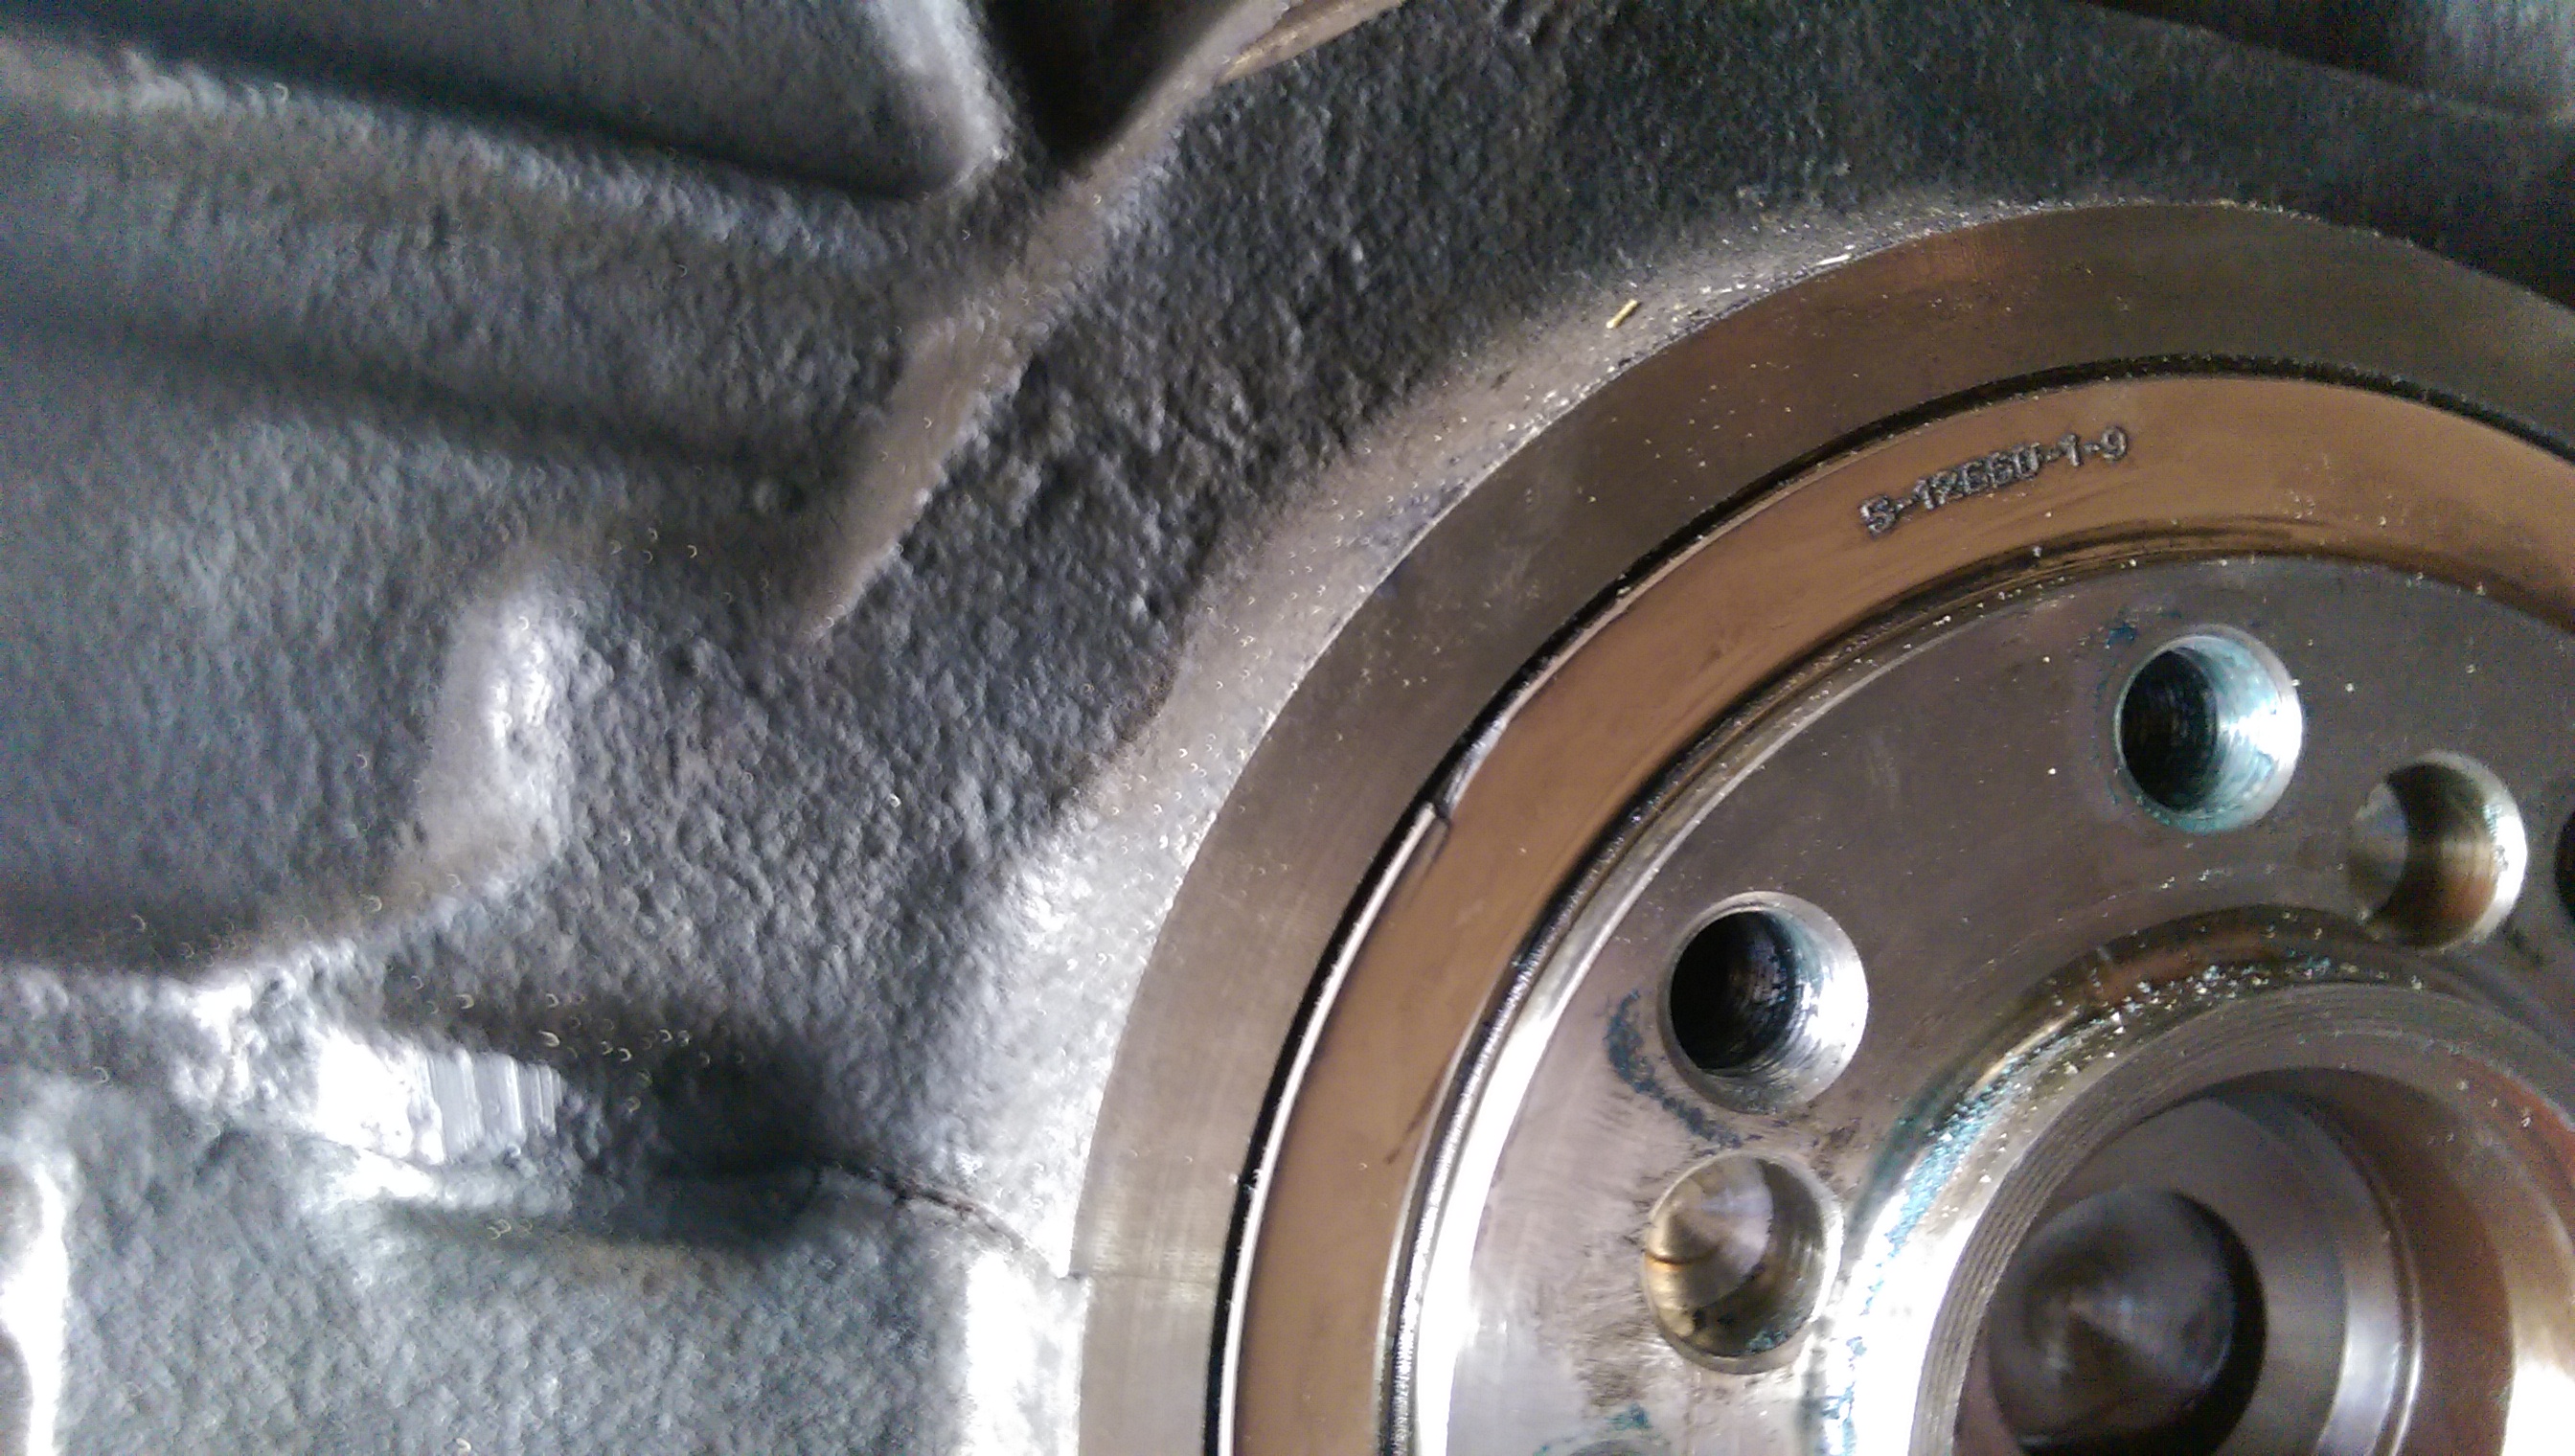
I ordered the Valeo Solid Flywheel and Clutch kit. The first one came in pretty damaged and looked used. I took the time to remove the old clutch and flywheel while waiting for the new one to come in. They were pretty worn:
It was recommended to install a new rear main seal. I actually damaged the first one:
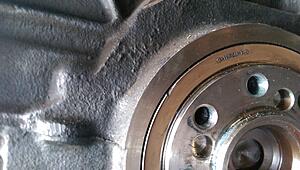
I sent the picture to my brother in law who's more mechanically sound than I am and he said that it absolutely had to be replaced, that it couldn't be damaged at all. Thankfully Mini of Austin is just a few blocks away so I drove over there to get an OEM one. I would highly recommend that to anyone: it's a little more money but damn if it wasn't 100x easier to replace.
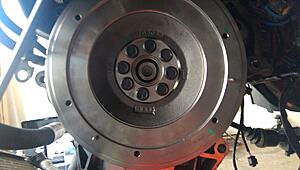
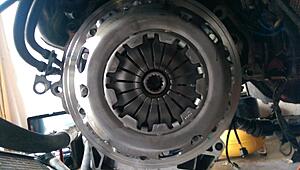
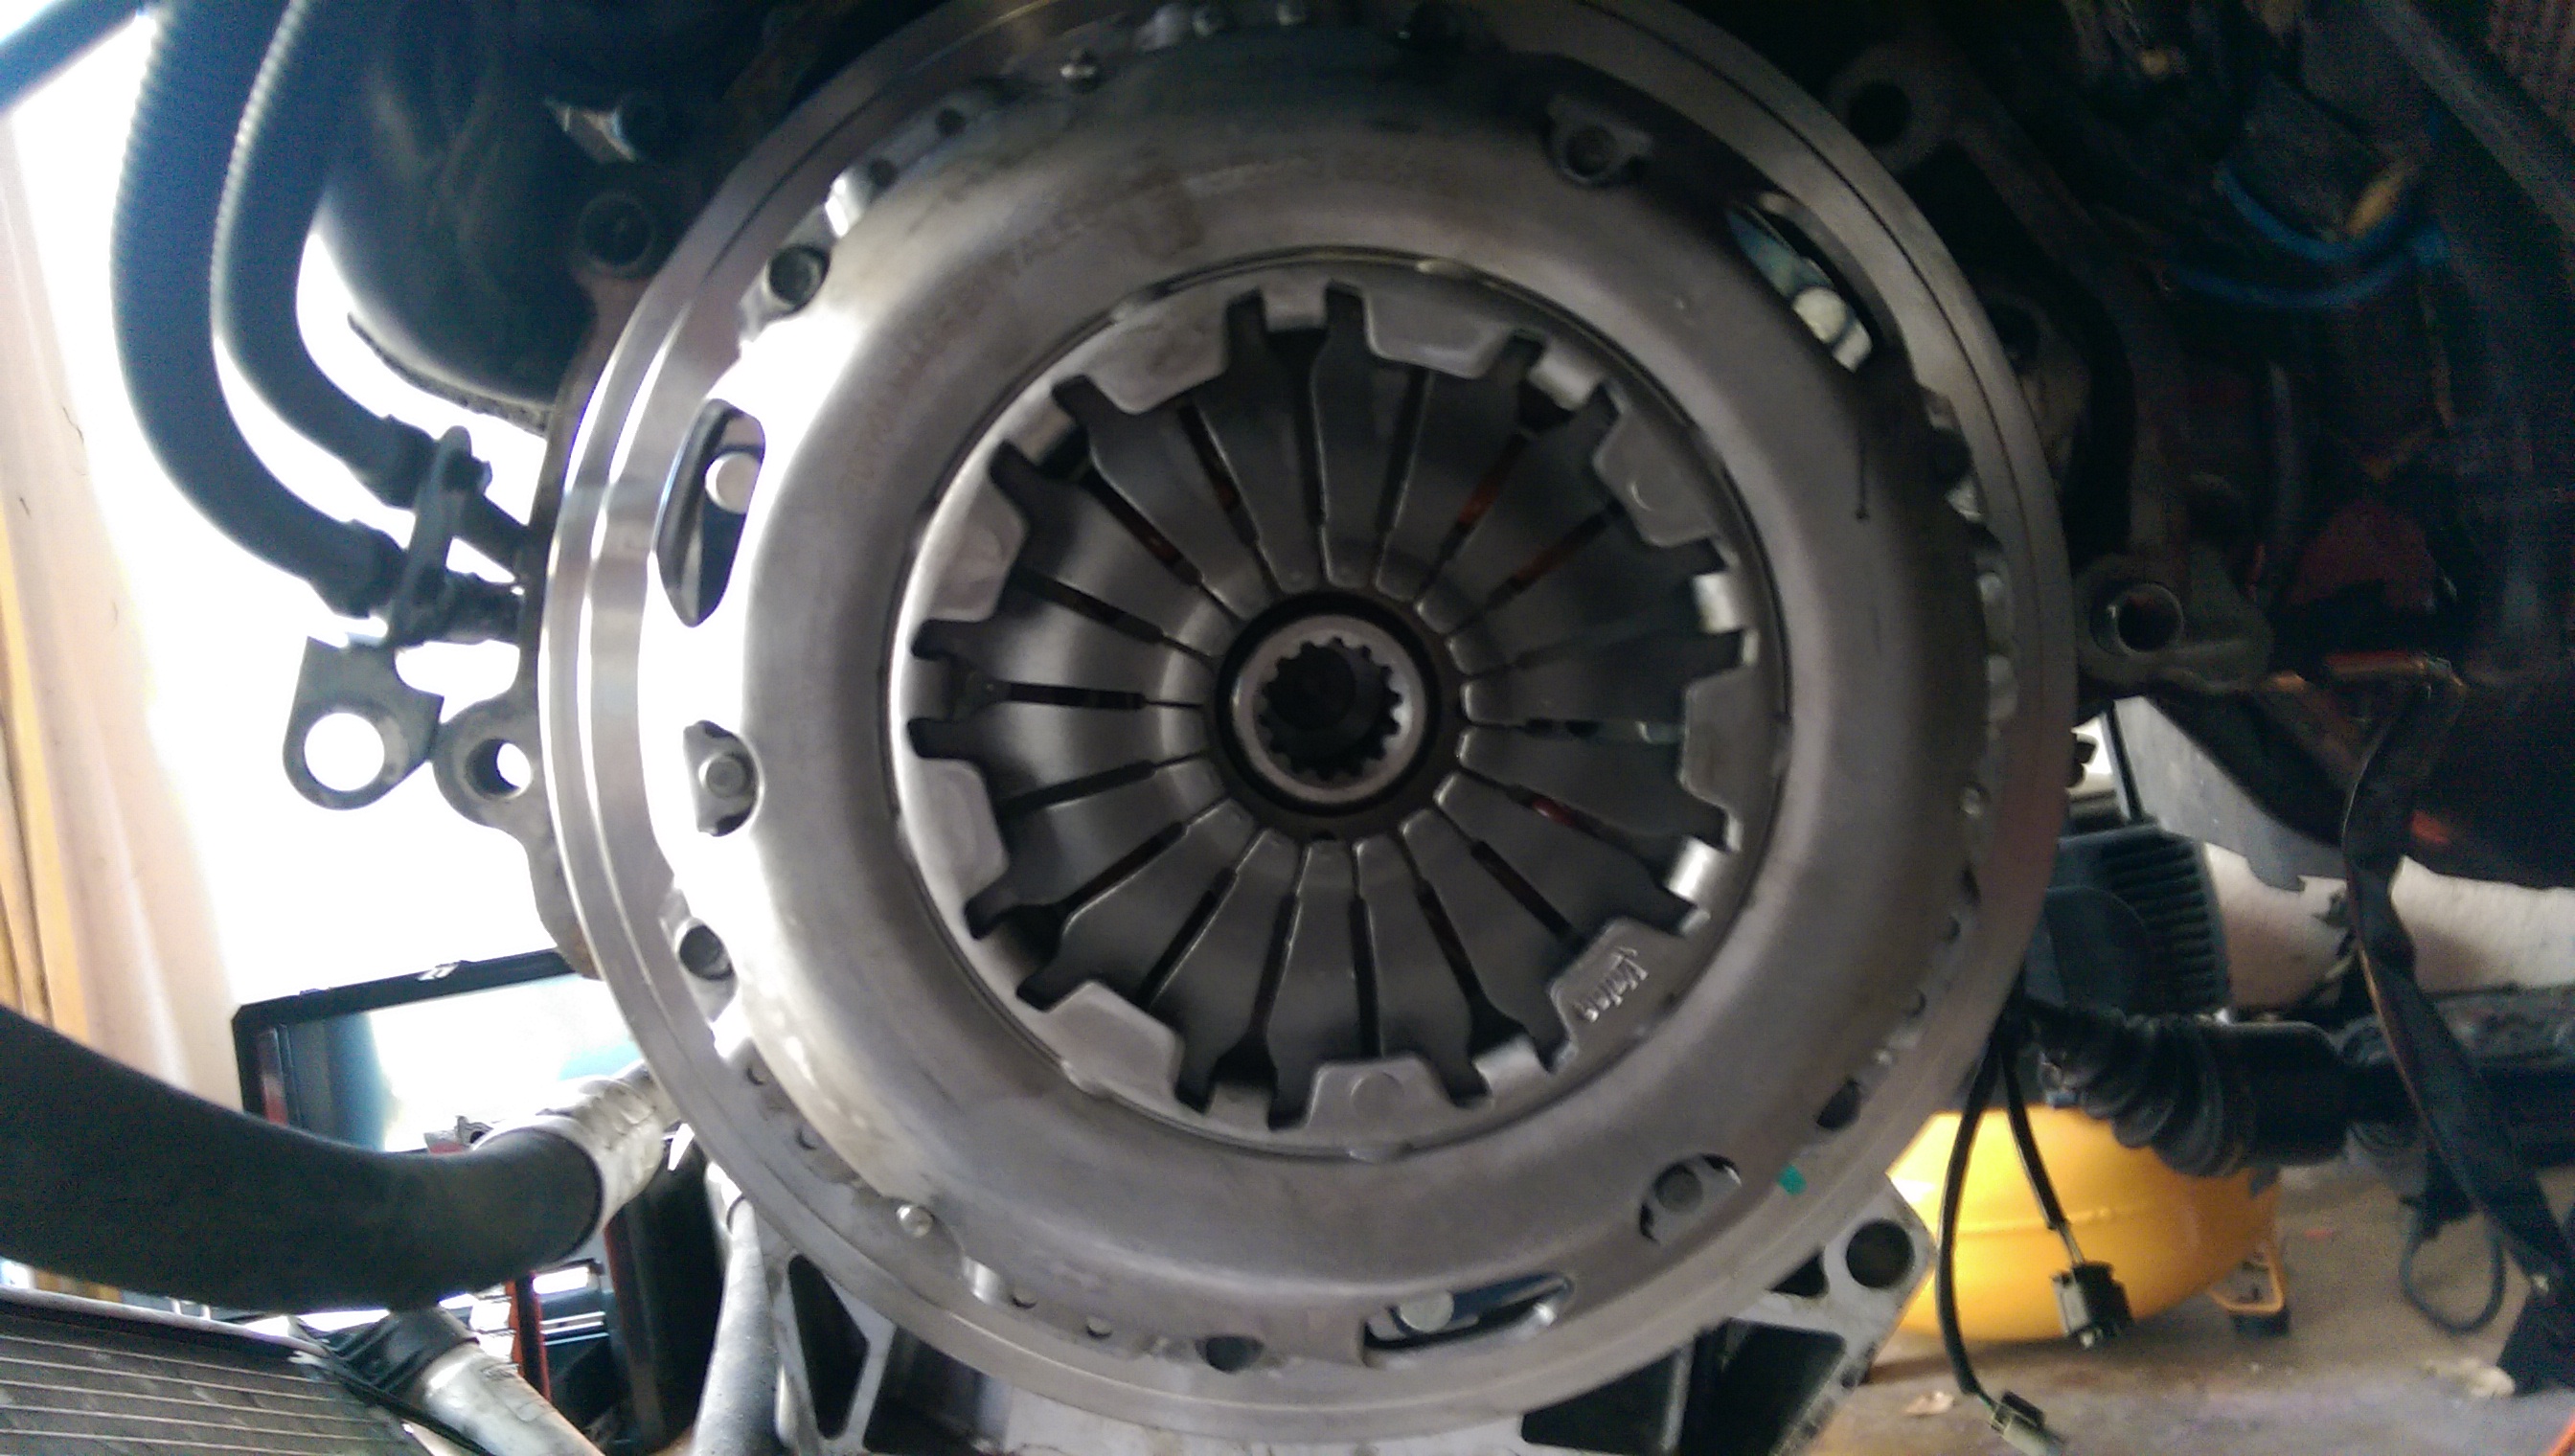
The new clutch and flywheel came in finally, in a brand new box and looking great.
Flywheel:
Clutch:
Trying to get the transmission on again by myself was turning out to be a MAJOR PITA. This was the closest I could get:
I managed to bribe my neighbor with some beers to help me put it back on. As a side note, he's pretty ballsy. We were having issues working around down there since we had no engine stand and were using jack stands. We decided the best thing was to completely remove the transmission jack and manually hold up the transmission to put it on. Thankfully it went in without much trouble and he could get out quickly.
I've ordered all of the new ball joints, new tie rods, stabilizer bar end links, lower engine mount, and strut mounts (all Lemforder) and they should be here tomorrow. I "WFH" on Wednesday and hope to get everything installed then and will update this afterwards if there's still interest .
.
Howdy everyone!
I've seen a few of these pop up and it seems like there's a general interest in project cars. I've been semi-documenting mine so figured I'd upload what I have.
I should note, this is my first foray into really anything mechanical. I've done some basic oil changes and brake pad changes before this.
Second note, my apologies for the long read!
My mother got into a small front-end accident with her 2004 Chili Red R53. Due to the car having 100k miles on it, the insurance company totaled it out. They offered her $7k and the car or $8k and no car. I'd driven it before in the state it was in now and knew it ran and didn't have any body issues, so I told my mom I'd buy it for $1,000 and she agreed. It also had practically brand new tires on it.

I took it to Firestone to get an oil change (didn't want to deal with the disposal of the oil and yeah, again, not too mechanical) and they pulled me off to the side to tell me the drain plug was currently inhabited by a spark plug and they wouldn't touch it in case the pan threads were damaged. He also pointed out some massive oil leaks under the chassis and told me I was better off selling it or trading it in on a new car. It also had thrown a few codes as well that needed to be addressed (camshaft/crankshaft sensors).
At this point I was really frustrated but my beautiful and intelligent wife told me that it was a project/hobby car, to take my time and it could sit in the garage while I fixed it if necessary. I also found this beautiful YouTube channel inhabited by someone named ModMini. With his help I was able to put it in to front end service mode and replace the crankshaft and camshaft sensors. This was my first "mechanical" thing I've ever done.
A few weeks later I started having an issue where I would mash on the pedal and the RPM's would skyrocket but the car wouldn't go any faster. I also had an issue with a loud creaking coming from the front passenger side strut every time I turned. I took it to Mini of Austin with my fingers crossed that it was just belt slippage (belt looked fine though) and they gave me the dreaded news: the clutch was bad and they wanted $2,300 to fix it.
I, again, got overly frustrated but was talked down, again, by my wife. I watched the ModMini videos for the clutch replacement over and over and over again and decided: I can do this.
And so, it began:
Up on jacks the next day:

Front end service mode:

I noticed one of the distributor cap ends was rusted out and wasn't making any contact, so went ahead and replaced that badboy. While replacing the spark plugs I noticed there was oil seeping into one of the reservoirs so I went ahead and replaced the valve cover gasket and the spark plug gaskets:
Subframe OUT!

Most of the ball joints were pancaked:
So I went ahead and ripped them all out, including the LCA bushings. I'm waiting until the 15th to order the new Powerflex bushings from WMW.
Now that I'm working on the car I'm starting to get a little more mechanically sound. I noticed some oil dripping from a few places...might as well replace the gaskets while I'm down there.
Fuel filter (Note: This apparently is an extremely common failure in R53's. Make sure you replace the intercooler gaskets while you're down there as ModMini's video doesn't mention it):
Oil pan:

After tons and tons of finagling (stupid upper bell housing bolts were a PITA), finally got the transmission off:
I ordered the Valeo Solid Flywheel and Clutch kit. The first one came in pretty damaged and looked used. I took the time to remove the old clutch and flywheel while waiting for the new one to come in. They were pretty worn:
It was recommended to install a new rear main seal. I actually damaged the first one:
I sent the picture to my brother in law who's more mechanically sound than I am and he said that it absolutely had to be replaced, that it couldn't be damaged at all. Thankfully Mini of Austin is just a few blocks away so I drove over there to get an OEM one. I would highly recommend that to anyone: it's a little more money but damn if it wasn't 100x easier to replace.
The new clutch and flywheel came in finally, in a brand new box and looking great.
Flywheel:

Clutch:
Trying to get the transmission on again by myself was turning out to be a MAJOR PITA. This was the closest I could get:

I managed to bribe my neighbor with some beers to help me put it back on. As a side note, he's pretty ballsy. We were having issues working around down there since we had no engine stand and were using jack stands. We decided the best thing was to completely remove the transmission jack and manually hold up the transmission to put it on. Thankfully it went in without much trouble and he could get out quickly.
I've ordered all of the new ball joints, new tie rods, stabilizer bar end links, lower engine mount, and strut mounts (all Lemforder) and they should be here tomorrow. I "WFH" on Wednesday and hope to get everything installed then and will update this afterwards if there's still interest
.
Last edited by ACGOG; Jan 10, 2020 at 10:32 AM.

Thread Starter
|
2nd Gear
Joined: Nov 2015
Posts: 117
Likes: 25
From: Austin, TX


Very great project and kudos to your wife for being supportive and helping you when you get frustrated. We have some great tech articles that may come in handy for you while you work on your project as well. If you ever need anything please let me know and looking forward to watching your progress. 
__________________
Your Trusted Source For DIY and Parts
FREE SHIPPING over $99 click here
MINI Parts | DIY Help | Facebook | Twitter | Instagram | YouTube | Promos
888.280.7799 | 6am - 5pm PST

FREE SHIPPING over $99 click here
MINI Parts | DIY Help | Facebook | Twitter | Instagram | YouTube | Promos
888.280.7799 | 6am - 5pm PST


Congrats I think you got a great deal and great project. We just did a restoration on an MC40 with additional upgrades back in Oct and it was awesome as it was like having a brand new car when we were done.

Trending Topics


2nd Gear
Joined: Nov 2015
Posts: 74
Likes: 0
From: Saginaw, MI
I'm confused on the oil change shop saying something about spark plug blocking drain plug?
"I took it to Firestone to get an oil change (didn't want to deal with the disposal of the oil and yeah, again, not too mechanical) and they pulled me off to the side to tell me the drain plug was currently inhabited by a spark plug and they wouldn't touch it in case the pan threads were damaged."
"I took it to Firestone to get an oil change (didn't want to deal with the disposal of the oil and yeah, again, not too mechanical) and they pulled me off to the side to tell me the drain plug was currently inhabited by a spark plug and they wouldn't touch it in case the pan threads were damaged."

6th Gear
Joined: Jul 2014
Posts: 1,118
Likes: 25
From: North Carolina
I'm confused on the oil change shop saying something about spark plug blocking drain plug?
"I took it to Firestone to get an oil change (didn't want to deal with the disposal of the oil and yeah, again, not too mechanical) and they pulled me off to the side to tell me the drain plug was currently inhabited by a spark plug and they wouldn't touch it in case the pan threads were damaged."
"I took it to Firestone to get an oil change (didn't want to deal with the disposal of the oil and yeah, again, not too mechanical) and they pulled me off to the side to tell me the drain plug was currently inhabited by a spark plug and they wouldn't touch it in case the pan threads were damaged."

Thread Starter
|
2nd Gear
Joined: Nov 2015
Posts: 117
Likes: 25
From: Austin, TX
Yes, exactly. The last person who had the car was my mother who took it to Jiffy Lube to get the oil changed. She said it was super busy and thinks that they grabbed the wrong drain plug and put the spark plug in there instead. Luckily it had the same threading I guess?
Thread Starter
|
2nd Gear
Joined: Nov 2015
Posts: 117
Likes: 25
From: Austin, TX
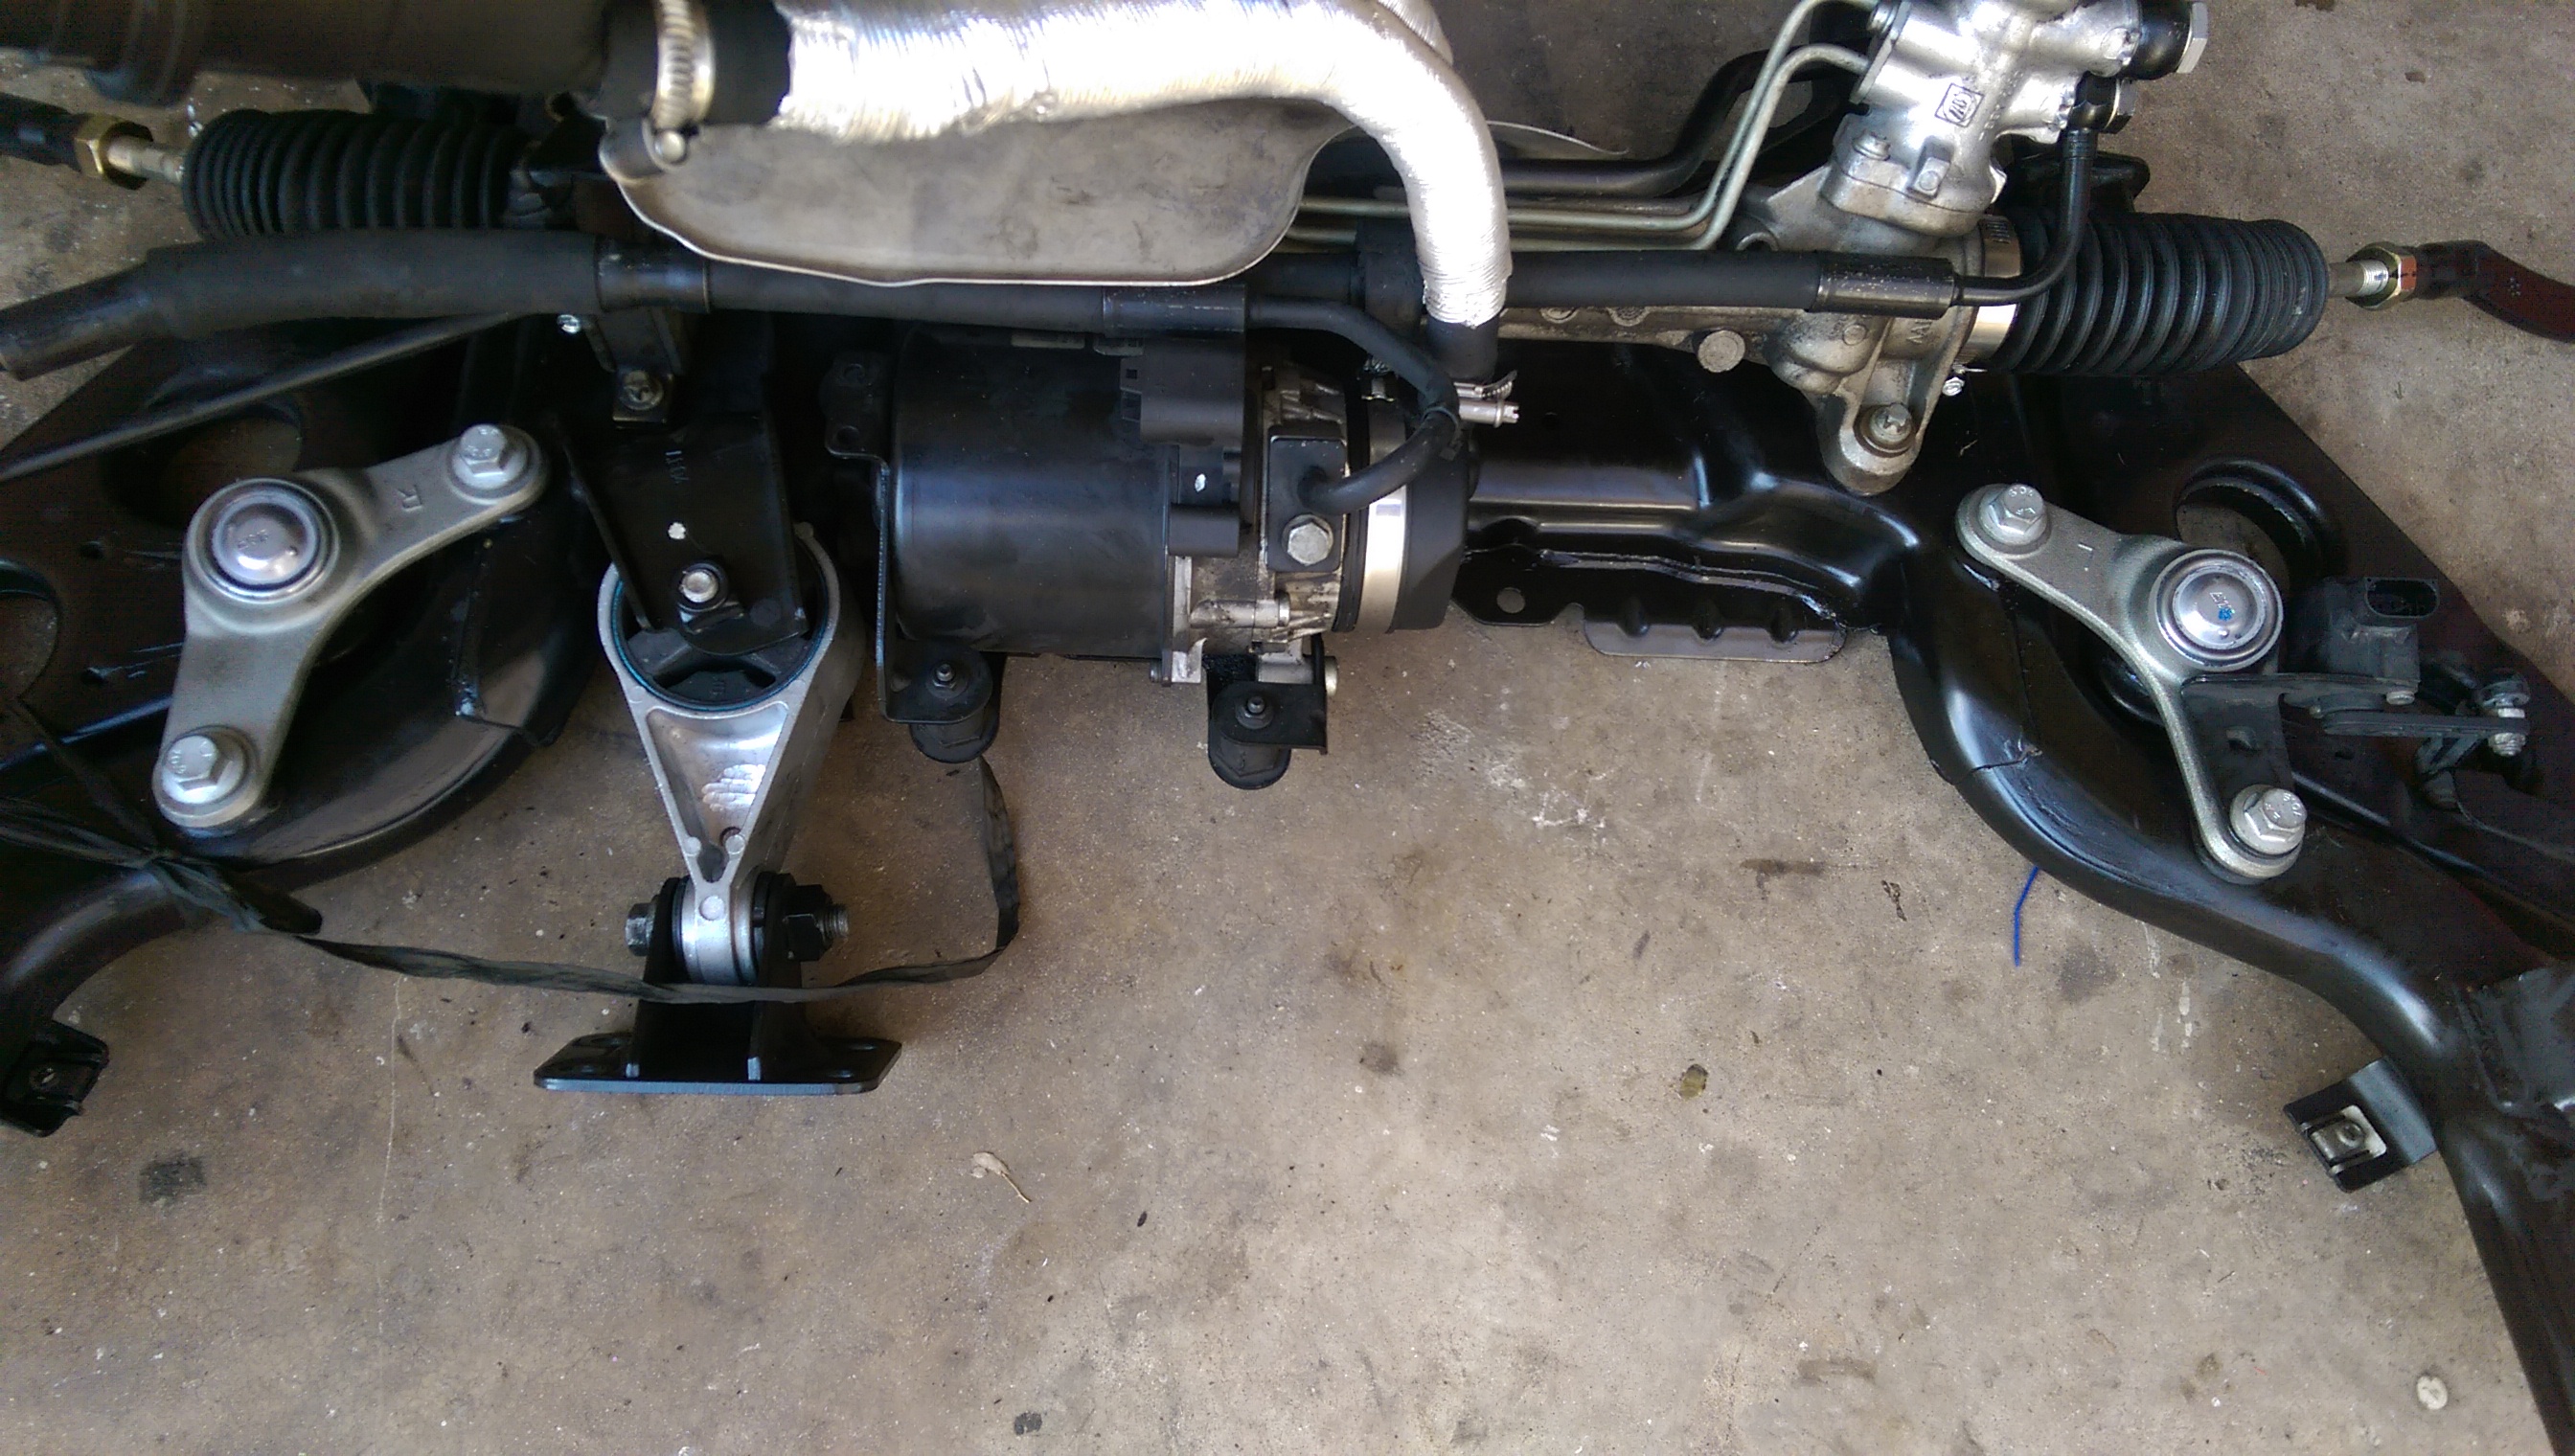
Got a ton done Wednesday. Installed the inner ball joints, inner and outer tie rods, and the lower engine mount. I was planning on doing the outer ball joints but decided to wait until the subframe is back in and install them on the rotors first.

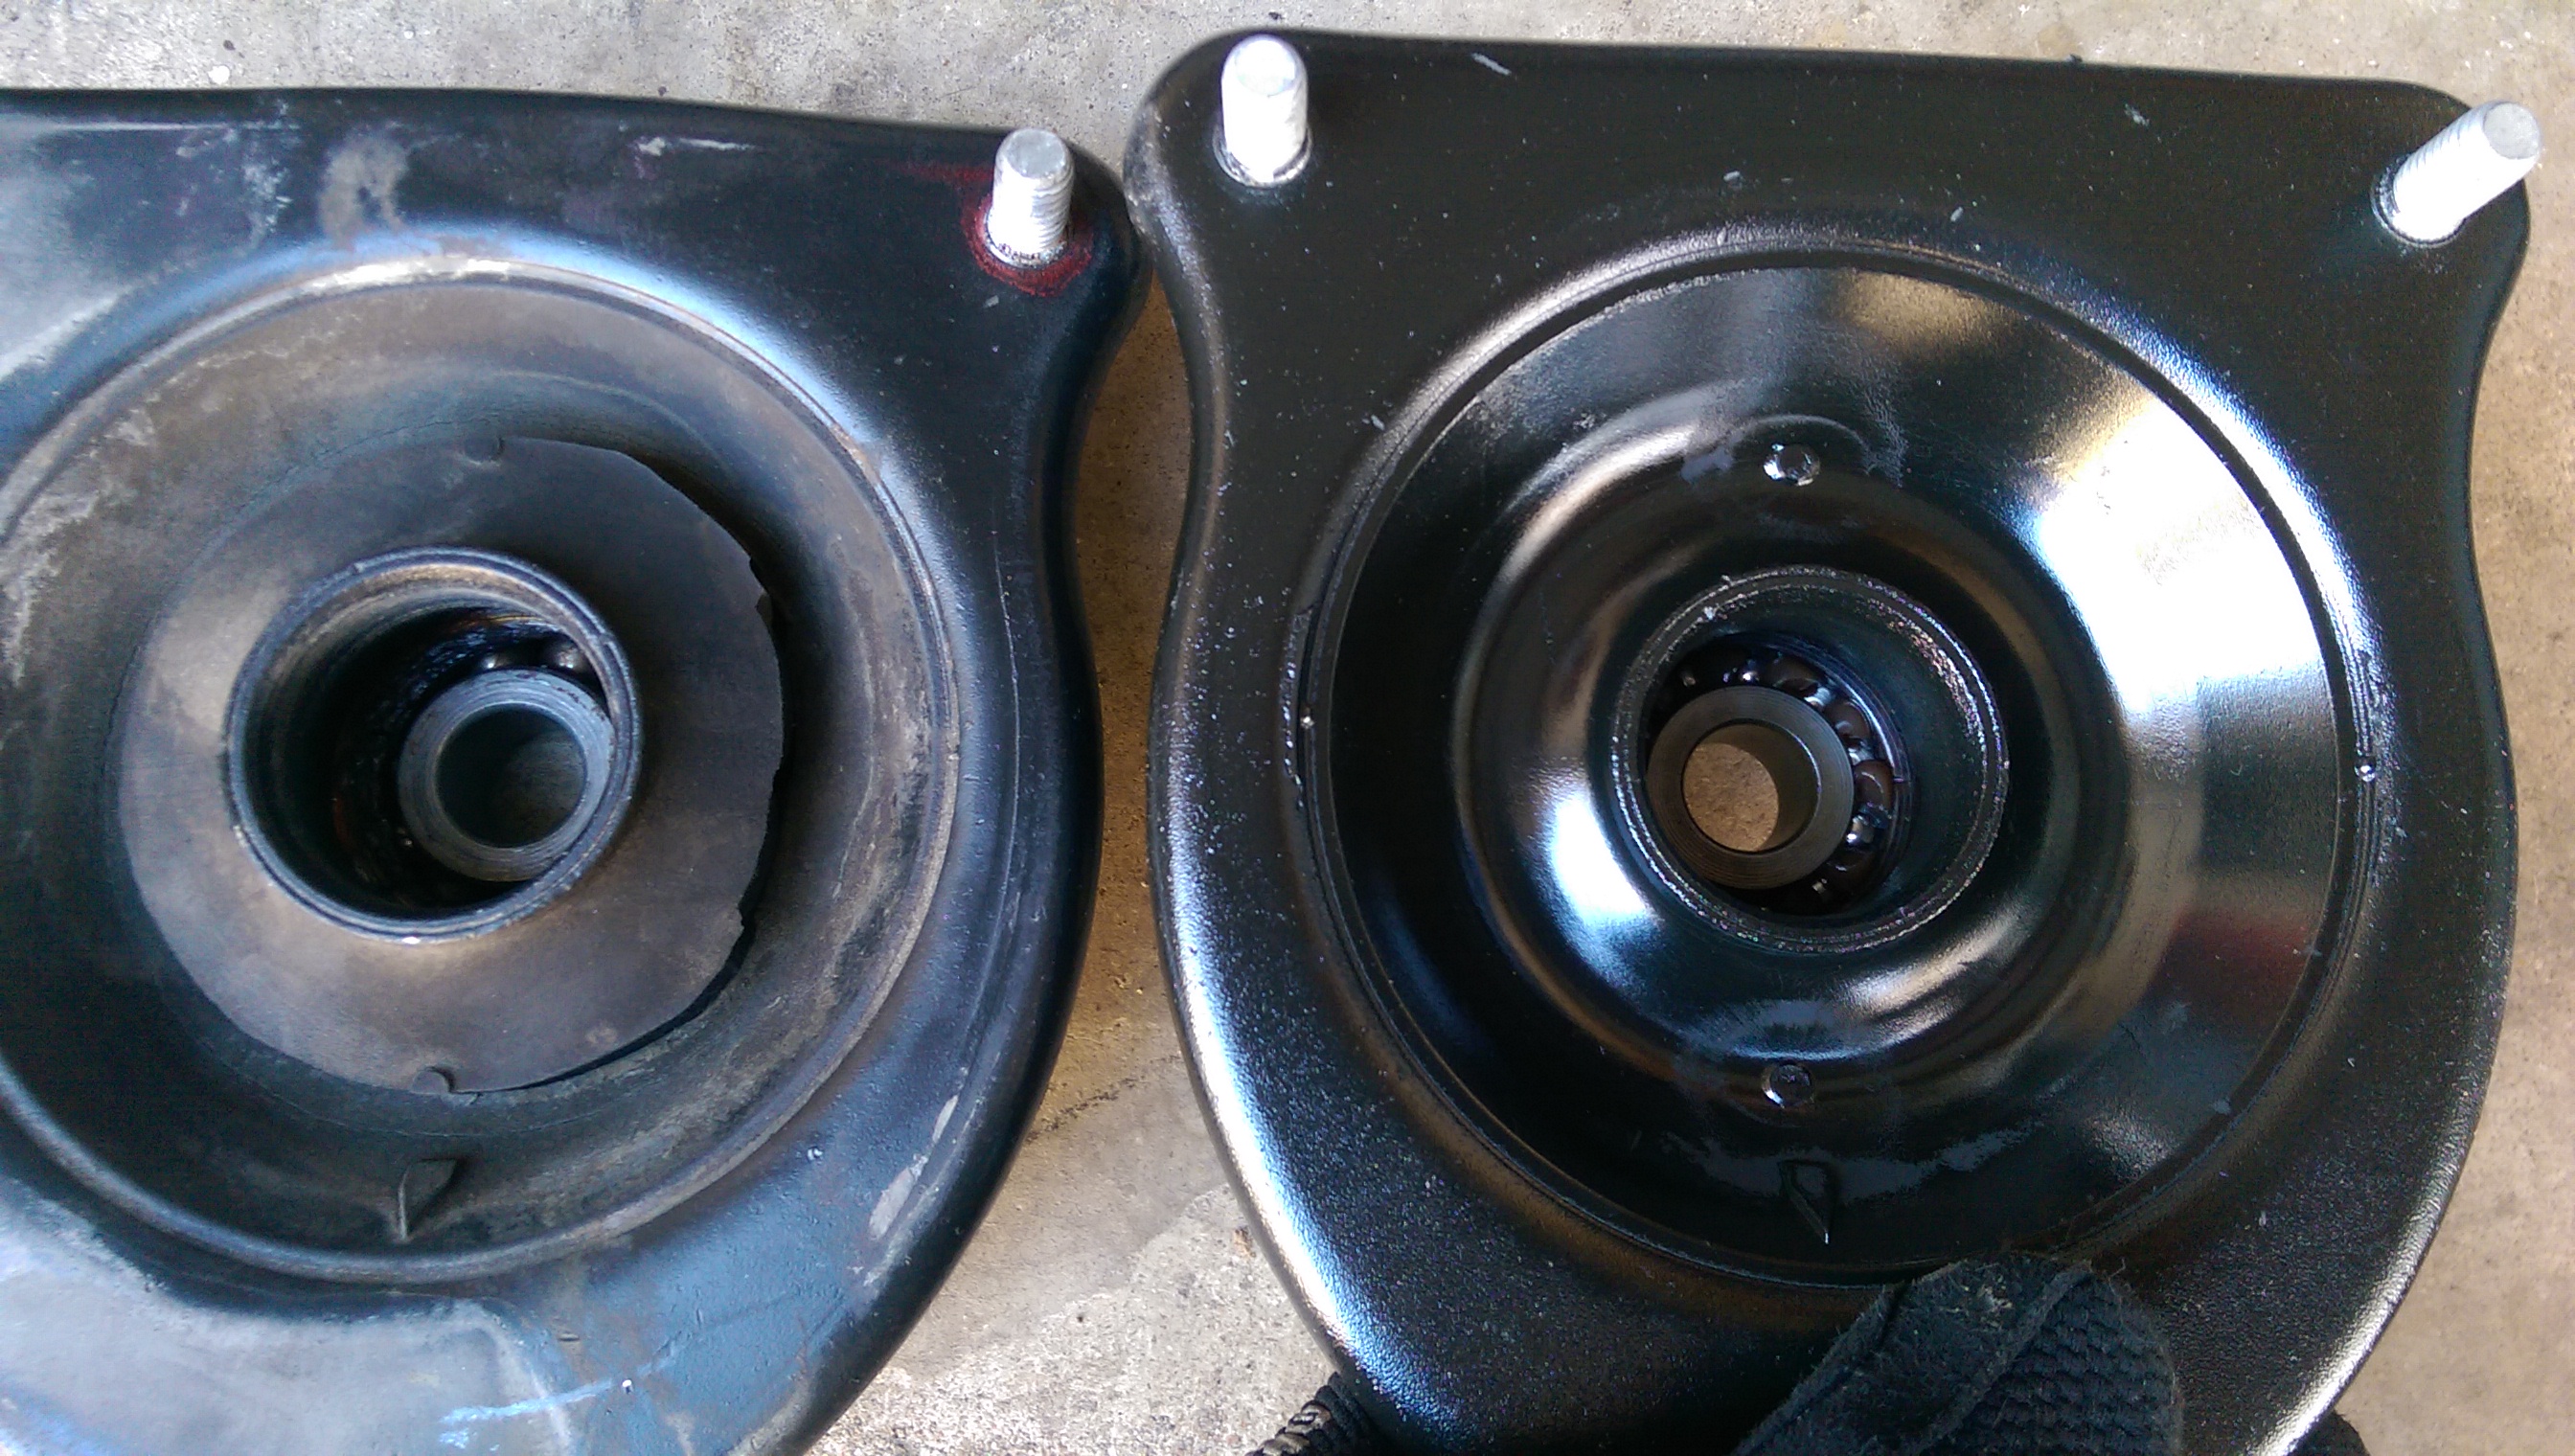
I was also having a major issue with the spring compressors not compressing the spring enough to be able to take the top of the strut off . I called around to see how much it would be to just bring the strut in as I was getting desperate. Lowest price for install was $75 a strut. I decided I'd figure it out... and after watching a few different videos I found I could compress the top and middle springs with one compressor and the bottom and middle with the other and it worked!
Here's the old mount compared to the new.
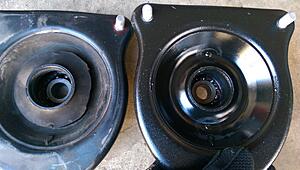
Later this month when I get paid again I'm going to buy some reinforcement plates.
But, today is the 15th! Waiting for WMW to open so I can call and make sure they have some pre-pressed bushings and finally order the last part to get it up and running and put together.
I was also having a major issue with the spring compressors not compressing the spring enough to be able to take the top of the strut off
. I called around to see how much it would be to just bring the strut in as I was getting desperate. Lowest price for install was $75 a strut. I decided I'd figure it out... and after watching a few different videos I found I could compress the top and middle springs with one compressor and the bottom and middle with the other and it worked!Here's the old mount compared to the new.
Later this month when I get paid again I'm going to buy some reinforcement plates.
But, today is the 15th! Waiting for WMW to open so I can call and make sure they have some pre-pressed bushings and finally order the last part to get it up and running and put together
.

2nd Gear
Joined: Sep 2013
Posts: 99
Likes: 0
Stock springs are not that compressed when you have the assembly out. Having one person hold the mount in place while the other hits it with an impact or the hex + open wrench method is fine. It doesn't fly away. Putting them back together only needs one person - the nut will start threading back on, impact it down then make sure it's good with hand tools.
Nothing will go flying away, I promise.
Nothing will go flying away, I promise.
2nd Gear
Joined: Sep 2013
Posts: 99
Likes: 0
Oh and Way is super slammed since he's understaffed in the office right now and may not answer. Just place the order, it takes them 5 minutes to press the bushings in. I had them do it while I waited without letting them know I was coming first.
Thread Starter
|
2nd Gear
Joined: Nov 2015
Posts: 117
Likes: 25
From: Austin, TX
Stock springs are not that compressed when you have the assembly out. Having one person hold the mount in place while the other hits it with an impact or the hex + open wrench method is fine. It doesn't fly away. Putting them back together only needs one person - the nut will start threading back on, impact it down then make sure it's good with hand tools.
Nothing will go flying away, I promise.
Nothing will go flying away, I promise.
Thread Starter
|
2nd Gear
Joined: Nov 2015
Posts: 117
Likes: 25
From: Austin, TX
I wanted to quickly share another resource I found while visiting family. There's a gentlemen by the name of Mosin located in Irving, TX. He has a shop called Mr. Mini Parts and has lots of salvage mini's he's parting out. I was pricing out a hood and he said $350 which seems a bit steep as it needed some paint but if you're in the area you might want to check him out.
Also, shout out to Mr. Way for chatting with me a bit on Friday. Looking forward to my bushings next week!
Also, shout out to Mr. Way for chatting with me a bit on Friday. Looking forward to my bushings next week!
3rd Gear
Joined: Nov 2011
Posts: 292
Likes: 1
This is super fun to read. Thanks for the documentation. I also recently bought what I would call a "beater" 05 R53. It looks like somebody hit something in the front. Damage is pretty minor really. But it was also running rough and I think the previous owner just had enough with it and traded it in. I got it super cheap from the dealer cause they didn't wanna mess with it. Gave it a quick ignition system tune up and it's running like a champ now. It's really fun to wrench on these things.

2nd Gear
Joined: Nov 2015
Posts: 93
Likes: 0
From: Trenton, IL
So did they strip the oil plug hole in order to get the spark plug in there? Just curious in case I ever find myself in need of an oil drain plug and happen to have a spare spark plug...... Really just subscribing to the thread...
Thread Starter
|
2nd Gear
Joined: Nov 2015
Posts: 117
Likes: 25
From: Austin, TX
Went home on my lunch break today and what is this sitting outside? Could it be?

Yessssssss, finally got the last pieces in!
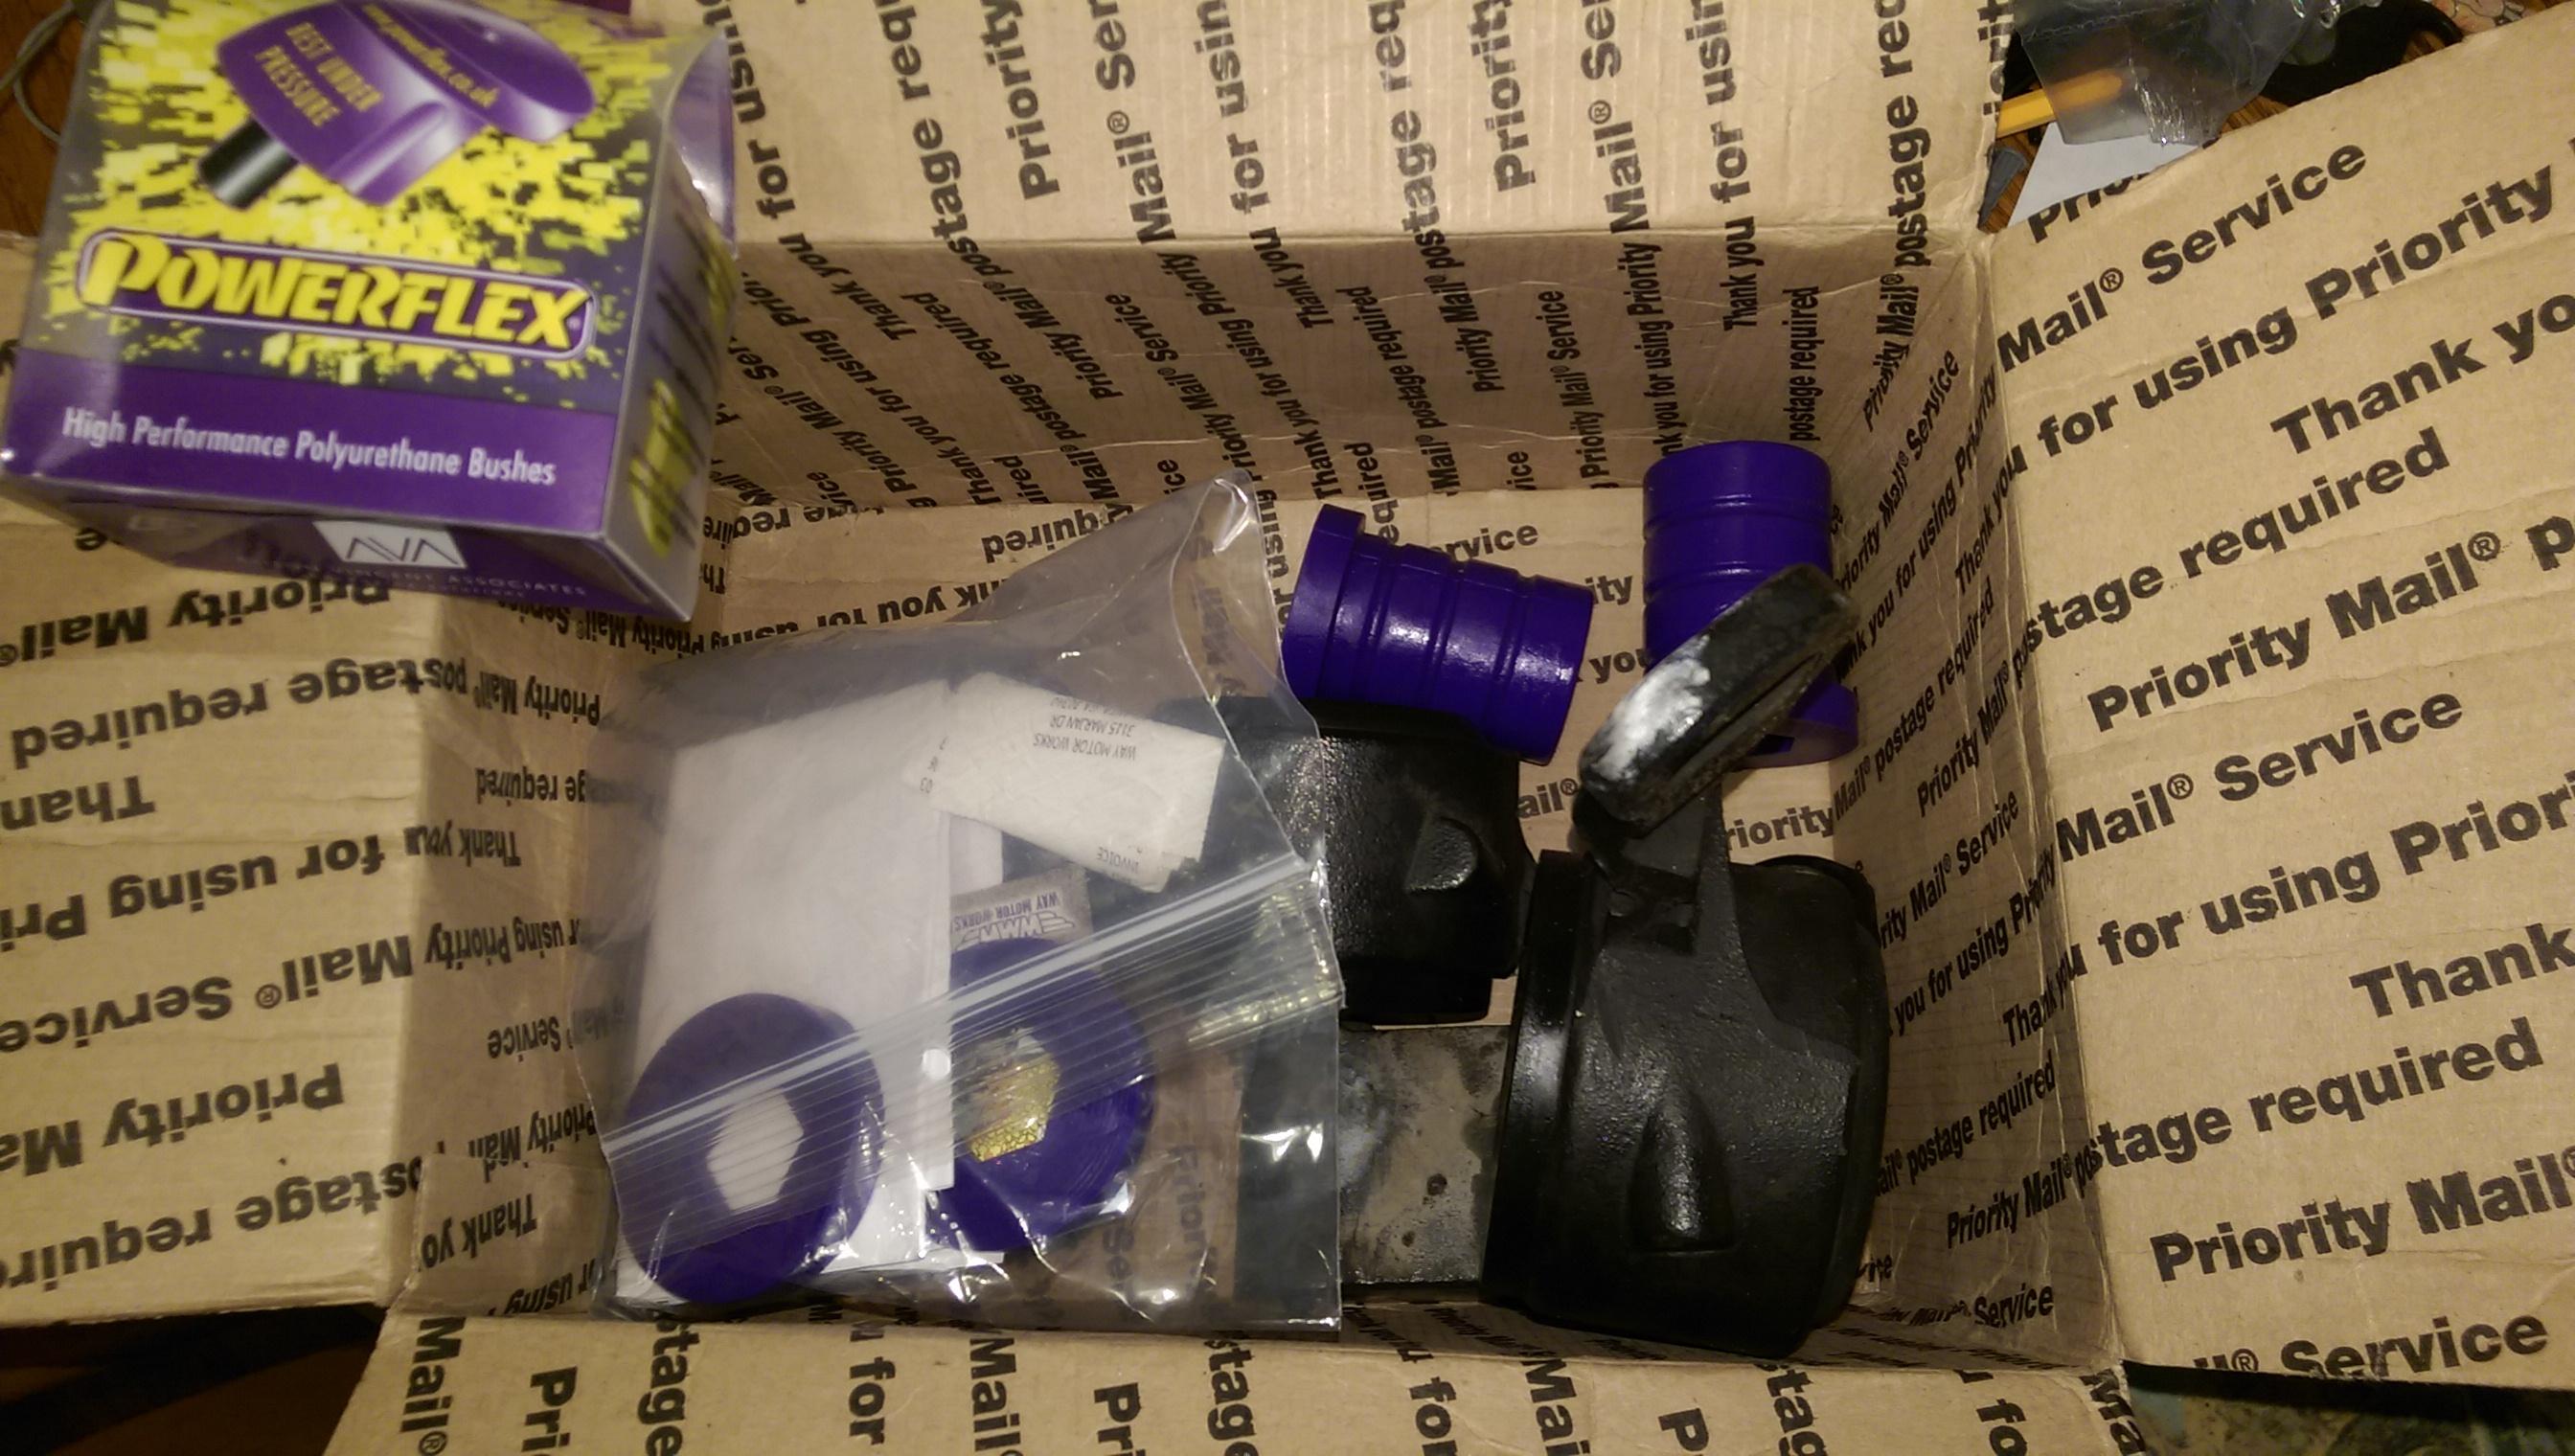
I'm hoping to get the car finally up and running between today and tomorrow.