When you click on links to various merchants on this site and make a purchase, this can result in this site earning a commission. Affiliate programs and affiliations include, but are not limited to, the eBay Partner Network.
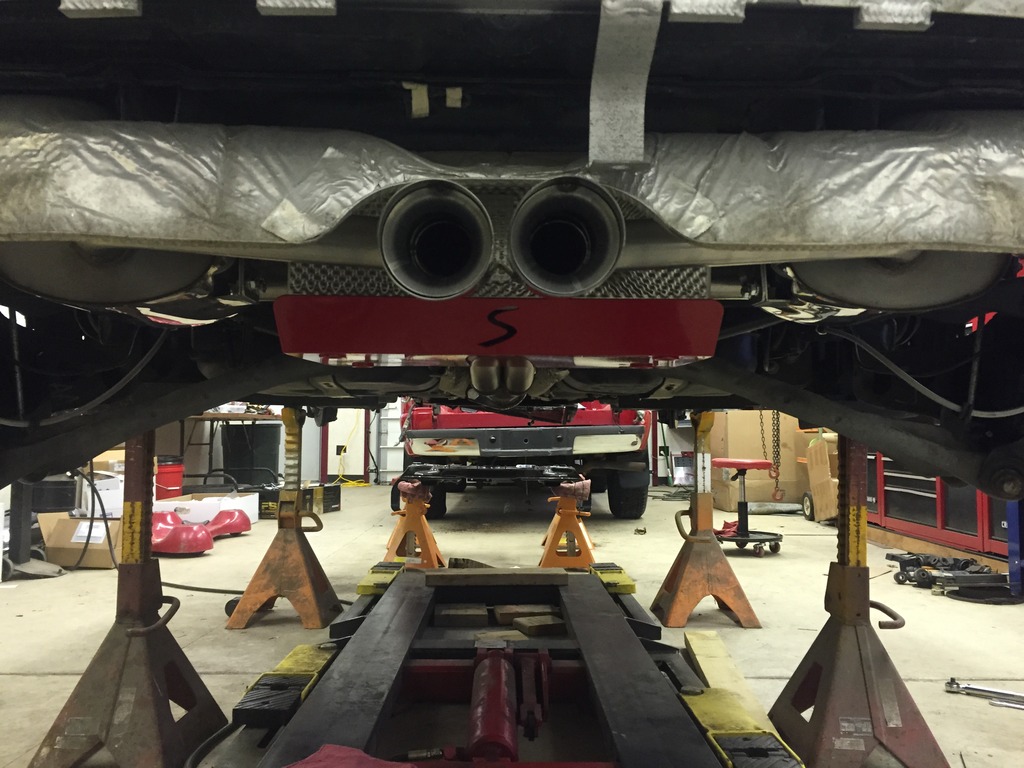
I got it from TCE. It is the 13" with the 6 pot caliper in the front and the 11.75" rear. I also ordered the Willwood parking brake cables from MiniMania because I had the exhaust off to change it anyways so it wasn't any harder to just put the cables that fit the caliper without modding them in. TCE has a way to just use the stock cables with a little bit of modding though if you don't want to pull the exhaust off to change the parking brake cables.
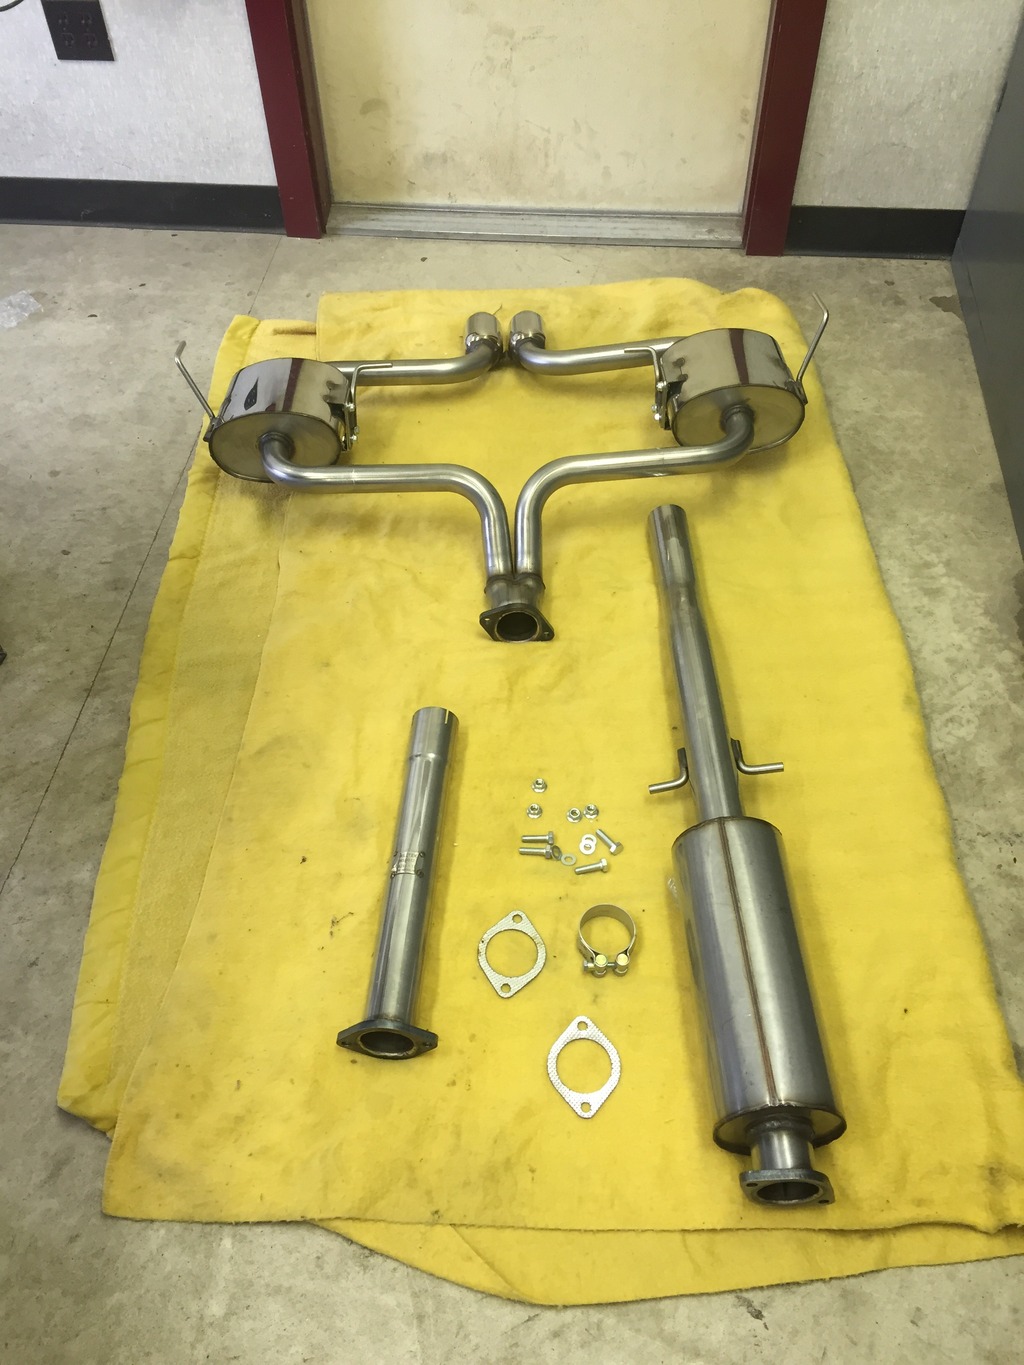
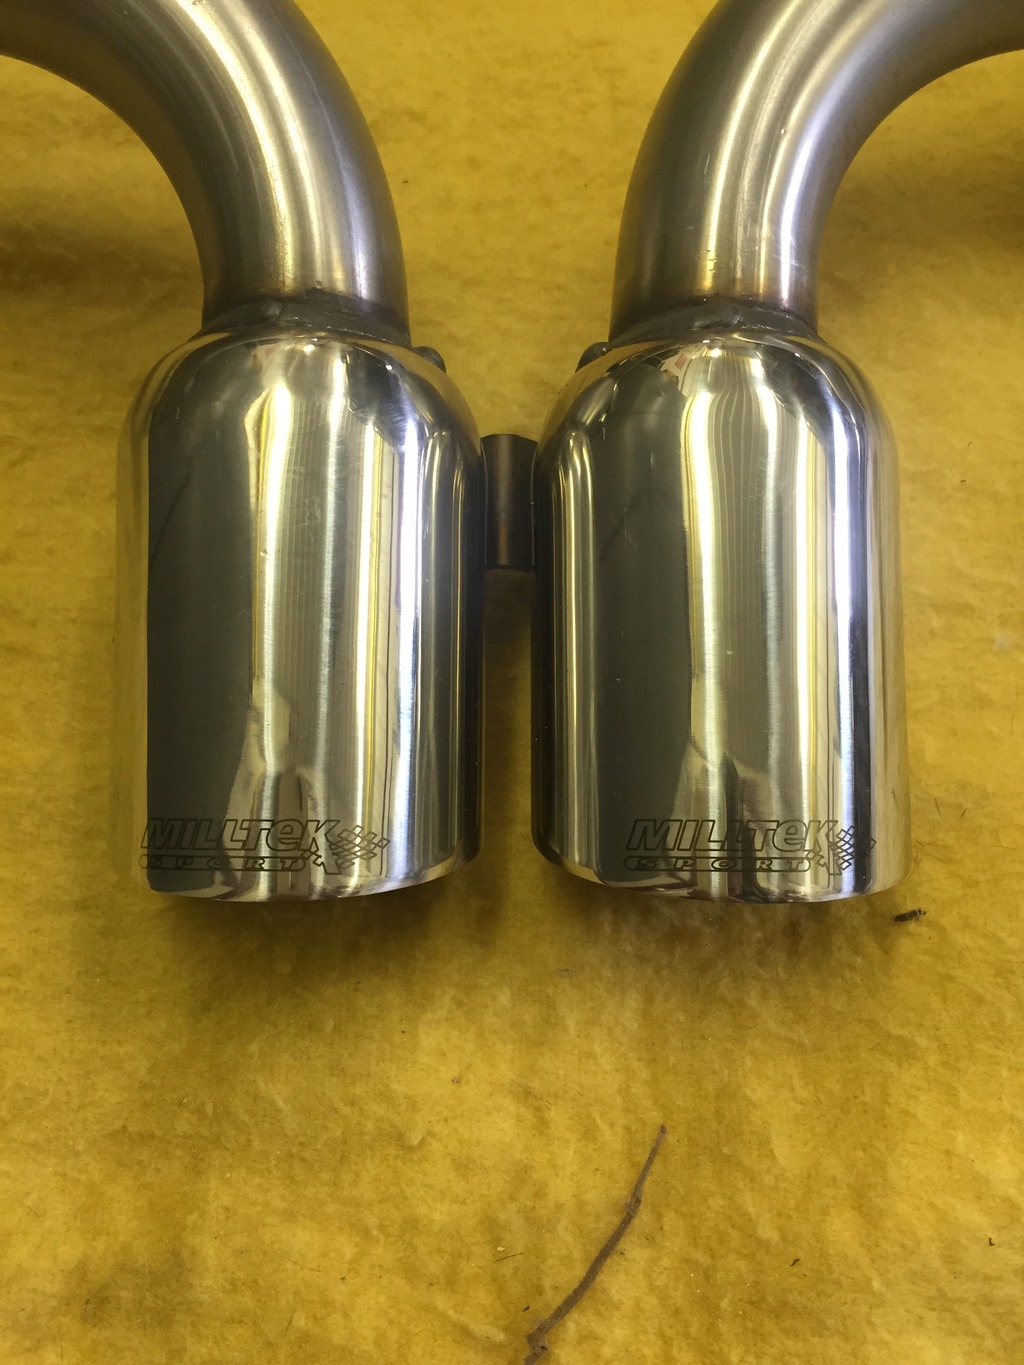
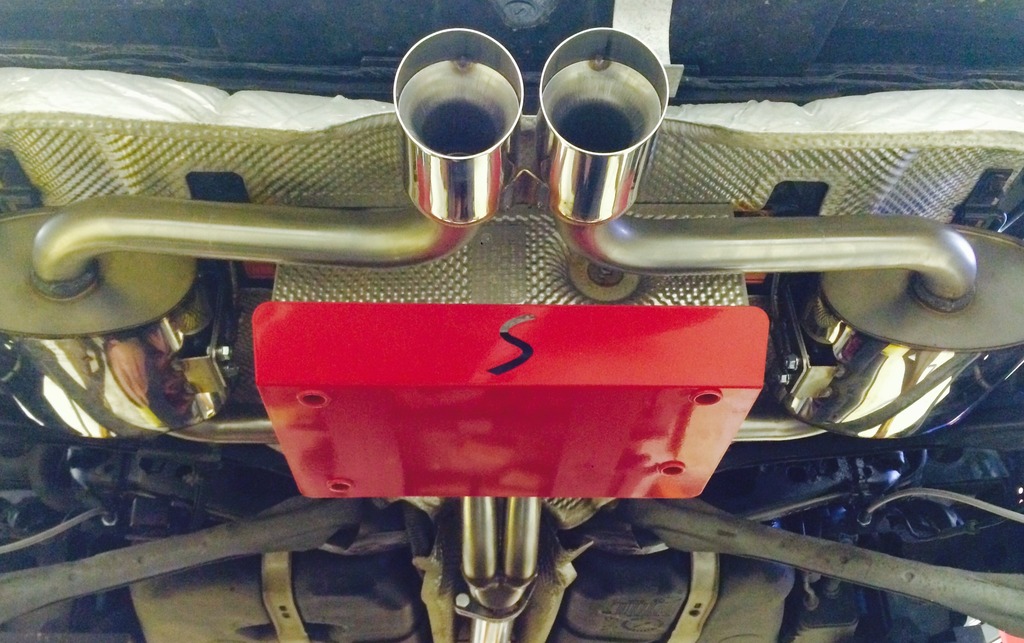
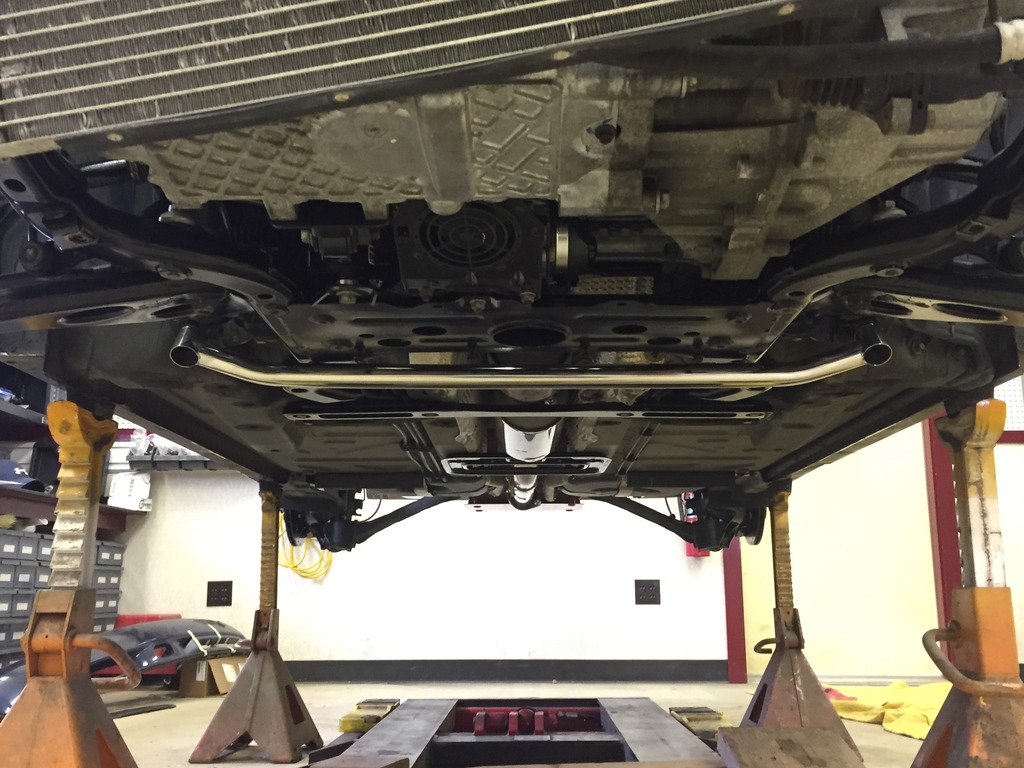
Took a little break from homework last night and put on the miltek. Here are some pictures. Also the two tips look off level, anyone know how to adjust it to make it level?
Yep its is a GTT heat shield. I had other stuff coming from them and saw they made that too and decided it would add a cool accent instead of the flimsy stock heat shield that is there.
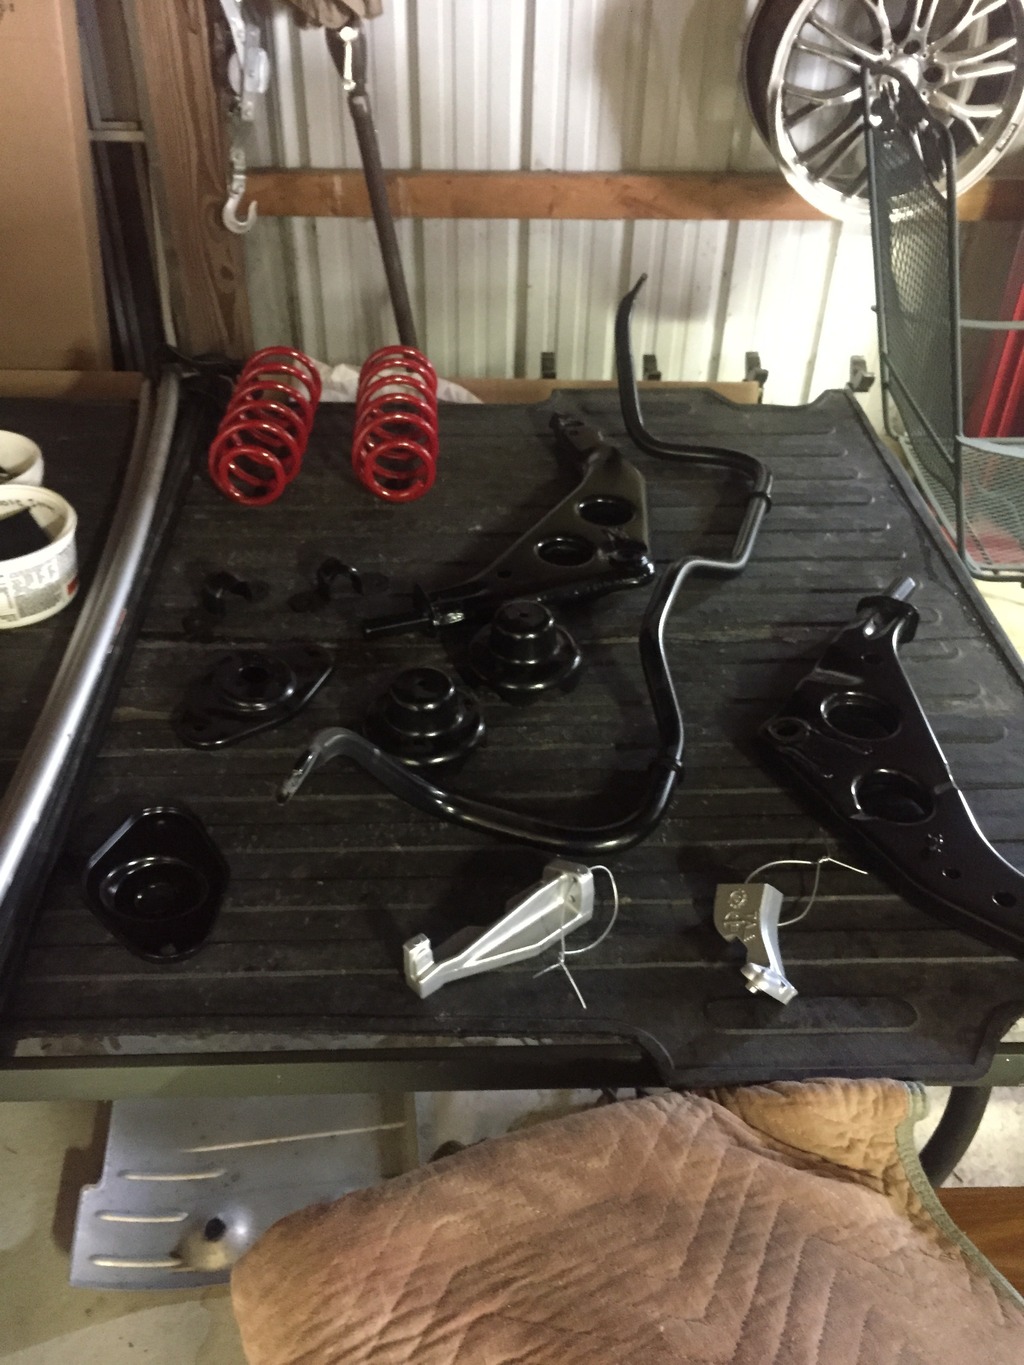
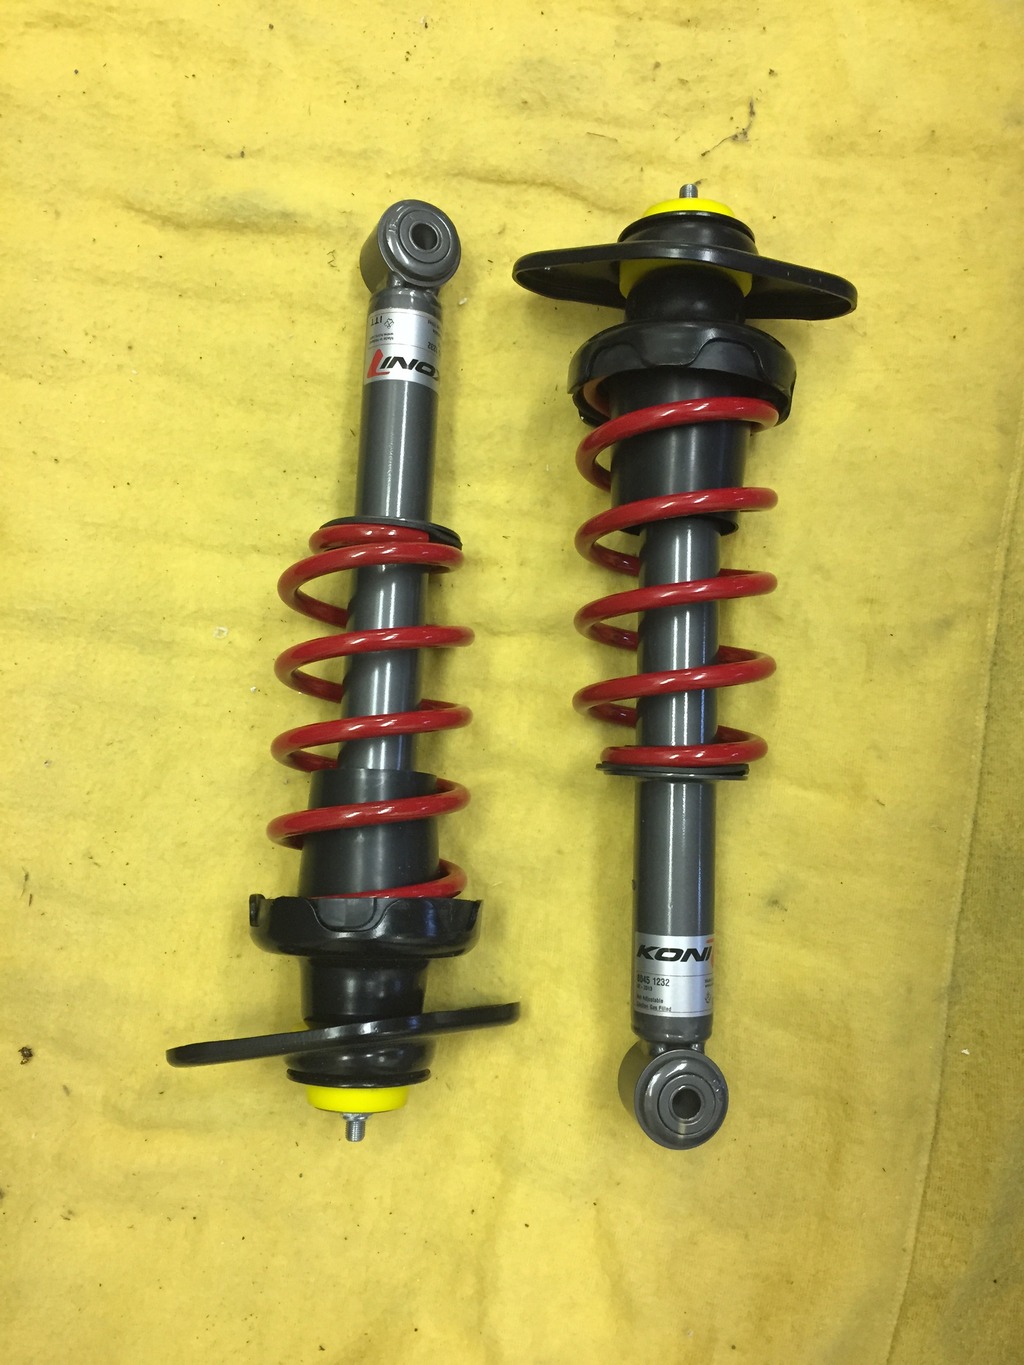
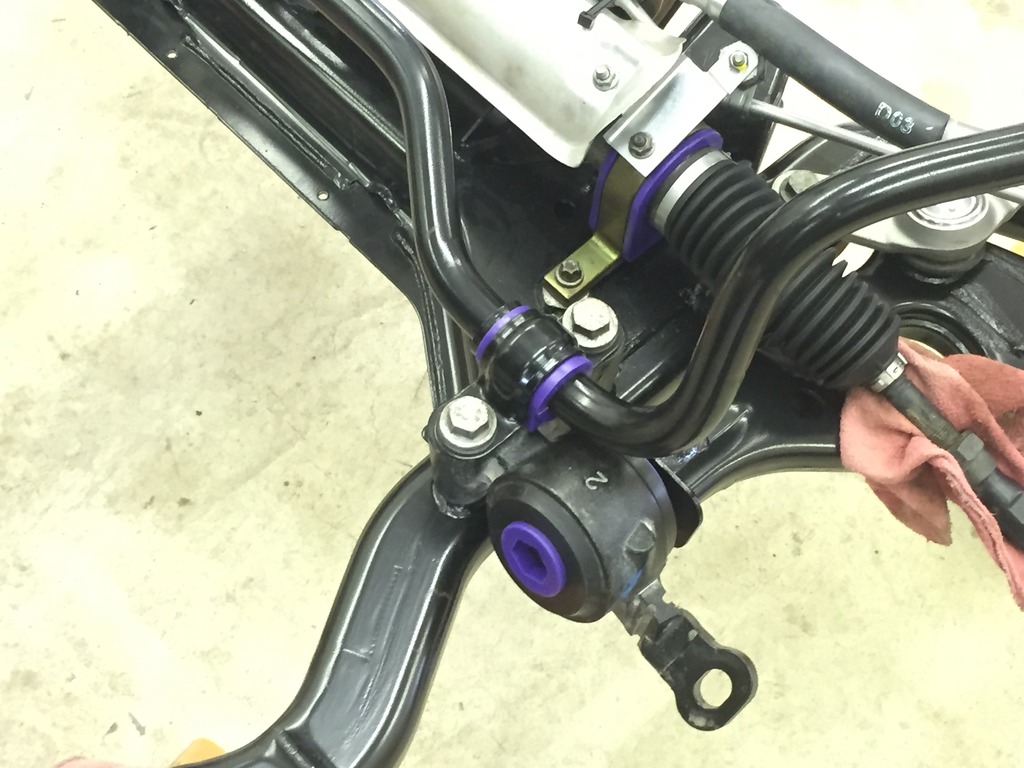
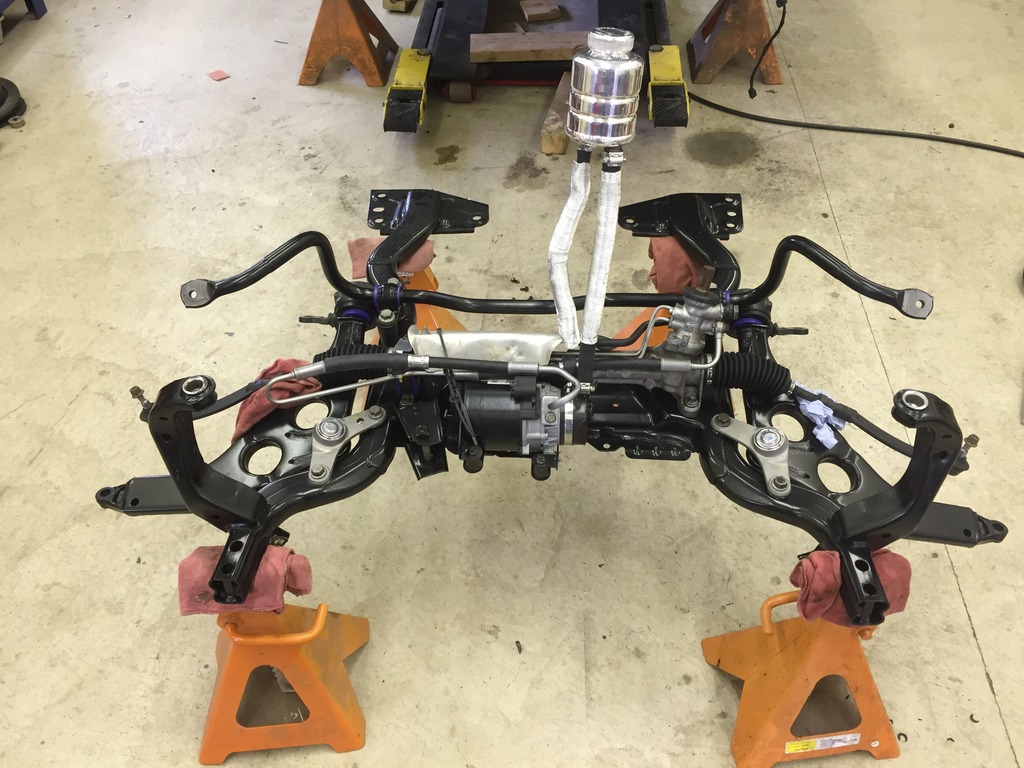
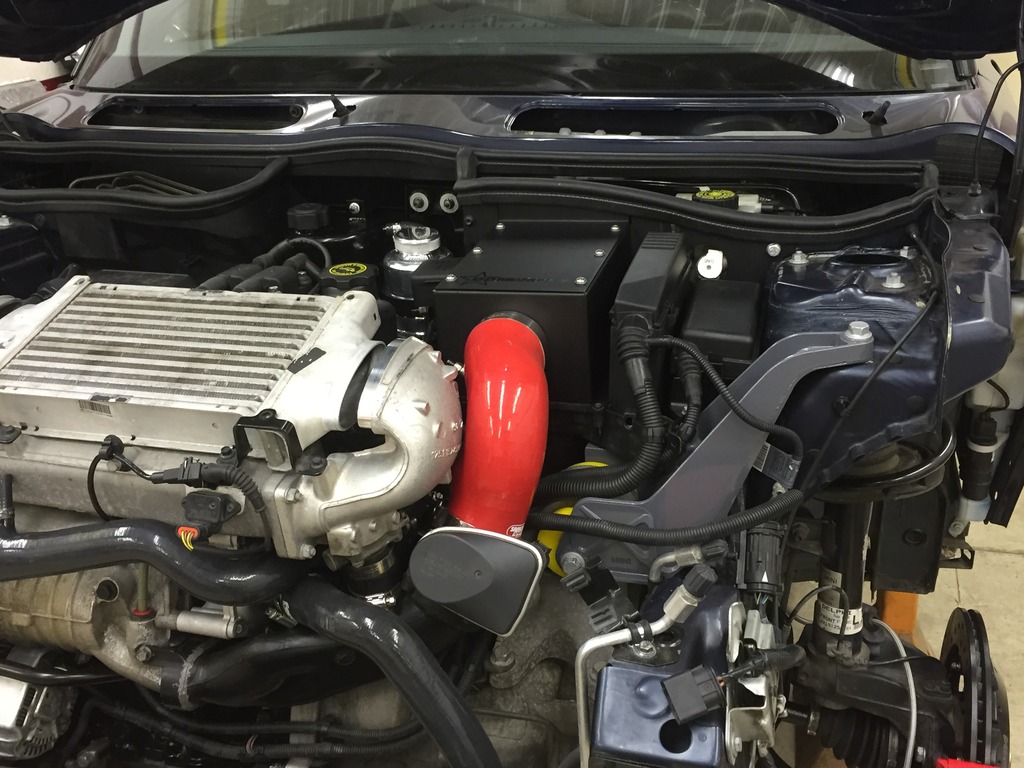
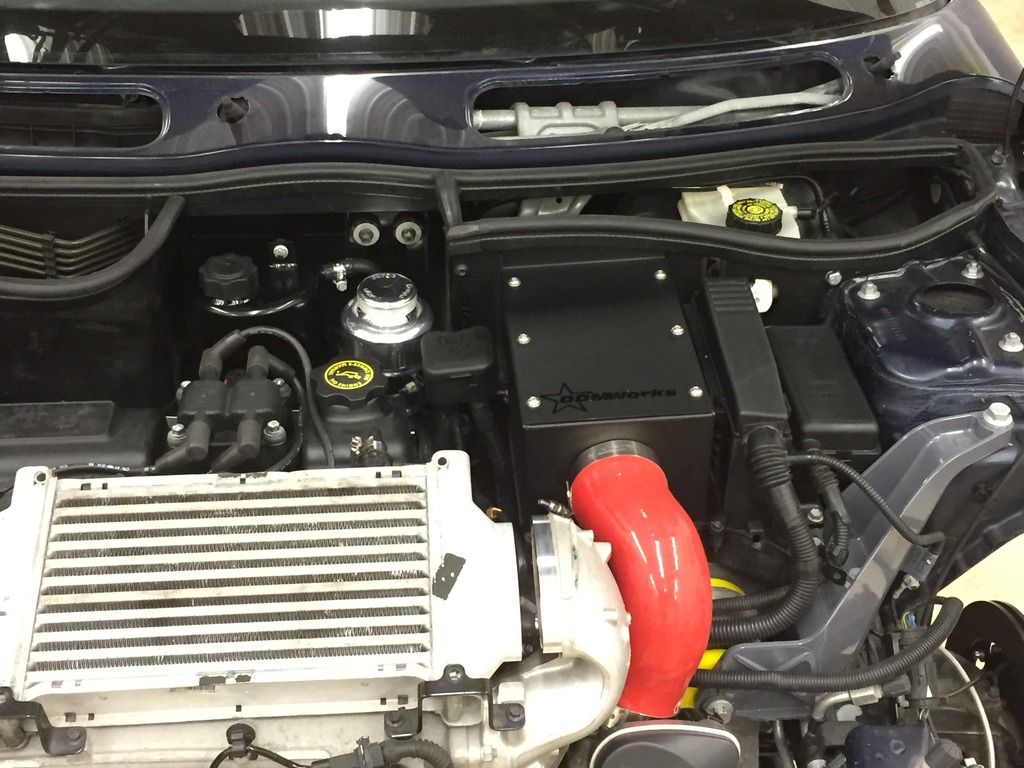
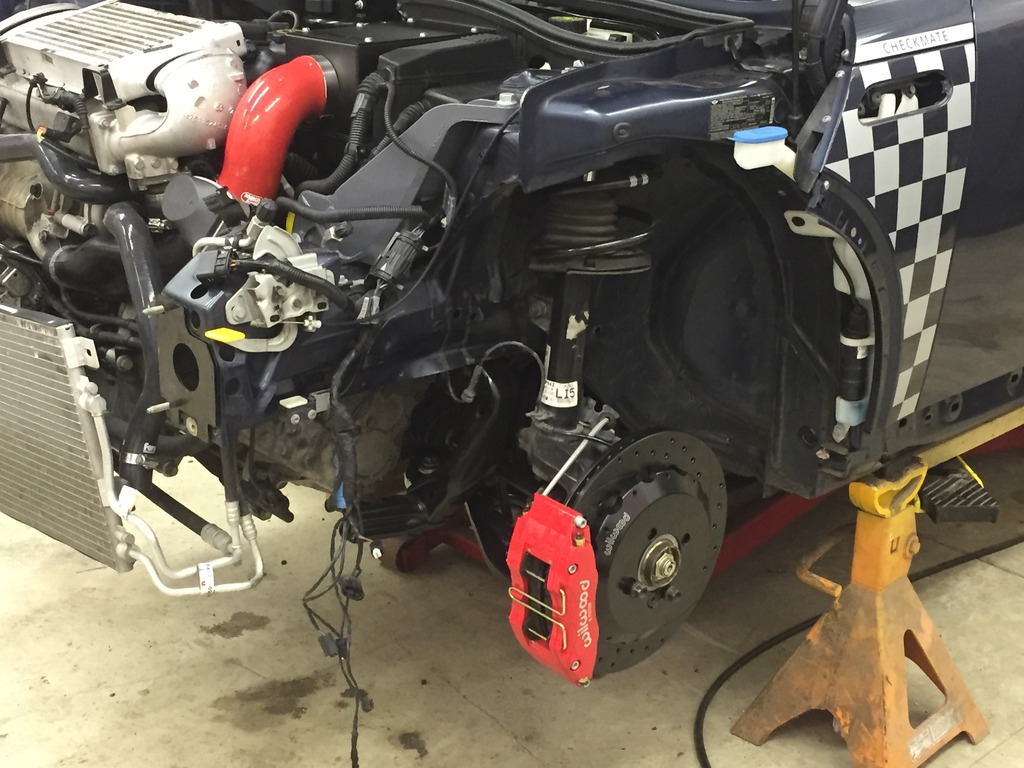
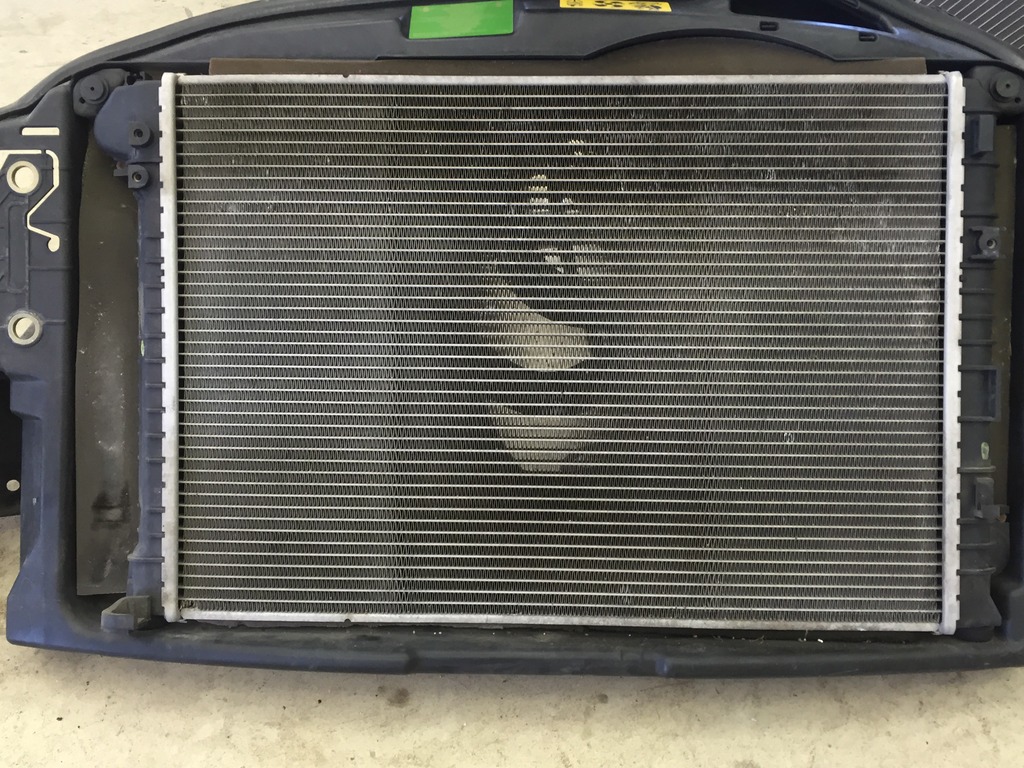
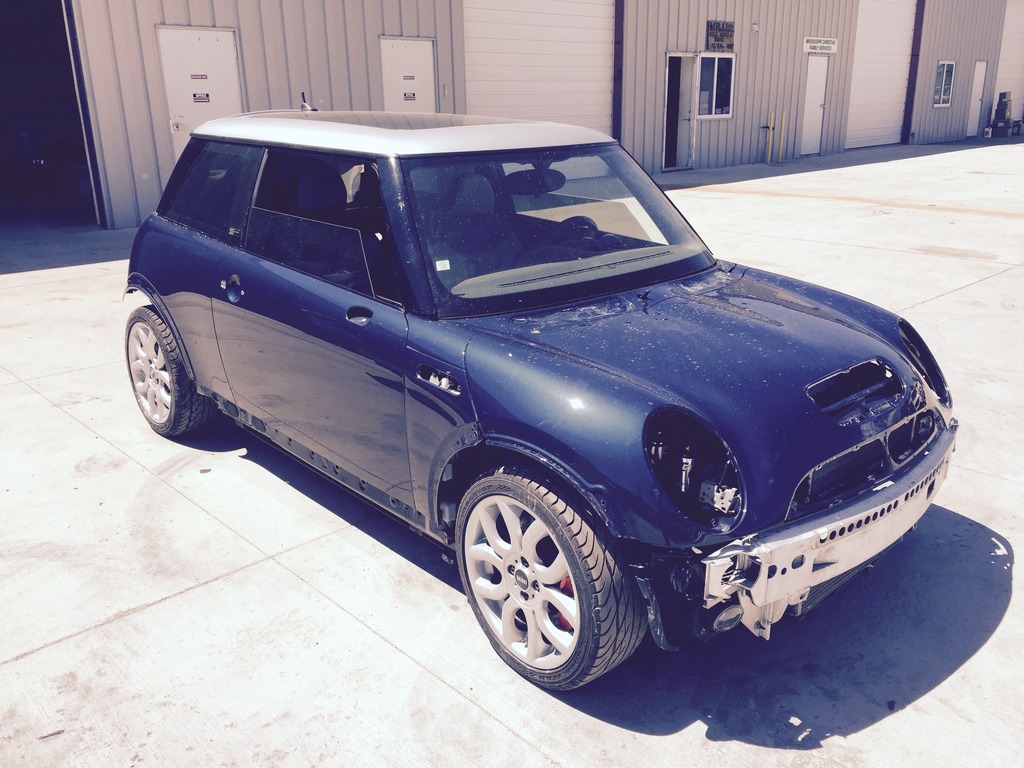
Got a lot done in the past 2 weeks after finals. I got the new bushings on the subframe, put it all back together and got it under the car. I also got the front Wilwood kit put on and bleed the brakes and clutch. I put it back on the stock wheels then and got it running again and prepped for paint where it is currently at now.
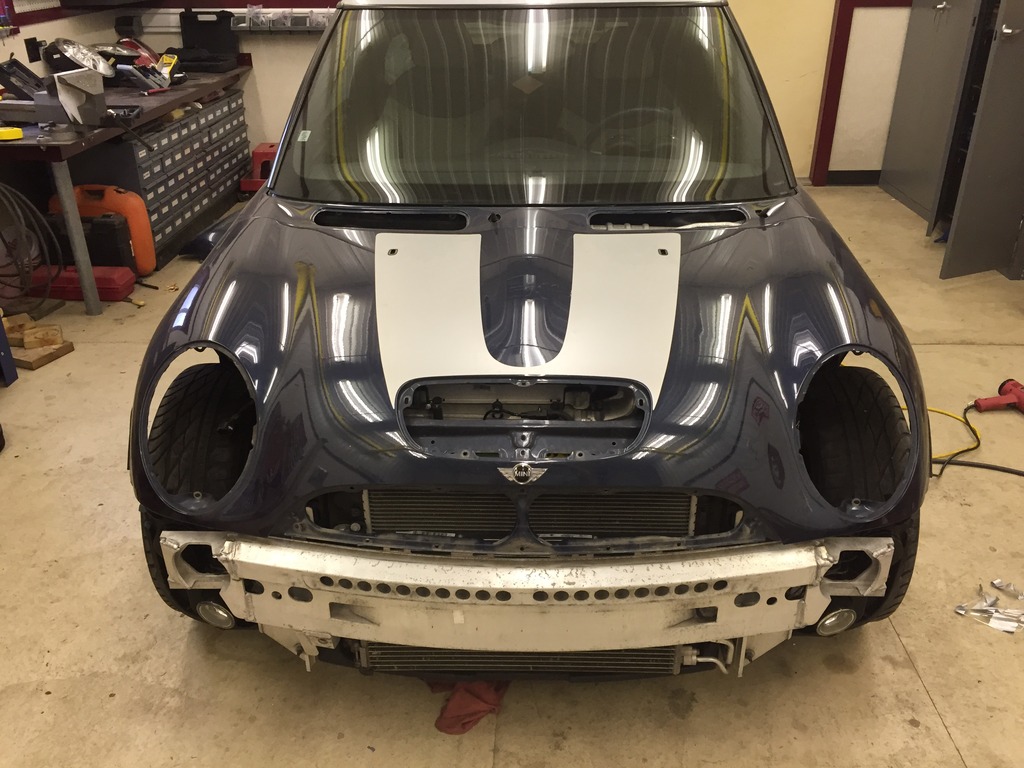
Ok I got back from our two week vacation in California and checked in with the shop doing my paint work earlier this week and they are close, should have it back tommorow to tear into the final touches and putting it back together for the road. Here are some quick pictures I got of the paint, this is still not the final sand and buff.
That heatshield looks pretty neat. Is it at all visible with the bumper on though? Like is it something people behind you can see on the road? Because I think one in black would look pretty good on my car.
Sorry Ive been busy working at it. I have spent a lot of time cleaning and detailing the interior good after getting it back from the body shop because it was filthy with sanding dust and polishing compounds. I am slowly getting little things cleaned and getting all the trim out so that I can get my little things painted that need to be and start getting the rear bumper and hatch area put back together. I have done a second brake bleed so i am sure all the air is out and waiting on getting a couple little fastener pieces for the rear trim/bumper that should be shipping from you at ECS tomorrow .
here is a couple pictures I've got.
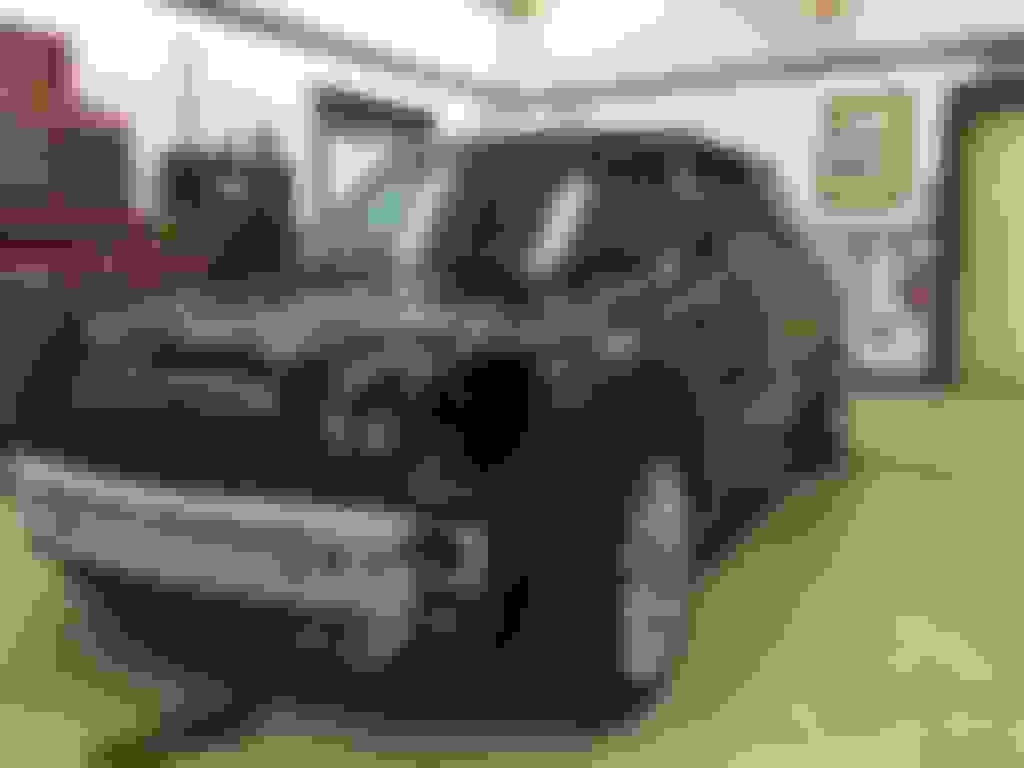
paint buffed and done and back in my shop
here is the new shifter **** kit from GTT
The new tailight all fitted and working properly.
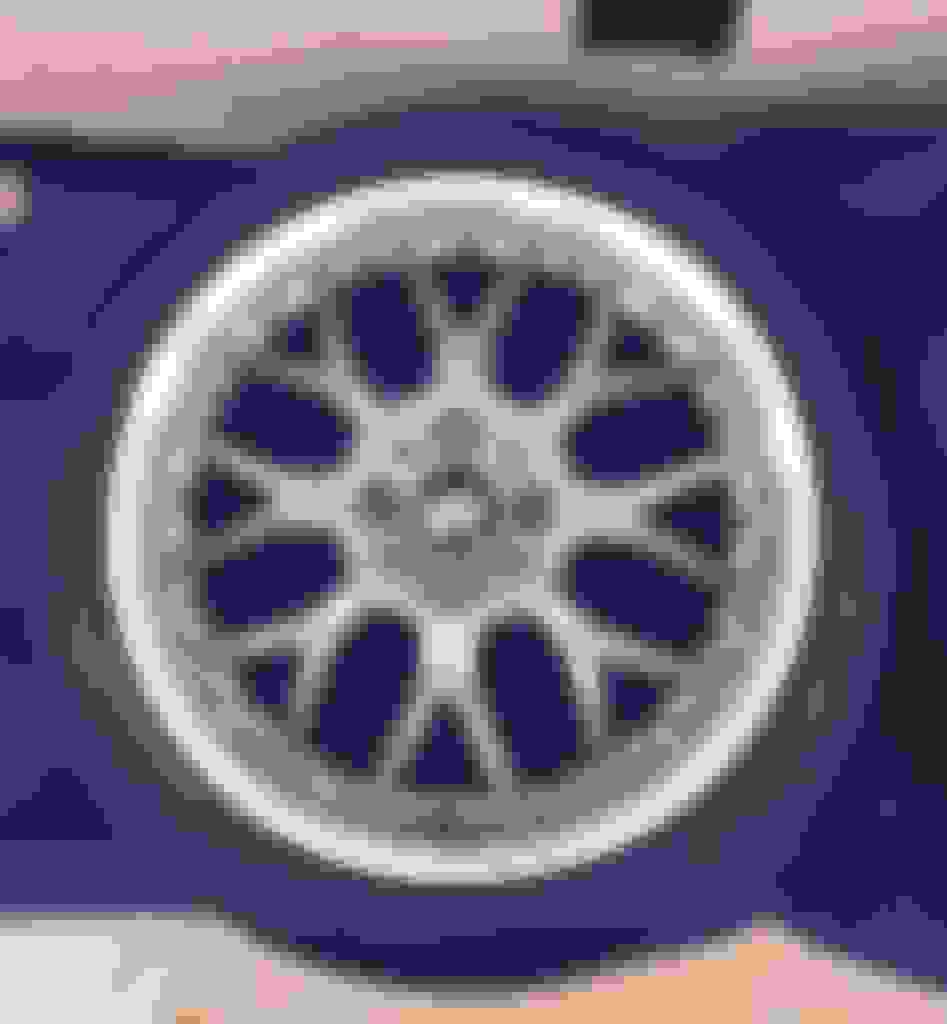
the wheels with tires mounted and was just seeing what they will look like with my lugs and center caps in
Sorry Ive been busy working at it. I have spent a lot of time cleaning and detailing the interior good after getting it back from the body shop because it was filthy with sanding dust and polishing compounds. I am slowly getting little things cleaned and getting all the trim out so that I can get my little things painted that need to be and start getting the rear bumper and hatch area put back together. I have done a second brake bleed so i am sure all the air is out and waiting on getting a couple little fastener pieces for the rear trim/bumper that should be shipping from you at ECS tomorrow .
here is a couple pictures I've got.
paint buffed and done and back in my shop
here is the new shifter **** kit from GTT
The new tailight all fitted and working properly.
the wheels with tires mounted and was just seeing what they will look like with my lugs and center caps in
Very nice, thanks for the update. Figured you were busy.
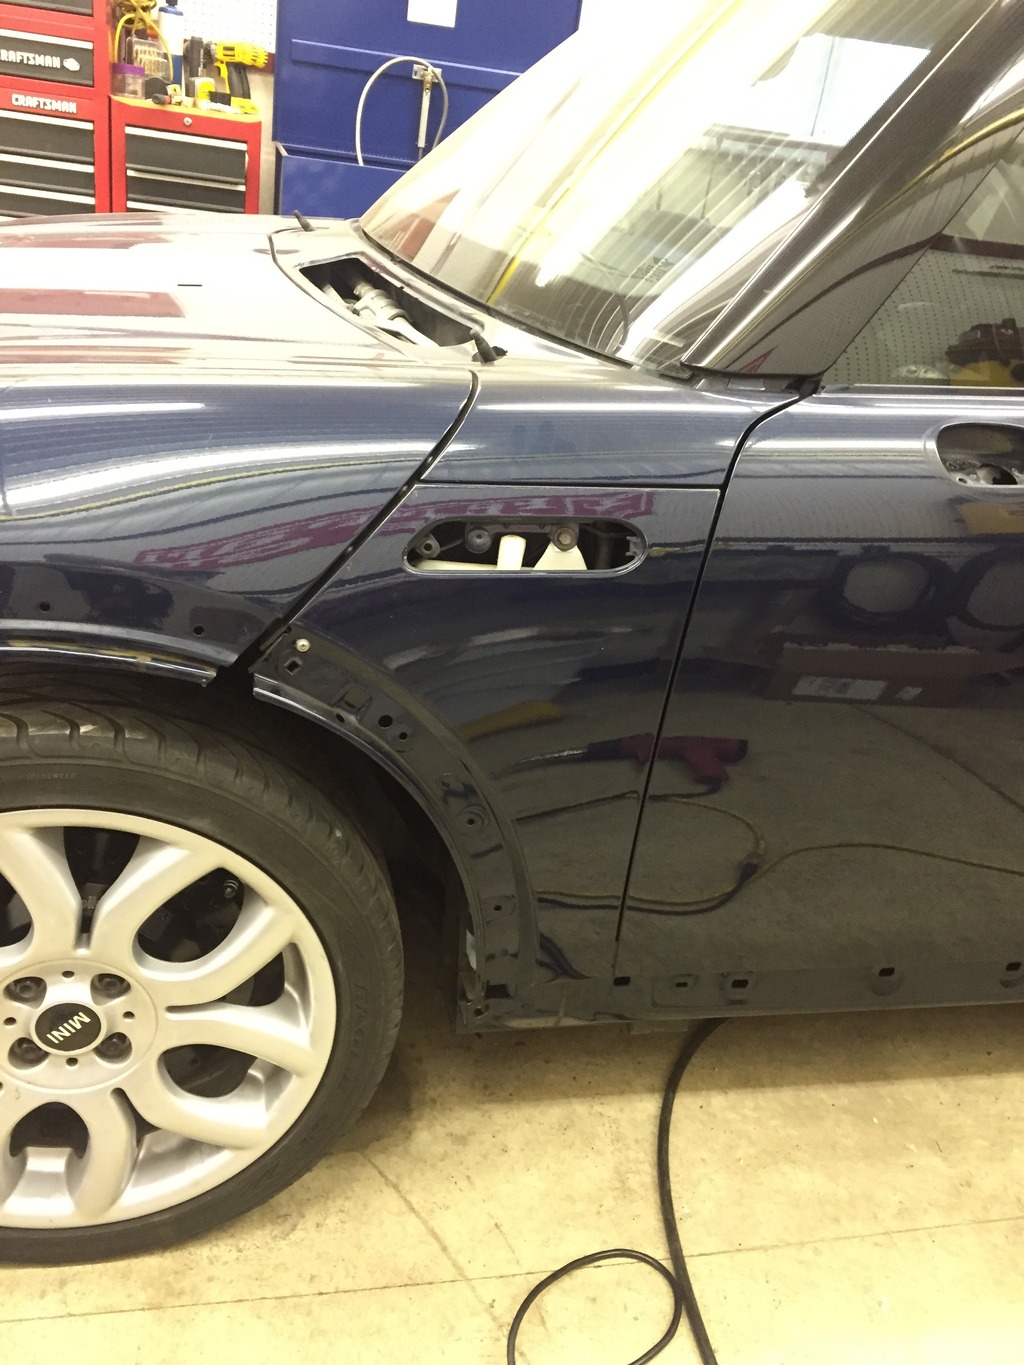
Got an update. I got the front struts put on today and worked the front grill and headlights over the week so the front is going together smoothly. This week I am going to work on the trim and plastics, and make some templates for the soundproofing I am going to putting in the doors and boot hatch.
Ok tonites project went very well which was mount my OBDII module under the drivers side dash. It took a custom bracket I had to machine but it turned out very good and clean when the cover under the steering column goes back on there will be no noticing it's even there
Got the first layer of soundproofing in the drivers and passenger side doors, now have to do the closed cell foam over it and the door panels can go back on and the interior is completly done