
Navigation & Audio My sound system... step by step


Thread Starter
|
1st Gear
Joined: May 2008
Posts: 21
Likes: 0
My sound system... step by step
Hi ! I'd like to present the job I did on my 03 cooper S to upgrade the original sound from the royal stereo and the divine speakers originally provided from BMW.
1st of all, you may laugh at me due to my poor english level, but remember, I'm french and that's the best excuse I found... !
The aim of this installation is not to break SPL levels, but having a good quality system, based on good ans equilibrate sound.
Step 1 : Equipment
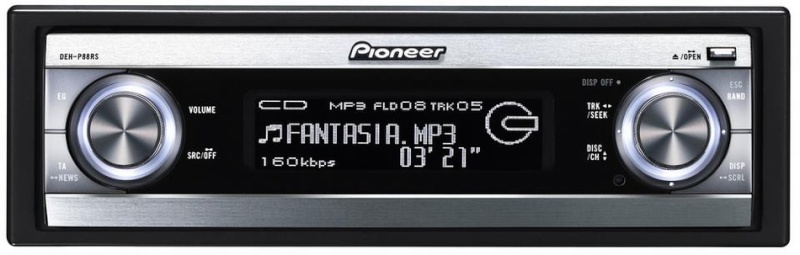
For the stereo, I choose a Pionner DEH-P88RS, including a real DSP (time delay...).
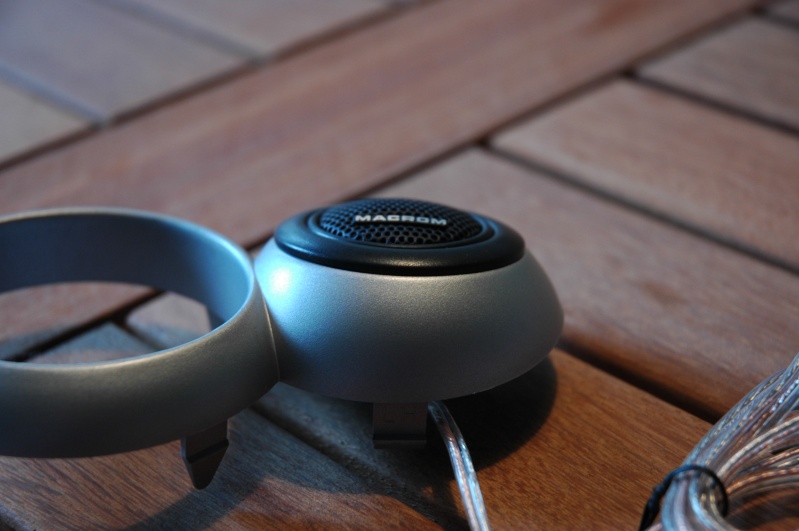
Front speakers, Macrom M1S.61. Good quality 2 seperate ways.
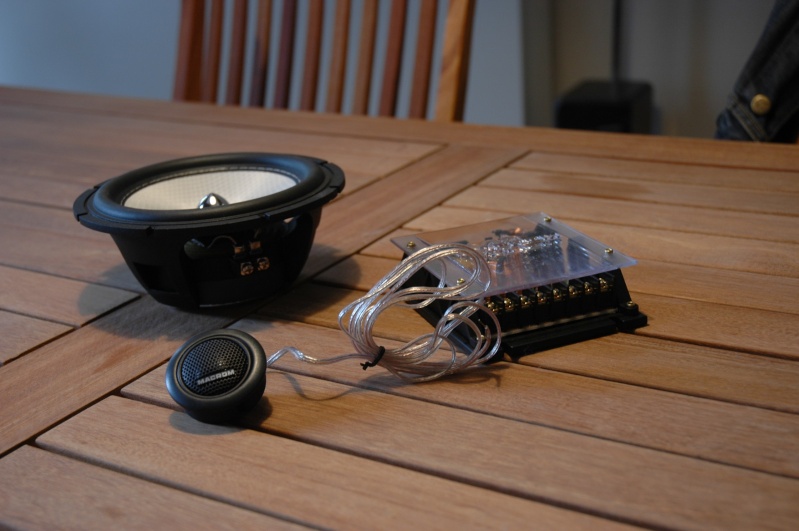
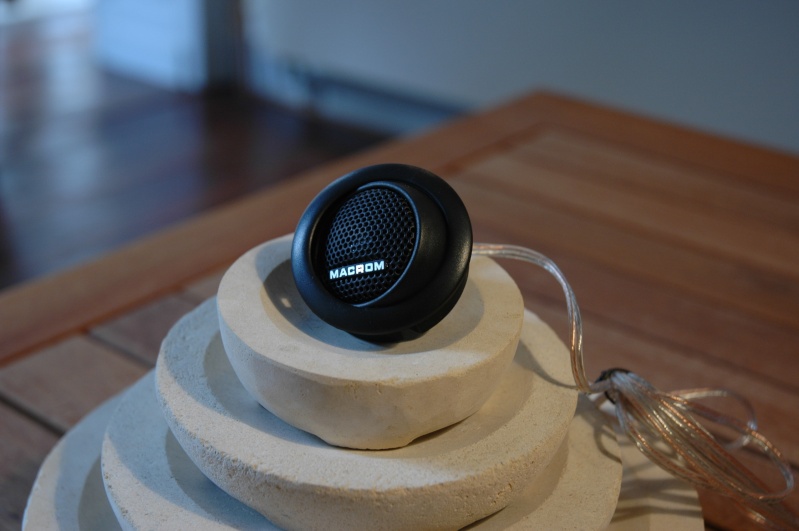
They have a good efficiency, means I don't need a too big amplifier to drive them.
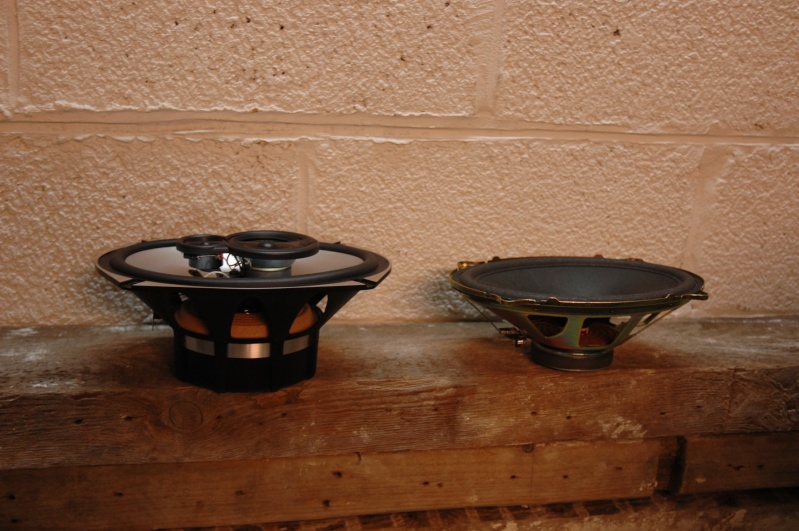
Rear speakers : 3 ways Macrom, same range as front.
Here is a pic of original compared to new...
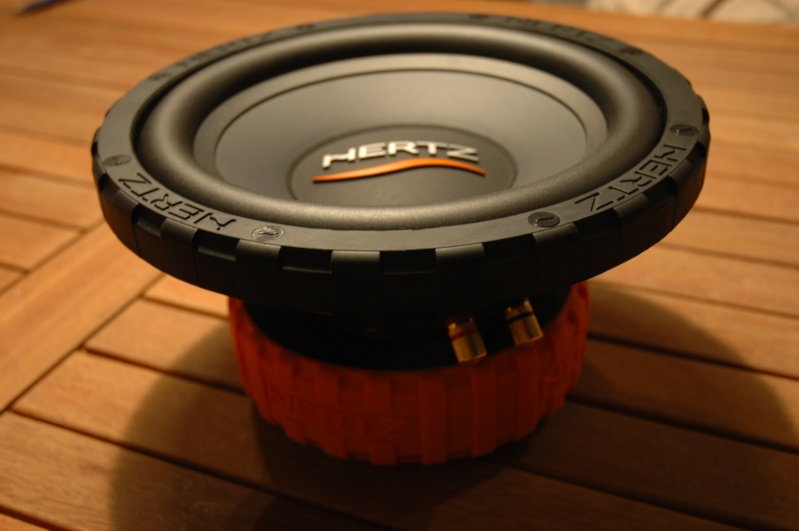
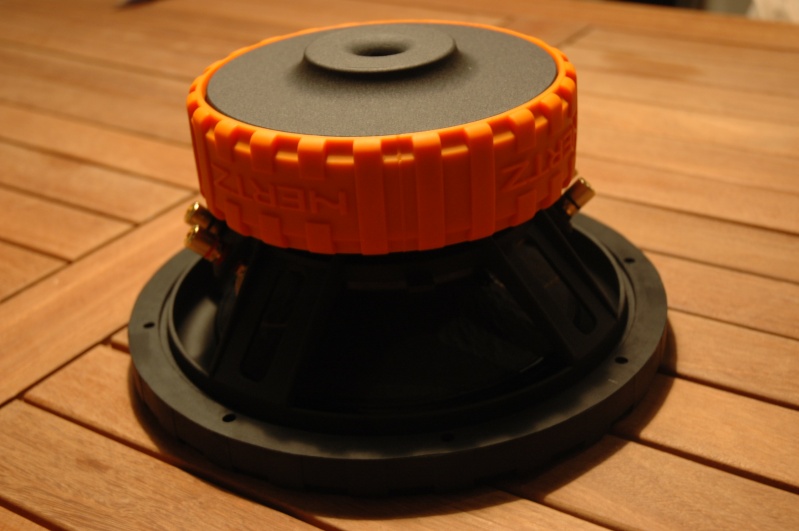
Subwoofer : Hertz HX 250 D (4 Ohm + 4 Ohm), brilliant efficiency (96db), 500W continous power. 10'.
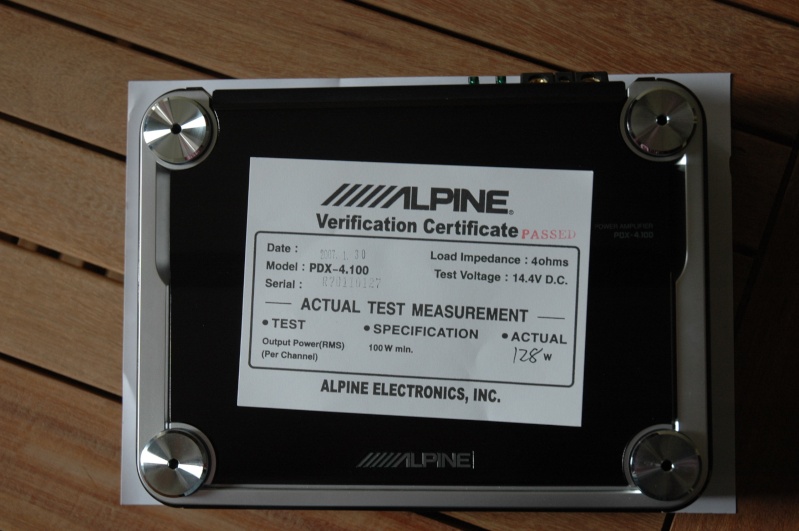
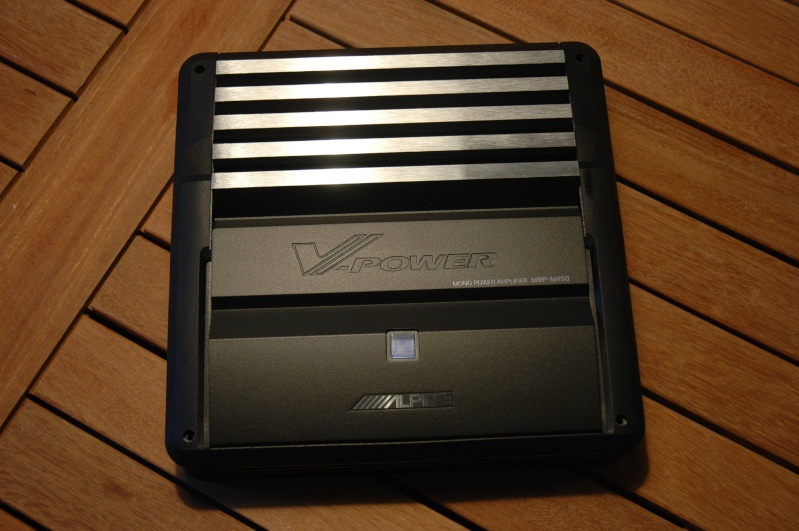
Amplifiers : I choose digital D-class amps for 2 reasons, they are small, and take less energy than regular amps. + really high efficiency (128W RMS/canal).
For front and rear speakers
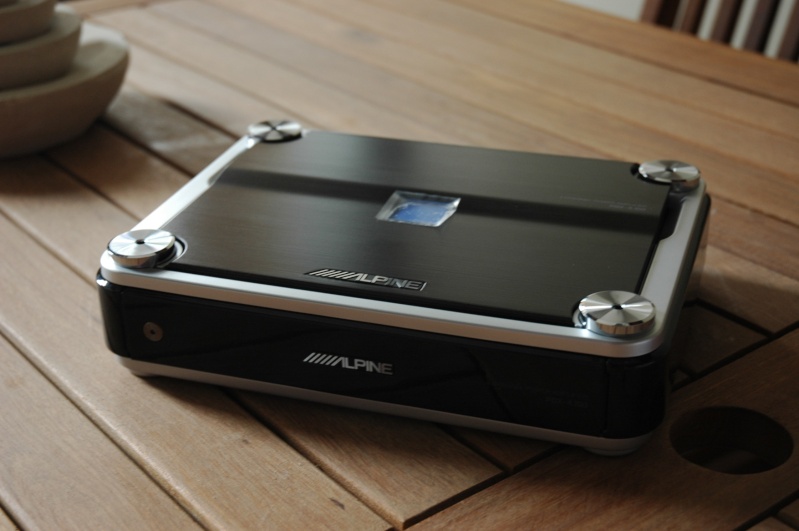
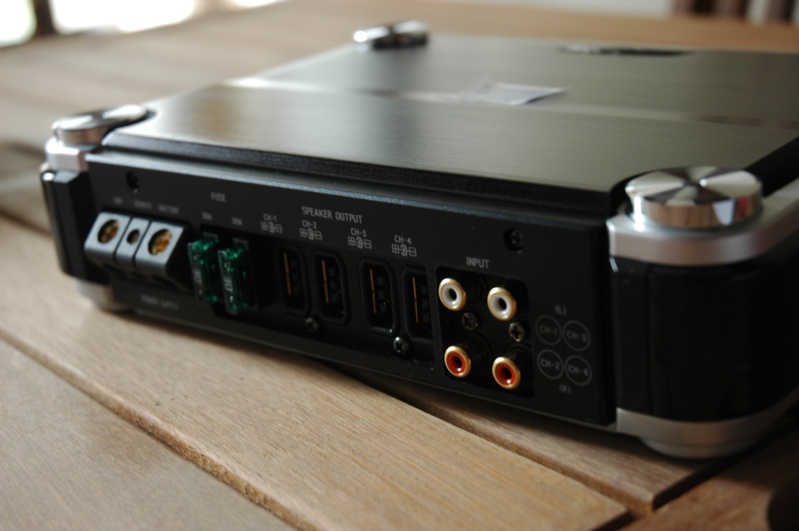
For the subwoofer
The next step will explain how to mount the front speakers in the RIGHT way !
See ya !
1st of all, you may laugh at me due to my poor english level, but remember, I'm french and that's the best excuse I found... !
The aim of this installation is not to break SPL levels, but having a good quality system, based on good ans equilibrate sound.
Step 1 : Equipment
For the stereo, I choose a Pionner DEH-P88RS, including a real DSP (time delay...).
Front speakers, Macrom M1S.61. Good quality 2 seperate ways.
They have a good efficiency, means I don't need a too big amplifier to drive them.
Rear speakers : 3 ways Macrom, same range as front.
Here is a pic of original compared to new...
Subwoofer : Hertz HX 250 D (4 Ohm + 4 Ohm), brilliant efficiency (96db), 500W continous power. 10'.
Amplifiers : I choose digital D-class amps for 2 reasons, they are small, and take less energy than regular amps. + really high efficiency (128W RMS/canal).
For front and rear speakers
For the subwoofer
The next step will explain how to mount the front speakers in the RIGHT way !
See ya !

Thread Starter
|
1st Gear
Joined: May 2008
Posts: 21
Likes: 0
Step 2 : Front doors
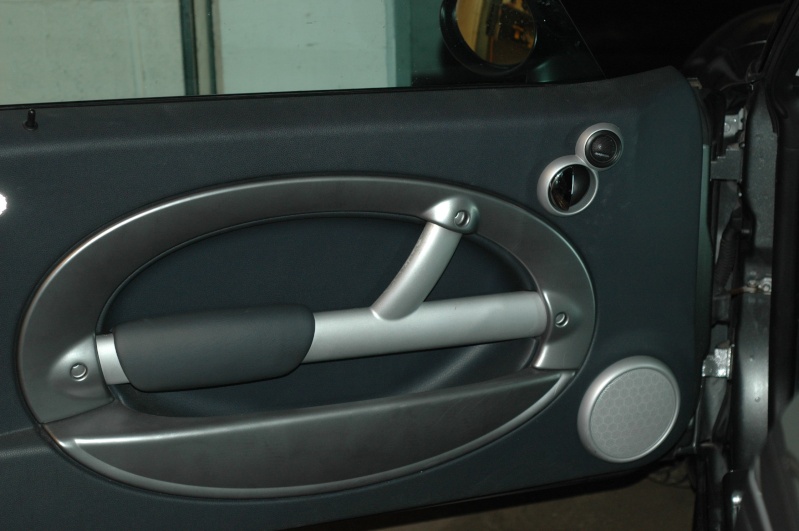
A good place for tweaters is... THE ORIGINAL PLACE ! Sounds crazy ! But...
It's easy to cut off the grill protecting the wonderfull original tweeters, and put Macroms inside the hole.


the look is great (in my opinion of course !), looks like OEM !
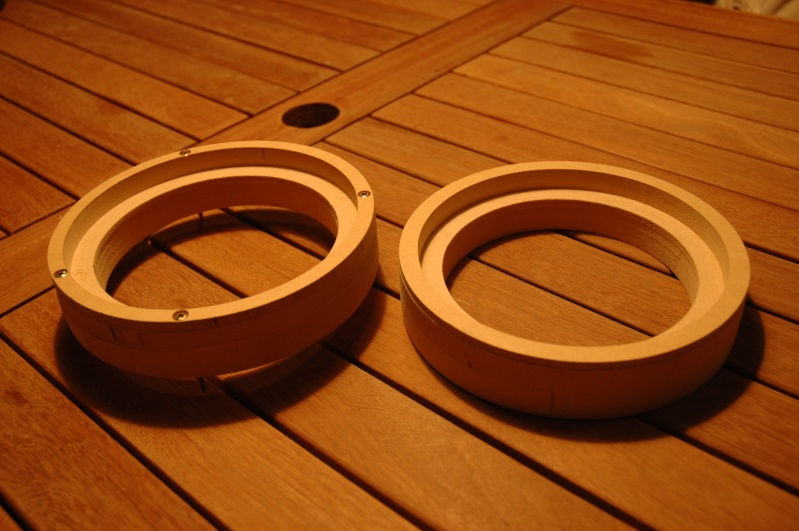
As the boomers are too deep to fit the doors (the magnets will meet the glass windows), the only solution is to buy already made spacers, but it's too easy ans borring. Calculate how thick the spacer has to be and go back making your own...
Here are mines :
While
Finished
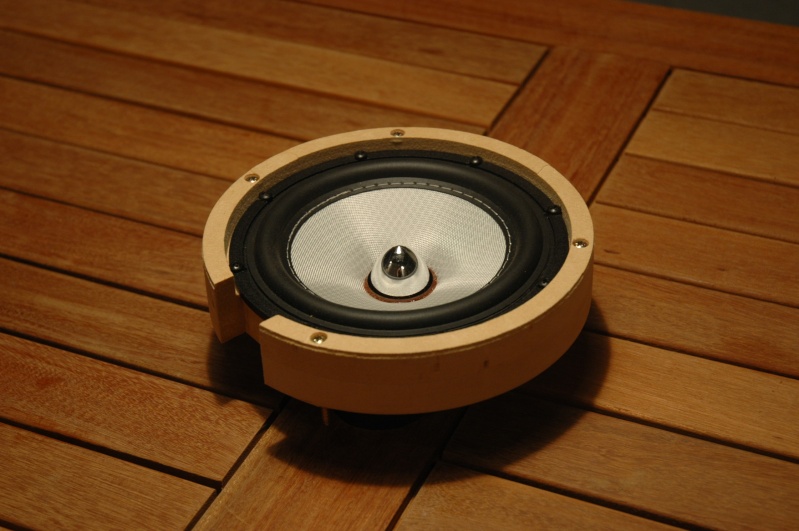
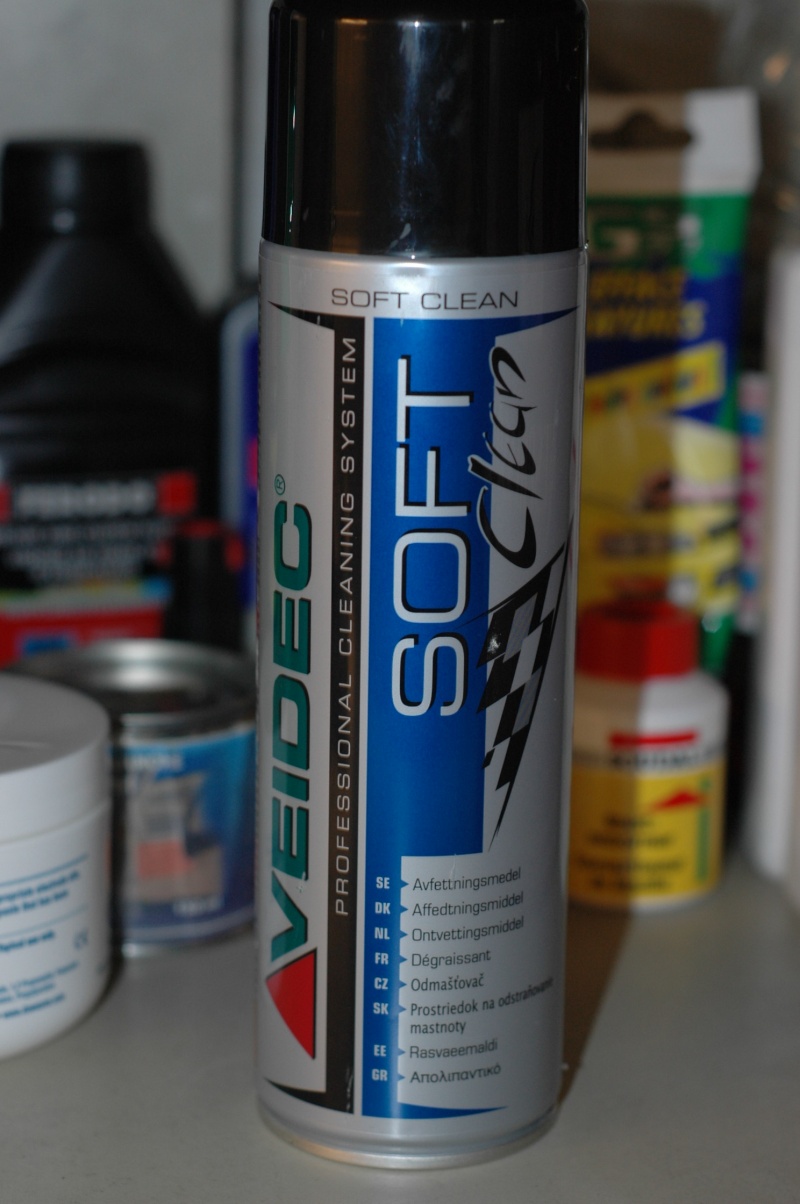
As the humidity level inside the door is quite high, I put some special product onto the spacers to protect them from moisture.
The result is nice, but it took me efforts and time just to make 2 spacers !!
To wire the amp to the front speakers, I use thicker cables than original, means that I have to connect them from the car to inside each door.
The crossovers are to big to fit in beetween the door itself and the door panel. So I had to hide them inside the car, wich means I had to use 2 cables / door (1 for tweet + 1 for boomer).
Don't take to thick cables otherwise no chance to fit them into the door connector !
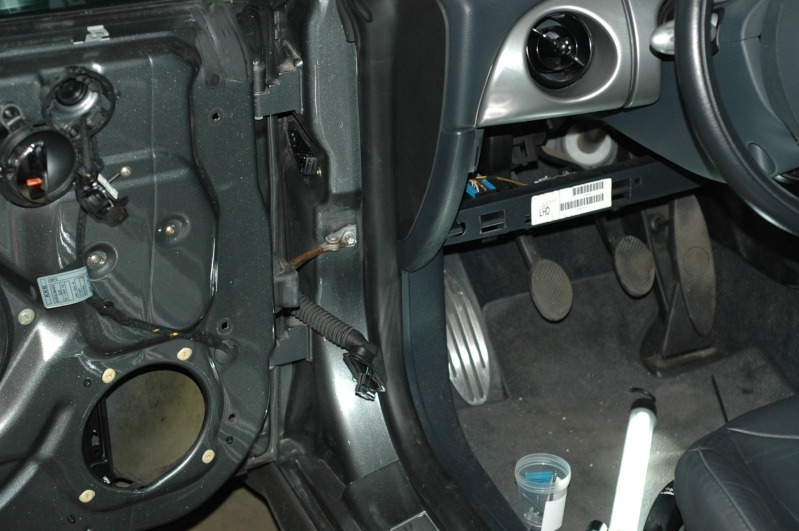
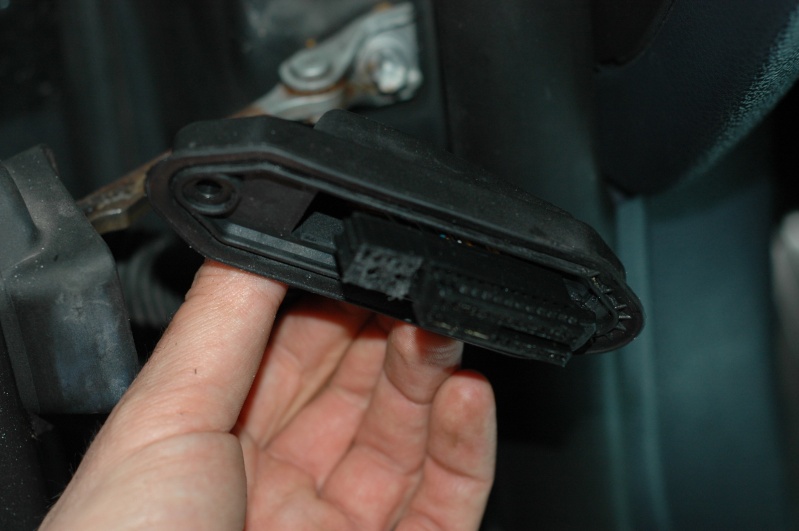
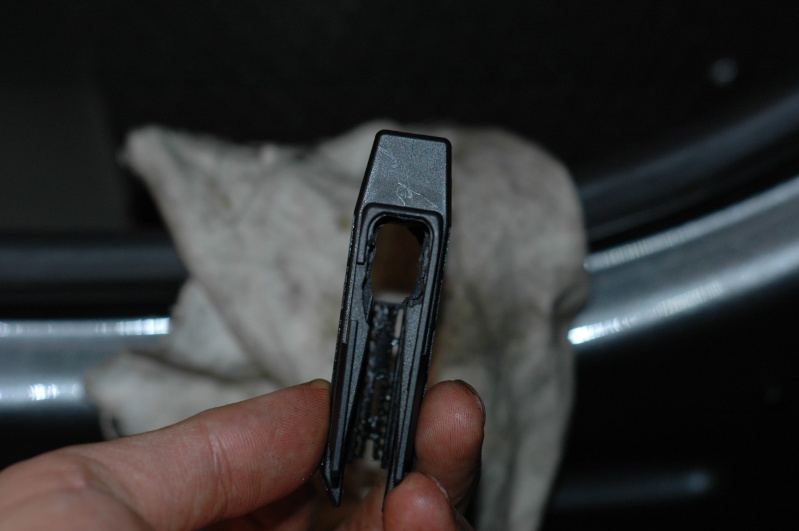
On this pic, I unplugged the door connector
Close up to the connector
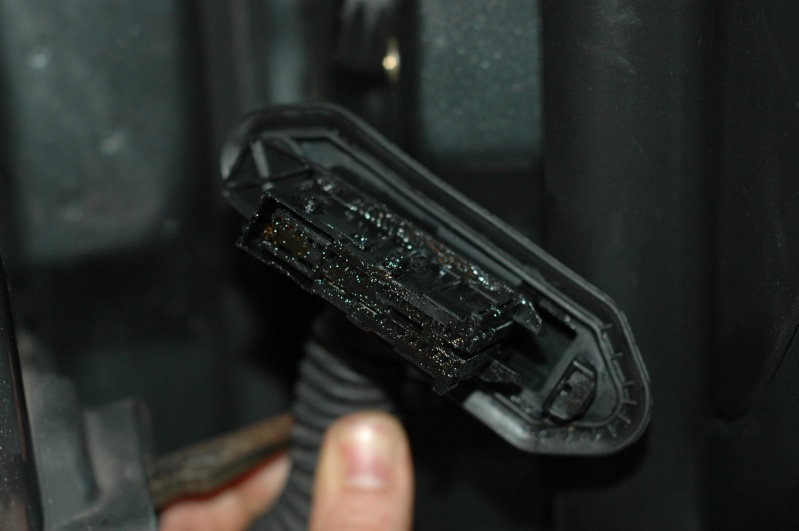
Inside the connector looks like that...
As you can see, the left side of the connecteur is not wired (I have electric heated mirrors so I don't know what's is's made for).
I'll use this part for wiring.
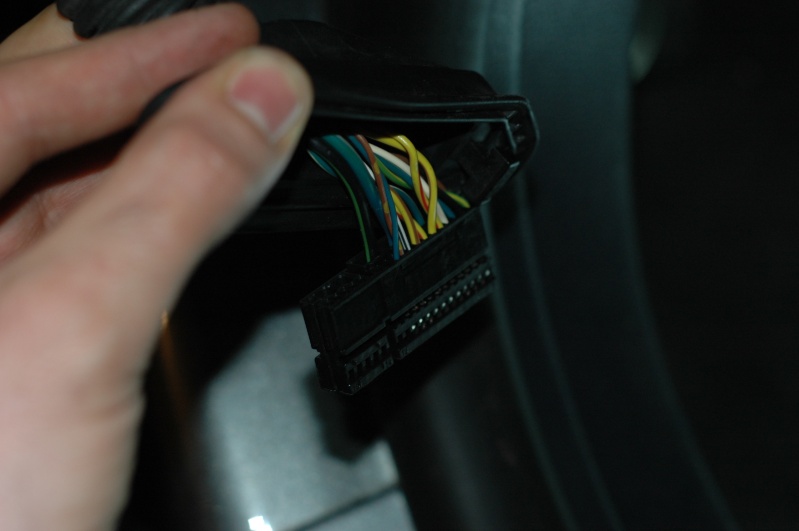
Cut the front part of the non wired part. (I used Dremmel)
Then I drilled inside the part
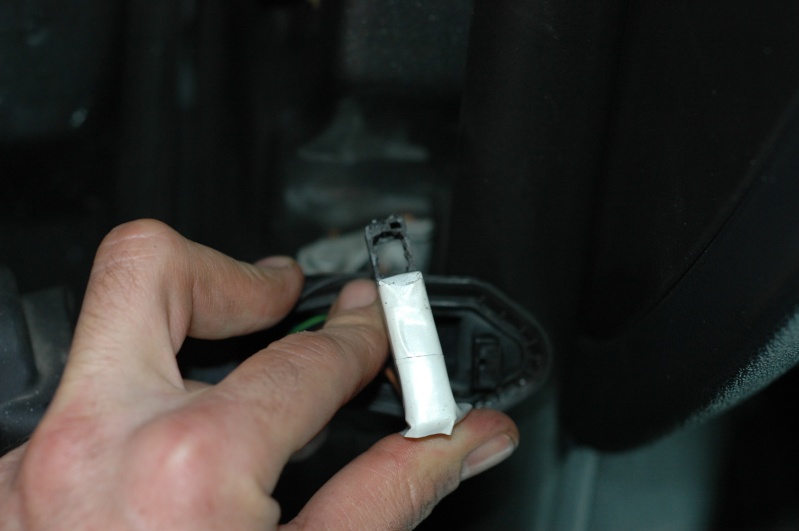
Then I used grease to make it easier, and I passed the cables inside the hole, throuh the plastic THING (I have no clue of the name of this tube in english, so let call it, THE PLASTIC SNAKE !!)
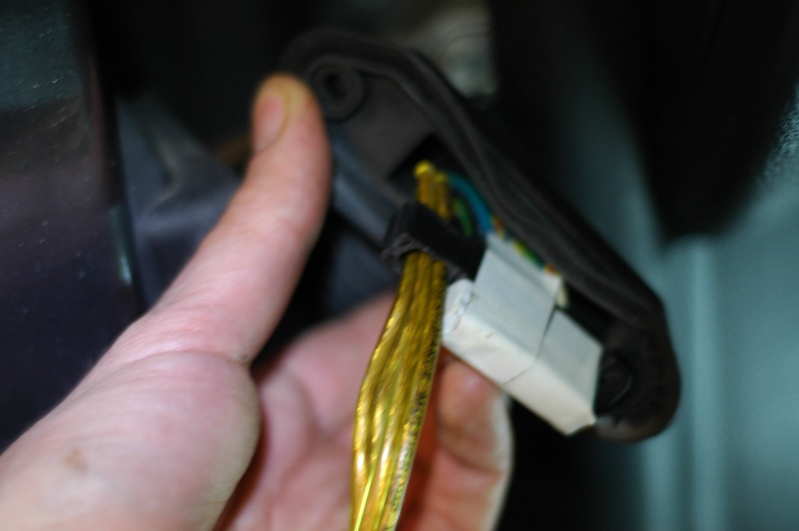
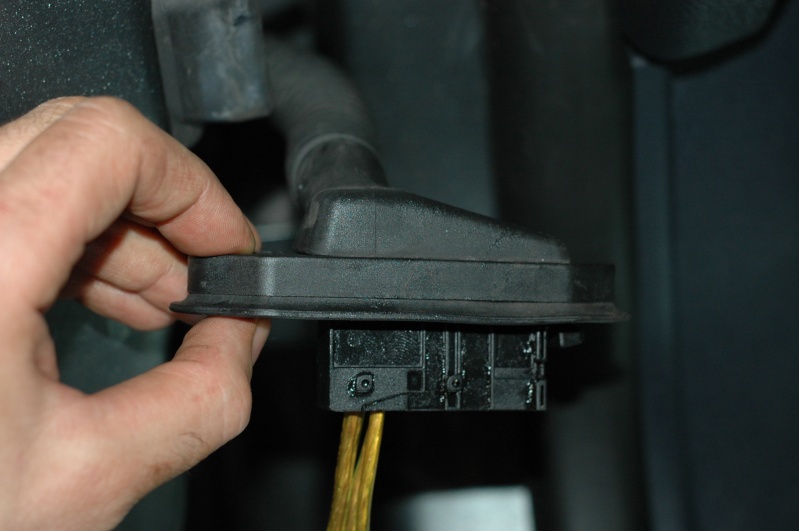
Using same drilling method, I modified the part of the connector that stays on the car, here's the result :
Put the connectors back together. This is a very nervous "affair", if the cables are twisted, forget it. It took me more than an hour just to plug back the door connector !
Voila !
Have a beer, relax, and do the same on the other door.
See Ya for step 3 : Sound proofing :-)
A good place for tweaters is... THE ORIGINAL PLACE ! Sounds crazy ! But...
It's easy to cut off the grill protecting the wonderfull original tweeters, and put Macroms inside the hole.
the look is great (in my opinion of course !), looks like OEM !
As the boomers are too deep to fit the doors (the magnets will meet the glass windows), the only solution is to buy already made spacers, but it's too easy ans borring. Calculate how thick the spacer has to be and go back making your own...
Here are mines :
While
Finished
As the humidity level inside the door is quite high, I put some special product onto the spacers to protect them from moisture.
The result is nice, but it took me efforts and time just to make 2 spacers !!
To wire the amp to the front speakers, I use thicker cables than original, means that I have to connect them from the car to inside each door.
The crossovers are to big to fit in beetween the door itself and the door panel. So I had to hide them inside the car, wich means I had to use 2 cables / door (1 for tweet + 1 for boomer).
Don't take to thick cables otherwise no chance to fit them into the door connector !
On this pic, I unplugged the door connector
Close up to the connector
Inside the connector looks like that...
As you can see, the left side of the connecteur is not wired (I have electric heated mirrors so I don't know what's is's made for).
I'll use this part for wiring.
Cut the front part of the non wired part. (I used Dremmel)
Then I drilled inside the part
Then I used grease to make it easier, and I passed the cables inside the hole, throuh the plastic THING (I have no clue of the name of this tube in english, so let call it, THE PLASTIC SNAKE !!)
Using same drilling method, I modified the part of the connector that stays on the car, here's the result :
Put the connectors back together. This is a very nervous "affair", if the cables are twisted, forget it. It took me more than an hour just to plug back the door connector !
Voila !
Have a beer, relax, and do the same on the other door.
See Ya for step 3 : Sound proofing :-)

Thread Starter
|
1st Gear
Joined: May 2008
Posts: 21
Likes: 0
Trending Topics


2nd Gear
Joined: Feb 2008
Posts: 87
Likes: 0
 canada, here i come!
but serious, op, better pics of the table? i'm in the market for something like that and it looks quite nice
Thread Starter
|
1st Gear
Joined: May 2008
Posts: 21
Likes: 0
Step 3 : front door sound proofing.
1st of all, this item is more than needed !!
As it's greasy inside the door, the proofing tape (Correct ?!) won't glue for long ! If it happens, the tape will sink at the botom, the evacuation holes for water will be blocked, and you door will soon look like and aquarium ! (then you can throw your speaker to the bean, bad, very bad...).
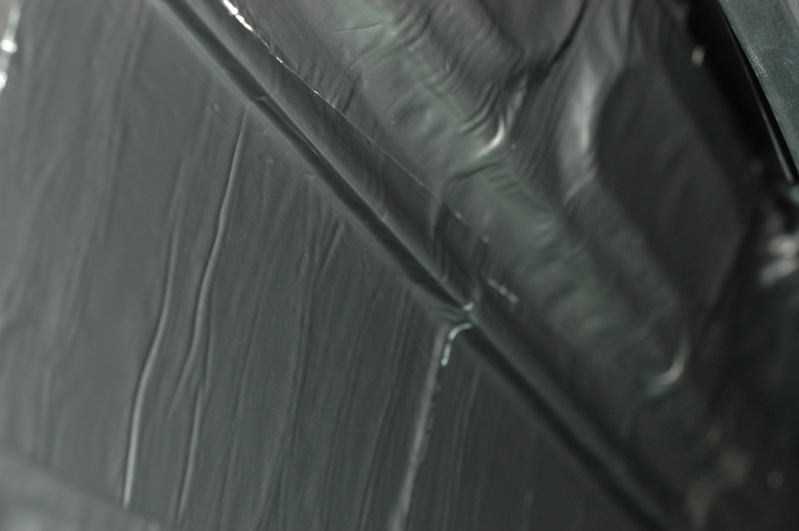
The tape is a special deadening tape for car installation.
Then I started covering the middle of the door
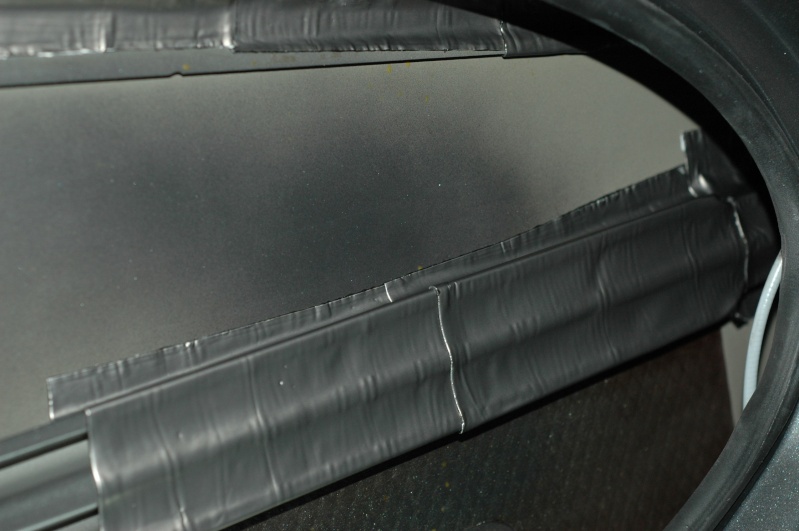
And the other parts.
Some parts are not covered but it has been done after but no pics.
On the outside parts on some places
I kepts the original wiring as it is, in case of going back to original (I might sell the car soon). It's just covered by proofing tape.

The door panel has to be covered as weel, especialy the middle that could vibrate noisely.
Now it's to mount the speakers and to put the panel back.
Et voil� !
Now it's time to relax and have another beer before you start the other side !
Next step, the rear speakers.
1st of all, this item is more than needed !!
As it's greasy inside the door, the proofing tape (Correct ?!) won't glue for long ! If it happens, the tape will sink at the botom, the evacuation holes for water will be blocked, and you door will soon look like and aquarium ! (then you can throw your speaker to the bean, bad, very bad...).
The tape is a special deadening tape for car installation.
Then I started covering the middle of the door
And the other parts.
Some parts are not covered but it has been done after but no pics.
On the outside parts on some places
I kepts the original wiring as it is, in case of going back to original (I might sell the car soon). It's just covered by proofing tape.
The door panel has to be covered as weel, especialy the middle that could vibrate noisely.
Now it's to mount the speakers and to put the panel back.
Et voil� !
Now it's time to relax and have another beer before you start the other side !
Next step, the rear speakers.

Thread Starter
|
1st Gear
Joined: May 2008
Posts: 21
Likes: 0
Thanks for your comments ! Niiiiiice !
Be patient, the best is coming...
I'm preparing step 4 : rear speakers installation...
It's boring that my posts have to be checked by moderation team... Takes time ! Is it the same for everyone or just beacause I'm a rookie on this forum?!
Be patient, the best is coming...
I'm preparing step 4 : rear speakers installation...
It's boring that my posts have to be checked by moderation team... Takes time ! Is it the same for everyone or just beacause I'm a rookie on this forum?!
Thread Starter
|
1st Gear
Joined: May 2008
Posts: 21
Likes: 0
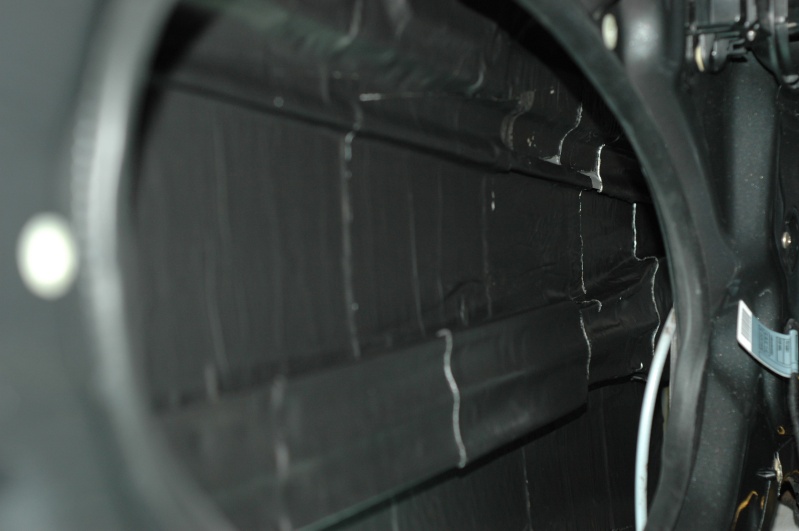
Step 4 : Rear speakers.
Original mount
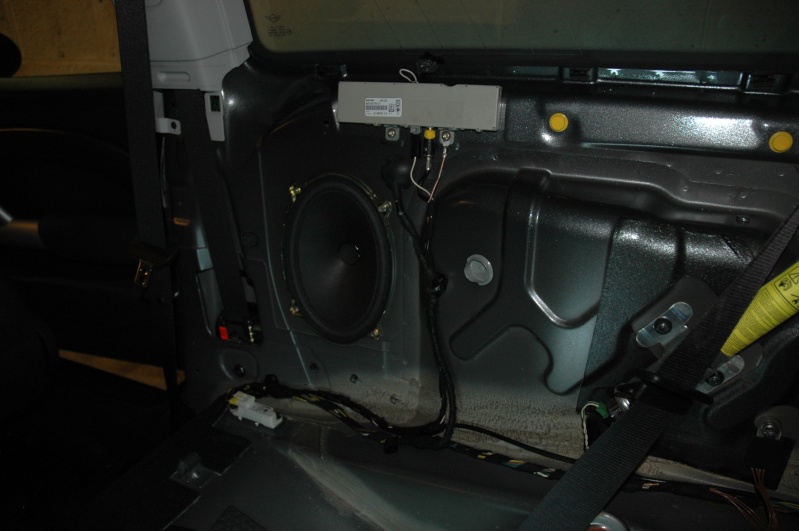
Without speaker
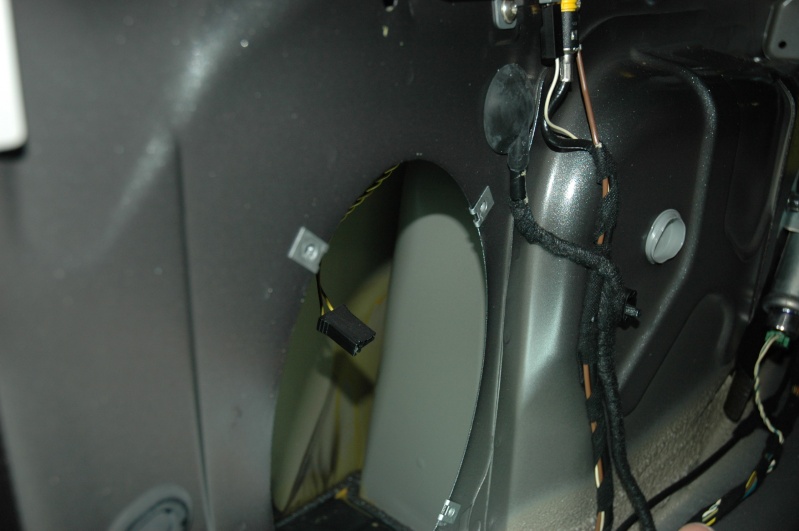
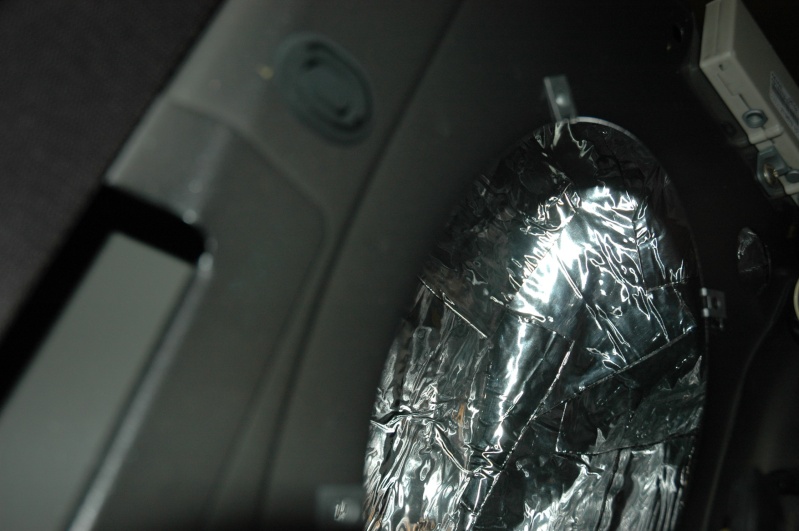
The aim now is to built a close area, as it is on the picture, the air behind the speaker communicates with the boot, along the wing.
We have to close the area !
Fisrt I put some sound proof foam as much as I can to block the area ! It's important to push hard, then vibrations are killed.
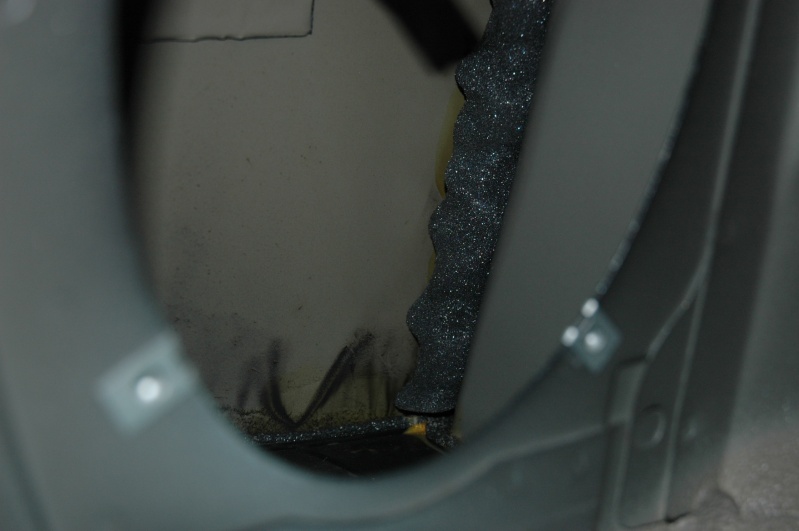
Important to put some as well at the top of the hole.
Then I put some deadening tape everywhere, in order to make a close area. I use 1 roll per side (It's about 3 kg per roll !!!).

Then I glued onto the tape some sound foam
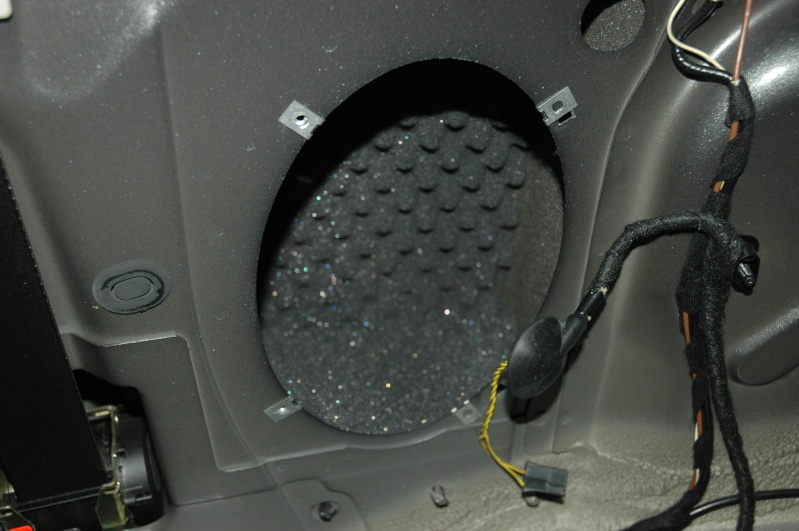
Then the speaker comes
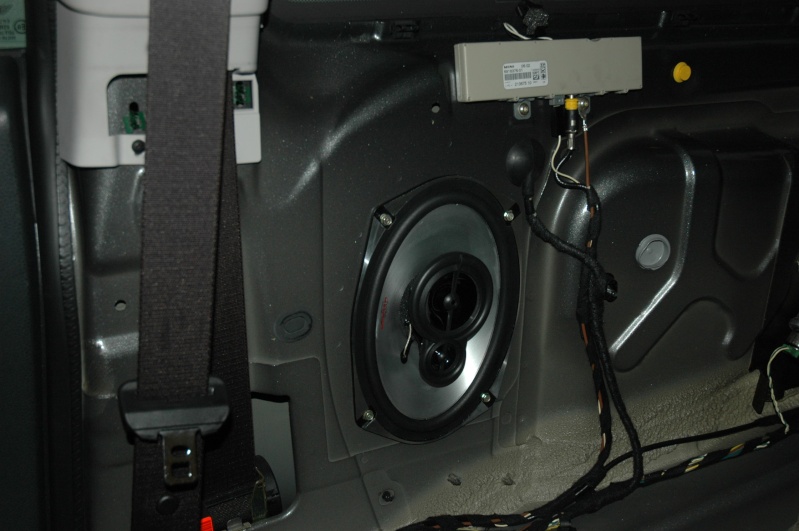
On the pics, I used the original wiring, but that was just for a test, I replaced the original by the same cables as the front door.
But the question is now, OK, BUT WHERE TO ? WHERE IS GONNA BE THE AMP?! (Nice question, thanks for asking, this will be step fiiive !)
See ya !
Original mount
Without speaker
The aim now is to built a close area, as it is on the picture, the air behind the speaker communicates with the boot, along the wing.
We have to close the area !
Fisrt I put some sound proof foam as much as I can to block the area ! It's important to push hard, then vibrations are killed.
Important to put some as well at the top of the hole.
Then I put some deadening tape everywhere, in order to make a close area. I use 1 roll per side (It's about 3 kg per roll !!!).
Then I glued onto the tape some sound foam
Then the speaker comes
On the pics, I used the original wiring, but that was just for a test, I replaced the original by the same cables as the front door.
But the question is now, OK, BUT WHERE TO ? WHERE IS GONNA BE THE AMP?! (Nice question, thanks for asking, this will be step fiiive !)
See ya !

1st Gear
Joined: Dec 2004
Posts: 40
Likes: 0
From: Long Beach
nice work!
Great job so far. You're far more industrious than me.
And excellent choice of amp.... same one I got. I'll be interested to see your "fit" as mine wasn't quite as finished as I hoped but I'm prepared to live with it.
And excellent choice of amp.... same one I got. I'll be interested to see your "fit" as mine wasn't quite as finished as I hoped but I'm prepared to live with it.

Thread Starter
|
1st Gear
Joined: May 2008
Posts: 21
Likes: 0
Hi !
My computer was down for a while, that's why I didn't post for long !
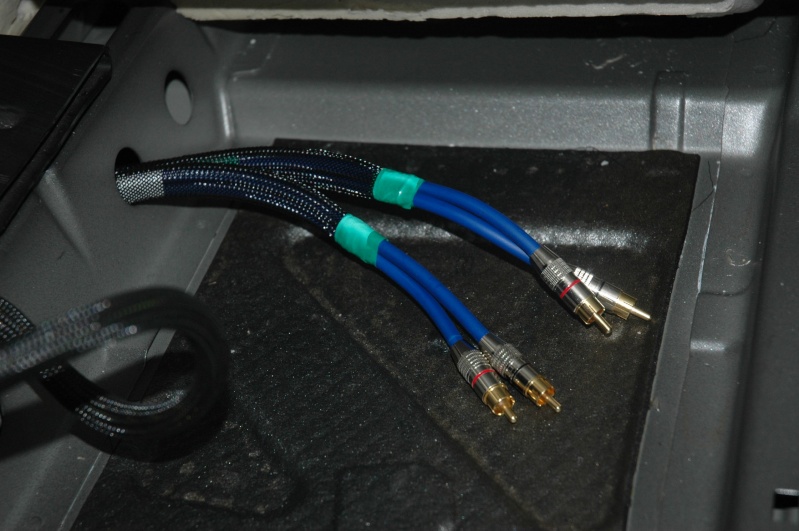
Now it's time to built my own modulation cable.
This is not easy for me to explain as this is technical and I wish a better english level...
This is what you need...
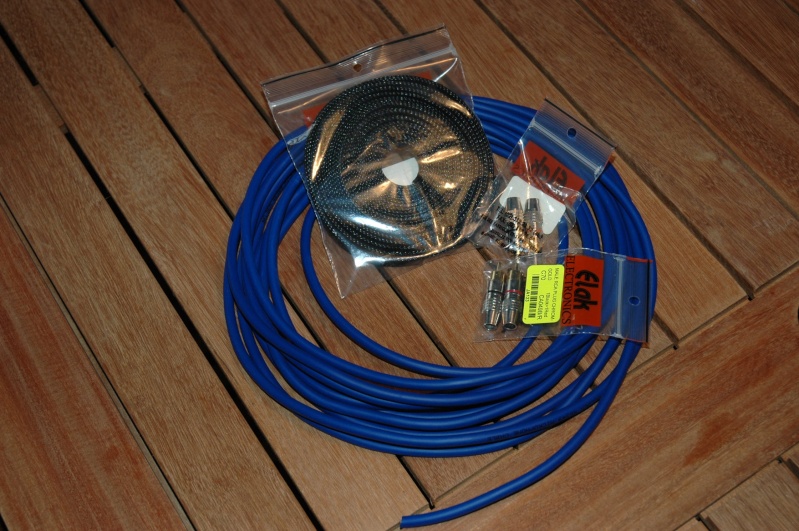
The cable is microphone cable, whith 3 wires inside.
The aim is to bilt cables that won't catch any parasites from ground.
Here is the wirind diagram (this is in french, but anyone might understand)
http://audioclone.free.fr/rg179.gif
You'll also need a ... I don't know how this is called, a very warm thing to "glue" metal things together !!

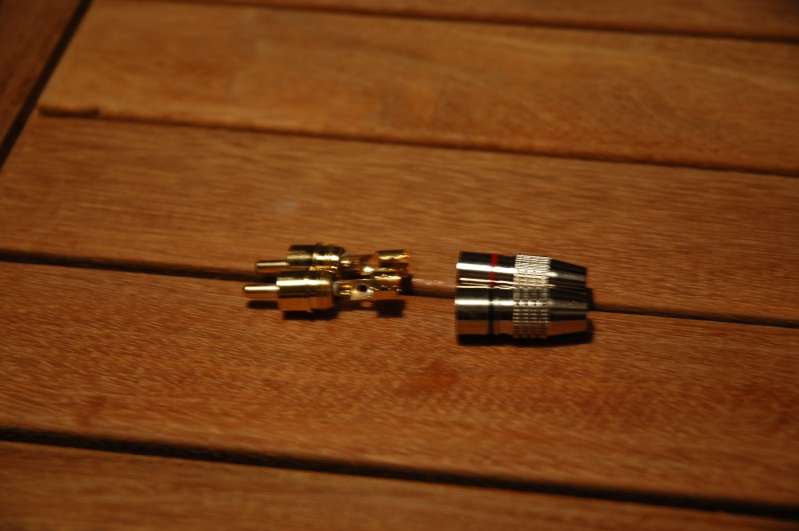
And there you go !
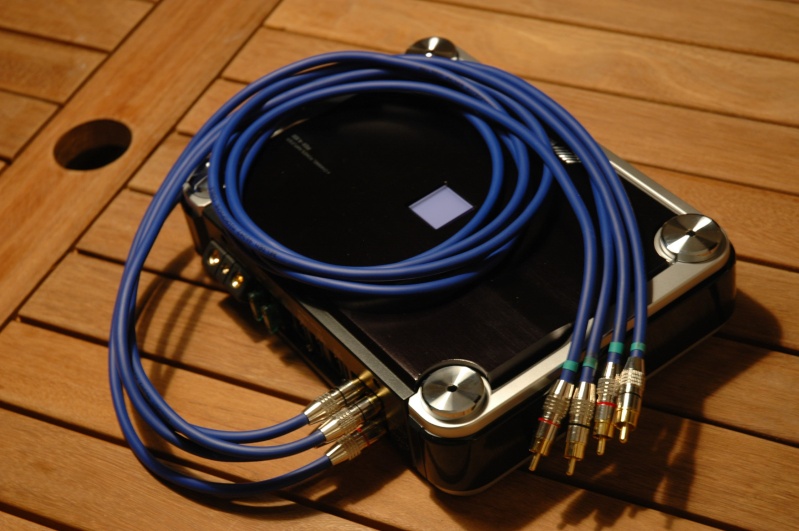
Now it's time to find a nice area into the car for the amp.
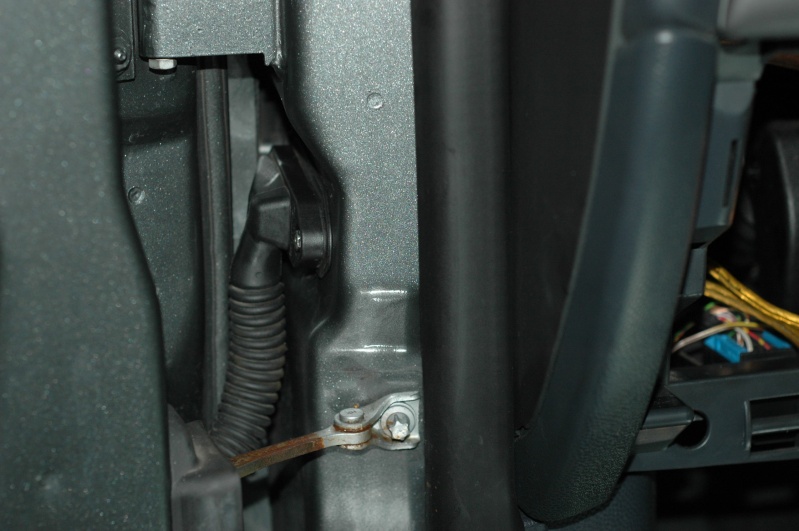
First, take the driver seat away, then, take the original stereo out, and everything that is around...
It shoul look like this (You can't see on the pic but the plastic along the car, inside, has to be removed as well.
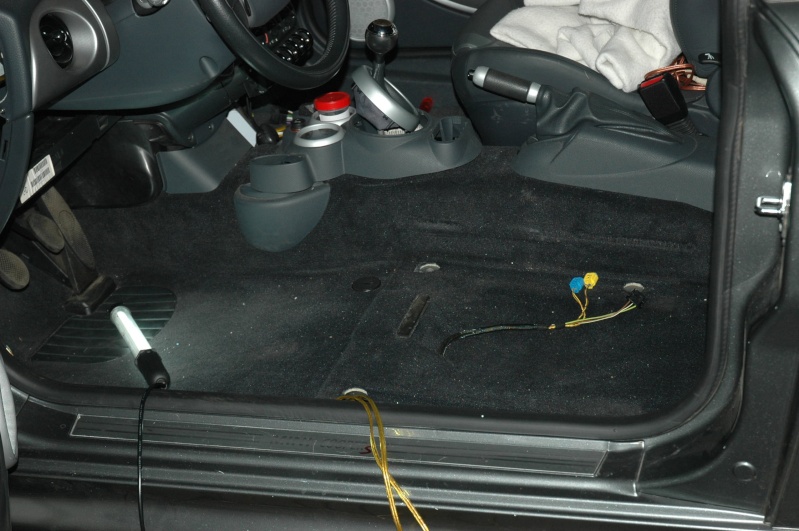
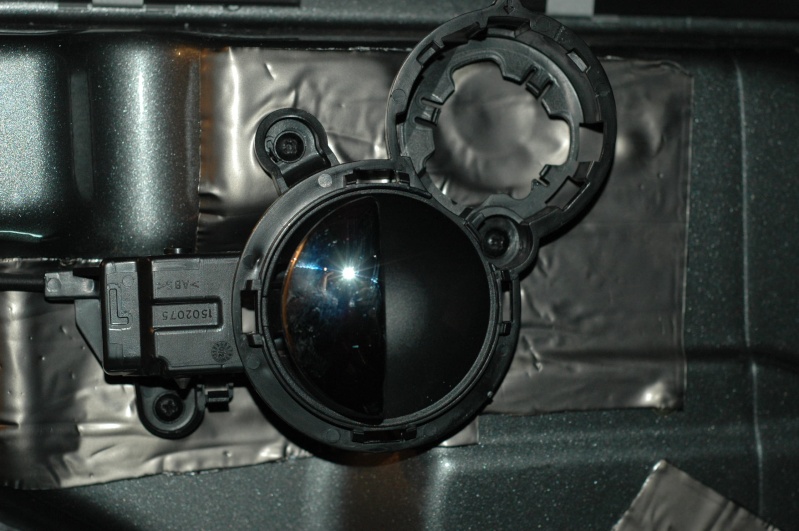
Lift the carpet
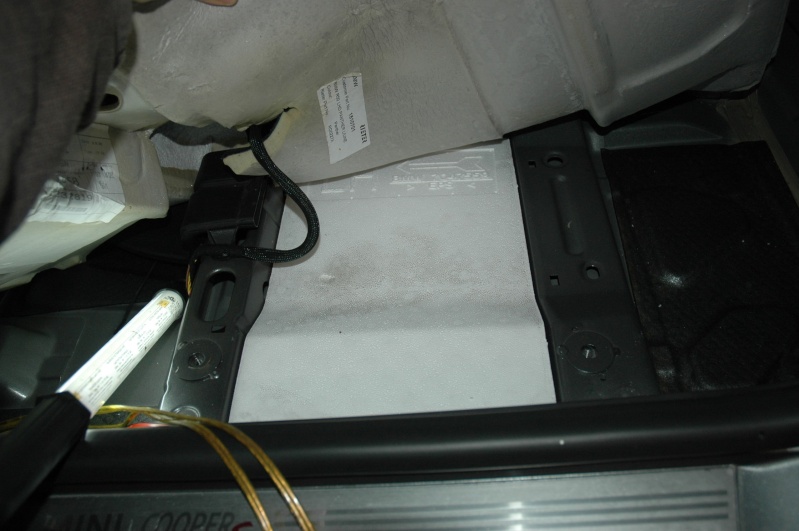
WOW, that looks like the perfact place for the amp !! Remove the white light thing (Whatever which kind of material is it made on)
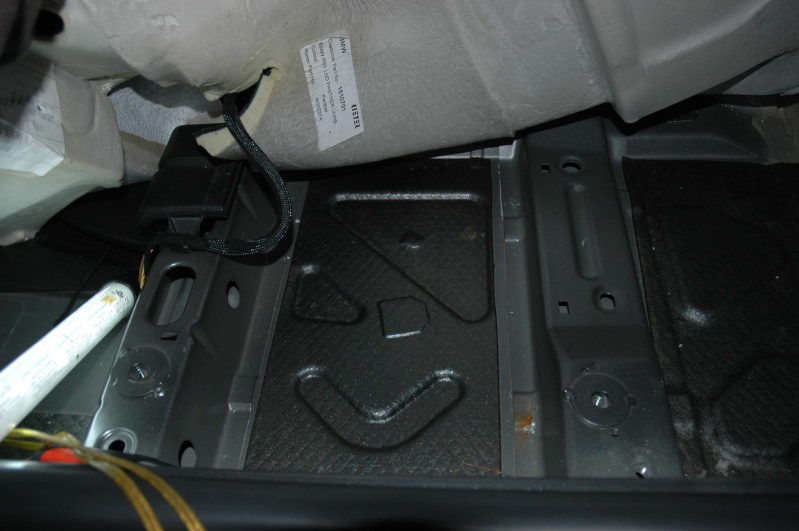
What a nice area !
Now it's time to make the cables arrive to this area...

And then under the carpet to the area...
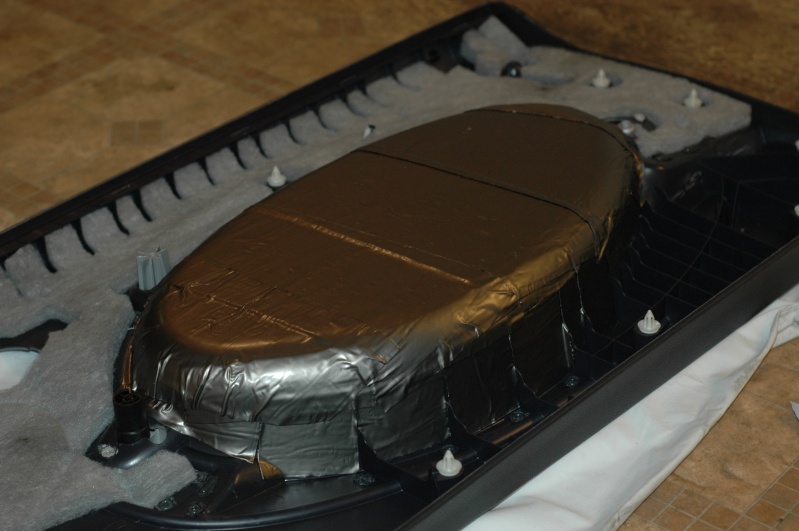
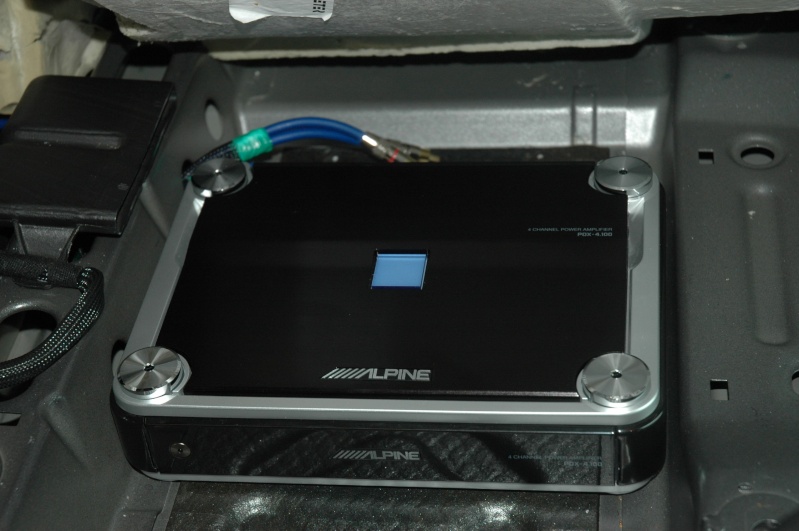
The amp is gonna be in this position
As I don't whant any vibrations around the amp, I put some noise killer around
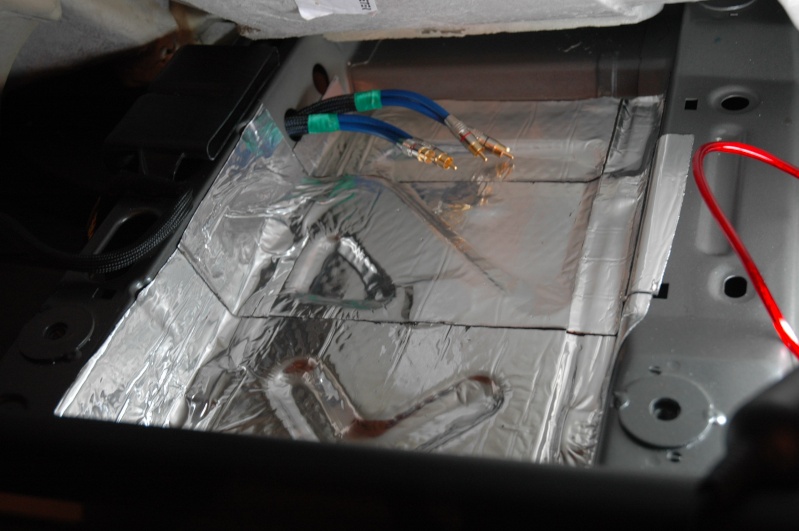
To avoid any mouvement from the amp into the area, I cutted 2 pieces of the plastic thing, then covered with noise killer.
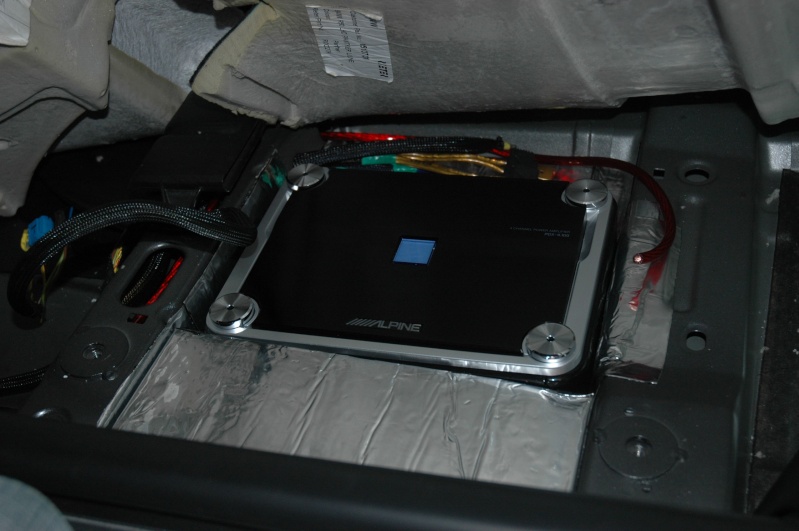
The red cable is coming straight from the battery, monted with an adapted fuse.
The last thing is to bring to the area the wires from the speakers, and it's done !
Oh no, sorry, you need to cut the carpet, in order to let the amp breathe !!
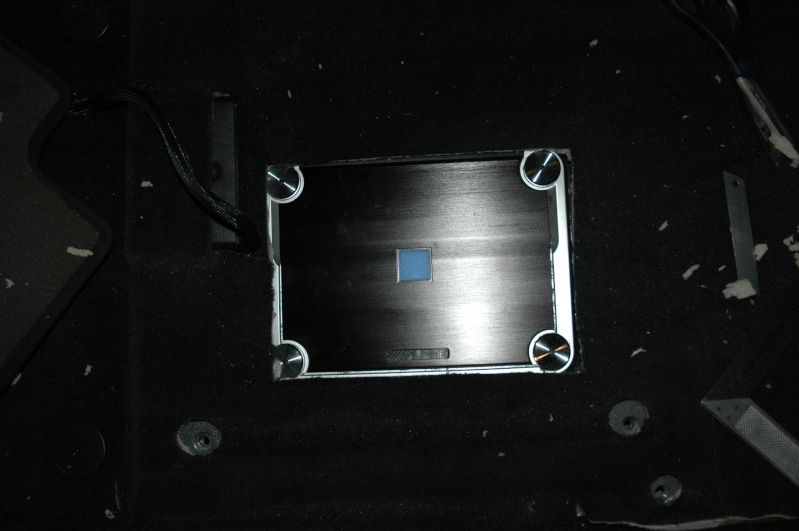
After that a nice metal grill (home made, of course) has been added, but I can't find any pics !
It might be in my other computer HD, I'll check later on.
Next step, Sub cabinet construction.
My computer was down for a while, that's why I didn't post for long !
Now it's time to built my own modulation cable.
This is not easy for me to explain as this is technical and I wish a better english level...
This is what you need...
The cable is microphone cable, whith 3 wires inside.
The aim is to bilt cables that won't catch any parasites from ground.
Here is the wirind diagram (this is in french, but anyone might understand)
http://audioclone.free.fr/rg179.gif
You'll also need a ... I don't know how this is called, a very warm thing to "glue" metal things together !!
And there you go !
Now it's time to find a nice area into the car for the amp.
First, take the driver seat away, then, take the original stereo out, and everything that is around...
It shoul look like this (You can't see on the pic but the plastic along the car, inside, has to be removed as well.
Lift the carpet
WOW, that looks like the perfact place for the amp !! Remove the white light thing (Whatever which kind of material is it made on)
What a nice area !
Now it's time to make the cables arrive to this area...
And then under the carpet to the area...
The amp is gonna be in this position
As I don't whant any vibrations around the amp, I put some noise killer around
To avoid any mouvement from the amp into the area, I cutted 2 pieces of the plastic thing, then covered with noise killer.
The red cable is coming straight from the battery, monted with an adapted fuse.
The last thing is to bring to the area the wires from the speakers, and it's done !
Oh no, sorry, you need to cut the carpet, in order to let the amp breathe !!
After that a nice metal grill (home made, of course) has been added, but I can't find any pics !
It might be in my other computer HD, I'll check later on.
Next step, Sub cabinet construction.

Thread Starter
|
1st Gear
Joined: May 2008
Posts: 21
Likes: 0
Before making the spacers, I measured how deep the speakers are, and then I made the spacers in order to fit in door, means avoid that speakers touch the glass window, and not too thick, then the door panel still fits.