When you click on links to various merchants on this site and make a purchase, this can result in this site earning a commission. Affiliate programs and affiliations include, but are not limited to, the eBay Partner Network.
Not sure if this applies to the JCW or not but on my 2011 MCS you do NOT have to take the bumper off. You'd have to take the bumper off to get at the actual "ducting" portion, but not the frame/portion that is colored (black, chrome, red, etc.).
I was able to get both of mine off in less than 10 minutes.
Easiest way I found was to gently separate the frame from the ducting portion with your hand. Once your hand is in that gap you can get at the tabs that hold the frame on. There are 3 tabs on the inner vertical (towards the middle of the car) that need to be pushed outwards towards that side's wheel...so driver's side, push the tab to your right. Once those are undone, the top half comes somewhat free and can be gently pulled towards you. Lastly, there is another push tab on the bottom just before the curve begins. This can also be reached with your hand in the aforementioned position and the tab needs to be pressed upwards.
Again, I'm not sure if this applies to the JCW but this method got mine off in under 10 minutes.
not sure if this applies to the jcw or not but on my 2011 mcs you do not have to take the bumper off. You'd have to take the bumper off to get at the actual "ducting" portion, but not the frame/portion that is colored (black, chrome, red, etc.).
I was able to get both of mine off in less than 10 minutes.
Easiest way i found was to gently separate the frame from the ducting portion with your hand. Once your hand is in that gap you can get at the tabs that hold the frame on. There are 3 tabs on the inner vertical (towards the middle of the car) that need to be pushed outwards towards that side's wheel...so driver's side, push the tab to your right. Once those are undone, the top half comes somewhat free and can be gently pulled towards you. Lastly, there is another push tab on the bottom just before the curve begins. This can also be reached with your hand in the aforementioned position and the tab needs to be pressed upwards.
Again, i'm not sure if this applies to the jcw but this method got mine off in under 10 minutes.
Wow. That is really good news. Seems too easy after all these years and posts. The JCW bottom grill is the same. As always pictures would have been very helpful or at least a diagram. Specifically, where did you separate the frame and get your hand in there?
First attempt at inserting a picture so work with me here.
Essentially it goes like this:
Step 1 (stuff in red): gently separate brake duct frame from the internal ducting.
Step 2 (stuff in blue): those three tabs push towards the outside of the car to release, respective to each side (i.e. passenger side to your left, driver side to your right). Once released the inlet should be able to pull towards you slightly.
Step 3: Gently pull the top section towards you to loosen further.
Step 4 (stuff in green): this tab needs to be depressed upwards and the whole frame should now be free.
Needless to say, be gentle throughout and don't torque on things too hard. Mine came out with minimal hassle and like I said before, in easily under 10 minutes.
Picture is courtesy of Outmotoring and a little photoshop action.
Edit: if you look at Ways site you can see that the GP2 ducts do appear to be different for the JCW bodykit.
These tips were the best I've found. I finally got the driver's side brake duct cover off.
I'll put up some pictures later of the brake duct cover and the bumper so people can see exactly how the duct cover stays in place.
Originally Posted by Ghetto Mr Bob
First attempt at inserting a picture so work with me here.
Essentially it goes like this:
Step 1 (stuff in red): gently separate brake duct frame from the internal ducting.
Step 2 (stuff in blue): those three tabs push towards the outside of the car to release, respective to each side (i.e. passenger side to your left, driver side to your right). Once released the inlet should be able to pull towards you slightly.
Step 3: Gently pull the top section towards you to loosen further.
Step 4 (stuff in green): this tab needs to be depressed upwards and the whole frame should now be free.
Needless to say, be gentle throughout and don't torque on things too hard. Mine came out with minimal hassle and like I said before, in easily under 10 minutes.
Picture is courtesy of Outmotoring and a little photoshop action.
Edit: if you look at Ways site you can see that the GP2 ducts do appear to be different for the JCW bodykit.
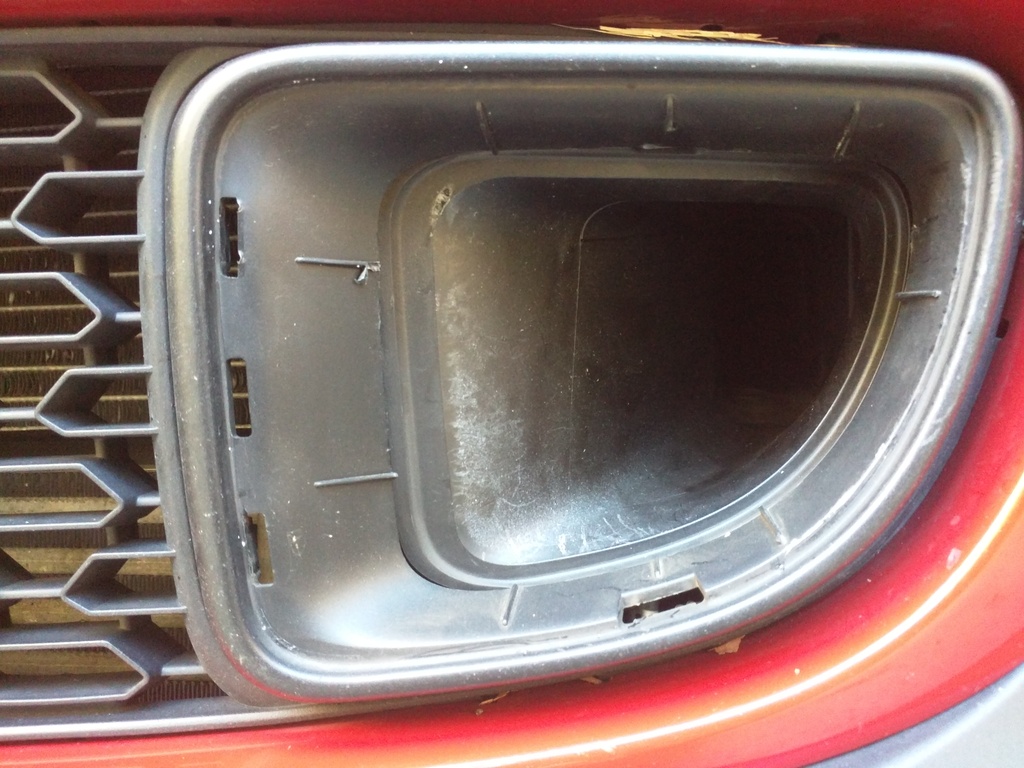
EDIT: Here are the pictures. This is from my 2013 R56 MCS. Hope this helps others.
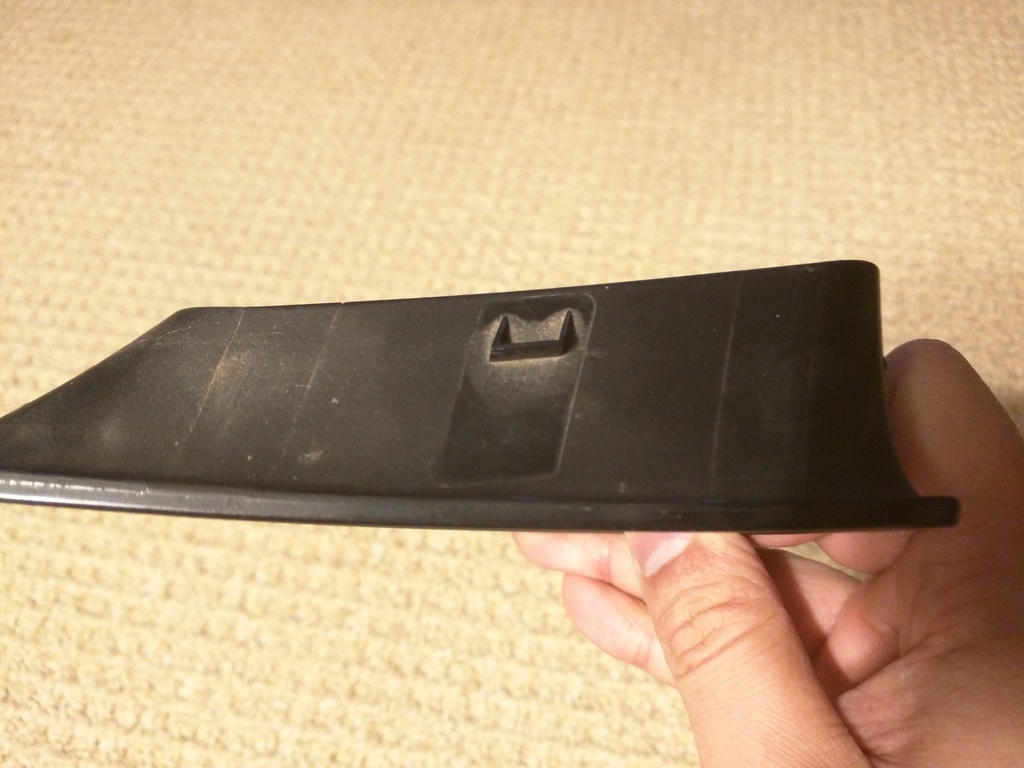
1. The first picture is of the driver's side brake duct with the cover removed.
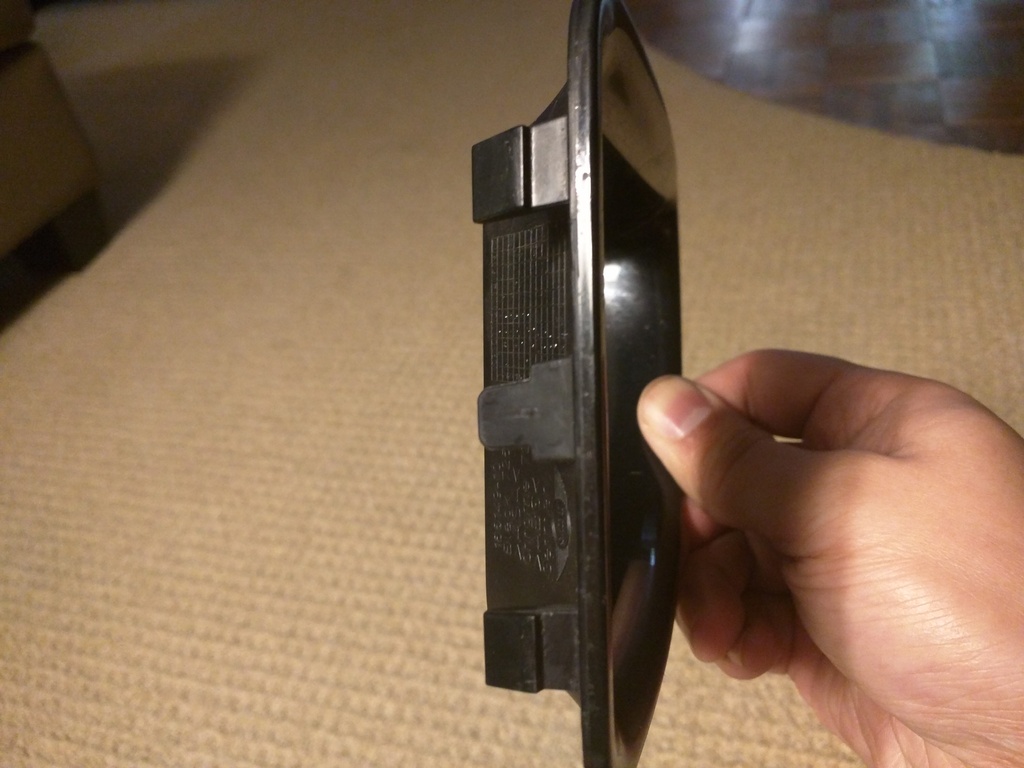
2. This is the left/inner/engine side of the brake duct cover. It's got three clips to fit into the three holes.
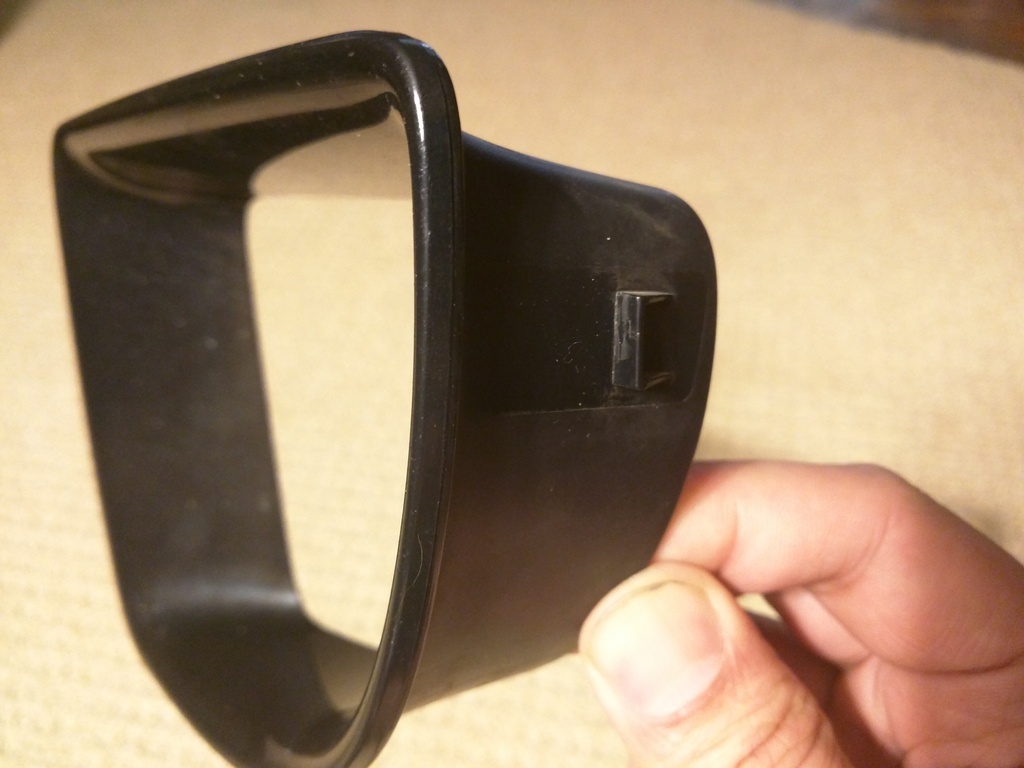
3. This is the picture of the top of the driver's side brake duct cover. There's just a tab, no clip.
4. This is the right/wheel side of the brake duct cover. Again, it's just a tab.
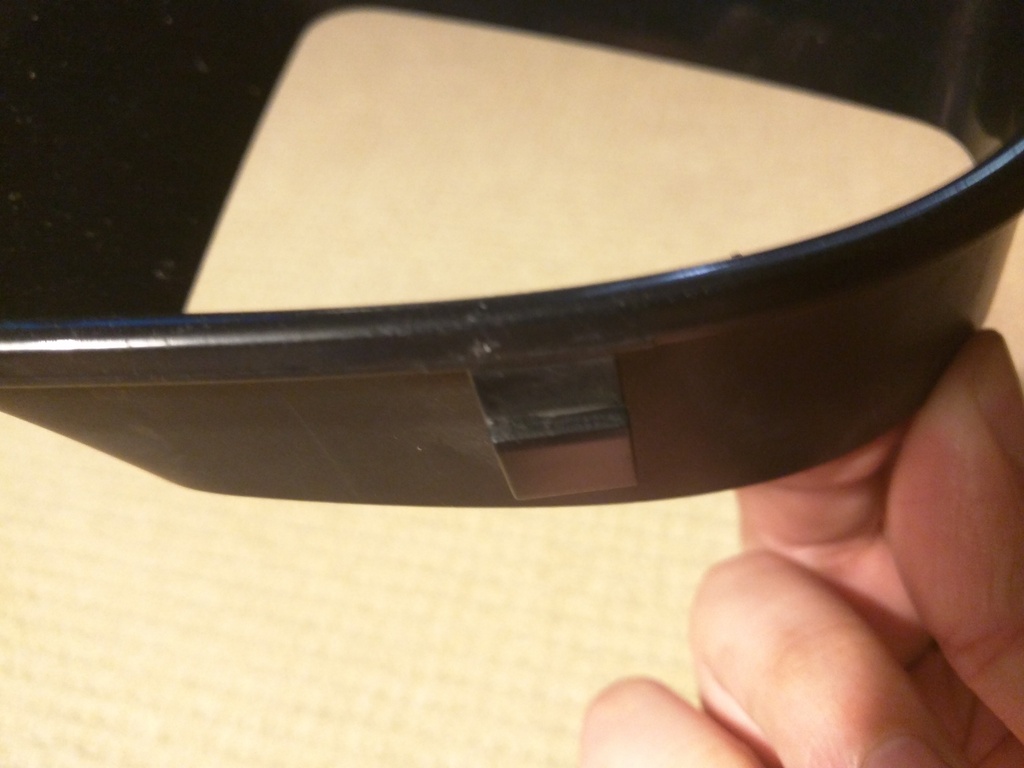
5. This is the bottom of the brake duct cover.
Maybe ECS can clarify. I have a 2013 R56 JCW and do not think that it is possible to remove the brake ducts as shown above without removing a lot of the bumper. Please advise.
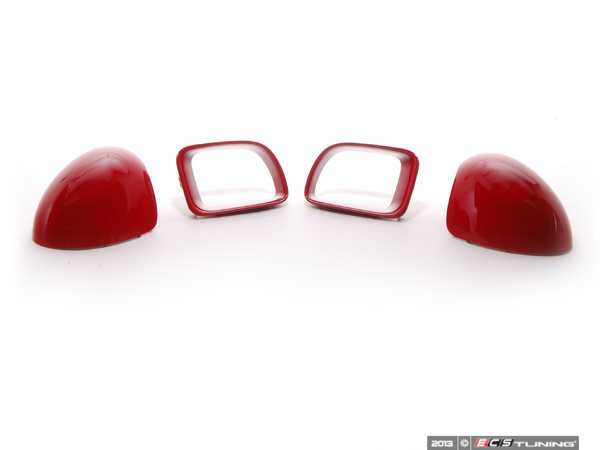
They JCW brake ducts for the Factory JCW bumper are here. Some people say you can work them out, but its safer if you remove the front bumper plastic and insert them from the rear.