When you click on links to various merchants on this site and make a purchase, this can result in this site earning a commission. Affiliate programs and affiliations include, but are not limited to, the eBay Partner Network.
Thanks for doing this write up... It really helped me out taking my headliner out, I tried wrapping my headliner, but my OCD kicked in, so I asked my friend to wrap it for me and I reinstalled everything. He did a great job... I'm going to do the pillars next.
Here are some pictures:
Last edited by qirlie; May 9, 2016 at 04:30 PM.
Reason: Photos don't work.
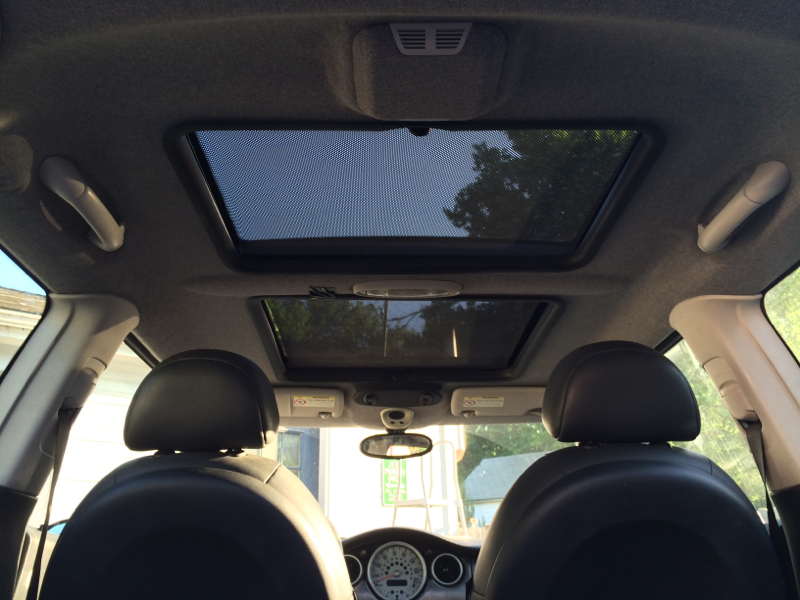
I apologize in advance if I missed it, but it seems that the headliner is not secured via the typical MINI fasteners as seen elsewhere in the interior (push to connect clips)?
If correct, then it's simply suspended by the likes of the A, B and C pillar covers, doors & hatch gaskets and roof mounted stuff, like the rear view mirror, clock, sun visors, dome light, grab handles, etc...
Curious how these have held up in climates with extreme temp humidity changes (I live in New England). I did one of my other vehicles years ago with some good 3M adhesive, and it started sagging in some spots.
mrgentleminh - I look forward to pictures of the finished product. I just spoke with my brother and I have a 2003 MINI Cooper that the headliner is sagging so we will be using this information to hopefully complete mine shortly. Thank you for the advise.
The headliner in my 06 MCS started drooping a few months back, and after getting a quote of $450 I finally got up the time and energy to do it myself. As is my usual tactic, I simply started yanking things out with no forethought or planning, and almost panicked in a couple of spots when I didn't know what I needed to do next to get the dang thing out.
A huge shout out and thank you to you for posting this...it saved me a lot of heartache and trouble! Fellow MINI owners are the best
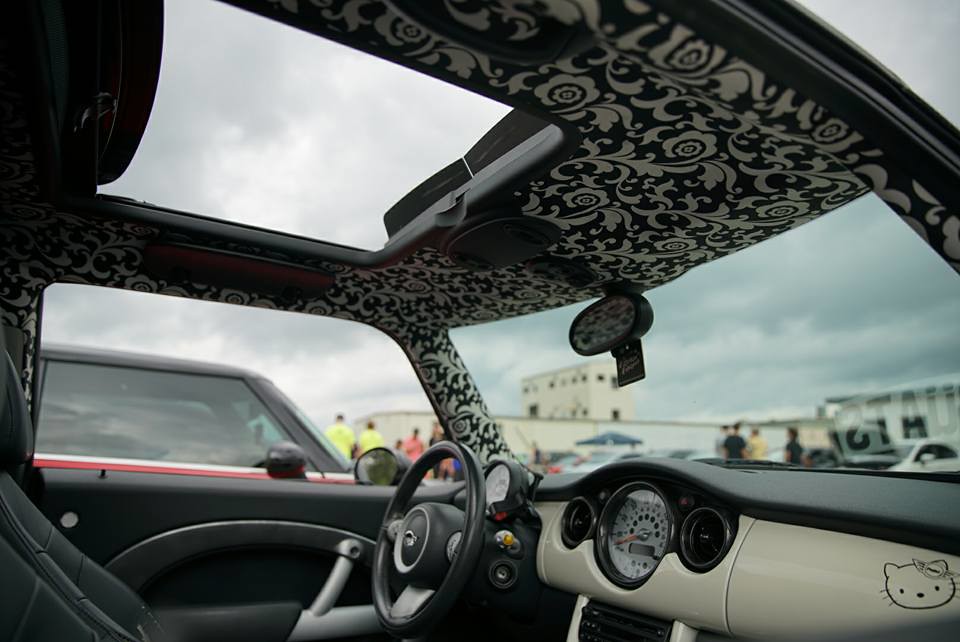
A new purple velvet headliner to be installed in my Purple Haze baby tomorrow if the rain clears up
And yes, I would recommend that you get a fabric with a little bit of give to it. The fabric I got is not stretchy at all, which leads to 2 issues:
First, it was very difficult to get it down in all of the curves and bends of the liner and second, when you do get it down in the bends and curves, wrinkles are difficult to get out of the adjoining flat spots. I've got a couple of spots that I am not all that happy with, but with as long as it took to perfect other areas, the glue was too dry to be able to fix them. C'est la vie...it still looks beautiful to me, and now I know a few things about how to work it a little better next time.
Thank you thank you thank you again for the detailed write up and pics. Awesome work!!!!!
I have a question about the pillars as I'm thinking of doing this tomorrow. I'd really like to wrap them and have a nice off colored seam going up on bends but the movable belt thing looks as if it'll disrupt the fabric as it's on a very tight track. I've used VHT spray dye before but not on this type of material. Has anyone had any luck painting or dying the pillar plastics? If so what'd you use?
Great guide! My headliner is sagging and will be doing this soon. I was wondering if it would be possible to use a wrap such as 3M wrap film 1080 on the headliner instead of fabric?
Thanks man. Still haven't gotten around it it. I convince myself I'll find the time for cool projects and never do. Still trying to figure out the best way to do this. All of the hardware including the visors are light grey. I'd love to redo them in black but it looks like it may be more work then I can manage. The idea was to do a black micro suede but I can't figure out what to do with the visors.
I may just go with replacing the headliner as it is.
The fabric on the vented box behind the light seems slightly more thin. Any issues using the same material for this?
Great thread. Seriously helped me out this weekend doing mine.
Gonna add a few tips though and show some pics.
1. All the stuff in the headliner comes out easily. Most are clicked in with a clip or similar, except the center light fixture, it's screwed in. Take off the little light cover and inside are two screws.
2. The pillars A,C didn't come off as much on mine. Mostly i just tugged until they were loose. Just need the very top clip to be undone. The B ones though you have to unscrew, like shown above. If, you lose a screw here you can go to Home Depot or a hardware store and get a replacement. It's just a pan head, 1/2 inch screw.
3. When you pull it from the car, it'll be at an angle AND you'll have to choose a side to bend. There isn't enough room to pull it straight out. So tilt it, decide which side you want to be bent in on itself for a few moments and tug. It won't be permanently bent. You'll have to do the same when you put it back in.
4. I used numerous things to make this easier.
A Gerber tool or a Leatherman.
I didn't have gloves, so i used ziploc bags on my hands.
A wire brush for the old foam removal.
A old blanket to put the stuff on.
A bucket to keep track of things as i took them out and a separate ziploc bag for screws.
Help from my guy, cuz this is a lot of work.
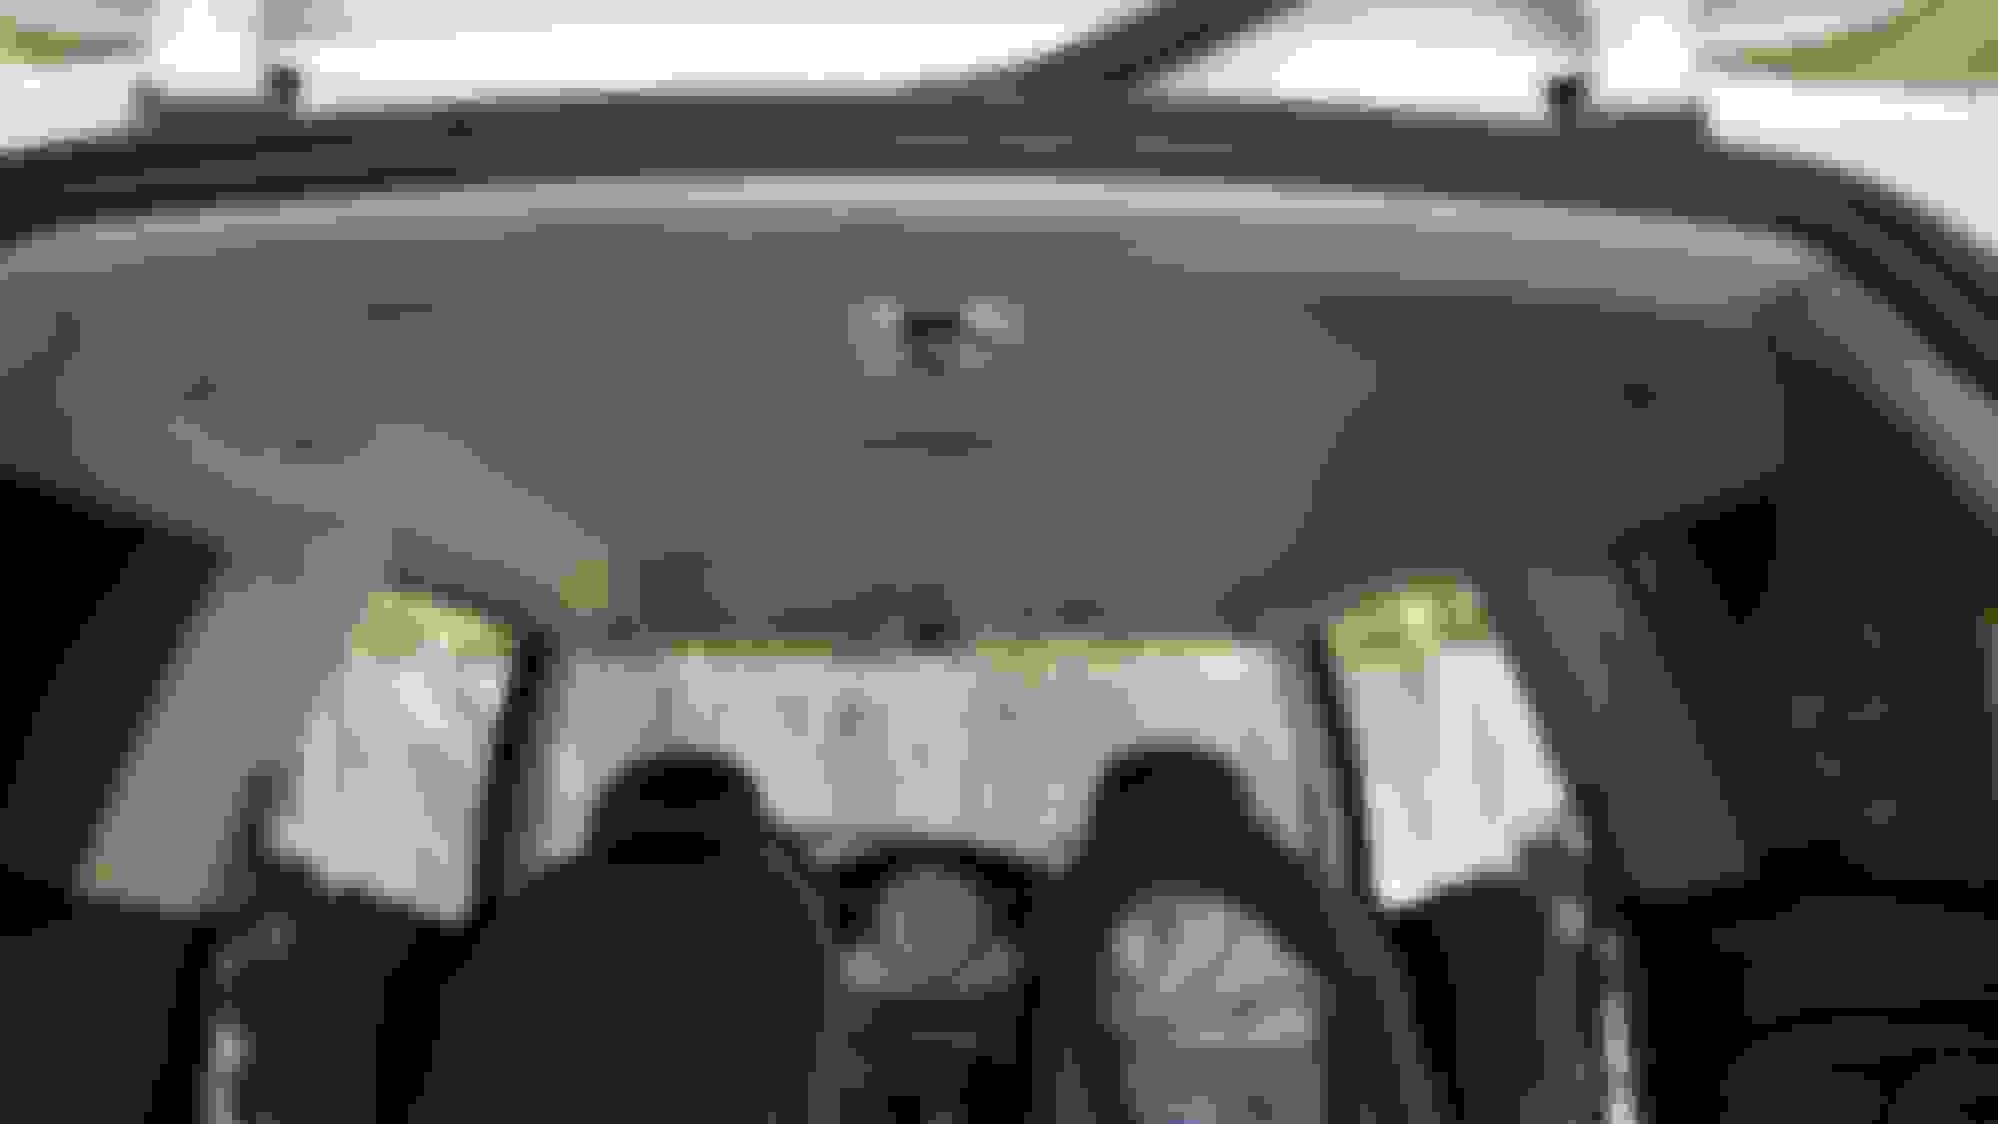
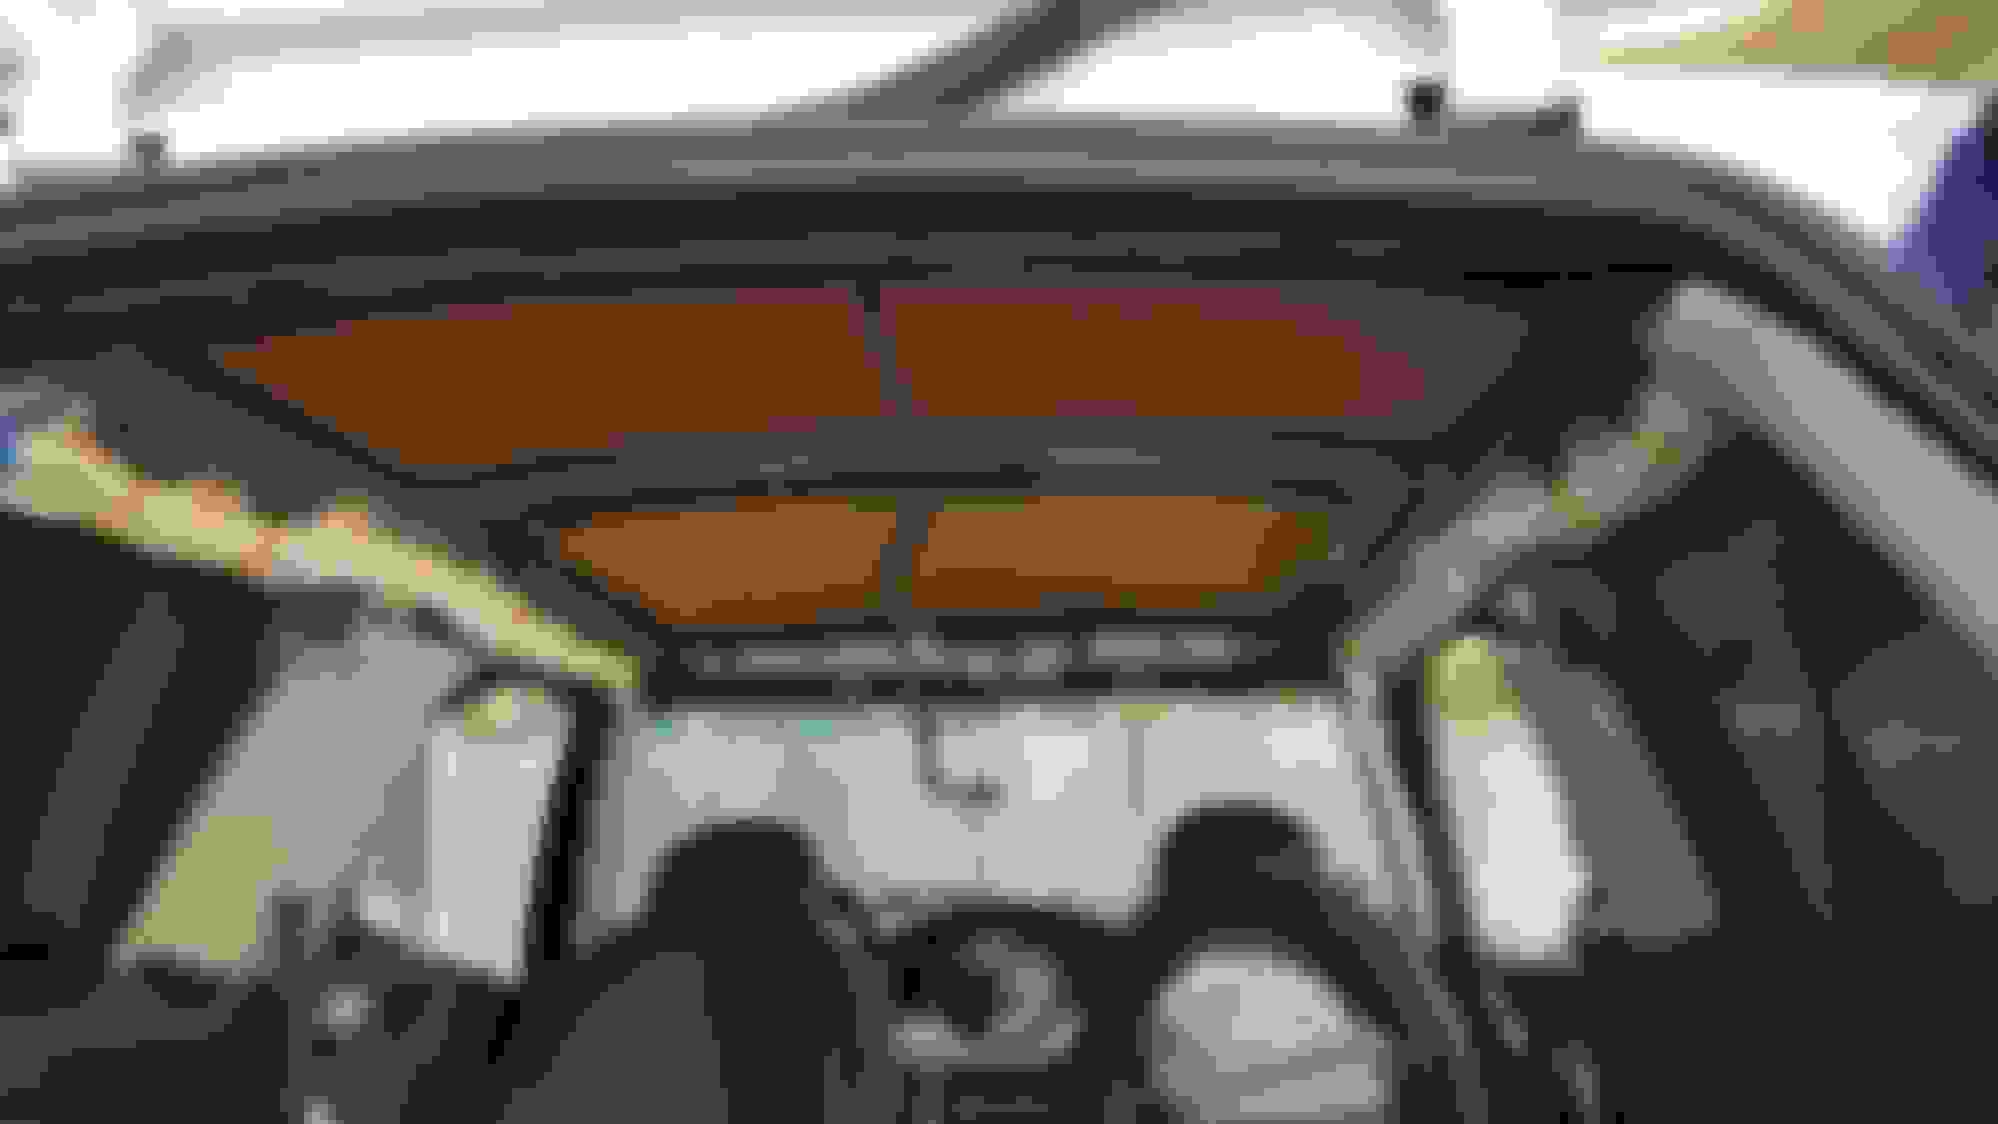
Pics:
Before
During. ..
Headliner before
Headliner after
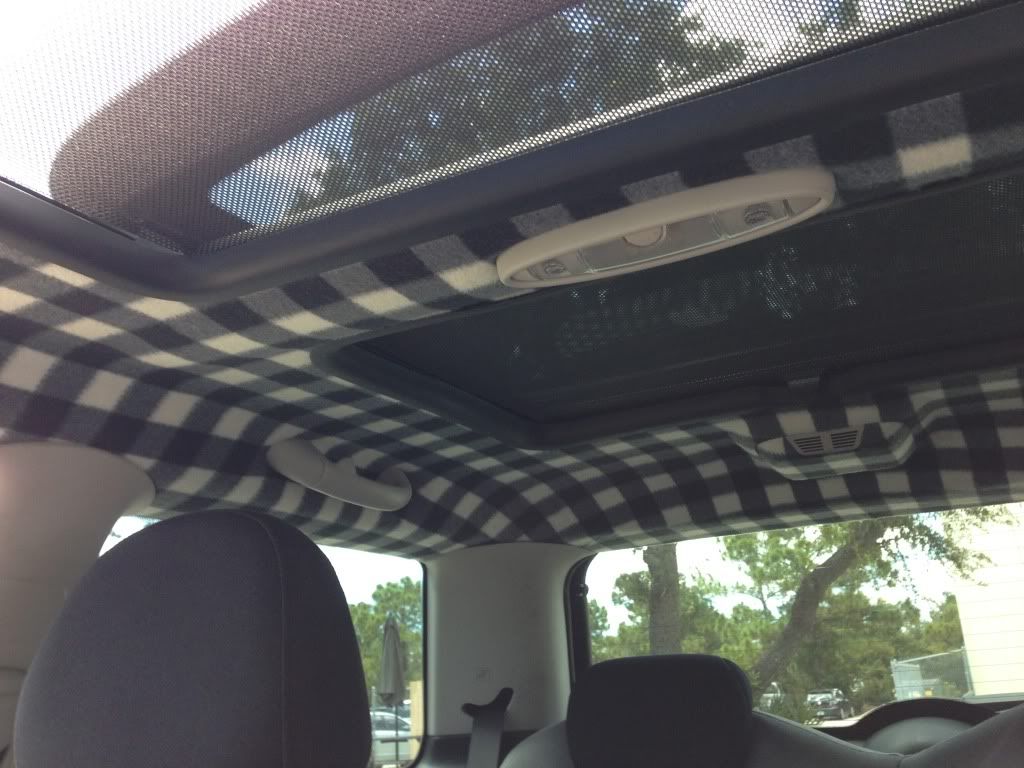
Final product
Close up.
Looks awesome. I sill haven't gotten around to mine. Thanks for the tips. Love the furry dice.
Finally got around to doing this. What a pain but definitely worth it. I have some extra fabric. If I can find a used set of visors I'd like to match them at some point.


 I finally got up the time and energy to do it myself. As is my usual tactic, I simply started yanking things out with no forethought or planning, and almost panicked in a couple of spots when I didn't know what I needed to do next to get the dang thing out.