
Interior/Exterior New Front Lip/Spoiler/Splitter and HID Fogs


Thread Starter
|
4th Gear
Joined: Dec 2008
Posts: 525
Likes: 1
New Front Lip/Spoiler/Splitter and HID Fogs
I finally got my splitter built and installed. A special thanks goes out to N2MINI for sending me the template, and MC 2 for making his splitter design available to the mini community.
The splitter makes the front look VERY aggressive so now it's time to make the rest of the car match.
I also installed a set of HID fogs (6000K temp)
Tell me what you guys think!


The splitter makes the front look VERY aggressive so now it's time to make the rest of the car match.
I also installed a set of HID fogs (6000K temp)
Tell me what you guys think!
Last edited by Act_04; Sep 1, 2009 at 07:24 PM.


Thread Starter
|
4th Gear
Joined: Dec 2008
Posts: 525
Likes: 1
OK, so the foglight install...
These are the fogs I got. (this is the power converter, but the name is shown)
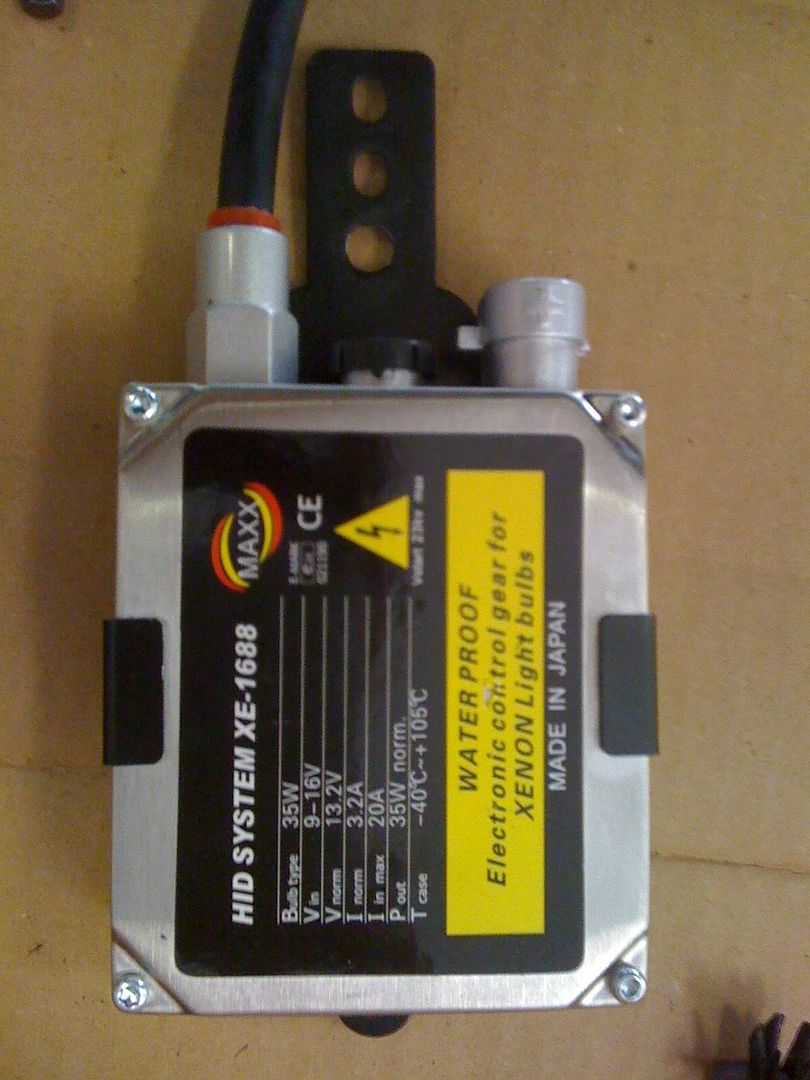
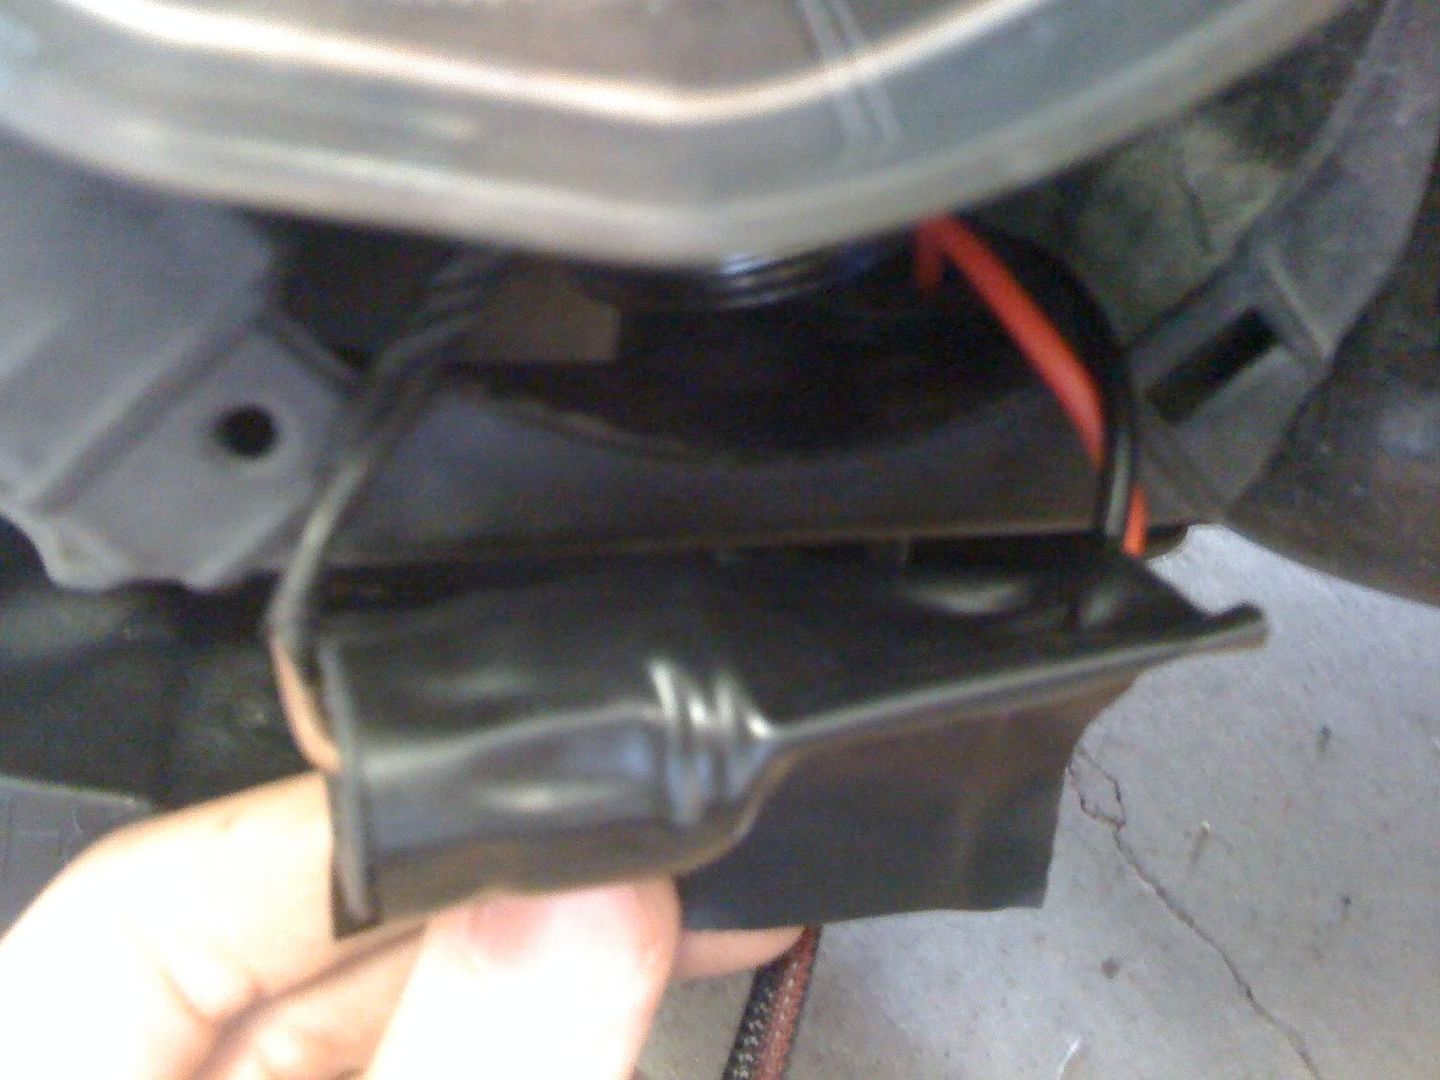
I removed the front end of the car (following directions in the Bentley manual, get one if you don't already have one) to expose the front of the foglight housing. I removed the stock foglight holder and drilled a hole in the housing. The hole was the size of the rubber weather-disk thing (I'll call it the rubber disk) that came with the foglights (shown in the next pic).

After removing the two wires that connect to the factory wiring from the rubber disk I inserted the fog bulb like so...
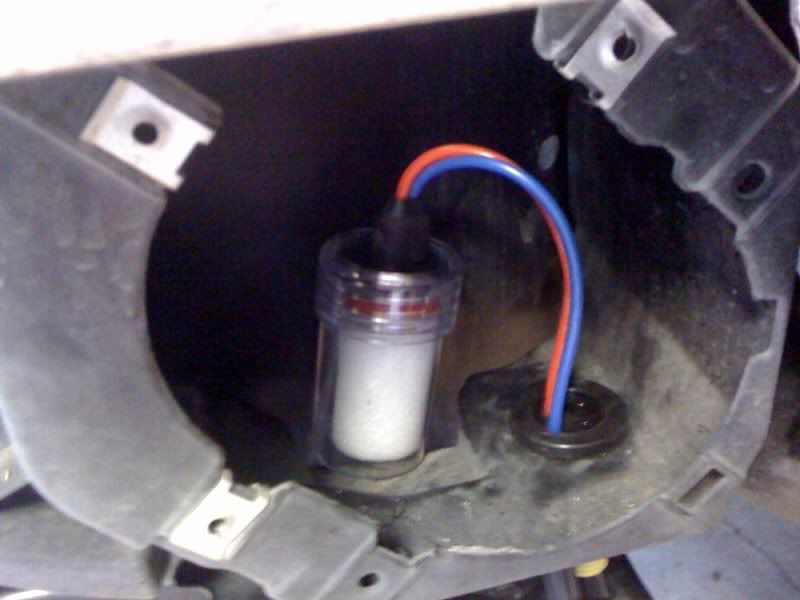
After this I ran the wires back through the rubber disk.
It just so happens that the bracket to hold the power converter mounts great to the front of either side of the aluminum bumper. I had to drill the hole on the bracket to a slightly larger diameter, but it was worth it to fit in this spot.
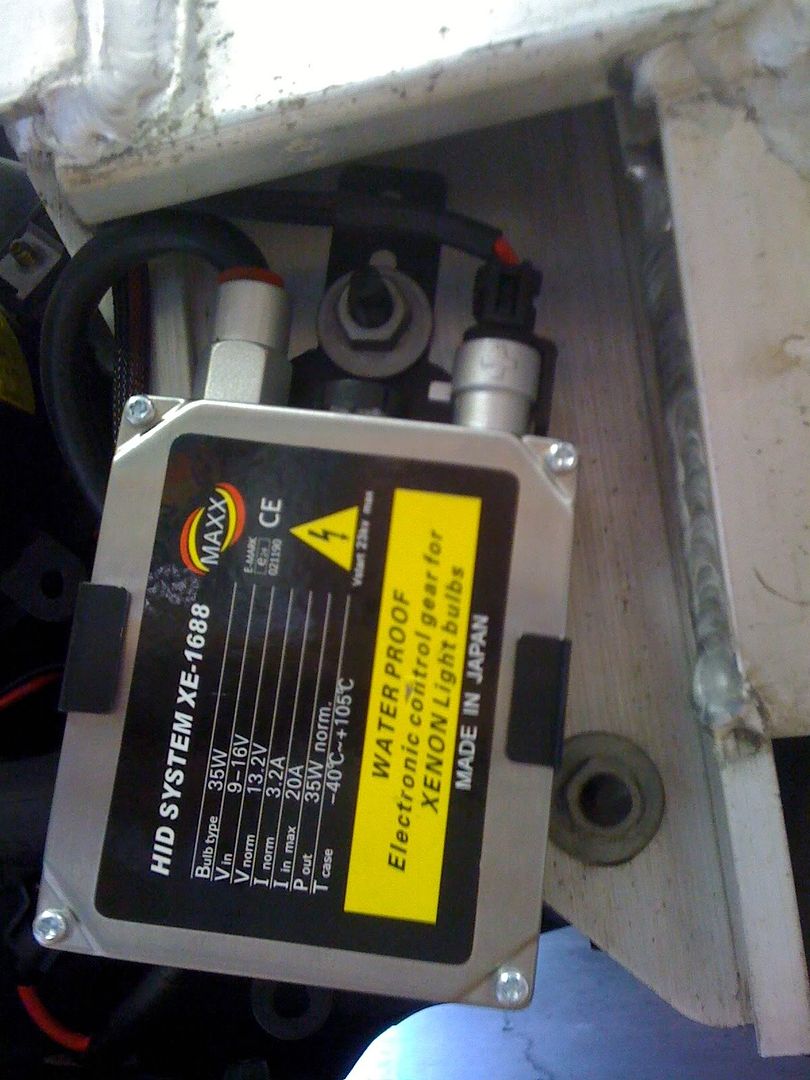
I also used foamy, black, double-sided tape to prevent knocking...
(the white is just the backing of the tape)
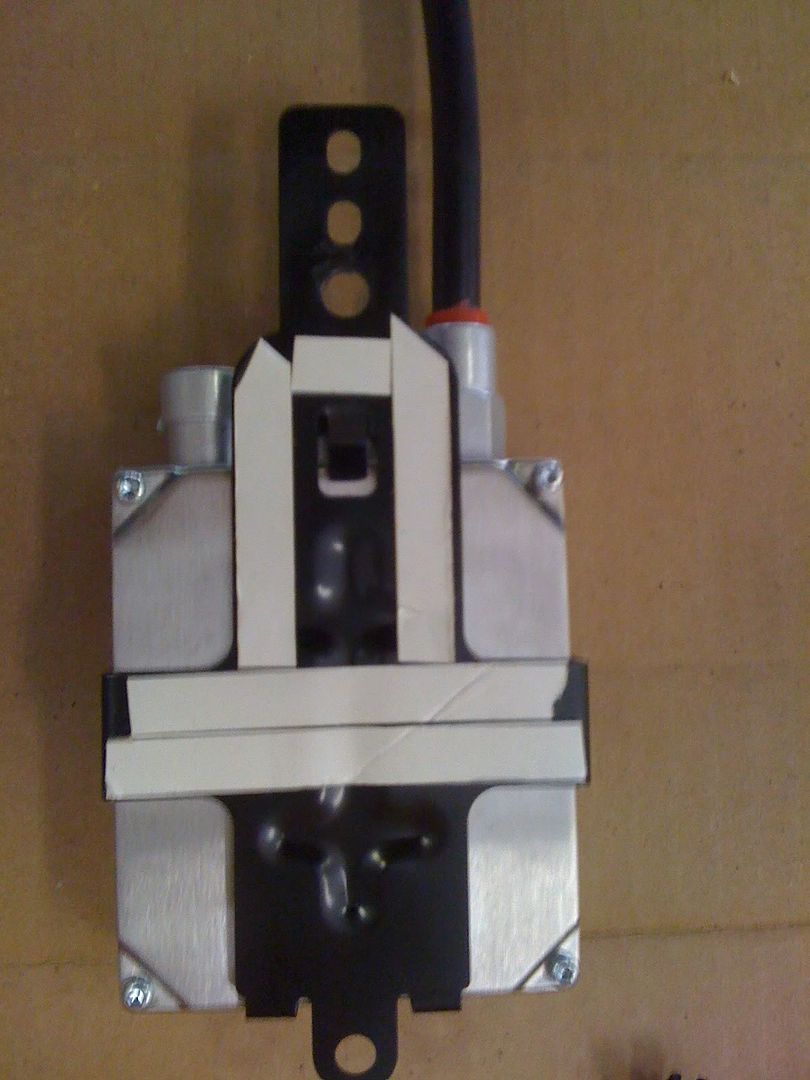
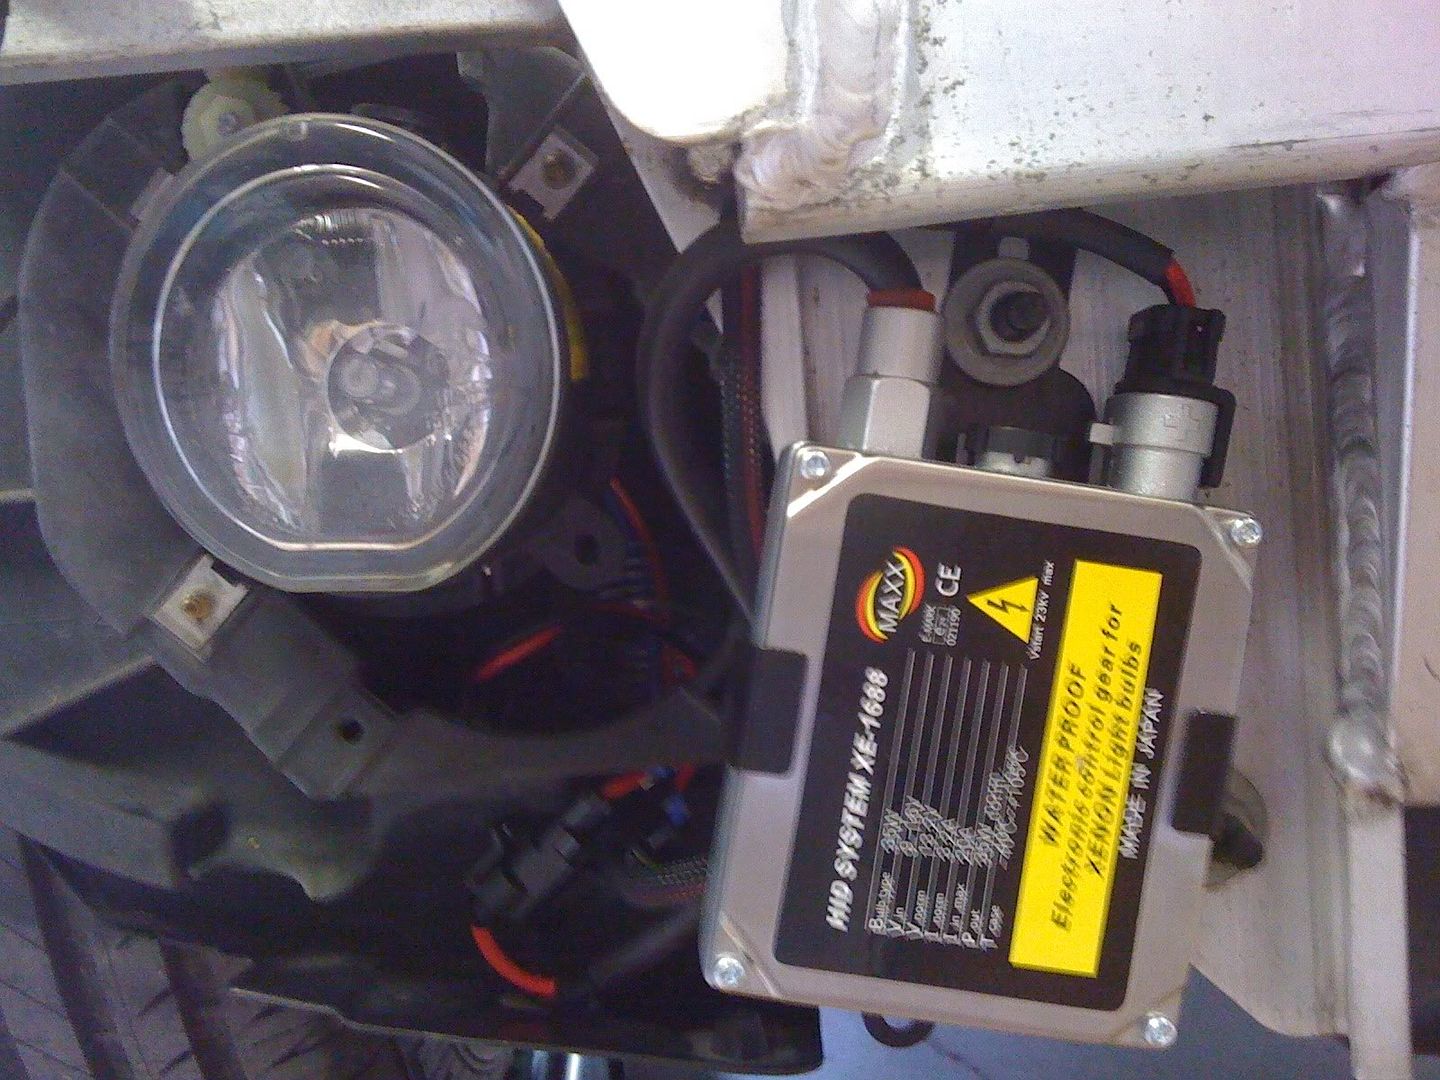
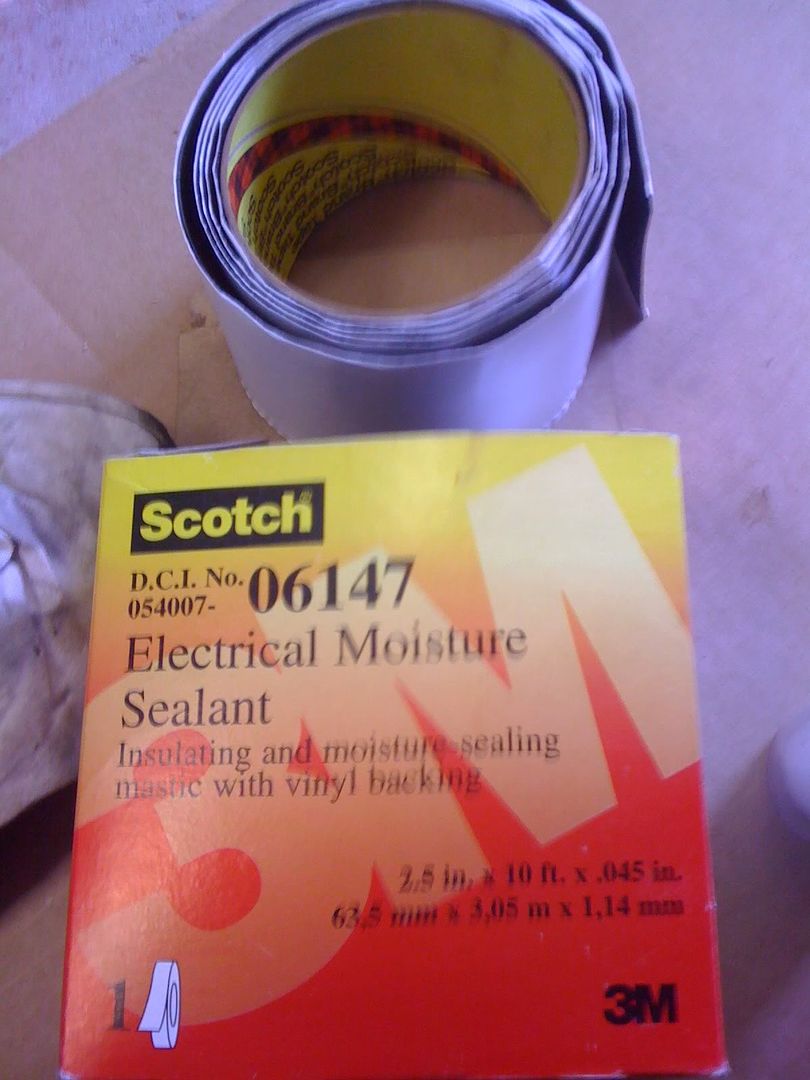
I made all the electrical connections (power to power, ground to ground, adapter male to adapter female) and then used electrical moisture sealant from 3M to make sure that didn't come loose.
Then I inserted the new fog bulbs into the old foglight holder (just push and twist) and re-assembled the front end. They are a very near match to the Xenons and VERY bright. I am really happy with the result.
These are the fogs I got. (this is the power converter, but the name is shown)
I removed the front end of the car (following directions in the Bentley manual, get one if you don't already have one) to expose the front of the foglight housing. I removed the stock foglight holder and drilled a hole in the housing. The hole was the size of the rubber weather-disk thing (I'll call it the rubber disk) that came with the foglights (shown in the next pic).
After removing the two wires that connect to the factory wiring from the rubber disk I inserted the fog bulb like so...
After this I ran the wires back through the rubber disk.
It just so happens that the bracket to hold the power converter mounts great to the front of either side of the aluminum bumper. I had to drill the hole on the bracket to a slightly larger diameter, but it was worth it to fit in this spot.
I also used foamy, black, double-sided tape to prevent knocking...
(the white is just the backing of the tape)
I made all the electrical connections (power to power, ground to ground, adapter male to adapter female) and then used electrical moisture sealant from 3M to make sure that didn't come loose.
Then I inserted the new fog bulbs into the old foglight holder (just push and twist) and re-assembled the front end. They are a very near match to the Xenons and VERY bright. I am really happy with the result.

2nd Gear
Joined: Nov 2005
Posts: 146
Likes: 0
From: Orlando, FL
That looks great. Looks to be a bit thicker than the others I have seen.
What did you use for the splitter uprights? I like that you did not have to drill into the plastic, but rather just the grill mesh (much easier to replace if the worst happens )
)
What did you use for the splitter uprights? I like that you did not have to drill into the plastic, but rather just the grill mesh (much easier to replace if the worst happens
)
Trending Topics

Thread Starter
|
4th Gear
Joined: Dec 2008
Posts: 525
Likes: 1
For the uprights I used some crazy hanging apparatus that my dad had lying around. Imagine a tennis ball can with a small hole cut into the bottom. Then imagine a tennis ball with a wire coming out of the end. You drop the tennis ball into the can after threading the wire through the hole, so now it looks like you have a tennis ball can dangling from the end of a rope. The tennis ball is resting at the bottom of the can holding the two parts together. Keep that in mind...
I drilled two through-holes in the aluminum bumper and inserted long bolts from the backside. After cutting out the center of two honeycombs in the grill mesh and replacing the front end of the car it looked like this...
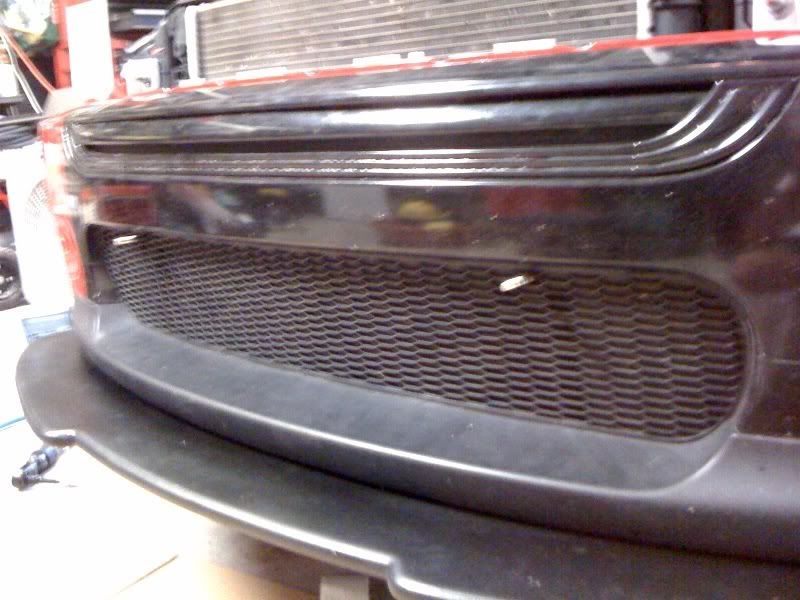
Back to the tennis ball analogy. Imagine now that the tennis ball can is metal and threaded on the inside. These screwed onto the bolts and are what you see protruding from the grill in the picture at the top of the thread. Also imagine that the tennis ball and wire are a metal ball welded to a piece of braided steel wire.
So now I had two wires dangling off the front of my car. The second piece of these special hangers looks like a bolt that is half threaded and half smooth with no head. There is a hole longways (down the center of the cylinder) with some type of ratchet inside. When the wire is inserted, it can go in, but wont pull out unless you depress a little tab. I drilled two holes in my plastic lip and mounted these with large washers so hopefully they won't rip out. The red nipple things you see are just rubber covers to hopefully prevent rust as the wire is coated, but not stainless. I plasti-dipped the exposed wire as well (also to prevent rust). The lip is also has metal angle brackets screwed into the bottom for some strength. These are bolted to the underside of the original plastic trim piece on the front bumper where there is metal reinforcement.
Long story short, it is not as simple as it appears. And if the lip rips off, it will do so because the wire hangers tear through the plastic lip. At least that is my theory of things going bad. All in all I am confident it is well secured.

Thanks for all the interest guys!


Jeesh, you must be psychic....Excellent work AND TIMING !
I just took delivery of a 10K kit for my fogs and was wondering if/where the power units would fit....
I already swaped out the HID Bulbs in the low beams for 10K and swapped out the front marker lights with PIAA type LED which are about 10K color as well.....
All front lights now should be same color when complete...( with exception of directionals - when lit)
Nice Work
I was wondering if I was going to have to put a centered black dot about size of a quarter on the outside of the fog light lens to keep glare down from on coming traffic - Do they work well after dark ? Any issues ?
Last edited by -=gRaY rAvEn=-; Aug 28, 2009 at 07:53 PM.

Thread Starter
|
4th Gear
Joined: Dec 2008
Posts: 525
Likes: 1
I have not had anyone flash brights at me when driving with them on at night. I do not have them aimed very high though. The fogs are adjustable with a hex (i think) screwdriver. I would not be putting any black dots anywhere. Just turn them on at night and point them at a garage door or something and adjust them.
Thread Starter
|
4th Gear
Joined: Dec 2008
Posts: 525
Likes: 1

I am working on something to make my "cute"
 (according to most people who see it for the first time) MINI a thing of the past. You can see a little preview shot in my signature pic...

Thread Starter
|
4th Gear
Joined: Dec 2008
Posts: 525
Likes: 1
Thanks PureWorks!
Hey,
Have any of you seen a way to make the rear of the car look more aggressive? My front end is about to be VERY aggressive, and I would really like the rear to match. So far all I can think of is new taillights, but I'm not sure what my options are. I have also looked at body kits, but they all seem kinda weak. Any suggestions would be useful.
Thanks
just got done installing my hids for my fogs as well! i got 3000k
they look awesome at night..not a HUGE difference but enough to drive around with just the fogs
i took a whole bunch of pictures while i was doing it just to show wat i did..
but sweet car Act_04 and your pics helped with my install as well
they look awesome at night..not a HUGE difference but enough to drive around with just the fogs
i took a whole bunch of pictures while i was doing it just to show wat i did..
but sweet car Act_04 and your pics helped with my install as well
Thread Starter
|
4th Gear
Joined: Dec 2008
Posts: 525
Likes: 1
I used a jigsaw and a large piece of plastic. After rounding the front edges with a round-off bit on a router it was ready to paint. I added some metal brackets on the bottom for support. Winter will test the brittleness of the plastic.
here's some pics!!


my fogs as of right now arent YELLOW YELLOW..but more whitish yellow..
i got them from ddm tuning..and they're supposed to be 3000k but as of right now they seem to still have a green hue at a certain part and a weird red? hue..VERY light tho..but i can notice it while driving at night (when it shines on the ground and other things)..
maybe i have to "break it in"? i guess we'll see..but for now im ordering some yellow film to cover the fog lights they're not yellow enough for me.
and yes i know my fogs are off..they're misaligned..gotta align them..
didnt even realize they were off till i put in hids and shined them at the wall
my fogs as of right now arent YELLOW YELLOW..but more whitish yellow..
i got them from ddm tuning..and they're supposed to be 3000k but as of right now they seem to still have a green hue at a certain part and a weird red? hue..VERY light tho..but i can notice it while driving at night (when it shines on the ground and other things)..
maybe i have to "break it in"? i guess we'll see..but for now im ordering some yellow film to cover the fog lights
they're not yellow enough for me.and yes i know my fogs are off..they're misaligned..gotta align them..
didnt even realize they were off till i put in hids and shined them at the wall
oh and an fyi..the 3000k hid ones i bought from ddm tuning are like bright green when i first start it up.. kinda cool..
but apparently a couple of 3000k hid kits are green when they start?
really do hope the red hue and green hue go away after time..
kinda cool..but apparently a couple of 3000k hid kits are green when they start?
really do hope the red hue and green hue go away after time..