When you click on links to various merchants on this site and make a purchase, this can result in this site earning a commission. Affiliate programs and affiliations include, but are not limited to, the eBay Partner Network.
Here is the basic procedure and some photos. ~10 minute job.
Tools needed: Flashlight, Torx head screwdriver with T-20 bit, towel or knee pads.
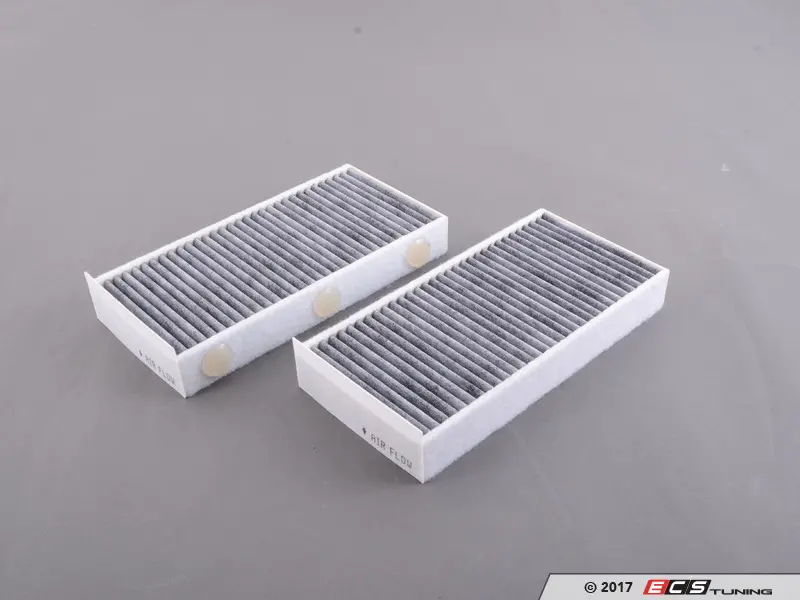
Parts needed: New filter set - there are two types, one is carbon activated and costs more but it reduces odors.
1) Open passenger door, kneel on ground and find/remove one T-20 screw up high on the center console side panel. Photo 0645 shows location.
2) Carefully pull the side panel away from the center console starting at the bottom and moving counter-clockwise. Once the panel feels loose, pull it straight back toward the seat, (the end closest to the firewall fits into two slots). There is a small light attached to the panel. I did not disconnect it but doing so and getting the panel completely out of the way may help you. Once removed, you can see the filter door with the X-shaped reinforcements all the way forward - snap clip on LH side, hinge on RH side. See photo 0640.
3) Open the door, then remove it by gently moving it up and down until the hinge disconnects from the air conditioning unit. See photos 0642 and 0644. Note the air flow direction shown on the filters - front to back.
4) Pull out the upper filter and then the lower one. You'll need to lift the lower on up then pull it out. Inspect and replace as necessary. See photo 0643. If you have a small wand attachment, there may be some value in attempting to vacuum out any leaves/debris that may have collected in the bottom of the chamber, but be careful not to damage the cooling fins that are on the heat exchanger just rearward of those filters!
5) Reassembly is the opposite of removal. Again, make sure you orient the filters correctly. Make sure the wire bundle that routes low on the unit is clear of where the panel clips will go otherwise you may damage them.
Cheers!
Last edited by vetsvette; Jan 8, 2018 at 06:24 PM.
When I went to change the cabin filters in my 2016 F54 Clubman S, I had to remove an additional footwell panel to gain access. The panel has some ducting and an LED light.
Optional footwell lighting and air duct
To remove the footwell panel, locate the two T10 torx screws near the glove box door. The panel will drop as you unscrew them.
Thank you vetsvette for the info and pics.
Mini could not have placed those filters in a more inaccessible spot if they tried...
In my case even more difficult because I couldn't open the flap door all the way, or maybe I missed something.
Anyway, the filthy ones came out and new ones went in. I had just bought the car, a 2016 Clubman with 15k miles, no way those filters had ever been cahnged.
Your right, sorry about that. Looks like there was a split year update on 2/2016 on the housing itself. They supered the parts number for the old housing to the newer housing. We can order in the new filter and place them side by side and figure this out. Most of the time its just a revision with no actual part change.
The filter that came out of my car had the blobs of hot glue on the bottom. Not sure if they still do this when installing new filters or has the newer part corrected the issue.
Did they purposely put the opening in the hardest to reach spot?
edit - found this on newtis.info
Bottom microfilter has three spacers (1).
The bottom spacers (1) need to be inside the heating and air-conditioning unit.
Note:
As of version 2/2016, the spacers (1) are omitted.
Thanks for the instructions on where these are and how to get them out. Brought my wife a dealer CPO 2018 with 9k with full warranty. I’m changing out the filters with K&Ns been real happy with there products in all my pass MINIs. 8 and counting.
I just replaced mine with K&N reusable (washable) filters. I swear.. they must have midgets design the car.. you have to be tiny and a contortionist to replace the damn filters.
As for why it is two filters. Well, the smaller cars get, they still need all the same systems, they just have to get innovative in how they pack them into the cars. To maintain a set surface area for the airflow in an area where you cannot have a full size filter, you have to break it into two to install them.
At least that is my guess.. Or what I tell myself as I was swearing trying to get the old filters out.
I have a 2019 MCS Convertible. I’ve always changed filters on my other brands but after reading this post I have to ask, is this filter change a task for the average DIYer or better left to the pros? I wonder if even independent BMW / MINI shops would already be familiar with the quirks of the ‘19 model.
People are pointing out the spacers on the original bottom filter, but not saying if they are required.
For my 2014 Cooper S the original has the spacers but I installed "PG Cabin Air Filter PC9976" from Amazon without those spacers.
I�m trying to change the cabin filter on my 2021 F56S and I�m unable to locate the door to the filters. What I�m seeing behind the panel does not look like the pictures in this thread. Did MINI change the location of the filters? Any help in this regard would be helpful.
I just recently changed the filters on my 2019 F57. I had to remove the panel that sits below the glovebox, but other than that the procedure was the same as posted above.
Thanks, I may need to try that approach as well. Currently I can only get one filter into the slot. The original filters did not have the “blob”. Right now this one is installed in the bottom, so I’m going to remove it and the blobs and reinstall to see if that gives me room for two stacked filters. If not, the panel just behind the glove compartment (as you mentioned) will need to come off. I agree with an earlier posting about being a contortionist to replace the filters and also might add having a small to medium build to work your way under the dash.
Thanks, I may need to try that approach as well. Currently I can only get one filter into the slot. The original filters did not have the �blob�. Right now this one is installed in the bottom, so I�m going to remove it and the blobs and reinstall to see if that gives me room for two stacked filters. If not, the panel just behind the glove compartment (as you mentioned) will need to come off. I agree with an earlier posting about being a contortionist to replace the filters and also might add having a small to medium build to work your way under the dash.
FWIW:
- My 2017 F56S does not have the panel behind the glove box in order to remove it. Some research turned up that, on spec, it never had one. Just not part of the 2017 F56S, period. My guess is that it was added to the F56 when they rejiggered it (LCI introduction, years later). When I was replacing my cabin air filters I noticed this. I was also pretty positive that if had that panel been there, I would have had to remove it to get the filter change done.
- I also noted (while trying to figure out the differences between various MANN filters) that the spacers ("blobs") definitely were removed from spec at some point -- I would similarly guess at the LCI introduction, pointing to a more general change in the setup. Now, I can't prove that, but all of it would point in the direction of the '21 and '22 being a little different than the older F56 instructions and guides flying around -- the panel for sure, and the spacer question maybe being more important -- as compared to my 2017 (that was actually manufactured in late 2016).