
H Stock Daily Driver/H-Street Build II


3rd Gear
Joined: Sep 2011
Posts: 182
Likes: 0
https://www.northamericanmotoring.co...vers-rock.html
Last post in this thread is by a person named Craig Wilcox. His online name is OasisT. Send him a PM.


Of course that won't be a test of just 225 vs 205, but it'll be interesting.
I was surprised at how little difference there was between 225 and 205, here's a (bad) picture of them. Particularly as the rival is quite rounded.


Ask him...
https://www.northamericanmotoring.co...vers-rock.html
Last post in this thread is by a person named Craig Wilcox. His online name is OasisT. Send him a PM.
https://www.northamericanmotoring.co...vers-rock.html
Last post in this thread is by a person named Craig Wilcox. His online name is OasisT. Send him a PM.
Now I've got 225/45-15s (Rivals), I'm thinking of testing them against the current 205/45-16s (RE-11), which have about 1 event left in them, just as a sanity check.
Of course that won't be a test of just 225 vs 205, but it'll be interesting.
I was surprised at how little difference there was between 225 and 205, here's a (bad) picture of them. Particularly as the rival is quite rounded.
Of course that won't be a test of just 225 vs 205, but it'll be interesting.
I was surprised at how little difference there was between 225 and 205, here's a (bad) picture of them. Particularly as the rival is quite rounded.
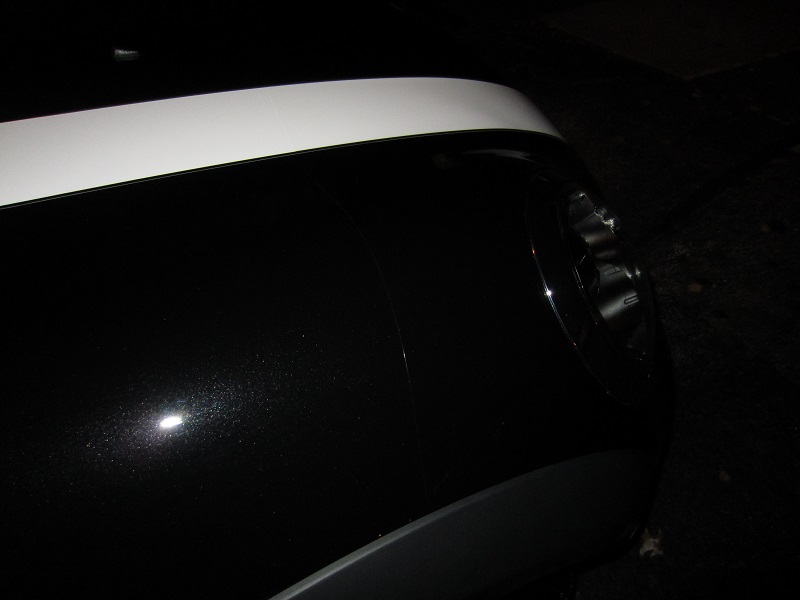
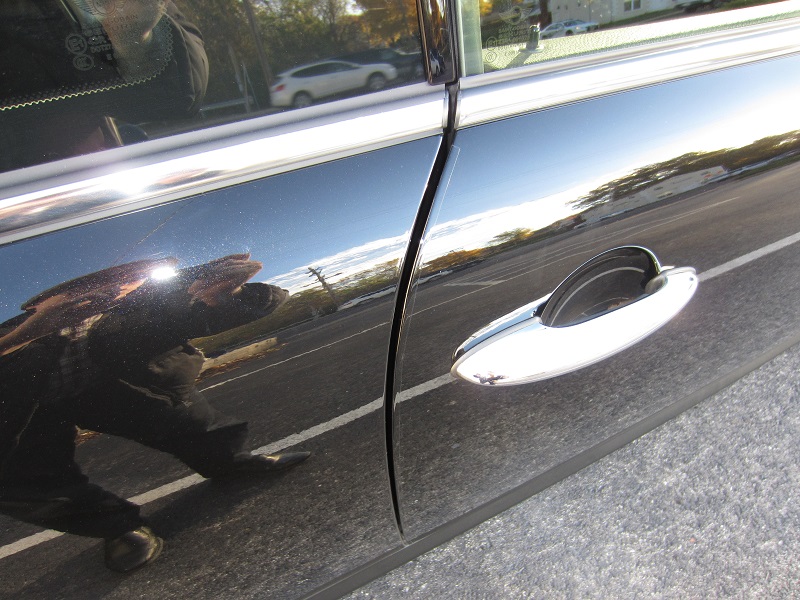
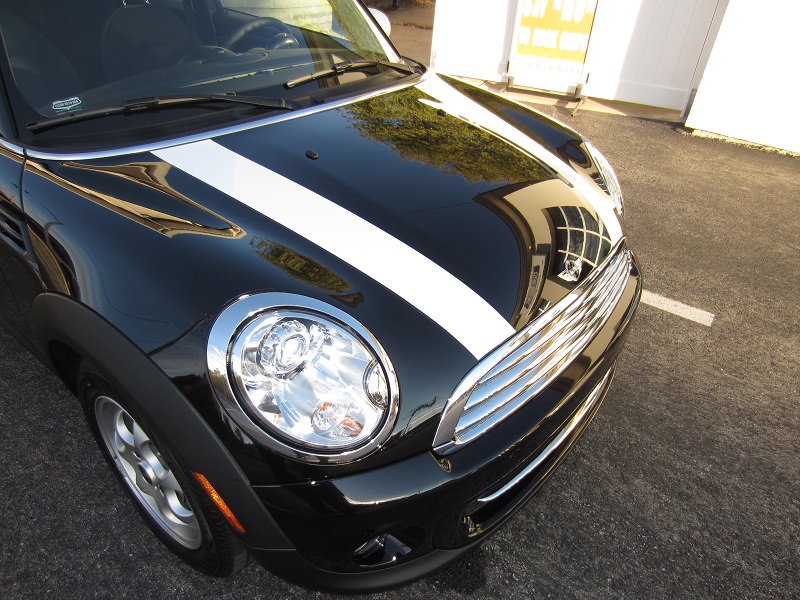
11/1/2013 - Clear Bra
This will probably be one of my most invisible mods lol. I had this done for my evo, and liked it a lot. Looks like it'll look just as clear on black as it did on white. Went to a local shop here, and the film they used was XPEL Ultimate. This film has a 10 year warranty that covers parts AND labor, even better than 3M's 5yr parts and labor warranty. According to these guys, its the top clear bra film on the market right now, with great protection and also "heals" its scratches.
Areas done:
- Front bumper, front hood up to 3-5" past the headlight
- Headlights themselves
- Some small door protection
- Rear bumper tailgate area (don't know what it's exactly called)


--
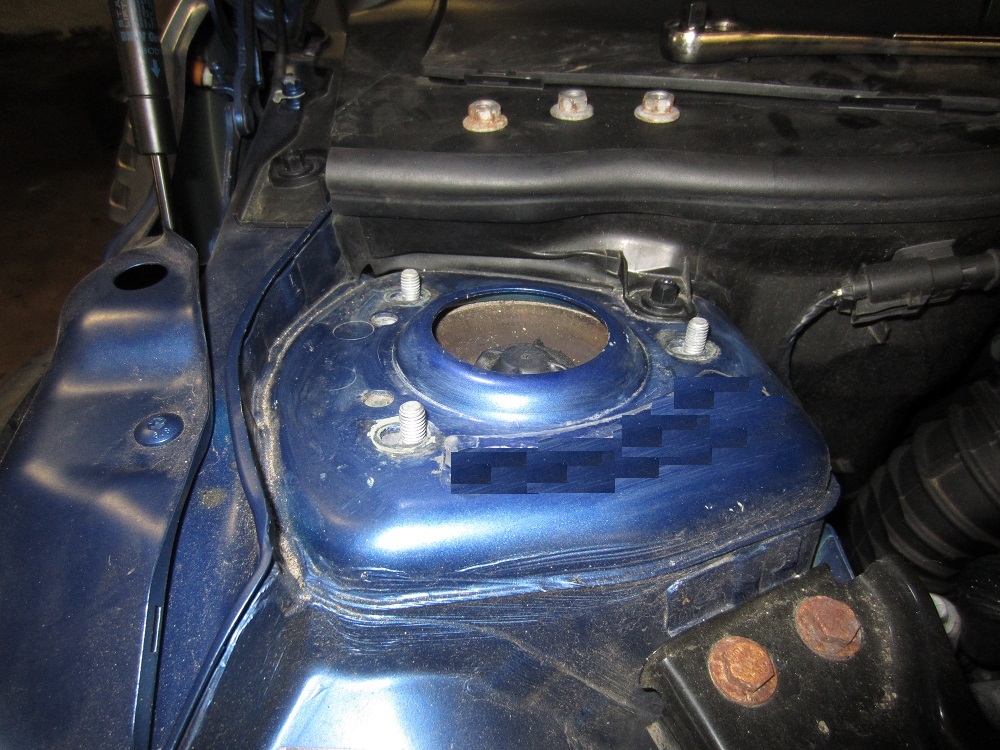
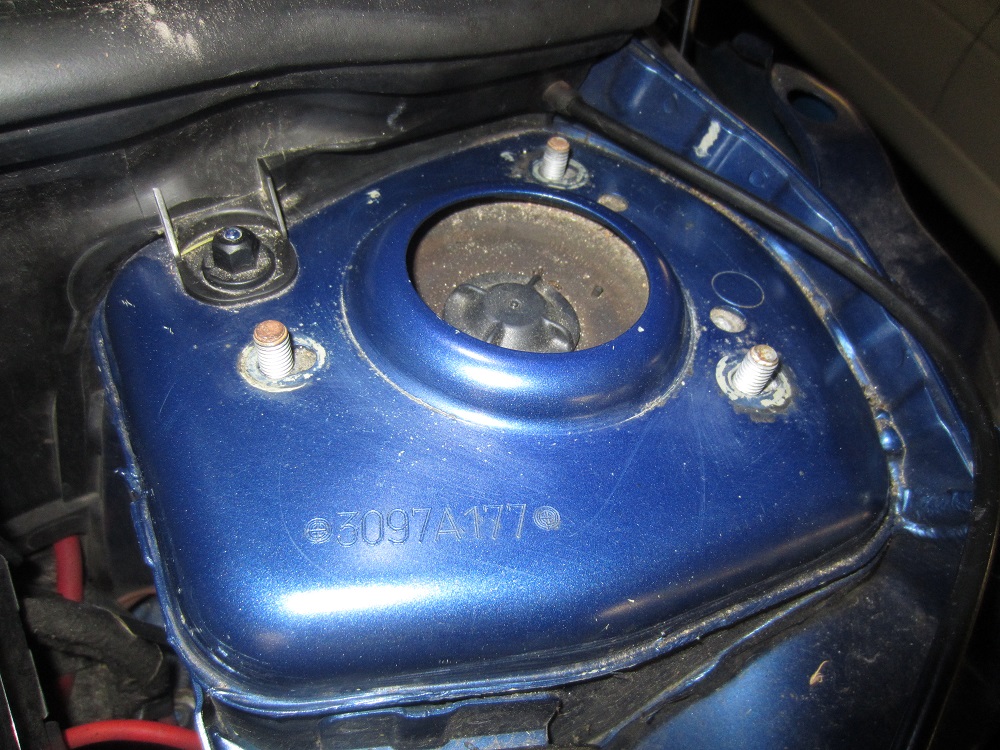
Also, something interesting I found:

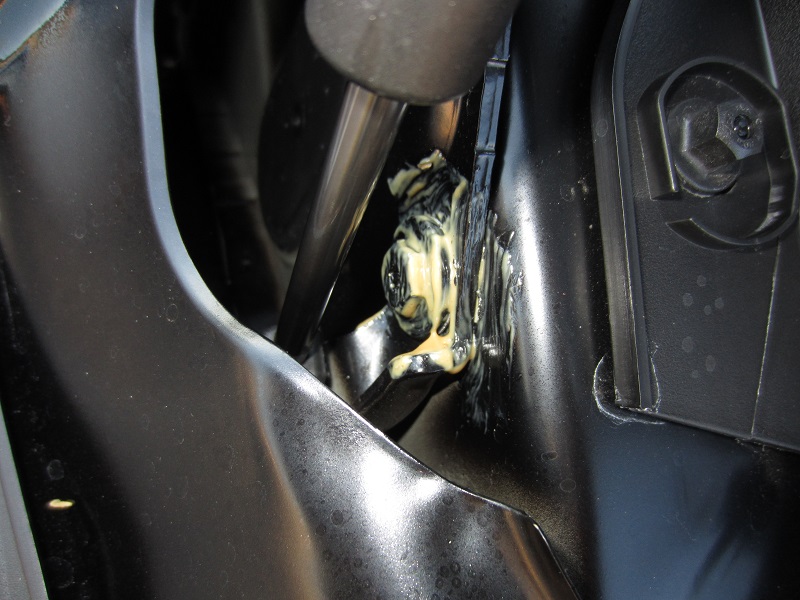
Looks like the car came with some wax covering some of the bolts to prevent corrosion. I actually have sourced this stuff from a friend of mine, and I've used it on a few of my cars just for extra protection in some high risk areas. He said Lexus and Mercedes have been using this stuff, glad to see it's made it onto the MINI as well.
Areas done:
- Front bumper, front hood up to 3-5" past the headlight
- Headlights themselves
- Some small door protection
- Rear bumper tailgate area (don't know what it's exactly called)
--
Also, something interesting I found:
Looks like the car came with some wax covering some of the bolts to prevent corrosion. I actually have sourced this stuff from a friend of mine, and I've used it on a few of my cars just for extra protection in some high risk areas. He said Lexus and Mercedes have been using this stuff, glad to see it's made it onto the MINI as well.
Last edited by kyoo; Nov 2, 2013 at 12:12 PM.

Anyone know exactly how you're supposed to use this stuff? It looks like they want you to dilute it in water, but the temperature range for antifreeze isn't exactly great.. can I just pour some into the windshield washer reservoir?


Now I've got 225/45-15s (Rivals), I'm thinking of testing them against the current 205/45-16s (RE-11), which have about 1 event left in them, just as a sanity check.
Of course that won't be a test of just 225 vs 205, but it'll be interesting.
I was surprised at how little difference there was between 225 and 205, here's a (bad) picture of them. Particularly as the rival is quite rounded.
Of course that won't be a test of just 225 vs 205, but it'll be interesting.
I was surprised at how little difference there was between 225 and 205, here's a (bad) picture of them. Particularly as the rival is quite rounded.
I will just note that the 225s are a tight fit, at least with the Toyos I am running for track tires. I have the 225-45x17 R888s on Enkei 7" wide wheels with a 38 mm offset and they rub on the inside of the rear wheel wells. But, they only have about 3/8 inch clearance on the front strut. So you can't bring them inboard too far as they will then rub on the strut. I am figuring that a wheel with a 42 or 43 mm offset will be about as good as you can do, but it still may rub on the rear wheel well. The 225 Rivels have a little less width according to TireRack so they may fit ok. Just something to watch for.
How about 24mm...see the front suspension listing and pick the JCW sport option:
http://www.penskeparts.com/DiagramsM...3&rnd=03192010
The Sport suspension is 23.5; base S is 22.5; base Cooper is 21.5
I think the part numbers listed are the MINI #s, so you can look up what you want.
http://www.penskeparts.com/DiagramsM...3&rnd=03192010
The Sport suspension is 23.5; base S is 22.5; base Cooper is 21.5
I think the part numbers listed are the MINI #s, so you can look up what you want.
JCW FSB is 24.5mm and it has its own part number.
The holies are just not wide enough since its been shown how street tires don't like being pinched like Hoosiers. I've had some success on the Rivals after nationals but they feel just horrible on the holies. I'm really thinking the extra inch on the 15x6.5s will make a huge difference since its a nearly 20% increase in width. Still, I wouldn't be surprised if a 225 isn't any faster than a 205.
The holies are just not wide enough since its been shown how street tires don't like being pinched like Hoosiers. I've had some success on the Rivals after nationals but they feel just horrible on the holies. I'm really thinking the extra inch on the 15x6.5s will make a huge difference since its a nearly 20% increase in width. Still, I wouldn't be surprised if a 225 isn't any faster than a 205.
just want to be sure to get it right
Another '08 vs '13 Difference
Noticed this today - the '13 seems to have some kind of chrome splitter-ish type of deal in the front bumper grill that the '08 didn't.. not sure what it is or what it's purpose is - any ideas?
'08:
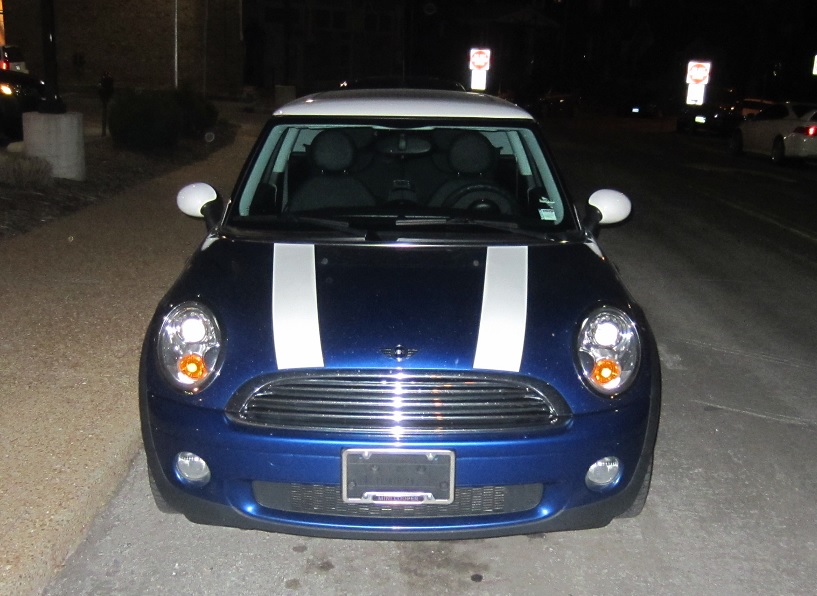

'13:
'08:
'13:
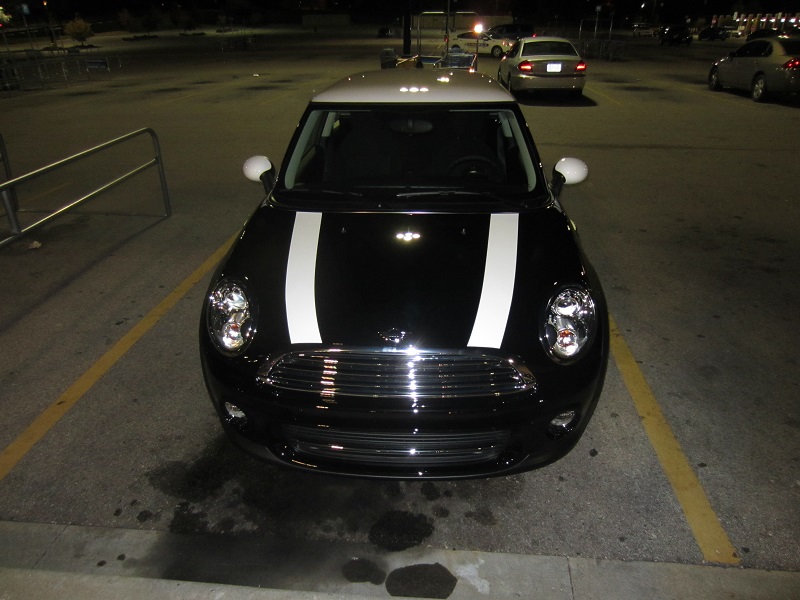
A Few Other Random Pics
Missed parking the car, and happy the 13's came with holies as stock wheels:
Before and After of plasti dip drying on the dipstick - amazing how smoothly it dries, hope I didn't go too low on with the dip:

Don't know when I'm gonna drive this guy again...


Before and After of plasti dip drying on the dipstick - amazing how smoothly it dries, hope I didn't go too low on with the dip:
Don't know when I'm gonna drive this guy again...

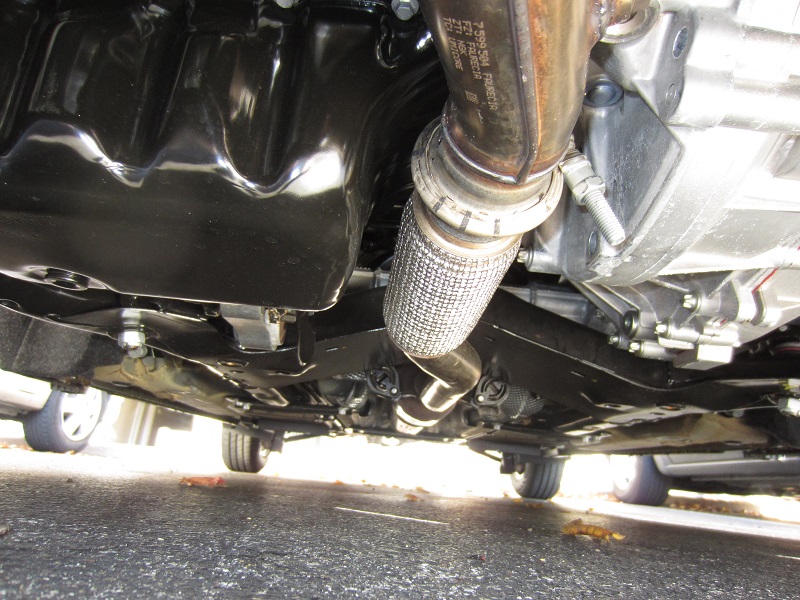
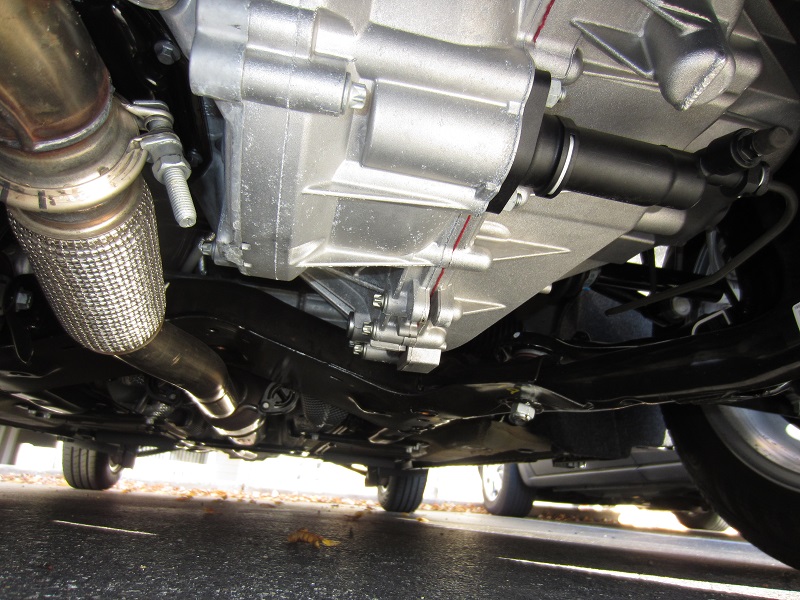
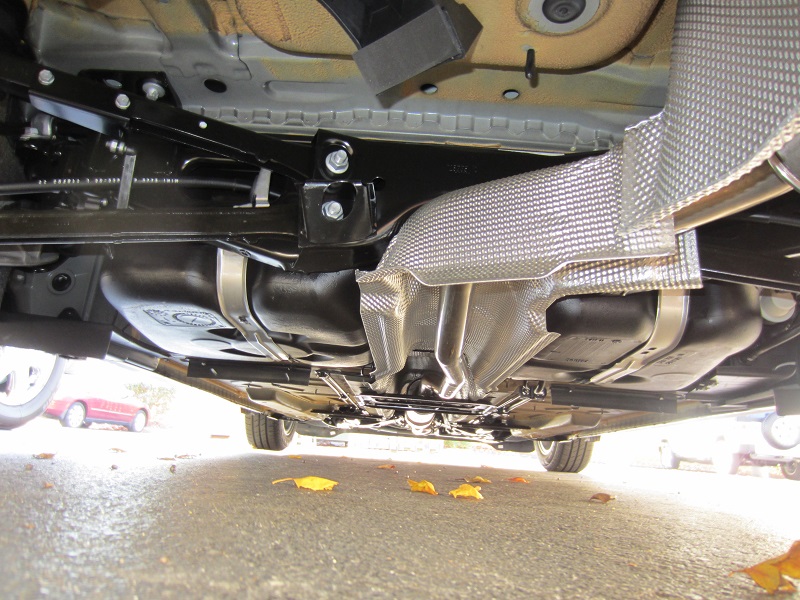
11/10/2013 - Under the Car
Some under the car pics. Struggling to put miles on the car - I think I'm right around 360 miles, so haven't changed the oil or filled the tank yet even. Doing a moderate break-in, been WOT a few times, and went to 5k rpms recently. Will continue that until 1000mi, then do somewhat of a hard "break in" then.


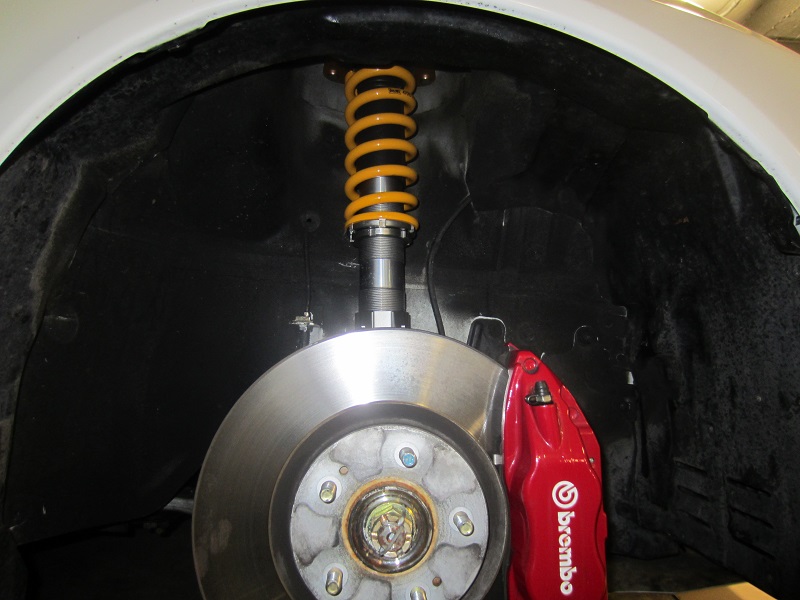
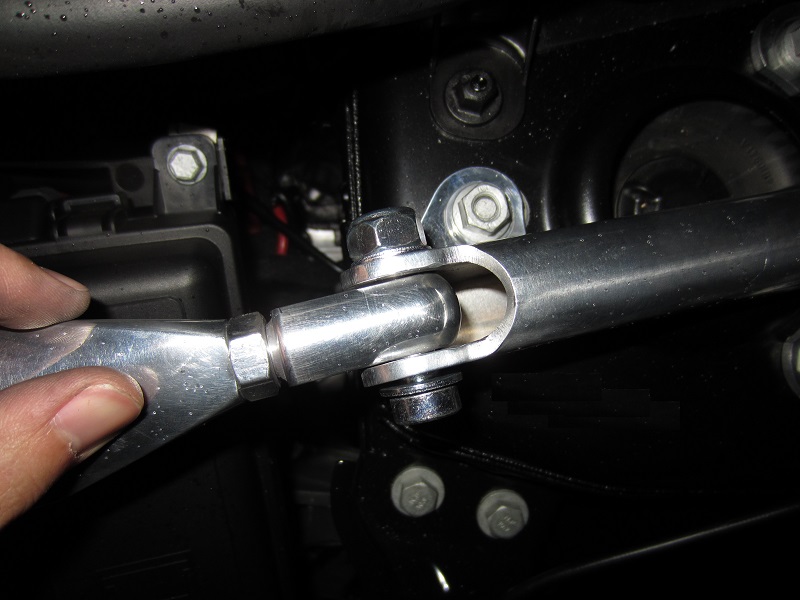
11/11/2013 - JCW Strut Tower Brace
After a small debacle of not getting my JCW strut tower brace on time, I finally received and installed my JCW STB today! As luck would have it, it started drizzling as I was installing this piece, so I've been pretty crabby about everything getting wet (and how it wouldn't have had I received it on Friday like I was supposed to).
Regardless, it was a straightforward install, especially since MINI USA provided the install instructions as a PDF somewhere on the Internet - thought I'd post up my own personal steps with pictures.
Step 1: Unscrew the 6 top bolts (13mm) holding the strut towers:
Step 2: Test fit the brace. This is where I started having to make adjustments. The brace wasn't long enough as it was provided to me, so I had to undo the locking nuts (17mm) and basically turn the arms to lengthen the brace.

Step 3: Start tightening the brace down. Again, as my brace was shipped, the bit that holds the bar to the clamps wasn't tightened down, so I had to do that once I started tightening everything down (17mm & not sure about the hex key):
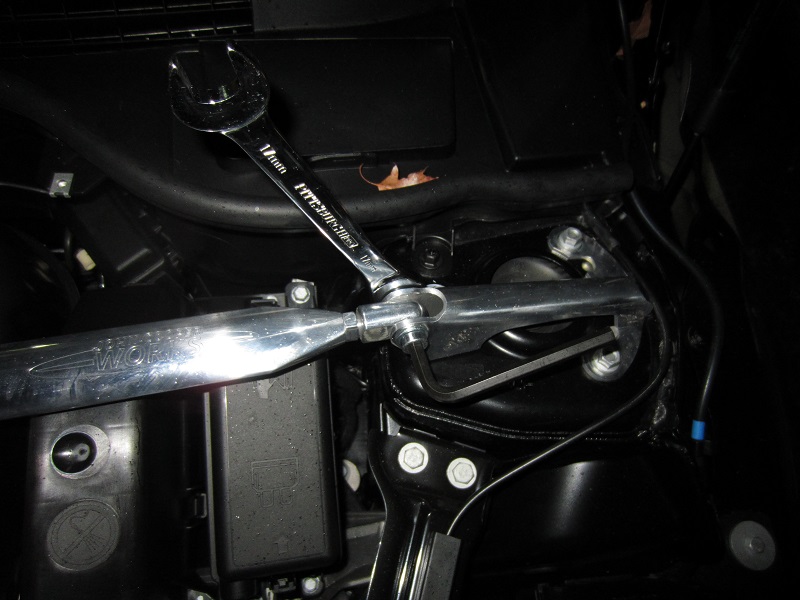
Step 4: Tighten everything down (6 13mm bolts)!

Still annoyed that I had to do this in the drizzling rain, but happy it's in. I basically torque'd everything down by hand, and I'll probably have to re-do everything this weekend to make sure it's perfect. Right now I think the left (pass side) "arm" of it is overextended, but I didn't have much slack on the right (driver's side). Probably fine. Everything clears and the hood clears as well, but haven't been able to test drive the car with it yet. I'm expecting no difference in handling. Regardless, I'm confident that I have the necessary documentation for this to be a legally "port-installed" piece.
One thing I'm concerned about is the piece closest to the center digging into the strut tower top. I'm sure it'll be fine though
Regardless, it was a straightforward install, especially since MINI USA provided the install instructions as a PDF somewhere on the Internet - thought I'd post up my own personal steps with pictures.
Step 1: Unscrew the 6 top bolts (13mm) holding the strut towers:
Step 2: Test fit the brace. This is where I started having to make adjustments. The brace wasn't long enough as it was provided to me, so I had to undo the locking nuts (17mm) and basically turn the arms to lengthen the brace.
Step 3: Start tightening the brace down. Again, as my brace was shipped, the bit that holds the bar to the clamps wasn't tightened down, so I had to do that once I started tightening everything down (17mm & not sure about the hex key):
Step 4: Tighten everything down (6 13mm bolts)!
Still annoyed that I had to do this in the drizzling rain, but happy it's in. I basically torque'd everything down by hand, and I'll probably have to re-do everything this weekend to make sure it's perfect. Right now I think the left (pass side) "arm" of it is overextended, but I didn't have much slack on the right (driver's side). Probably fine. Everything clears and the hood clears as well, but haven't been able to test drive the car with it yet. I'm expecting no difference in handling. Regardless, I'm confident that I have the necessary documentation for this to be a legally "port-installed" piece.
One thing I'm concerned about is the piece closest to the center digging into the strut tower top. I'm sure it'll be fine though

6th Gear

Joined: Apr 2010
Posts: 1,917
Likes: 8
From: California
That "wax" in post #29 is cosmolene which is going to melt and run next summer. There are many threads on the mess it causes. The dealer cleaned the majority of it off of the underbonnet bolts on my '14 Roaster S. They didn't do that on my 2010 HT and it stained the fender trim.
That "wax" in post #29 is cosmolene which is going to melt and run next summer. There are many threads on the mess it causes. The dealer cleaned the majority of it off of the underbonnet bolts on my '14 Roaster S. They didn't do that on my 2010 HT and it stained the fender trim.
kyoo - I have the same bar. I just tightened it by hand. As long as the bolts and nut are comfortably tight you shouldn't have any problems. I like the way it keeps the front end "tight".
I couldn't see if you have pulled the plastic pins and pushed the struts in to get the extra camber. If you do, you know you will have to reset the toe-in. I found about a 1/2 turn on the tie rods worked well.
I couldn't see if you have pulled the plastic pins and pushed the struts in to get the extra camber. If you do, you know you will have to reset the toe-in. I found about a 1/2 turn on the tie rods worked well.