When you click on links to various merchants on this site and make a purchase, this can result in this site earning a commission. Affiliate programs and affiliations include, but are not limited to, the eBay Partner Network.
1st GearNew members: make an initial post and introduce yourself as you shift from Neutral to First Gear. Current members: meet some of the new members.
HUGE shout out to Pelican Parts and Mod MINI for the info on removing the subframe. So much awesome information is out there and it really helps. This has been a butter smooth process and a lot of thanks are due!
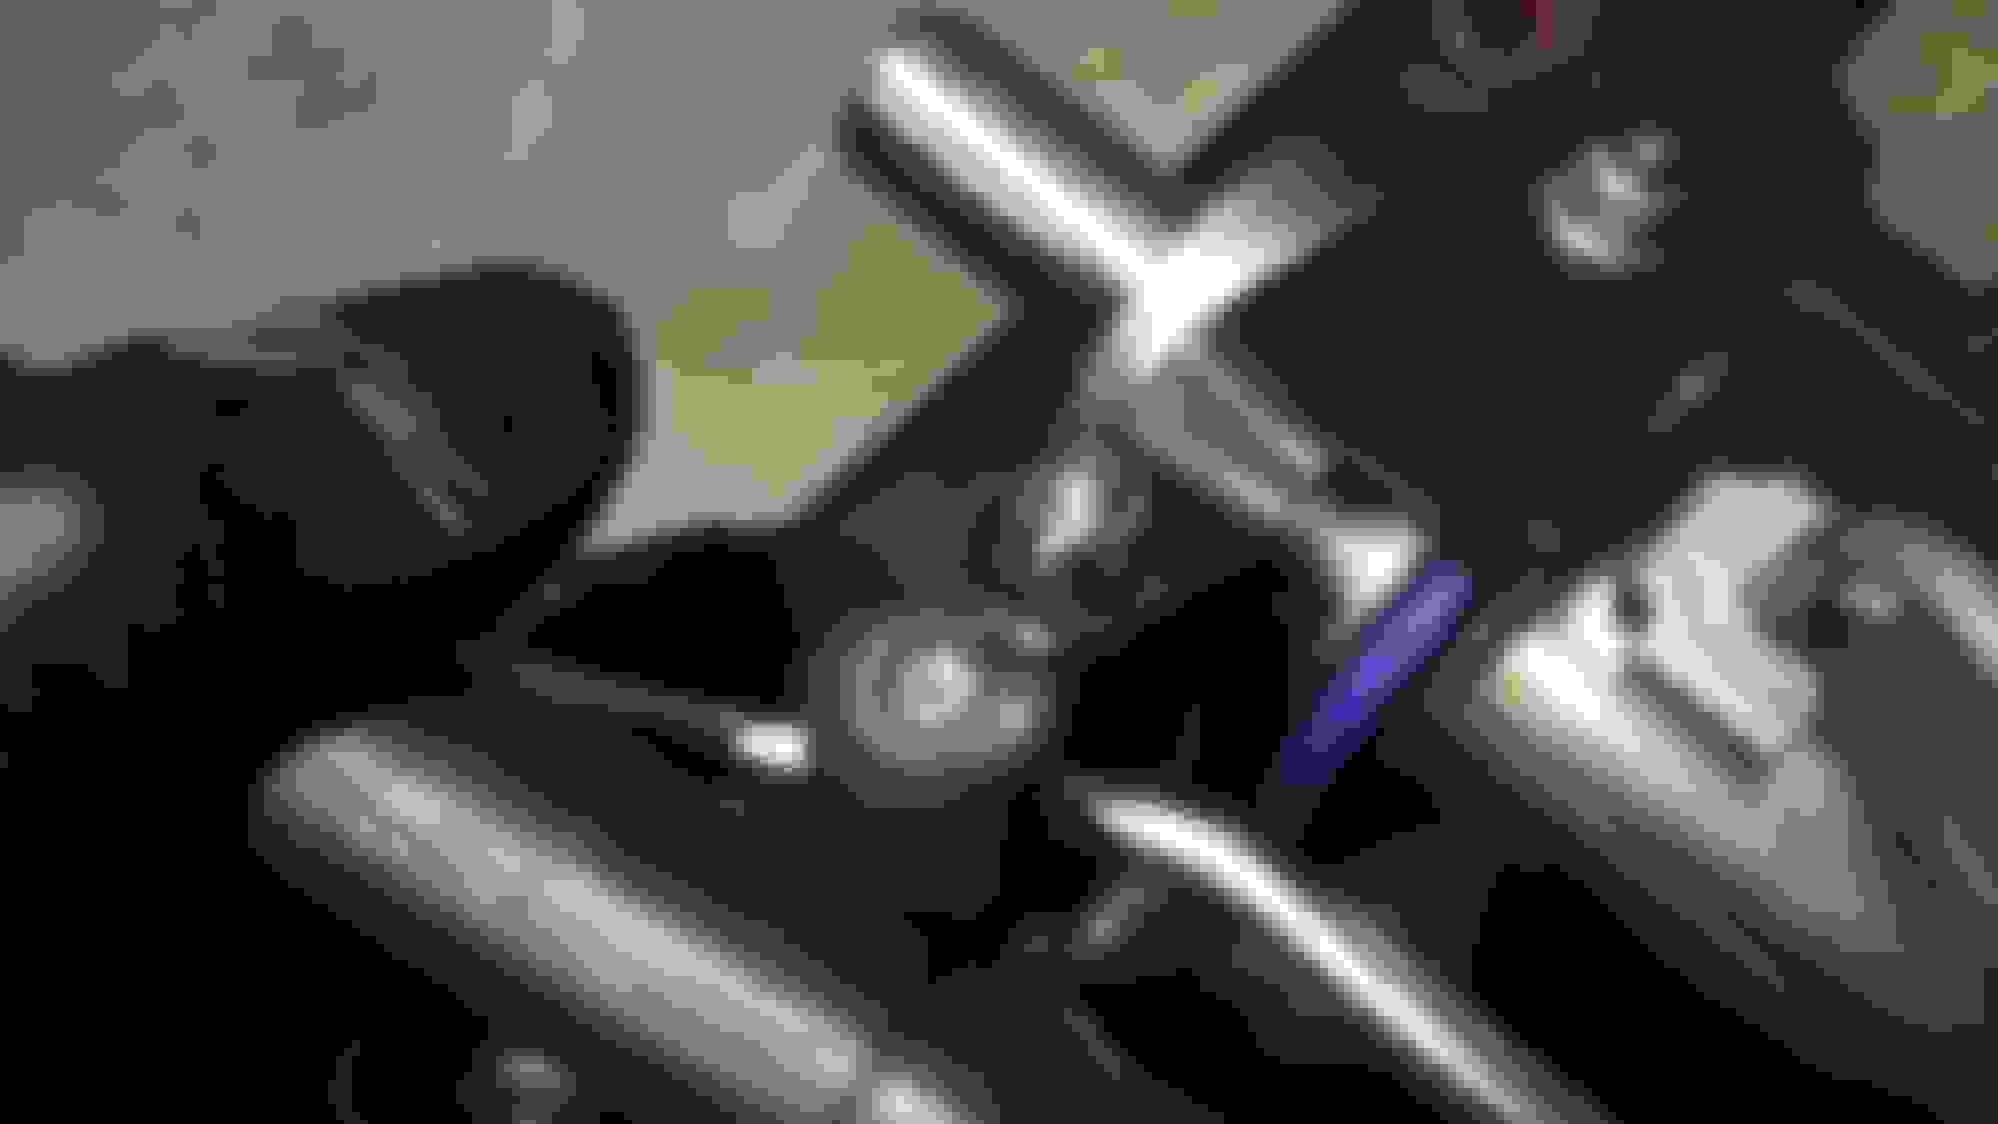
Kind of funny thing. The hardest part of the project so far? Removing the left rotor. Wow that sucker was stuck on there good!
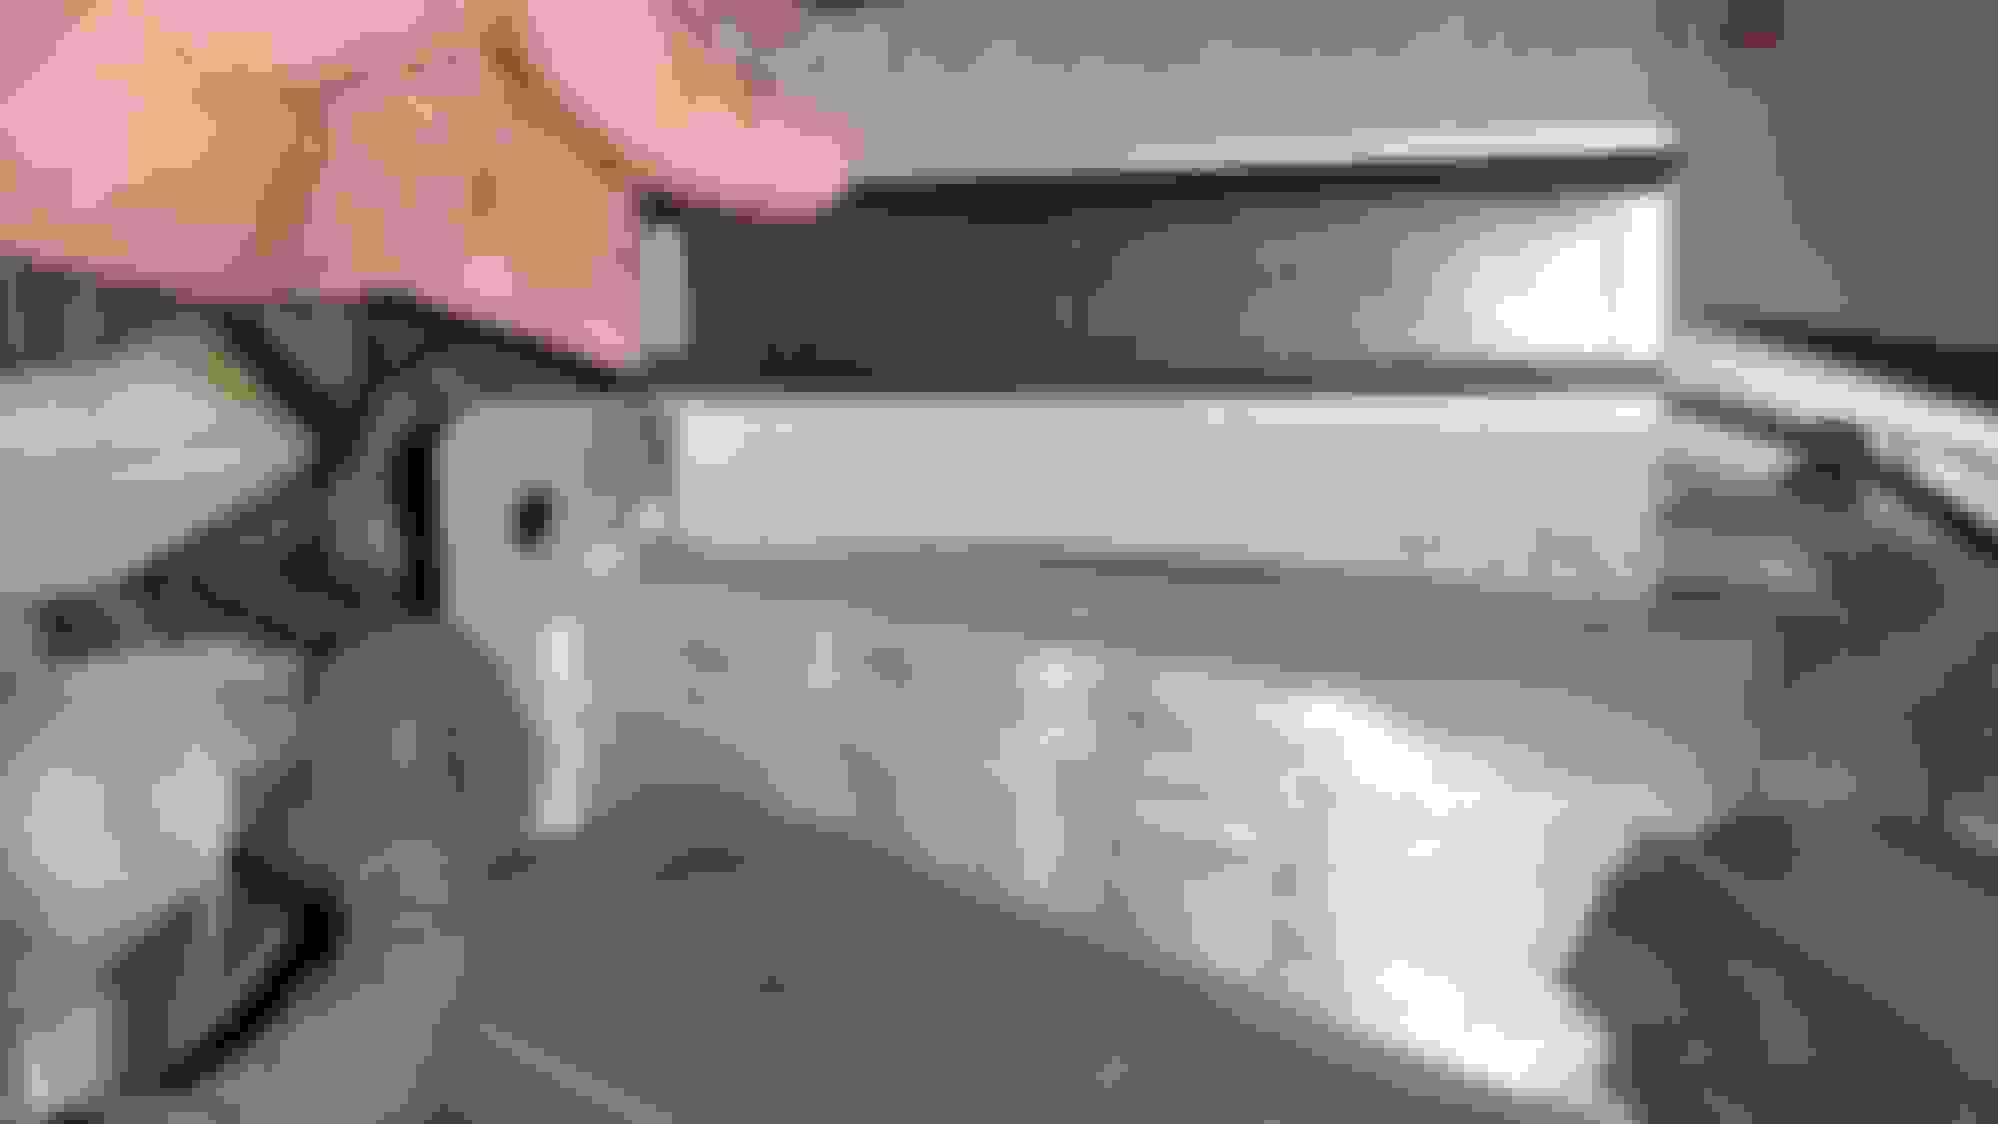
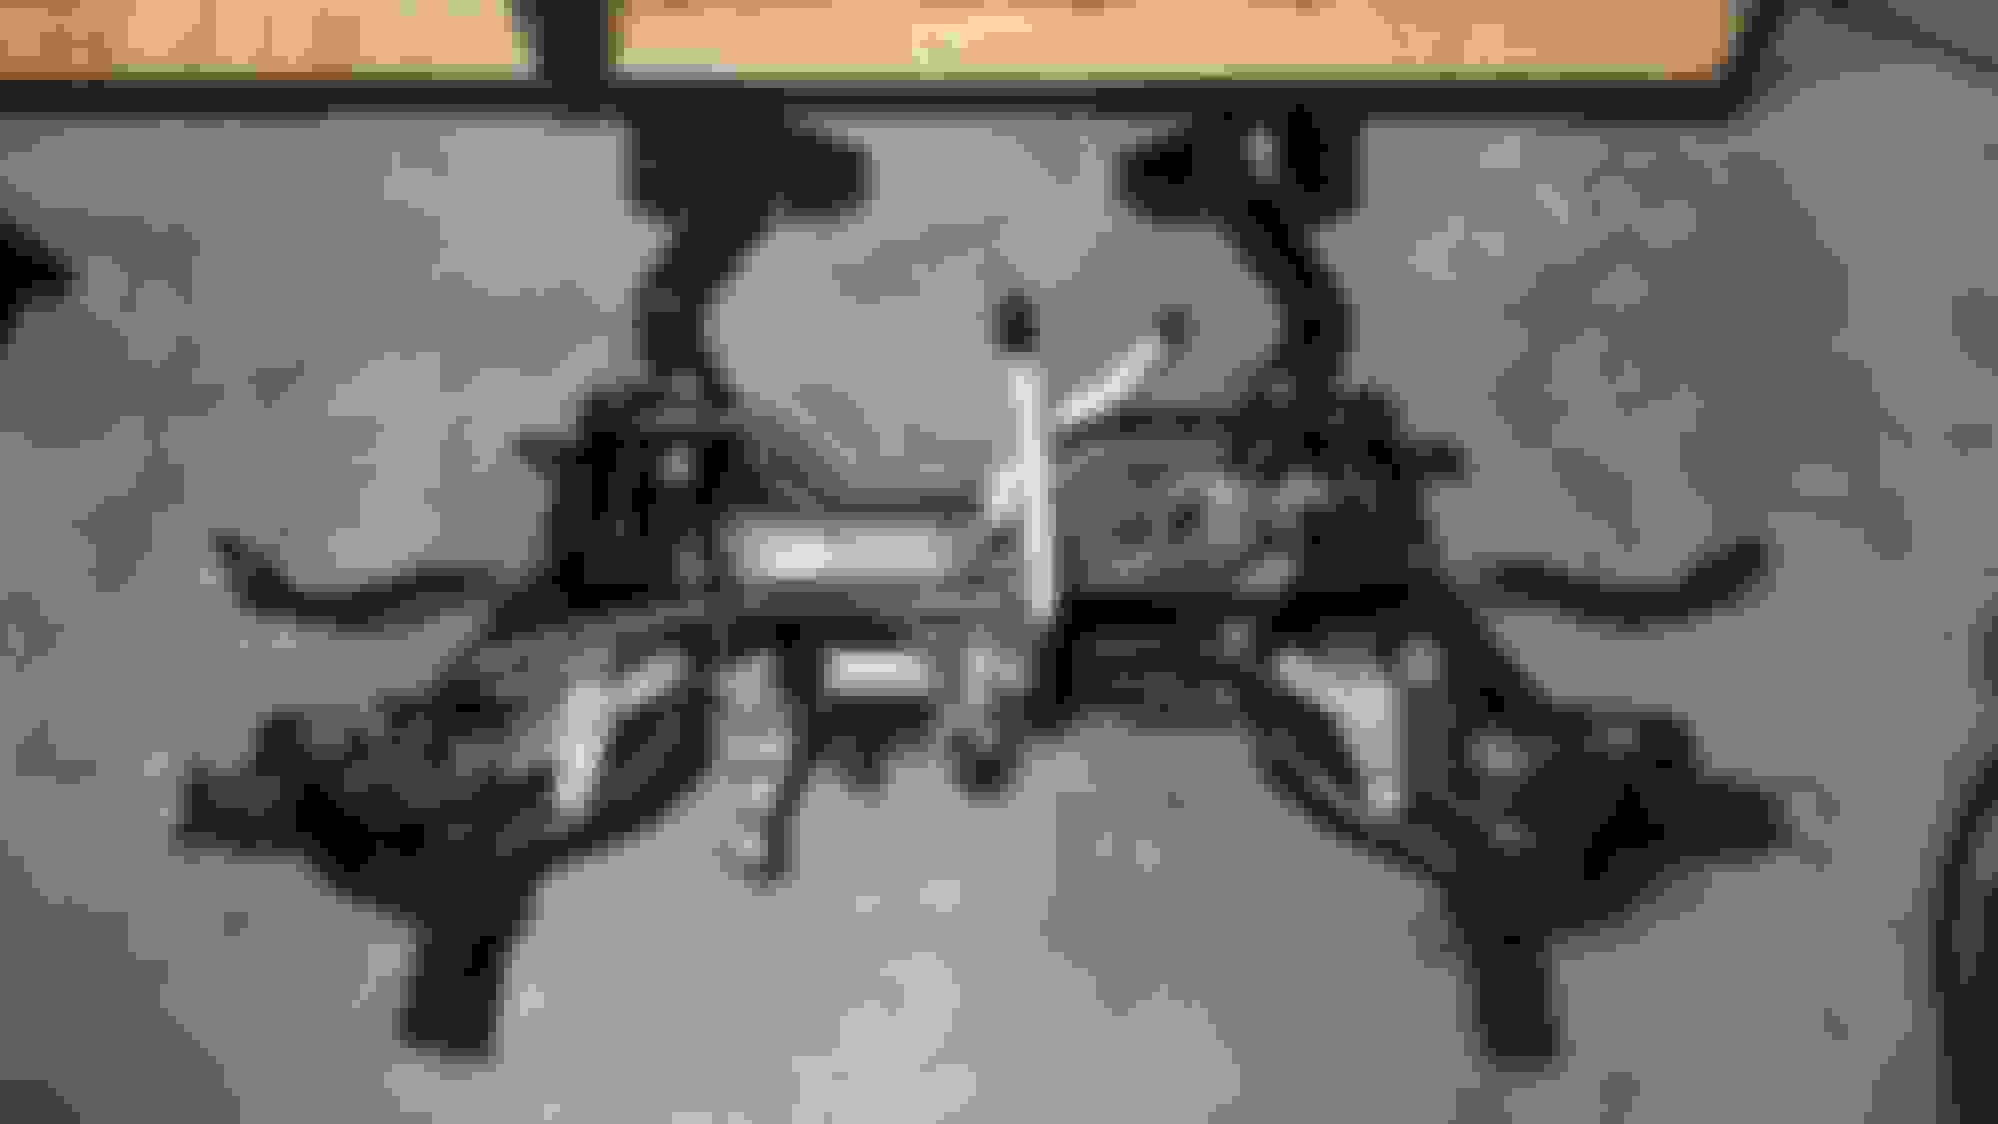
Subframe out!
Subframe, out of my way!
Pile of old busted parts
Struts were shot in every way.
Leaky right wheel bearing.
So here's the damage to my strut towers. There's a lot more deformation than I thought. Going to be beefing this up for sure.
Right strut tower deformation
All the new parts set out and ready for a good time.
More new parts set out and ready for fun.
Heat, beer, and a disassembled mini. It was a good day.
So everything has been going SUPER smooth and I'm very happy so far. I have a decision to make though. Once I got the subframe out and could really get a good look, my power steering lines are yucky. They all have wet spots but the return line off the reservoir is the worst. Not super excited to spend another $500 bucks on new hoses and fluid but I don't wana go through this again to replace a hose later either... I need to decide if I'm going to replace the return line or all 3 lines.
Also need to get a good look at the left axel. I can see a ring of flung grease so I'm pretty sure the boot is torn. I might just end up ordering a set of axels as well.
Great pix and information, this is really helpful. Let us know if we can answer any questions! I'm guessing you're not sorry about missing the snow and ice with your R53! Mine stayed parked in the driveway.
Looking good, Eric! Glad our articles have been useful to you and your project. For the boot, if there is still a good amount of grease inside it and it wasn't clicking or making any sort of noise while driving before you tore everything apart, you can probably get away with just doing a reboot kit. GKN is the OEM supplier reboot kit and is pretty cheap. Might save you a few pennies instead of replacing the whole axle. Anyways, keep it up and if you have any questions as you continue or with any of the articles please don't hesitate to let me know.
Looking good, Eric! Glad our articles have been useful to you and your project. For the boot, if there is still a good amount of grease inside it and it wasn't clicking or making any sort of noise while driving before you tore everything apart, you can probably get away with just doing a reboot kit. GKN is the OEM supplier reboot kit and is pretty cheap. Might save you a few pennies instead of replacing the whole axle. Anyways, keep it up and if you have any questions as you continue or with any of the articles please don't hesitate to let me know.
HOLY CRAP. What a nightmare. Most if my day has been spent trying to get the inner ball joints out of the lower wishbone. My fancy ball joint press didn't work and the big bad boy ball joint press from autozone isn't working either. All that's happening is the stud is starting to fold.
Every video I've watched these just fall right out. My next step will be getting an air hammer and if that fails buy a new lower wishbone. What a fiasco...
So yesterday was an interesting day with a hand full of important take aways I'd like to share.
Item 1
If you're like me and think "I've got a press, I'm good" when it comes to the control arm bushings. Don't do it! Buy the special press tool on amazon for 30 bucks and save yourself a lot of heartache and sorrow. Removing mine was a disaster and I'm ashamed of some of the methods I resorted to get mine out. No damage was done but what a mess.
Item 2
Ball joints can be a real pain to get removed. Most just pop right out but there are some who refuse. Those are the ones that will consume your whole day. Rent tools from autozone or buy special tools specifically for your ball joint and sell them later. I have a ball joint press and it did nothing. Rented a bigger one and it did more damage to the stud than anything. Ultimately I bought an air hammer from Harbor Freight with a ball joint fork, rammed that in as tight as I could and pounded and pounded to get mine out. Factor this into your project. Worst case is you'll come out ahead of schedule.
I took a break this morning to update the thread and make a trip to Craven and Alta for some more goodies. I decided to get a 22mm Alta sway bar and a dip stick and set of Under Tower Indurators from Craven. Shout out to those guys for being local and having the parts in stock!
Here's a couple pictures of the strut towers straightened out with my profile gauge showing how much it was deformed. I was really surprised how easy it was to get them straightened out. These are very soft and can easily be over straightened if you're not careful. Go slow and keep checking as you work.
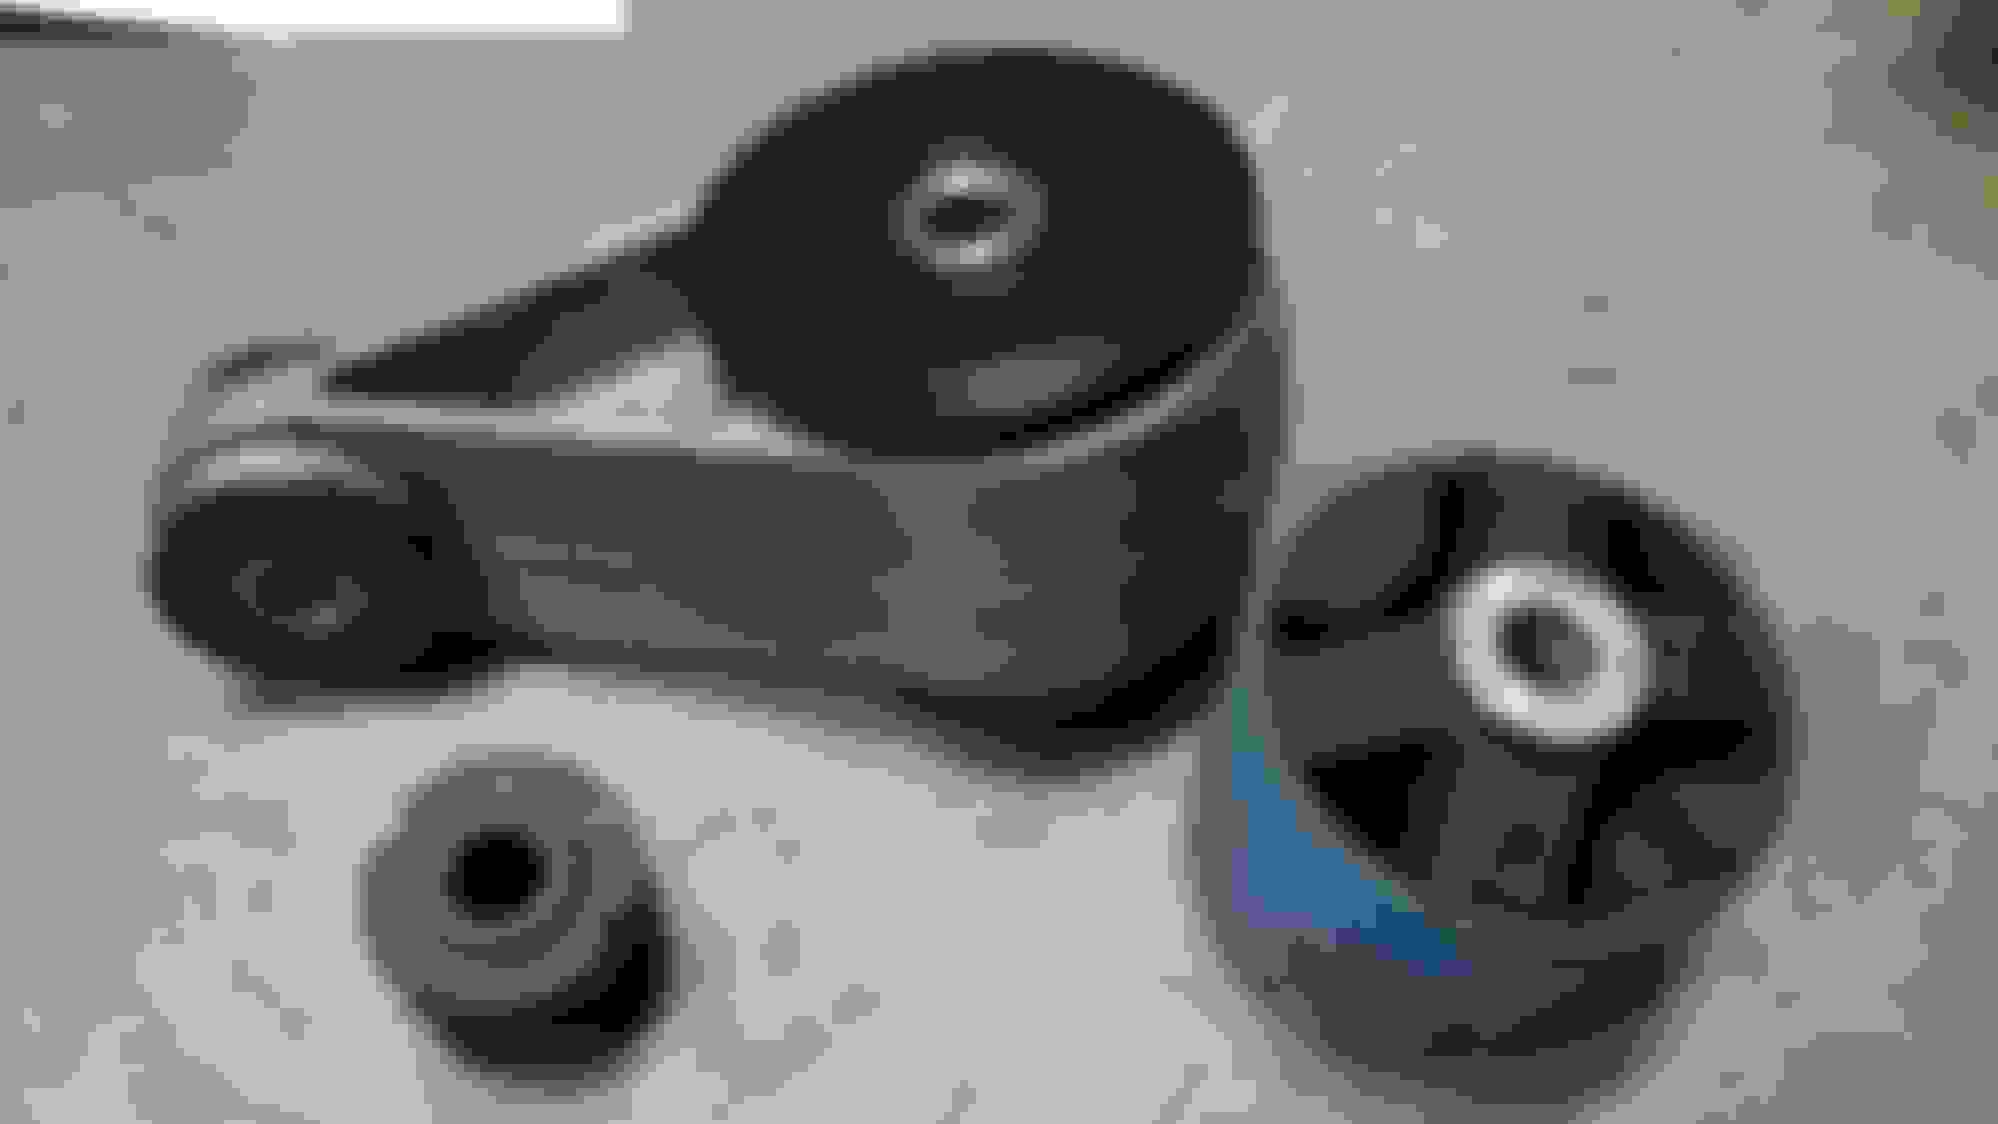
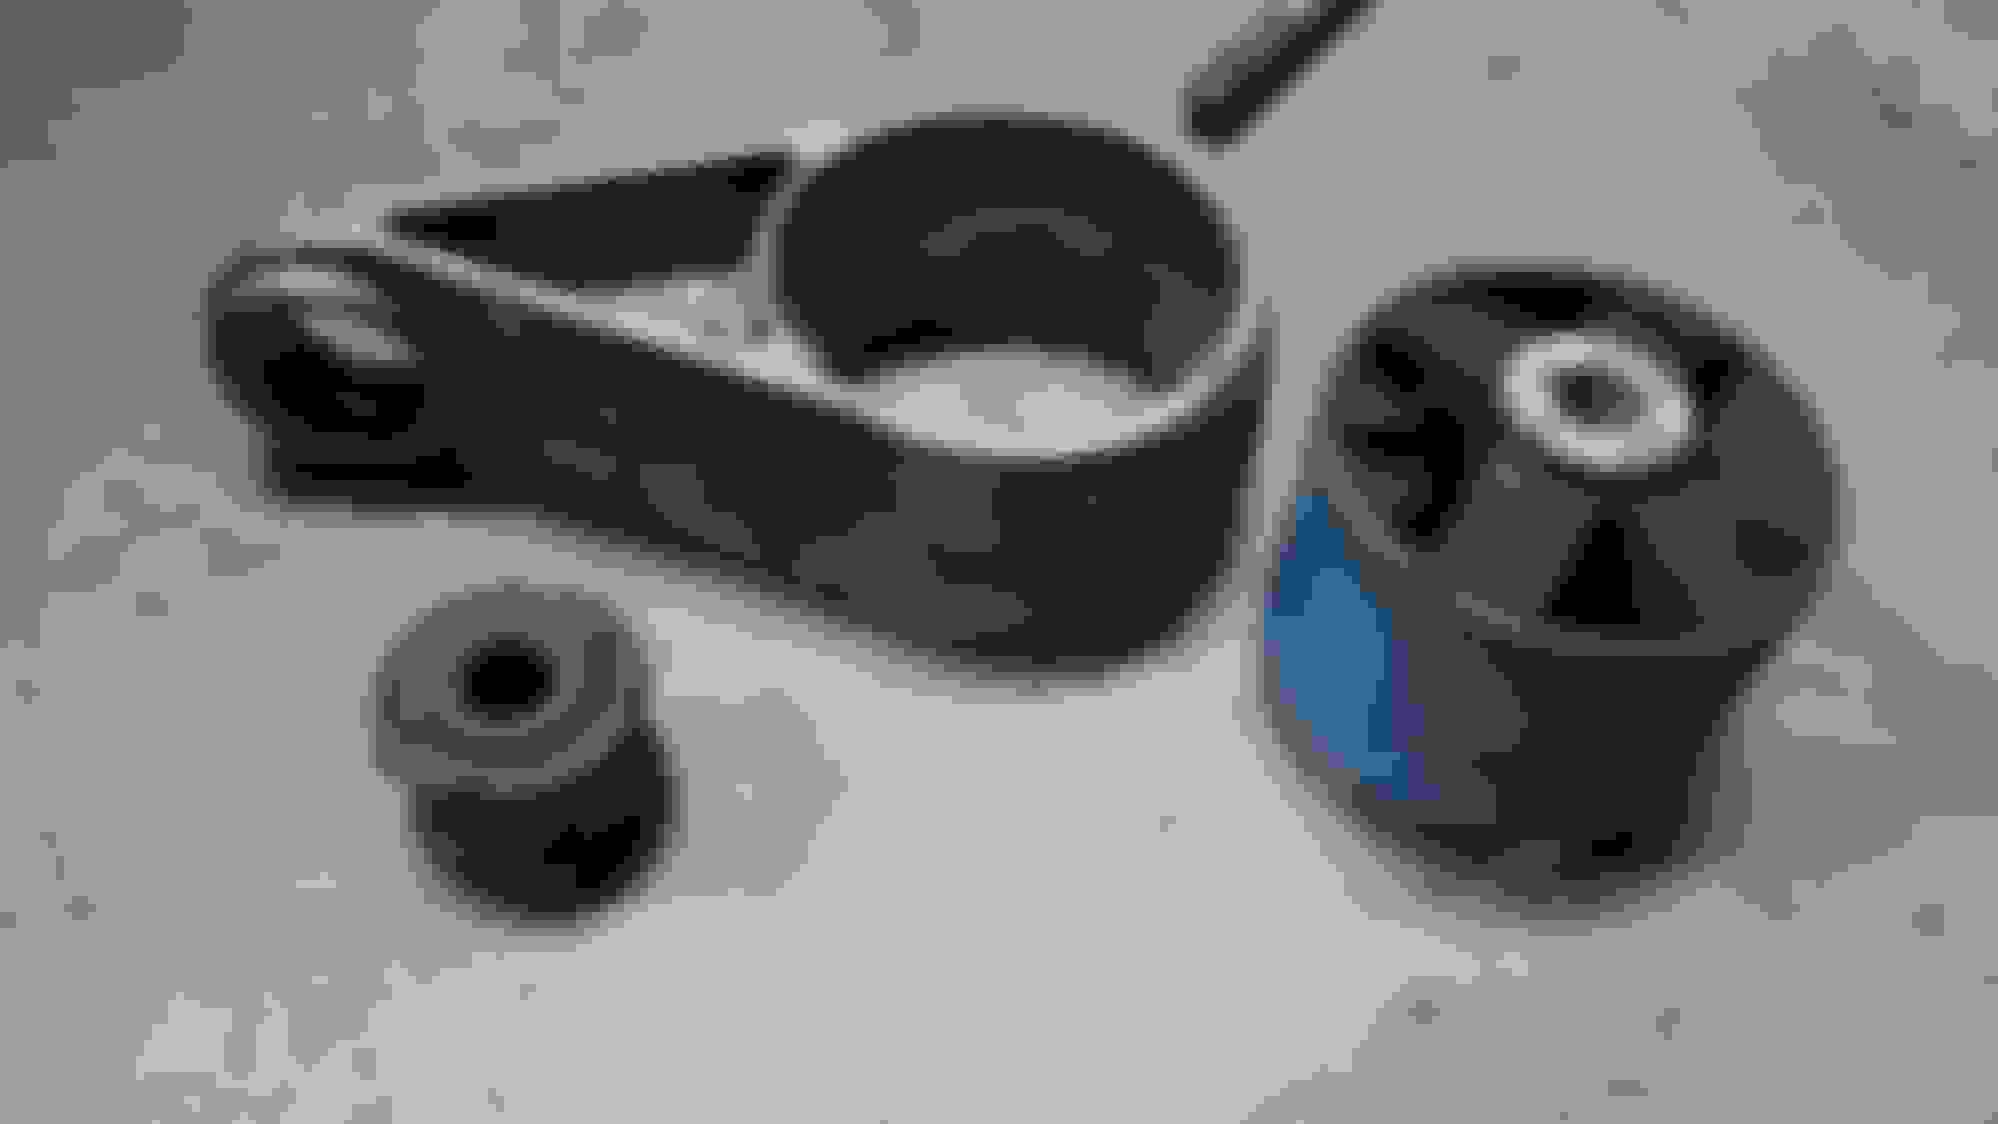
So I started yesterday with the engine mount. That went great. My press just popped out the old bushings and everything went perfect. I really like these powerflex bushings. Going with all race bushings for all my engine mounts. Except for the weird hydraulic mount. I'll replace that with something else some day.
So... Getting the control arm bushings out without the special press is a nightmare. It would be WAY easier with the right tool. Highly recommend that. Its possible without one but it is not fun or pleasant...
This is what I found when I finally got the inner ball joints out of the lower wishbone. They were really stuck in there and if I ever have to get in there again I will likely just replace the lower wishbones because they were so rusty and pitted.
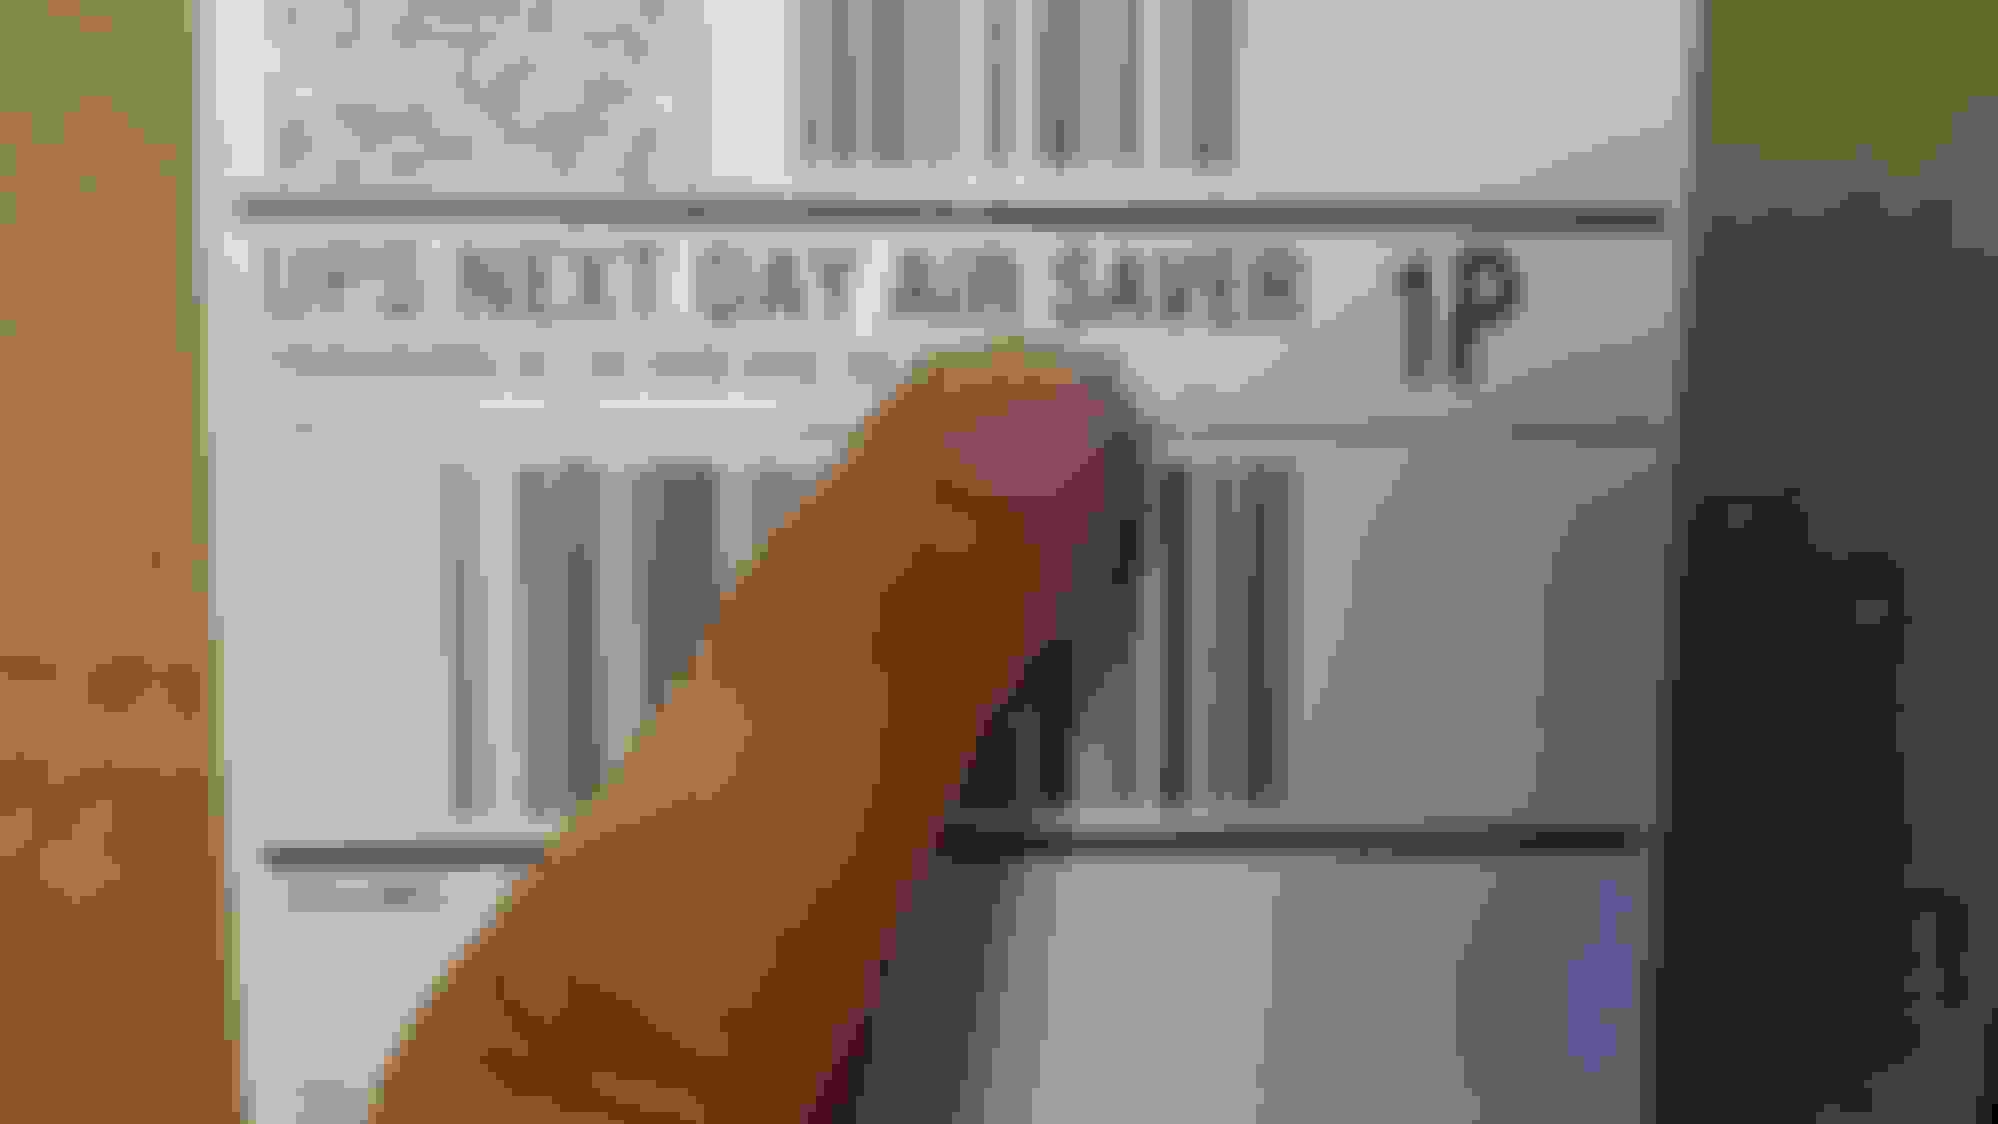
Going to grab a cup of coffee and dig in. Should be getting a UPS package today. Thank you again to Pelican! My power steering lines are leaking all over my new fan and pump so due to time constraints next day air to the rescue
Here's hoping that I can get more done today than yesterday
Today was a good day! I made some good progress. Its always satisfying to see a project start coming together.
I did a TON of clean up today. Starting with the leaky CV axel. I found the itty bitty hole all the grease was coming from. Not sure how this happened. It looks like the boot had been punctured by something mechanical. I can only speculate...
Nasty leaky CV axel. Doesn't look completely blown but theres a hole somewhere.
Found it! Thats the little tiny hole thats slung grease everywhere.
While cleaning up grease and grime everywhere the UPS truck rolled into town! I've never been in a situation where I needed parts so badly that I was willing to pay for next day air. But its good to know if I need, I can!
In that box were new CV boots, 25 new screw rivet clip things for the plastics and the power steering hoses. The power steering fluid is on a no fly list and had to ride coming in the back of a truck...
As I started putting the lines on I double checked some of the fasteners that came pre-assembled. I've been really screwed by fasteners coming finger tight before and always check now. Glad I did because one handed with 12" extension, a 1/4" ratchet and a sneeze the stud snapped right off. Easy fix, just swapped the original hardware but ALWAYS check your pre-assembled fasteners!!!
Next day air parts right on schedule! Love it when a plan comes together.
This is exactly why I check fasteners that come pre-assembled. Ive been burned before, glad i checked.
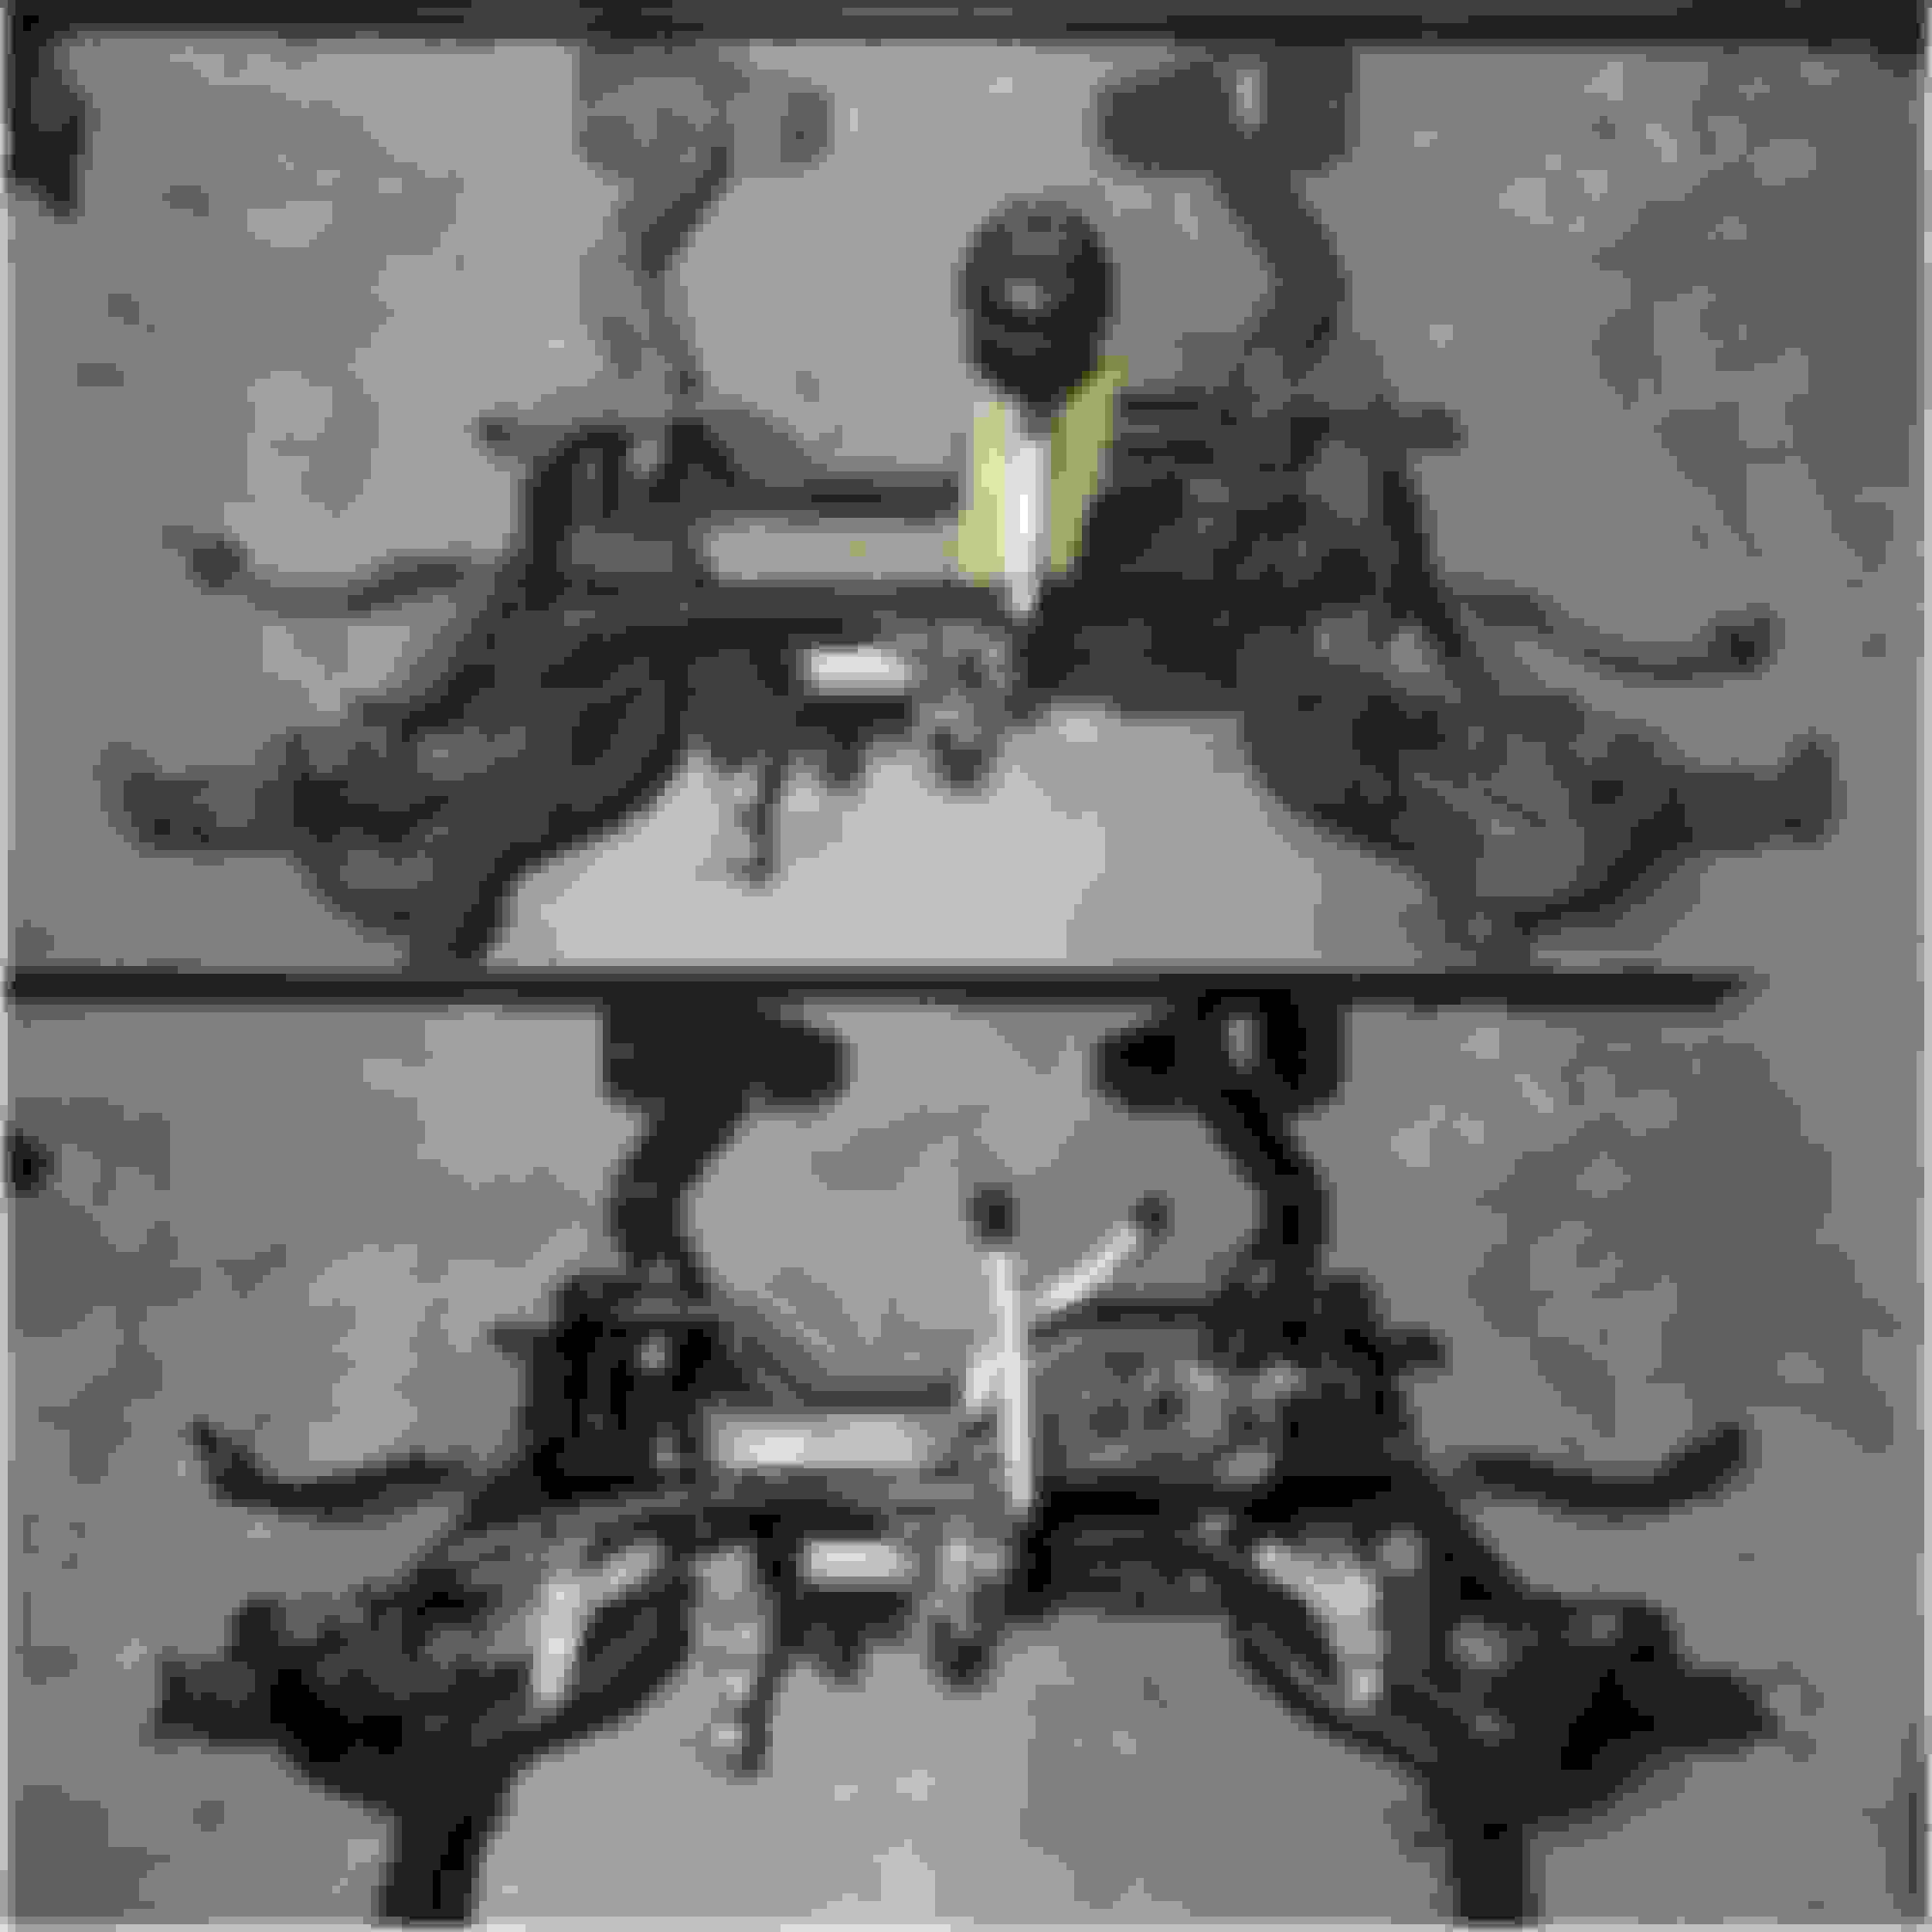
SO much cleaning! But I finally got the subframe assembled. I still need to torque everything and when my fancy crimper pliers show up I can crimp all the clamps and put the subframe back in. It looks like a completely new subframe now. I like having fresh clean parts. If something goes wrong or a leak starts I know the subframe was spotless and can trace it back to the source. With grease and power steering fluid everywhere who knows if its new or has been there for years.
Assembled subframe. Inner and outer ball joints, tie rod assemblies, powerflex standard steering rack and control arm bushings, race sway bar, large and small lower engine mount bushings, power steering in, return and high pressure lines, and a whole lot of elbow grease.
Here's a before and after of the subframe before I got ahold of it. I love shiny clean parts.
I pulled the Megan coilovers out of the box and did some sizing and figured out a couple things. 1) the Craven Under Tower things do not fit on top if you have camber plates. 2) the camber plate adjustments are not "quick" adjustments without notching my strut towers a little bit. I'm not super wild about that but its not much of a notch and will make somebodies life easier someday.
Megan Racing Coilover camber plate lack of clearance.
That's all for today. I'll start re-booting the axels tomorrow and hopefully get started on the backend of the car.
So the more and more I use the forum the more and more I realize I have this thread going in the wrong place. As an Ex admin of a forum I hated it when people did that. Plus I'm having some weird issues with posting pictures. I can upload them to my album but when I go to share them in a post it tells me I need to upload a picture first before I can share it... Stupid interwebs...
Anyway, I'm going to move over to photobucket again and will build up a nice long write-up about this experieces and share it where it belongs.
The mini is coming along nicely though. I'm not happy with how long shipping is taking for some of my parts but Portland got 7 something inches of snow and the city comes to a stop at 1/2 an inch... So Oregon is in a state of emergency and aint nobody getting any packages delivered...
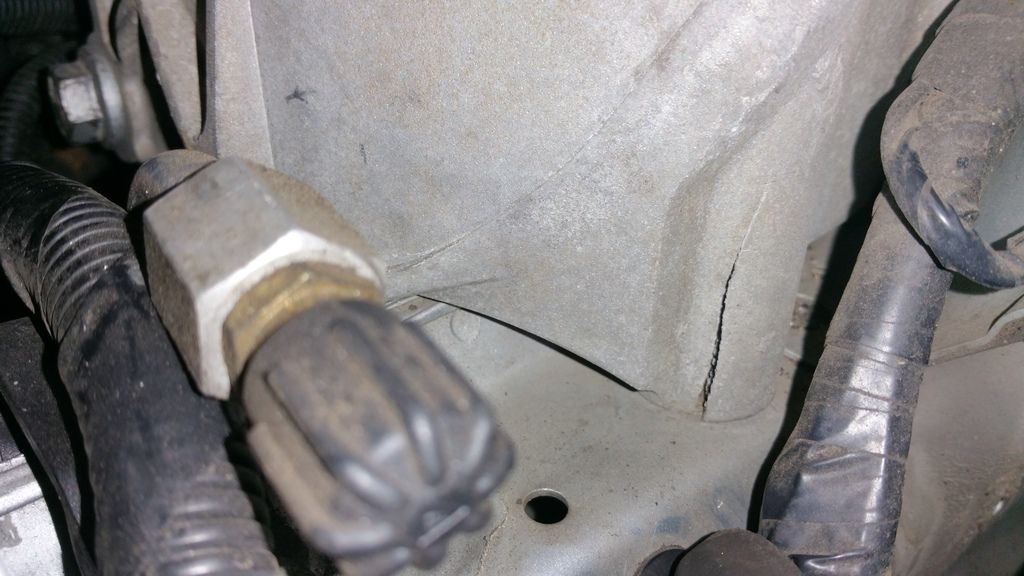
Biggest news I'd like to share is that my upper trans mount has a big crack in it... Discovered this when I started pulling things apart for the powerflex gearbox bushings... Replacement from ebay on the way.
I'll just update this thread with a summary of the big upgrades I make and news about the car rather than details about the process.
Cheers everyone!
Eric
Last edited by MA$TER_E; Jan 13, 2017 at 08:28 AM.
Reason: HA! Photobucket to the rescue!
Thanks for keeping us up-to-date, and let us know if there is anything we can do to help. I'm out in the Portland 'burbs and my R53 still frozen in the driveway.
Truly enjoying this thread about your rebuild, it's awesome. I'm feeling a need for a cross country trip with a stop in Portland. We could do mine, I'll buy the coffee, lol. Thanks and keep up the great work. Cheers


 Stupid interwebs...