Mini Cooper 2001-2006: Why Won't My Car Start?
Diagnosing non-starting issues is one of the most tricky you'll come across.
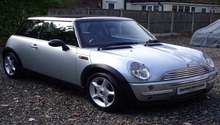
This article applies to the Mini Cooper (2001-2006).
Getting into your car and finding that it just will not start is one of the most frustrating things you'll come across. It could be any one of a myriad of things causing this situation, and it doesn't help that you are probably far from home. If you have any luck at all, you found this on the way out and your car is in your garage already. You could spend a considerable number of Benjamins in your pocket turning your Mini over to a pro to figure this out for you when it is really unnecessary. Diagnosing the problem isn't as difficult as it would seem, so long as you are methodical and organized about it as well as have a little bit of electrical knowledge. If the thought of using a multimeter and chasing down wires makes your stomach turn, please find a pro who knows these cars, as their electrical problems can be tricky and quirky. If you are ready and willing to save some Greenbacks, then read on and learn where to start, what to look for and what it's going to take to get your Mini Cooper back on the road.

Materials Needed
- Multimeter
- Ratchet and socket set
- Flat head and Phillips head screwdrivers
- Shop rags
- Eye and hand protection
- Replacement parts as needed: plugs, plug wires, coil pack, fuel pump, filter or injectors
Step 1 – Check your battery
Even though your battery may not be dead, it may not have enough power to turn the engine over.
Your car's battery supplies the power for a multitude of components. While there may be sufficient battery juice for all of these other components, some may be pulling enough that there isn't enough cranking power remaining in the battery to turn the engine over. If your battery is old, or has been sitting for a long time, it may be drawn down just enough to not fire your car up. You battery needs about 12.6 volts at rest in order to crank your engine. Take your battery to an auto parts store for testing under load and they can determine if it just needs charged up or if you need to replace it.
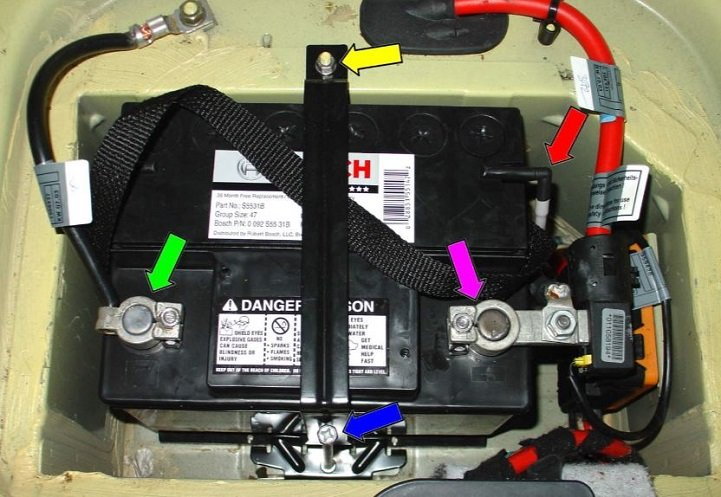
If your battery is good, double check your battery connections and ground.
(Related Article: How to Replace Battery - NorthAmericanMotoring.com)
Step 2 – Clean/tighten the terminals and check for proper grounding
The Mini Cooper is particularly finicky when it comes to its power cables and grounding wires.
If your battery is still good, then make sure that there is no corrosion on the battery terminals or posts. Get them nice and clean with a wire brush or similar, and make sure the cables are nice and tight on the posts. Check all the ground wires, especially those down lower on the engine block. Road salt, grime and dirty water make these very susceptible to rust.
If your battery and cables check out fine, it could be your spark plugs.
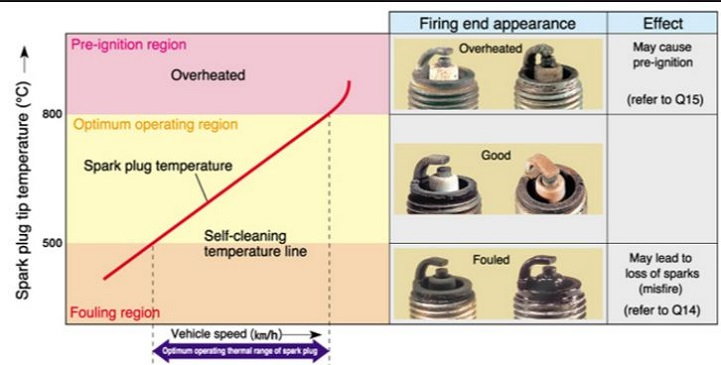
Step 3 – Check your spark plugs
If you aren't getting a spark, your car isn't ever going to start.
Your spark plugs play a very important role in the running of your engine. If they are not working, your fuel will not combust. There are several factors why this might be the case.
- Check to see that your spark plugs are not loose in their bungs.
- Pull the spark plugs and note their appearance.
- Running too rich or too lean can cause your engine to not turn over, though it will crank.
- If you have run too lean and the prong of your spark plug is completely missing, you risk damage to your cylinder heads.
While a single bad plug should only cause a misfire and not a failure to start, your plug wires or coils could be bad.
(Related Article: How to Replace Spark Plugs, Wires and Ignition Coilpack - NorthAmericanMotoring.com)
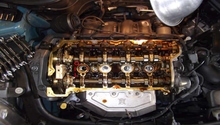
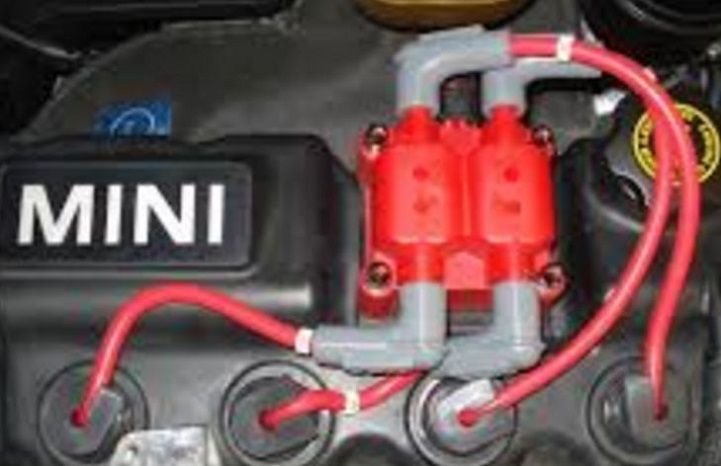
Step 4 – Check your plug wires and coil pack
If your coils are shot, they will not send the signal to your plugs to spark.
Your car will likely start and turn over with a single bad plug, or wire. In rare cases, you may not be able to get it to start with this condition, but it is more likely that your coils have gone bad and are not allowing any spark. This condition is not very common, as they generally do not crap out all at the same time. It is still worth a look because these are really easy to work with. The plug wires simply pop right off at the boot, and the coil packs are only secured with a single simple bolt. Remove and pull these and look them over really well. If they are bad, you will need to replace them. They aren't too expensive; however, you will pay a great deal more if you have a professional do this for you which is really not needed, considering the ease to which these things are removed and replaced.
If the plugs, wires and coils are good, your next item to check out is your ignition switch.
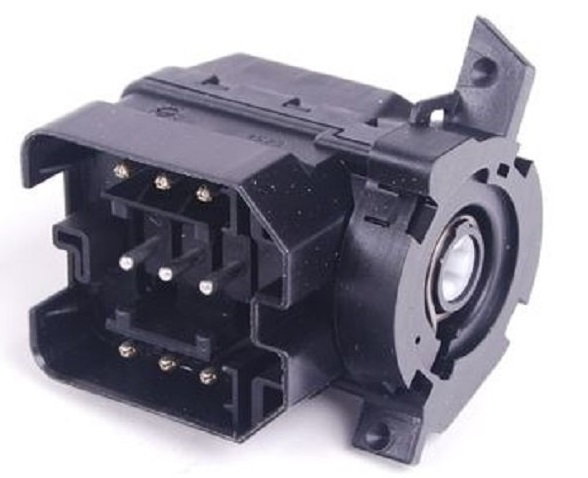
Step 5 – Check out your ignition switch
If the ignition switch goes bad, you won't be able to crank or turn over your engine.
The ignition switch doesn't normally go out on these cars unless there are many happy miles under the hood. The switch itself is likely fine, but the 8 pin to 5 pin connector could be bad. A tiny bit of arcing can burn up a pin real fast. The good news is that you can likely use an electronics cleaner and fine scraper to fix the problem without replacing anything. You will need a multimeter and know how to read it. The pins should read about 0.8 Ohms, if they are outside of this range, the pins with the bad reading should be cleaned up. They will likely also be discolored from the others. If cleaning doesn't fix the problem, you'll need to replace the switch, which isn't too difficult a job to complete in your own garage, which will save you a great deal.
So most electrical issues have been checked out, now it is time to look at your fuel situation.
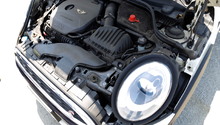
Step 6 – Check your fuel system
Your fuel system has several components, any of which could be your problem.
Your fuel system is made up of several items; the most common problems are found either in the fuel filter, pump or injectors.
- Your fuel filter is probably the most common culprit; however, if it is neglected for too long, it could contribute to the pump going bad.
- The pump is located in the tank, but there is easy access under the rear seats, on the driver's side.
- The filter is located on the passenger side under the seat with its own access port.
- The fuel injectors are also pretty easy to replace; just remember that this is a pressurized system, so always wear eye protection, rubber gloves and have plenty of shop rags around the area to soak up any spills.
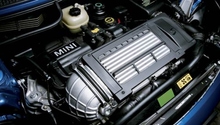
- To get to the injectors, you'll need to remove the intake cover and pull the fuel rail. The injectors are bolted on to the rail and can easily be replaced in your own garage as well.
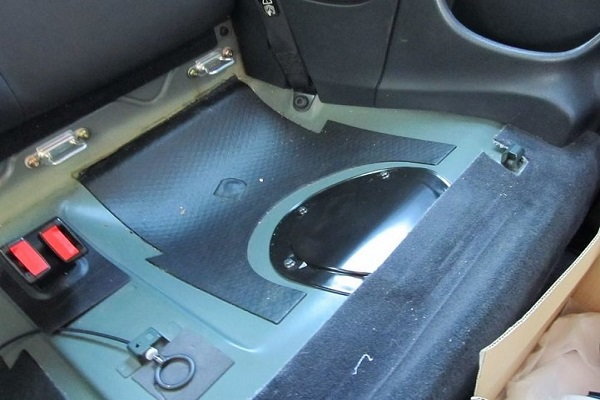
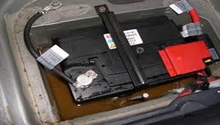
Figure 6. The fuel pump is located under this port under the rear seat on the driver's side of the Coop. 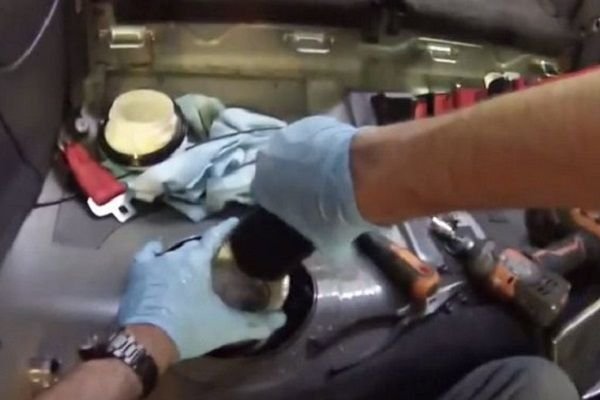
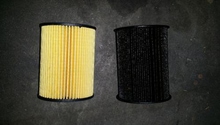
Figure 7. The filter is located on the opposite side of the pump. 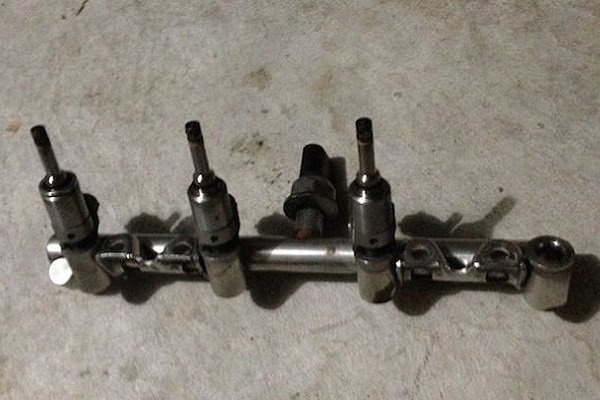
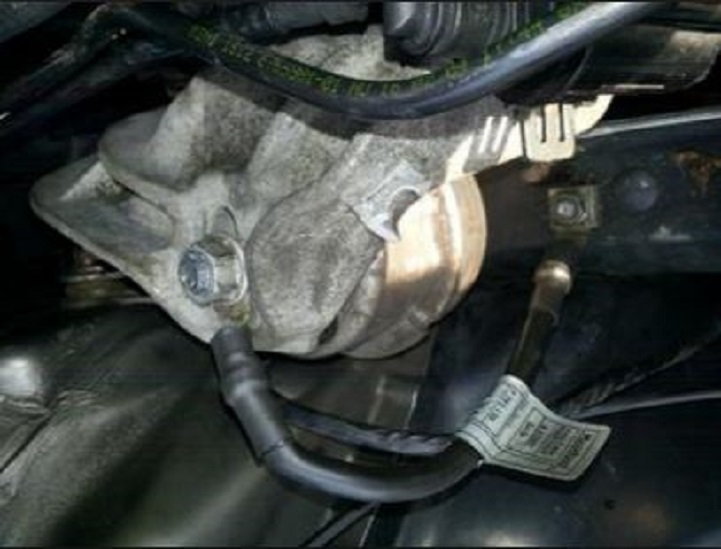
Figure 8. Fuel rail and injectors.
If your car still will not start, you may need to have a pro run some diagnostics or start tracing wires to see if there's a short somewhere else in the electrical system.
(Related Article: How to Replace Fuel Filter - NorthAmericanMotoring.com)
Related Discussions
- Fuel Injector Replacement Guide - NorthAmericanMotoring.com
- Starter Shorted, Now No Start - NorthAmericanMotoring.com
- Is Your Car Stalling Upon Starting - NorthAmericanMotoring.com
- No Start and Speedo Vibrates - NorthAmericanMotoring.com
- 02' Cranks, No Spark and no Injector Signal - NorthAmericanMotoring.com
- 2004 Mini Will Not Start - NorthAmericanMotoring.com
- Good Battery but No Starter Action - Suspected Ignition Switch - NorthAmericanMotoring.com
- Drivetrain: Fuel Pump Replacement - NorthAmericanMotoring.com