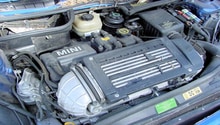
Mini Cooper 2001-2006: Why is My Car Misfiring?
Misfires can be caused by many variables with 1st generation Mini Coopers, and it can be really frustrating figuring it out. Read on to learn what to look for and resolve the problem in your own garage.
This article applies to the Mini Cooper (2001-2006).
If you are pulling your hair out trying to find the cause of misfires and CEL codes in your Mini, you are in good company. You will learn that many owners have been completely flabbergasted trying to resolve similar issues. Whether you haven't tried a single solution or are on your fifth attempt, here are some suggestions to get you back in your happy place behind the wheel. Most solutions are simple fixes that you can do on your own with a minimum of tools. If the thought of paying a pro is something you can't bear, or afford, read on and learn how you can get it done on your own time, your own dime and in the comfort of your own garage.

Materials Needed
- Various sockets and wrenches
- Screwdrivers
- Multimeter
- Compression tester
- Various tune up parts: spark plugs, wires, coils, injectors
- Various sensors: O2 sensor, coolant temperature sensors
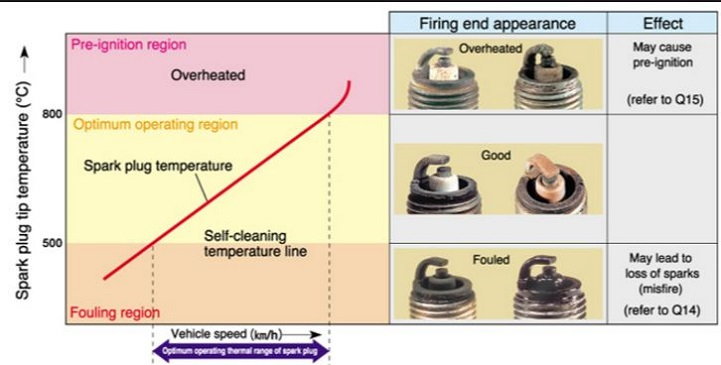
Step 1 – Check your spark plugs
Misfires can be cause by a myriad of things, but the condition of your plugs give many clues.
Spark plugs can tell you whether your engine is running lean or rich. A dark or wet electrode tip on the plug typically indicates a rich condition, or a bad spark on that plug. Rich running is caused by a fuel injector stuck open, a sensor giving the computer faulty information about the external or internal temperature, or several other fuel injection related issues. A lean condition will leave white or melted tips on the spark plug, and is typically caused by a clogged injector, or an air leak affecting that cylinder. A poor spark is the result of a bad plug, a bad coil pack, or a bad wire. You can test these by swapping parts over from another cylinder and see if the misfire moves with the coil/plug/wire.
Modern spark plugs are designed to last up to 100k miles, but they are inexpensive and if they look suspect, should be changed out as cheap insurance.
If you are still experiencing misfires, you should consider changing out your plug wires and coil packs.
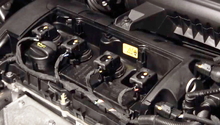
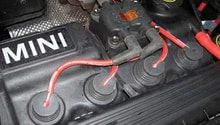
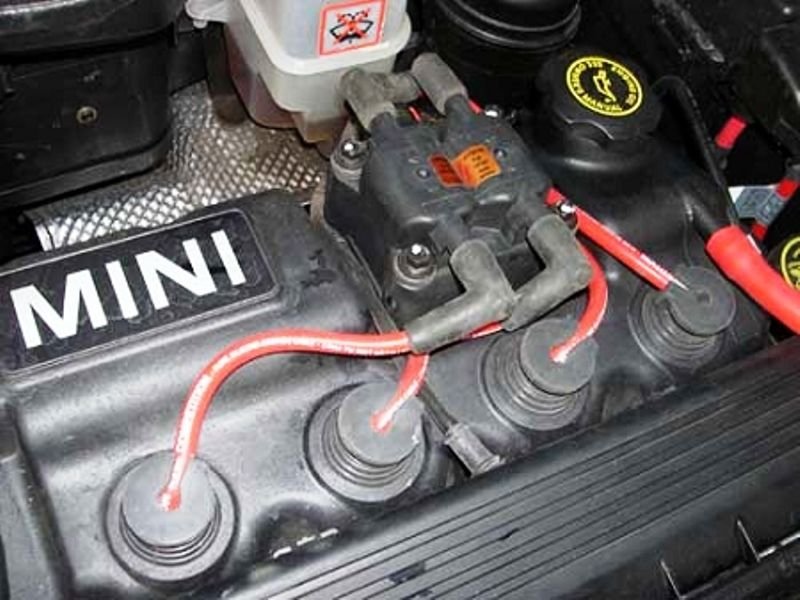
Step 2 – Replace plug wires and coil packs
A bad plug wire can be seen with arcing, and your coil pack may have something to do with it.
If you are getting a misfire reported on two cylinders, it is likely a coil since each coil serves two plugs. If you only have a single misfire, it is more likely a wire or a plug itself. The spark plugs only work as well as the wires that transmit the power to them, and the wires get their power from the coil packs. If replacing your plugs didn't solve it, the next logical step is to change the plug wires, and if you are doing that, the coil packs are easy enough and don't cost a lot more money. An internal short, failing insulation, or crack in the cases can cause intermittent misfires that you hardly notice, but which cause the CEL to light.
If you have good spark, check the temperature sensor.
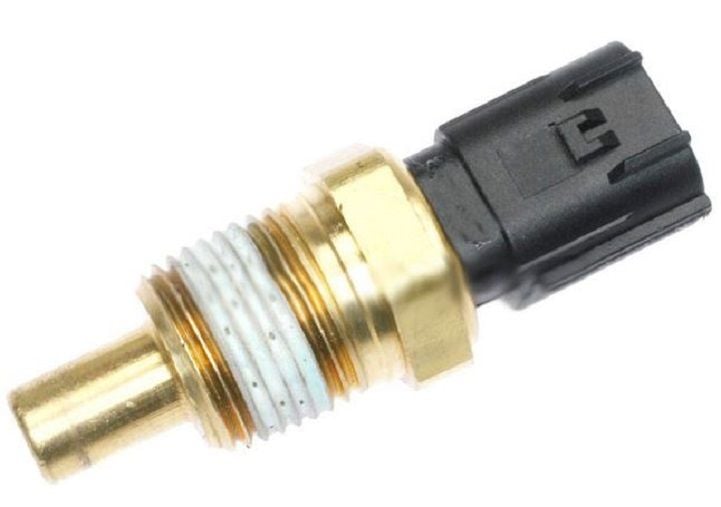
Step 3 – Replace your coolant temperature sensor
A possible candidate could be your coolant temperature sensor.
If your temperature sensor is giving a false reading to your ECU, it could be fooled into making the motor run too rich or too lean. This could cause a misfire condition, or rough idle or acceleration problems. While this is an unlikely culprit, if everything else has checked out normal, this may be the cause of your issue.
If you have changed the sensor, plugs, wires and coil pack but still get the CEL and misfires, you may want to have your ECU reset.
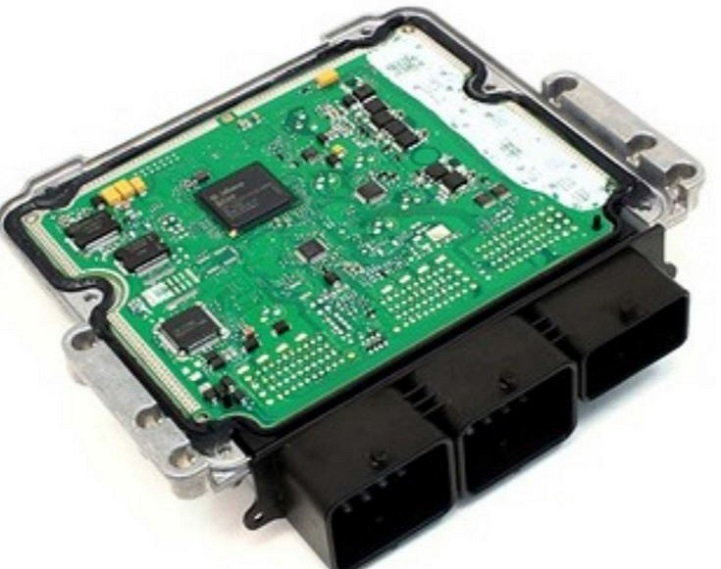
Step 4 – Reset your ECU
The ECU may not have re-adjusted after you changed the plugs, wires and coil pack.
When you change out your plugs, wires and coil pack, the ECU may need some time to readjust. There is a way to reset the ECU through the instrument panel, and you can read all about it in this forum post: Resetting ECU.
Sometimes it does not work, or your ECU is not equipped with the latest maps due to an owner who never went in for service. At this point, you may need to take your car to a dealer to have them manually flash and reset it for you, and check that it had all the latest software upgrades. Often times, this solves the problem completely. If you want to do this as a last resort, read on for some other DIY checks that you can do.
If you would rather wait for an ECU flash and try some other remedies, continue reading.
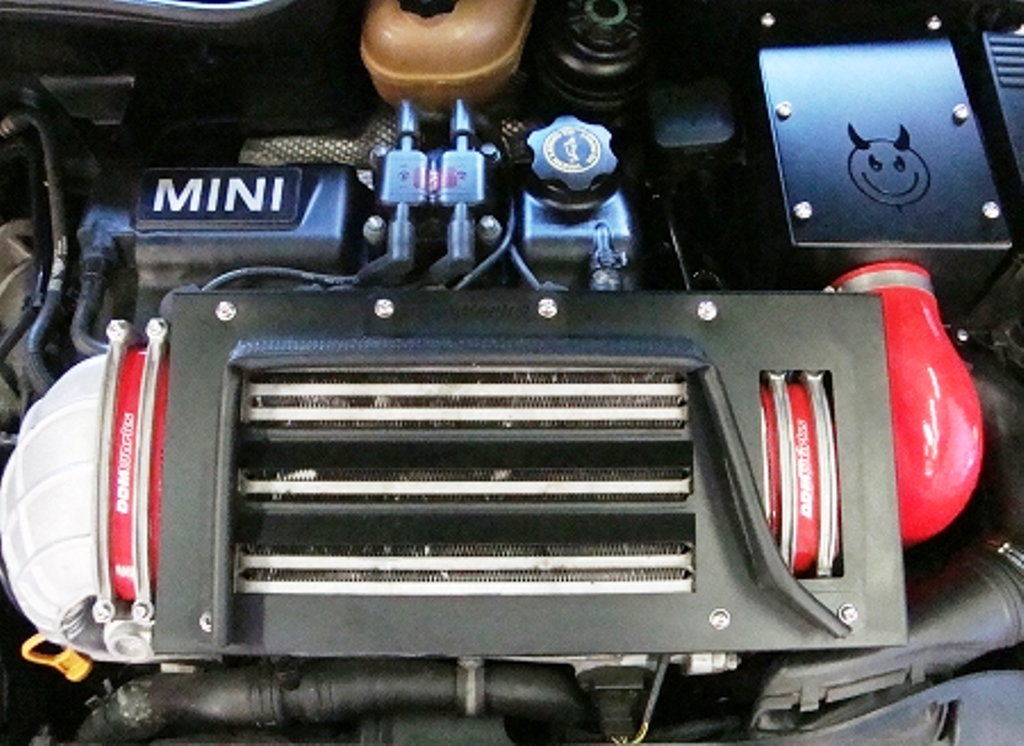
Step 5 – Check your intercooler boots (turbos only)
Damaged, cracked or loose intercooler boots can cause many different issues with these cars.
If you have a turbo car, a cracked or loose intercooler boot can cause it to run lean, lack power or misfire. These can loosen over time or become brittle, cracked or otherwise damaged. They are relatively inexpensive, and if yours is bad, you'll need to replace it anyway. You can test this by having a friend rev the motor while you listen for the sound of leaking air under the hood. For a temporary solution, or to confirm that this was the problem, you can try using duct tape to seal it, though it will likely melt after a short while.
If your intercooler boot is in good working order, it may be time to start pulling your fuel injectors.
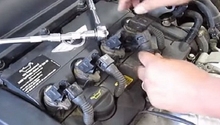
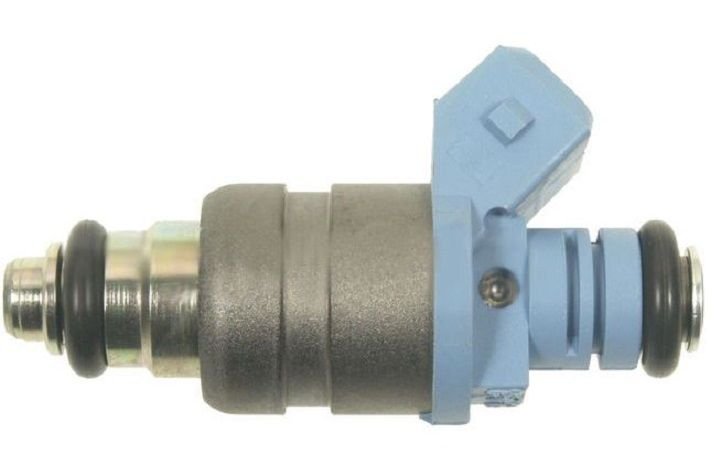
Step 6 – Remove and test your fuel injectors
Any one of your injectors could be bad, which would cause a misfire.
If you do not have a multimeter or are unfamiliar with its operation, you can simply start swapping places. Pull the injector from the misfiring cylinder, disconnect it from the fuel rail and electrical harness, and swap to another cylinder. Hook them both back up correctly to the electrical and fuel. If the misfire follows, then you will have narrowed it down to the bad injector. Replace it, or replace them all, and your misfire condition should go away. While these parts aren't exactly cheap, about $100 for new, re-manufactured ones are much less, and should at least solve the problem. And think of how much money you have saved by doing it yourself.
If your fuel injectors are good, it's time for a compression test.
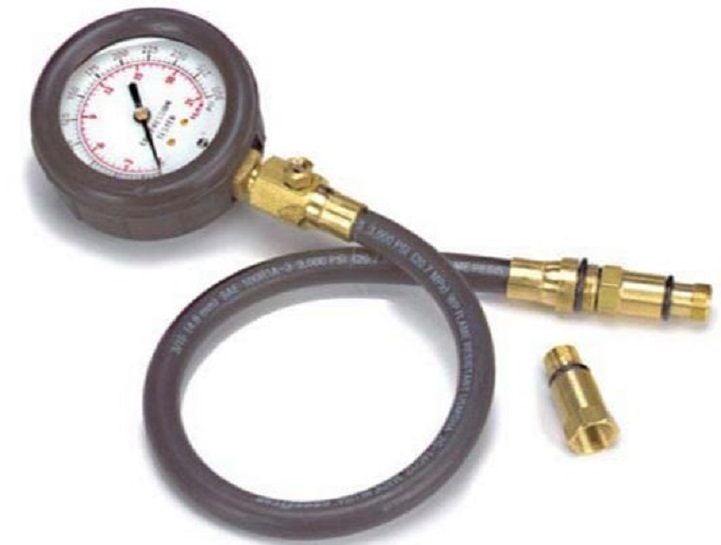
Step 7 – Perform a compression test
If your cylinders don't have good compression, your engine will run rough and misfires.
The correct range for compression in each cylinder is between 131 to 196 PSI, and within 10% of each other. Be sure to test the motor after a brief drive when it is fully warmed up. If they are all within this range, your engine will run fine and you should look elsewhere for an issue. If your reading are below standard, or one is way off, it's time for a major engine repair, unfortunately.
If you are still having misfire issues, it is likely time to call in the pros.
Related Discussions
- Need Help! R53 Misfires - NorthAmericanMotoring.com
- #3 Misfire Felp - NorthAmericanMotoring.com
- P0301 Misfire - NorthAmericanMotoring.com
- Stumbling During Acceleration - NorthAmericanMotoring.com
- Misfire #4 After Expansion Bottle Change and Flush - NorthAmericanMotoring.com