Mini Cooper 2001-2006: How to Replace Spark Plugs, Wires and Ignition Coilpacks
Spark plugs are an important component within your MINI's engine. If you are experiencing any issues, whether it's a lack of power or the engine is sounding a bit funny, you should start here as they do wear over time and need to be replaced.
This article applies to the 1st Gen Mini Cooper (2001-2006).
If you're having trouble staring your MINI, the car's engine is misfiring/surging, or you're experiencing a lack of acceleration, chances are the car's spark plugs need to be replaced. Fortunately, it's an easy enough project to do yourself. All it requires is a bit of patience, an extended tool set, and some instructions. While we can't help you with the first two, we can show you how to do it by following the steps below.

Materials Needed
- Spark plug socket wrench
- Screwdriver
- Torque wrench
- New spark plugs
- New spark plug wires
- New coil pack
Step 1 – Remove the spark plugs
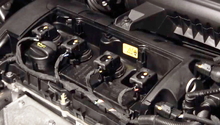
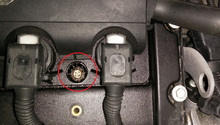
On a cold car (should not have been driven recently), use a screwdriver to pry off each of the vehicle’s spark plug boots to access the plugs.
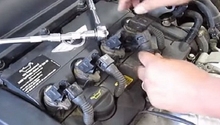
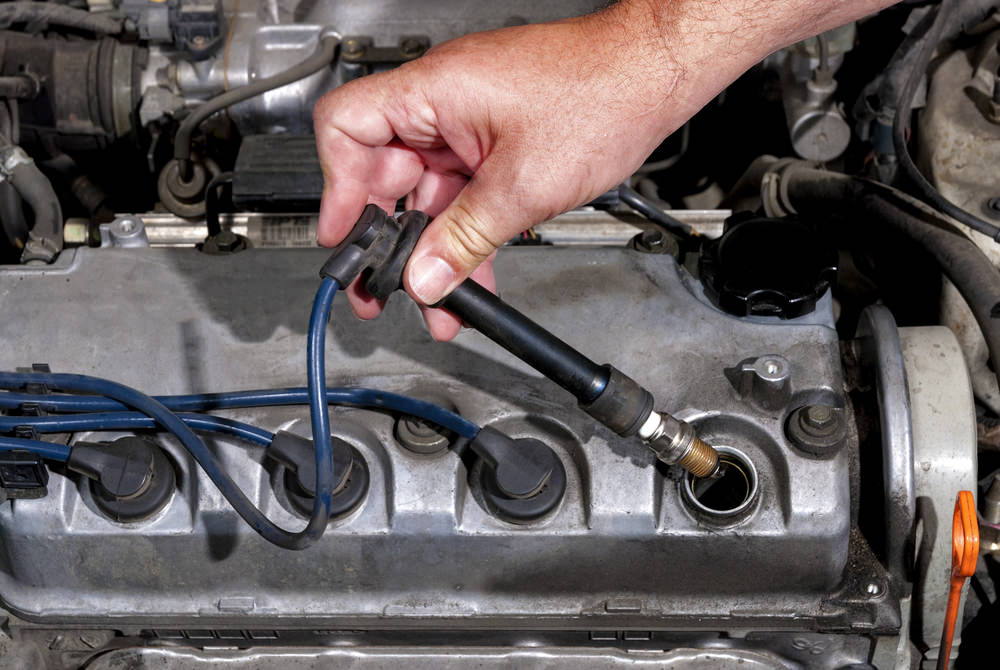
Once the wires are detached, place them off to the side – you can now remove each of the plugs. Begin by using a breaker bar, get a good grip on the plug and turn it counter-clockwise until loosens. Next, use a spark plug wrench with rubber insert to catch the plug and pull it out.

Figure 1. Pry off the blue spark plug boots. 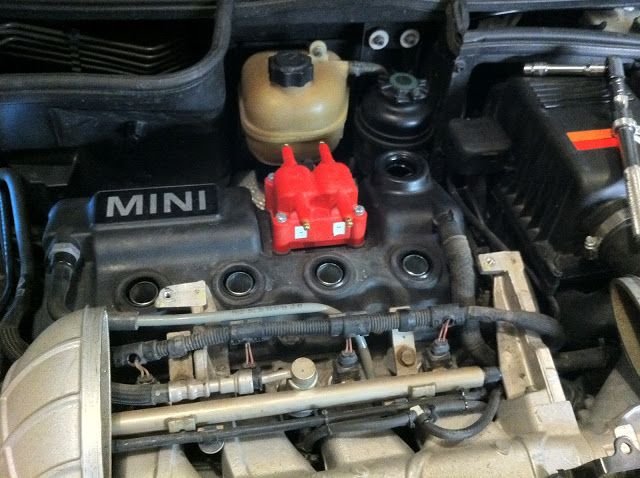
Figure 2. With the boots removed, you can now access and remove the spark plugs. 
Figure 3. Set of removed spark plugs.
Step 2 – Install new spark plugs
Using a torque wrench, measure the amount of torque applied to each plug to ensure each plug is not over or under-tightened. They should be torqued to 27 Nm.
When installing each plug, check to make sure that the plug is firmly seated in the socket. Do not force the plug to conform to the socket – it should be a natural fit.
Press the boot firmly down until there is a “click” sound. When you hear that, that means the electrode inside the boot has connected to the spark plug. While you are doing this, check to make sure the rubber gasket along the top of the boot is seated firmly around the hole in the valve cover.
Note
Atop each of the spark plug boots is a small groove – this feature is designed to allow you to fold the wire down as you route the wire up to the coil pack. Basically, it allows the wires to mount cleanly, and prevents the wires from getting mismatched. When you’re placing all the wires back, if you notice they look cracked or worn-out, replace them. Rule of thumb – it’s good to replace them every 30,000 miles or so.

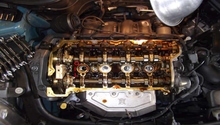
Step 3 – Replacing the coil pack and wires
If you need to replace the coil pack and/or wires, there are torque screws that need to be removed which are located atop the valve cover. Remove them, then the cover; Directly underneath is each coil pack and corresponding electrical connection. Simply lift the metal tab on each pack to release the connector, and you can pull the pack up and out. If you need help with leverage, use a screwdriver.
Replace as necessary, secure with the electrical connector, replace the valve cover, and re-secure the torque screws.
To learn more about replacing spark plugs, wires and the ignition coilpack in your Mini Cooper, check out the clip below:
Featured Video: How to Replace Spark Plugs, Wires, and Ignition Coilpack in MINI
Related Discussions
- Coil time - Northamericanmotoring.com
- Spark plug wire coil pack suggestion - Northamericanmotoring.com
- Best spark plugs with mods - Northamericanmotoring.com
- Maintenance valve cover gasket - Northamericanmotoring.com