Mini Cooper 2001-2006: How to Replace Valve Cover Gasket
It might seem impossible, but you can replace the valve cover gasket in your MINI. Doing it yourself can actually save you a good deal of money.
This article applies to the 1st Gen MINI Cooper (2001-2006).
If you detect a burning oil smell from you MINI, there’s a chance you may have an oil leak due to a faulty valve cover gasket. This particular component is known to leak on MINI’s and should be checked and replaced as necessary, especially as the vehicle’s mileage increases over time. The project is labor intensive but do-able, and if you are able to do it yourself, you could save yourself some serious cash.

Materials Needed
- Screwdriver
- Socket wrench set (including 8mm 1/4"-drive socket
- Torque wrench
- Rag
- New valve cover gasket
Step 1 – Remove the intercooler
Begin with plastic diverter and mounting bolts, and finish with boot clamps. All hardware is T30 – keep everything organized and off to the side. You will be accumulating a lot of pieces and parts during this project – this will make putting it back together a whole ton easier.

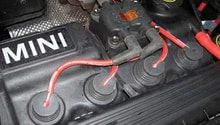
Step 2 – Remove electrical gear
This includes wires, plugs, and coil packs. Inspect them, clean them, and set them aside.
Step 3 – Remove the vacuum line
This will get in your way, so pull it straight backwards to give you some room to operate. Don’t pull too-too hard, as that could lead to breaking its plastic retainer clips.
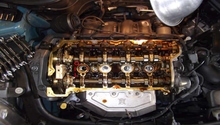
Step 4 – Remove the valve cover and gasket
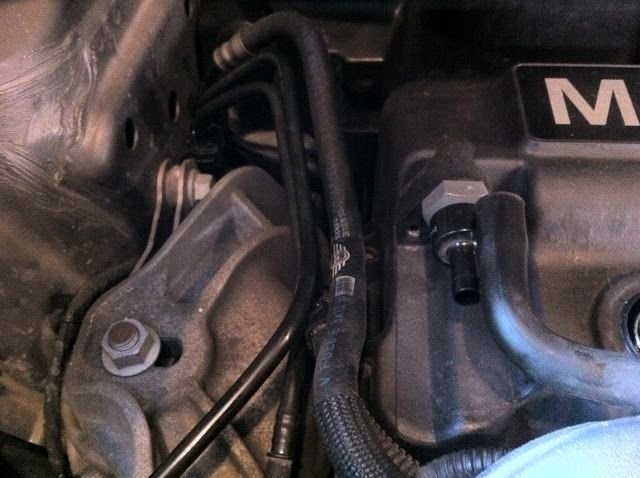
Remove all 8mm bolts that hold on the valve cover. Your best bet is to use a deep 8mm 1/4"-drive socket. There are two that you can't reach – front left and second-to-front right, due in both cases to the intercooler arm mounts. Remove the right intercooler arm via the two visible 10 mm bolts.
On the left IC arm, there are three bolts – one is hidden. Use a combination of a 3/8" extension, 3/8"-1/4" adapter, and then a skinny 8mm socket on the end to access.

Remove the valve cover by pulling it straight up – pull out the old gasket and snap in a new one. Take care not to scratch the gasket seat.

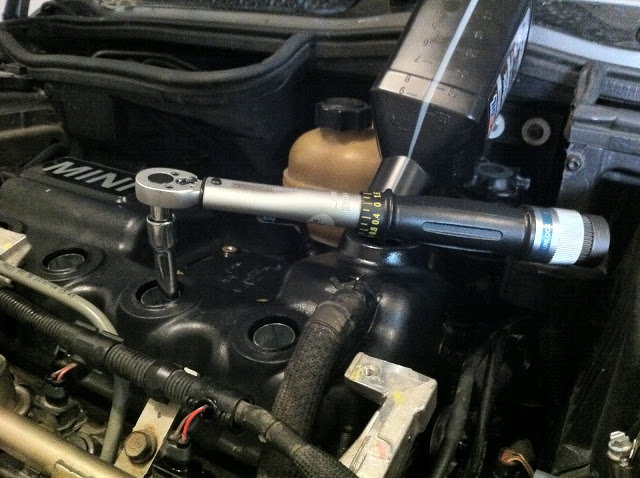
Step 5 – Reassemble
Use a torque wrench for everything – the valve cover bolts have a sequence, working from the inside out in circles. Do not just install the bolts and start tightening them down; rather, get them all a bit snug, and a bit snugger still, before applying a final torque of 12 Nm.
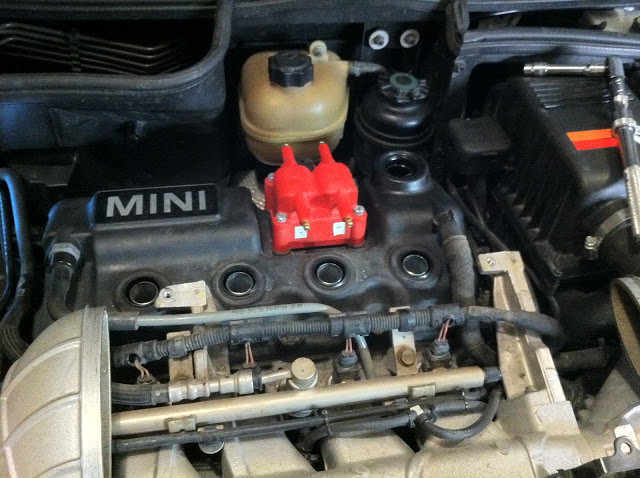
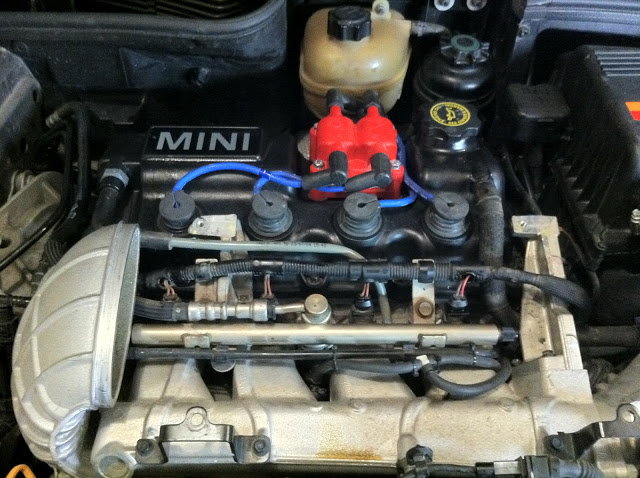
Step 6 – Reinstall
Begin with the intercooler arms, then do the coil pack, plugs, and wires, and then finally the intercooler. As you put everything back, give it all a quick wipe down with a rag to clean it before it goes back in the car. Don’t over-tighten the bolts when you’re putting them back on – you don’t want to accidentally strip them.
Torque the plugs properly – 27 Nm.
For the intercooler, get the boot-clamp bolts just a few threads in, and then install the boots. Next, slide both boots most of the way onto the horns, and then install the intercooler. When it’s comfortably in place, slide the boots back over the intercooler ends into final position.
The bolts don't need to be incredibly tight, but tight enough: you'll feel the boot-clamp bolts bottom out, and that's a good place to stop.
To learn more about replacing the valve cover gasket on your MINI, check out the clip below:
Featured Video: Replacing the Valve Cover Gasket
Related Discussions
- Maintenance valve cover gasket - Northamericanmotoring.com
- Valve cover replacement plugged PCV valve - Northamericanmotoring.com
- Question about valve cover - Northamericanmotoring.com
- Valve cover gasket OEM V FEL pro - Northamericanmotoring.com