Mini Cooper 2001-2006: How to Replace Serpentine/Supercharger Belt
Changing the belt on a Mini Cooper can be a real bear. Learn how to do it quickly and easily.
This article applies to the Mini Cooper (2001-2006).
Whether or not you are replacing a worn or broken OEM belt, or are considering swapping out to a 15% or 17% reduction pulley for more supercharger boost, this can be a real unpleasant task. Although it is a little difficult, it is doable. Don't throw your money to the pros without giving it your best shot, because when you complete it, you will be very happy with the money that you kept in your pocket. You will need a little time, a special belt tensioner tool (or home-grown alternatives) and a long bar for leverage. There are many different belts on the market that can be used, just be sure that you get the right size for your Cooper. If you are ready to tackle this job on your own, read on and learn how to do it the quickest and easiest way possible.

Materials Needed
- Flat head and Phillips head screwdrivers
- Special belt tension tool
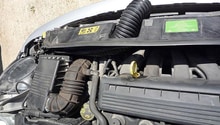
Step 1 – Remove driver's side inner wheel well fender liner
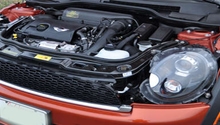
Optionally, you can lift your Cooper, at least on the driver's side, but that should not be necessary unless you really need some extra space.
- Turn the steering wheel as far to the right as possible.
- There are two Phillips head screws that need removed: one above the tire in the wheel well at the top, and the other is under the front bumper cover, near the fog lamps.
- There are four plastic rivets to pop. It's always a good idea to purchase some spares and have them on-hand because these break easily when you are trying to remove them.
- Three of the plastic rivets are in the front of the liner, and the last one is to the inside.
- Carefully remove the liner and set it aside.

Step 2 – Get the belt tensioner tool ready
The special belt tensioner tool is really the key in making this job easy enough to do on your own without bloodying your knuckles. It is just about unlikely a tool as you'll ever see. You may be able to borrow or rent one from your local auto parts store, but they aren't that expensive, so purchasing one to have on-hand every time you need it might be a great investment in your Cooper.
- The tool comes with a locking pin that is inserted into the upper spring to hold it in place once it is compressed. This is denoted as letter "A" in the picture below.
- The bottom rail of the tool has two pegs that fit into the two holes on the tensioner. This is labeled "B."
- At the pivot point of the tool is a circular bolt that fits on the adjustment bolt on the tensioner. This is labeled "C."
- The tool fits over the tensioner, the pegs on the tool fit into the holes on the tensioner and the pivot point fits over the bolt, and you are ready to go to work.
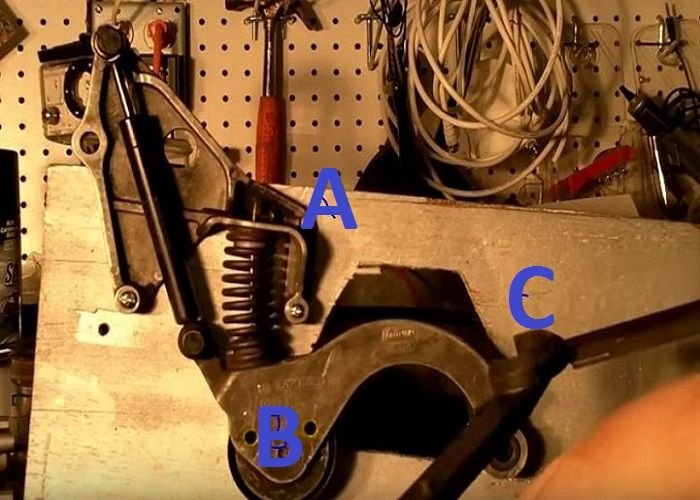
Figure 2. Belt tensioner tool. 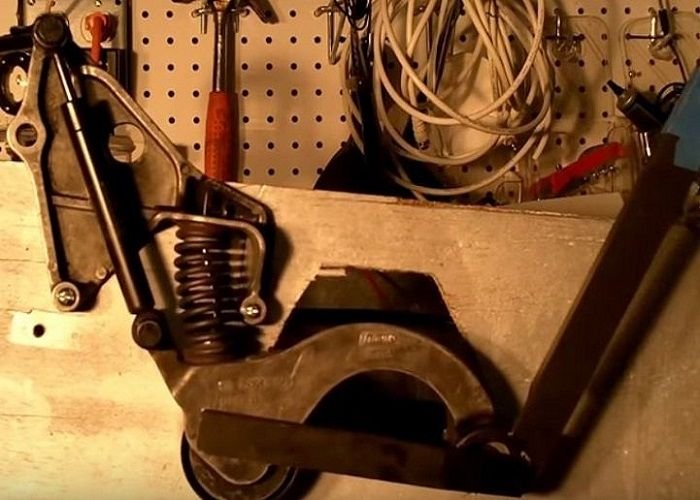
Figure 3. Belt tensioner tool compressing the tensioner spring.
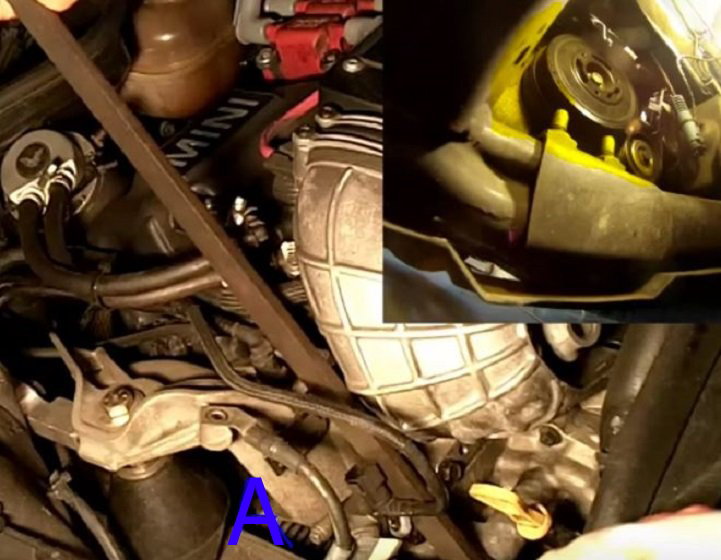
Step 3 – Put the tool to work
Put the tensioner tool to work. It is a very tight squeeze to get it down in there. Once it is locked into place, slowly crank back on the long handle and compress the spring. You'll see the locking hole where you insert the pin just next to the tool (denoted in the picture as letter "A."). Once the spring is compressed, stick the locking pin in place. You'll also see that the belt is now loose on all the pulleys. Make sure you are really familiar with how the belt snakes around all the pulleys, so you can get it back on with little delay or issues.
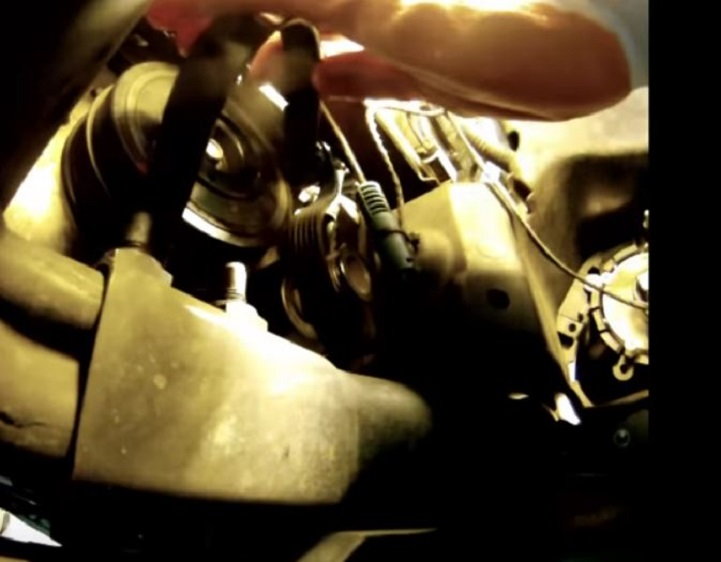
Step 4 – Remove and replace serpentine belt
With the locking pin in place, the tensioner spring will stay compressed, giving the belt enough slack to pull off and replace. You can use just about any brand of belt that is the right length and size for your Cooper. Make sure you make note of how the belt is snaked through the pulleys, so you can put it back in without a doubt the correct way. It should come out and back in very easily.
Step 5 – Put your car back in order
Once you put the new belt on the car, reinsert the tensioner tool and hold tension while you remove the pin. Slowly release the tensioner bar and check your belt. Make sure that it is firmly installed on each pulley correctly. Start your Coop and let it run for a few minutes, and watch the belt. Once you are sure that all is well, replace the fender liner and you're good to go.
Featured Videos: Mini Cooper S Drive Belt Replacement
-
Supercharger Belt Tool
-
How to Replace
Related Discussions
- Supercharger Belt Replacement - NorthAmericanMotoring.com
- Variation in Serpentine Belt Size? - NorthAmericanMotoring.com
- P1688 Snapped Serpentine Belt - NorthAmericanMotoring.com
- 2005 Mini Cooper S Serpentine Belt Seized - NorthAmericanMotoring.com