Mini Cooper 2014-Present: How to Remove Front Bumper and Grill
The plastic bumper cover and grill on the latest Mini Cooper comes off in one unit. Changing it in case of damage or to upgrade your car's look is fairly easy, if you follow our guide.
This article applies to the Mini Cooper (2014-Present).
The 3rd generation Mini Cooper has a front end secured with a combination of rivets, bolts and screws with accompanying clips and guides. For the most part, it is a straightforward process when it comes to removing it to replace it or upgrade to a JCW or aftermarket body kit. You'll also likely have to remove it to fit custom lights or a custom grill. Today, aftermarket companies offer options like aggressive bumpers, splitters and racing spoilers. Learn how to replace your bumper and grill, whether doing a repair or upgrading the body styling.


Materials Needed
- Flat head screwdriver
- Star shape screwdriver
- Torx screwdriver
- Socket wrench with various sockets
- Pliers
Step 1 – Remove fender flares
The plastic fender flares over the wheel arch keep debris from splashing and scratching the body. They are attached into the bumper and fenders via clips and a bolt on each side.
- Open the hood.
- Use flat head screwdriver to pry clips out between the arch and body.
- Remove two slot clips from lower portion of bumper where it meets the arch.
- Pull fender liner down.
- Remove rear slot clip.
- Disconnect light harness.
- Repeat for opposite side.
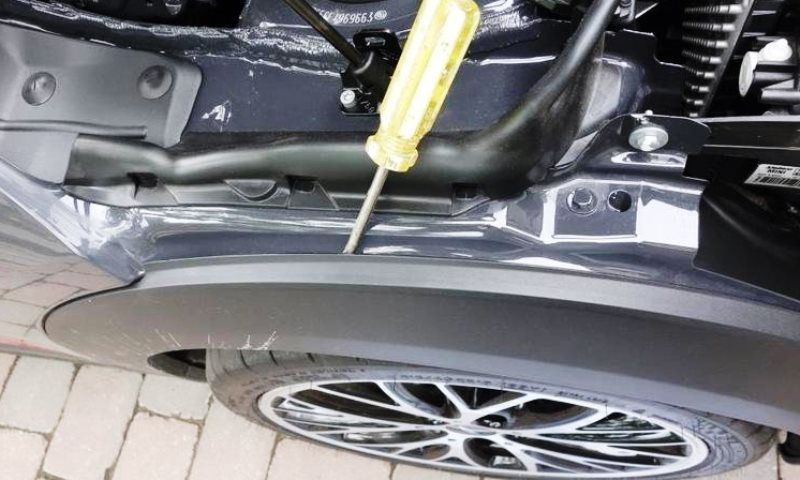
Figure 2. Slot screwdriver shown prying between body and fender flare. 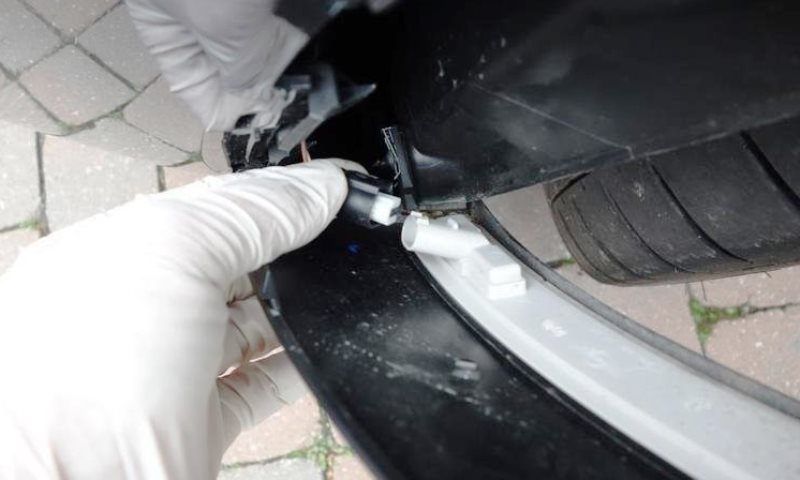
Figure 3. Disconnect turn signal harness. 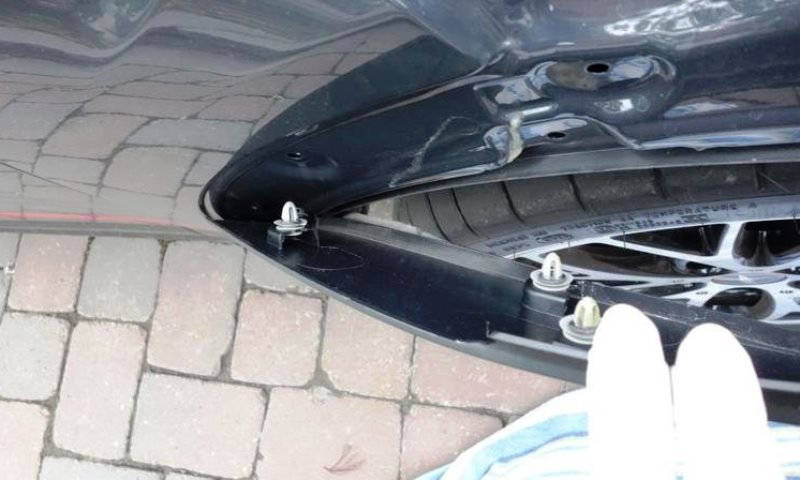
Figure 4. Plastic fender flare clips.
Pro Tip
Be careful not to break the clips as you pry them out.
Step 2 – Remove bumper cover bolts
There are seven bolts holding the bumper to the front of the vehicle. They will need to be removed.
- Locate the bolts along the underside of the bumper.
- Use socket wrench to remove the three bolts under the front of the bumper.
- Remove the two bolts on each side of the bumper where the wheel opening meets the bumper.
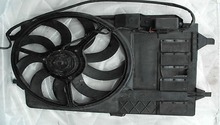
Step 3 – Remove radiator bolts
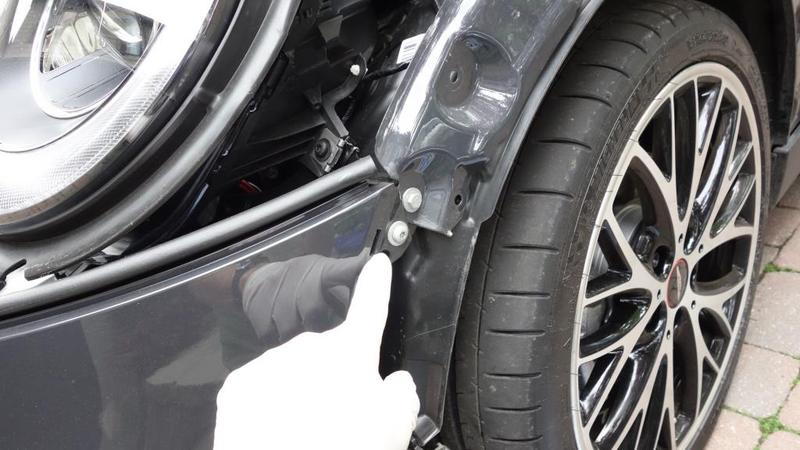
There are five bolts along the radiator, which keep the top portion of the bumper/grill assembly attached.
- Locate the five bolts.
- Use socket wrench to remove each bolt.
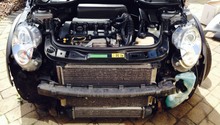
- It is helpful to have a friend hold the opposite side of the front clip as you pull it off.
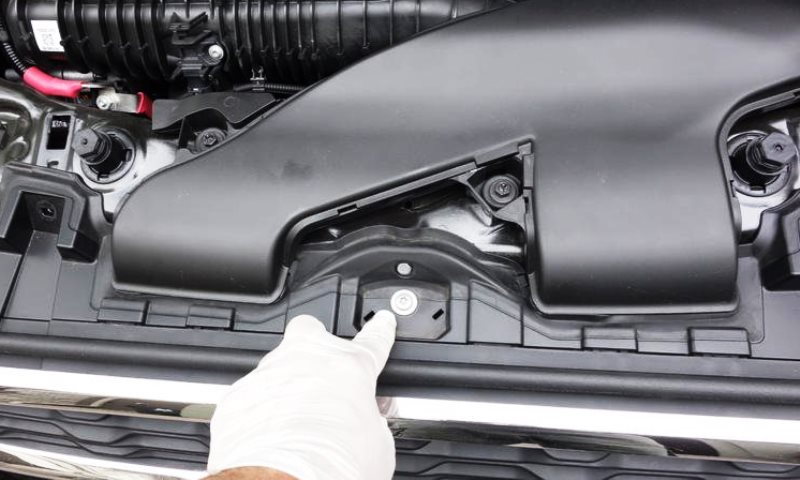
Figure 6. Radiator bolt shown here. 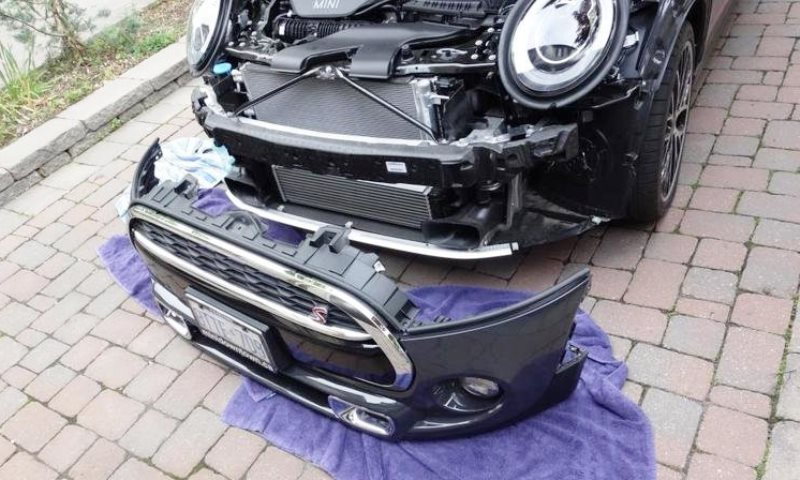
Figure 7. Front clip removed.
Pro Tip
If you have auxiliary fog lights, they will need to be disconnected before the front clip comes off.
Step 4 – Remove the grill
If you are not replacing the grill, this step can be skipped, but if a new grill is the whole point, read on.
- Locate the clips on the backside of the grill area.
- Use light pressure from a flat tip screwdriver to pop the clips out.
- Reinstall new grill piece by lining up the grill clips and pushing firmly in place.
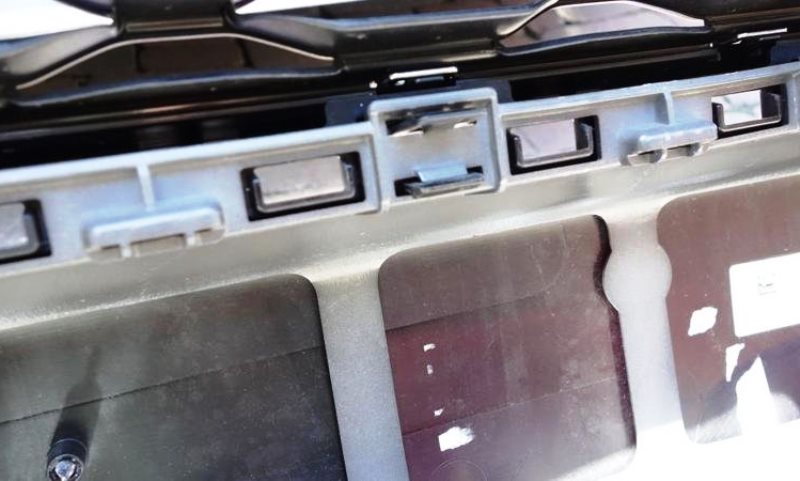
Figure 8. Grill clips shown behind the trim. 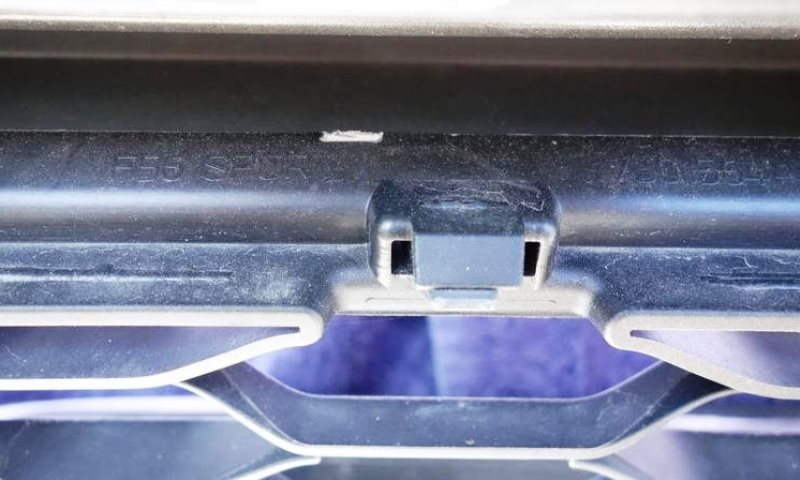
Figure 9. Close up of grill clip shown.
Pro Tip
Use a second thin flat tip screwdriver to help guide the clip from the clip guide.
Related Discussions
- Front Bumper Trim Removal - NorthAmericanMotoring.com
- Guide to Swap Front Grill Without Removing Front Bumper - NorthAmericanMotoring.com