Mini Cooper 2007-2013: How to Replace Antenna
Replacing the antenna on your Mini Cooper can take some time, but is not as hard as you think. Read our step-by-step guide and it will seem easy.
This article applies to the Mini Cooper (2007-2013).
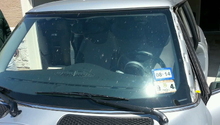
Mini Cooper antennas are mounted to the roof of the car, and although it is seen as a trademark for these vehicles, it can prove vulnerable and fragile. Visit the wrong car wash and next thing you know, the antenna is broken, leaking, or gone entirely. Sometimes you get lucky and just need to unscrew and replace the top portion of the antenna, while other instances require replacing the entire antenna base. This requires removing the interior trim and headliner to get to, but is still fairly simple, as explained below.

Materia ls Needed
- Phillips screwdriver
- 22mm wrench
- Torx screwdriver
- Allen wrench
Depending on which factory radio you have, the base of your antenna may be different. Make sure to buy the proper replacement for your vehicle.
Step 1 – Remove C-pillar trim
To access the antenna hardware on the roof, you will need to remove some of the interior trim pieces.
- Pull your seat backrest down, so you have room to work.
- The C-pillar trim panels holds down the headliner section you need to get under.
- Pop out the screw cover above the seat belt mount and remove the Torx screw under it.
- Take your hands and pull the trim out of the pillar until the clips pop free.
- If need be, take a screwdriver and pry gently on the trim.
- Repeat for the other side.
- Set trim aside.
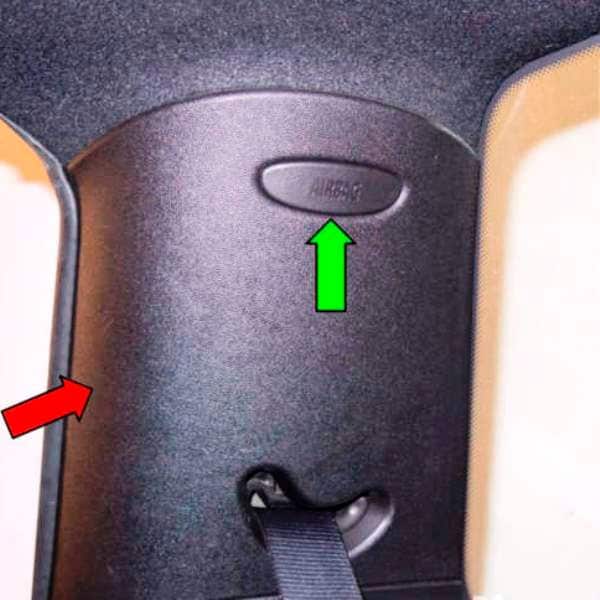
Figure 1. Remove screw cover. 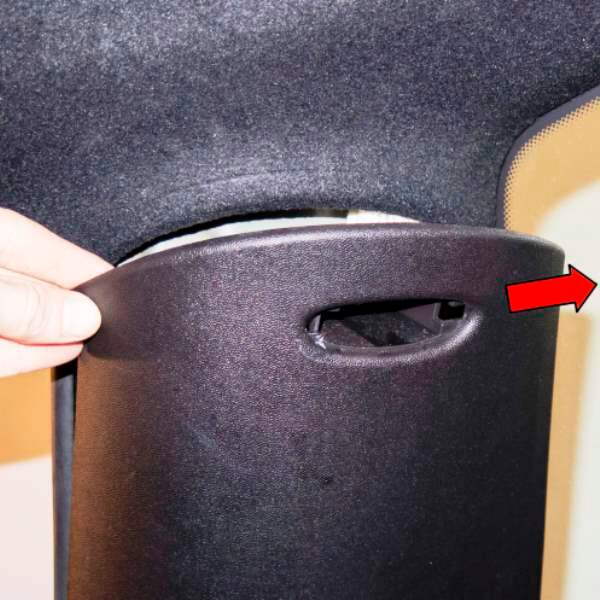
Figure 2. Pry C-pillar trim away from pillar. 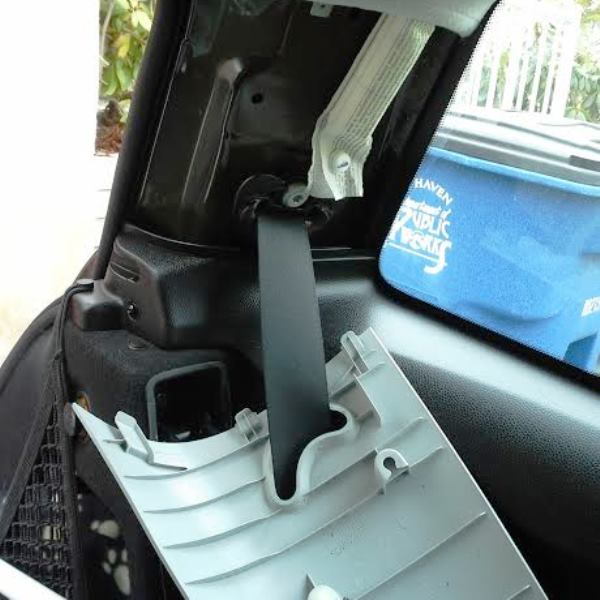
Figure 3. Let trim hang out of the way.
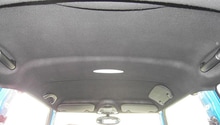
Step 2 – Release the headliner
- Unscrew the back seat grab handles by popping out the cover and undoing the screws.
- Pull the weatherstripping from where the headliner meets the hatch opening.
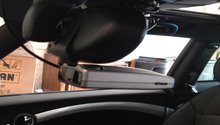
- For those of you with sunroofs, remove the rear frame by prying gently until the clips pop free.
- If you have no sunroof here, it is just one clip right by the antenna mount that may need to be pried out.
- You should be able to pull the headliner down enough at this point to reach the antenna.
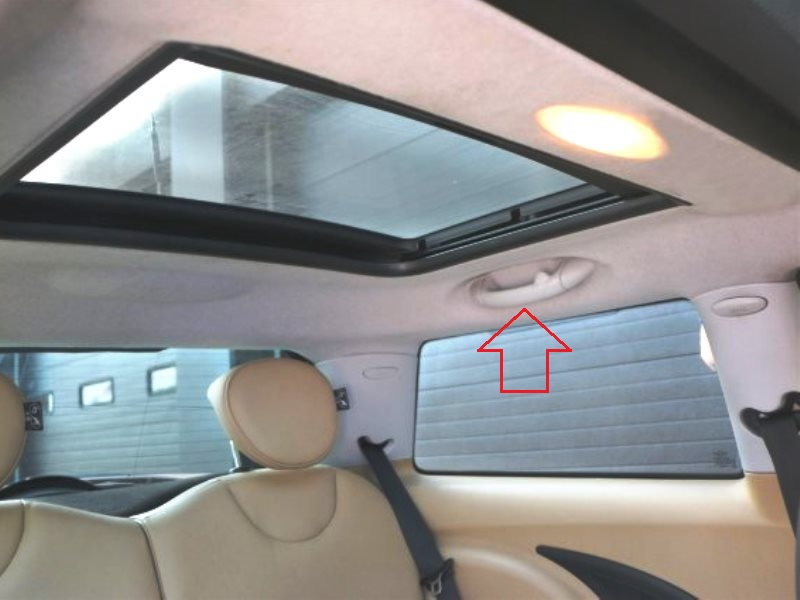
Figure 4. Remove grab handles. 
Figure 5. Remove the rear sunroof frame.
Step 3 – Remove and replace the antenna
- Reach under the headliner and unplug the wires to the antenna.
- Use a 22mm wrench to loosen the nut, then remove the antenna base.
- Once loosened, slide the base off.
- Clean around the hole, then mount the new base.
- Feed in and connect the new wires.
- Replace the nut and finger-tighten, then snug up with the wrench.
- Reassemble the rest of the headliner, reattach the trim panels and you are finished.
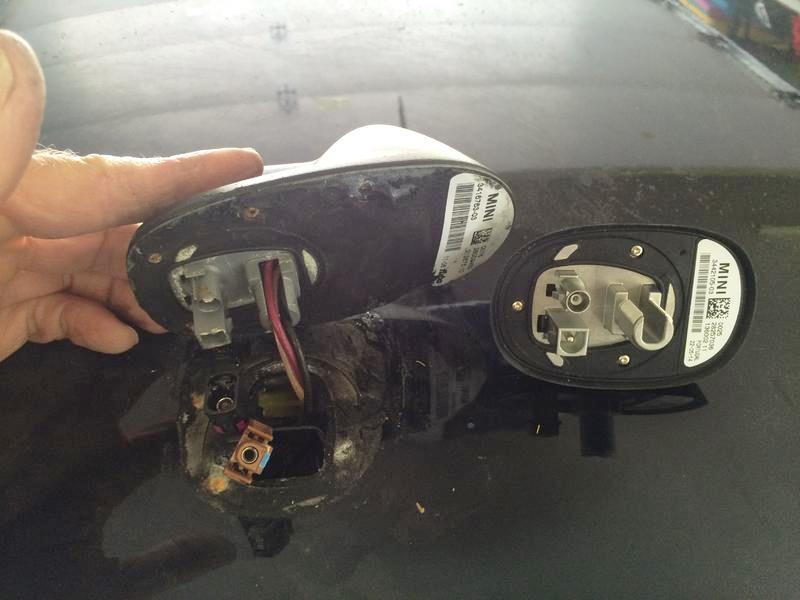
Figure 6. Replace the antenna base. 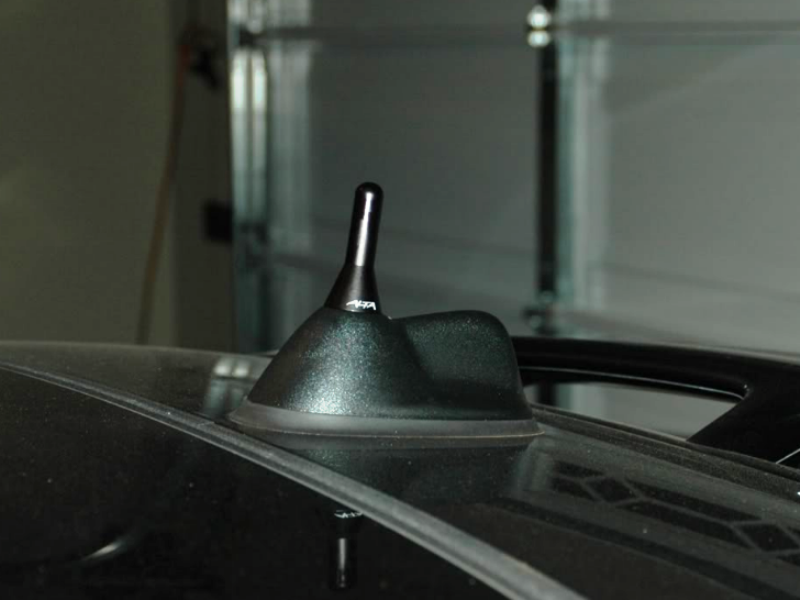
Figure 7. Antenna base replaced.
Related Discussions and Site
- I Replaced My Antenna Base! Yay! Photos/Instructions Posted - NorthAmericanMotoring.com
- Anyone remove the R56 Antenna Base? - NorthAmericanMotoring.com
- Interior Trim Removal - PelicanParts.com