Mini Cooper 2001-2006: How to Install Windshield Molding
Has the windshield molding on your Mini suddenly flown off while you were driving down the highway? This isn't an uncommon problem, especially if you've had your windshield replaced recently. Here's how to properly install a new set of molding.
This article applies to the Mini Cooper (2001-2006).
It might sound more like a problem of 70's vintage cars, but quite a few Mini Cooper owners have experienced the loss of windshield molding while driving down the highway. Much of the problem lies with faulty adhesive, over-tightening of screws that causes cracking, or just a trim piece not fully seated originally. The glossy black top trim piece is typically the part you lose, but the underlying plastic it clips into is the part that can be damaged by a ham-fisted installer with a screwdriver. Neither one is expensive, and both may need to be replaced. If you've had this problem, or you simply need to replace the trim due to a turkey collision, keep reading and we'll walk you through the process.

Materials Needed
- Column cover - part #'s 51-13-7-128-157 (left) and 51-13-7-128-158
- Molded foam backing
- Double-sided tape - around 18"
- Phillips head screwdriver
- 4mm Allen bit
- Plastic scraping tool or wedge
Step 1 – Remove the trim
If your trim hasn't flown off yet, you'll need to remove it, but even if it has, you still need to get the remnants of it out.
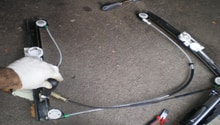
- Open the passenger side door and pull down on the molding to access the three screws.
- Remove the three Phillips screws and pull the exterior trim piece off.
- Pull back on the rubber door molding to reveal five more screws.
- Remove the five Phillips screws.
- Remove the last screw holding the lower edge of the trim.
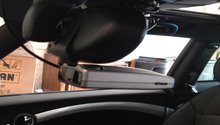
- Remove the 4mm Allen screw at the bottom of the A-pillar.
- Remove any leftover double-sided tape in the pillar with a plastic scraper, being careful not to scrape any paint off.
- Squeeze the clips together and pry the outer trim off of the inner piece (if still attached).
- Repeat for the other side of the car.
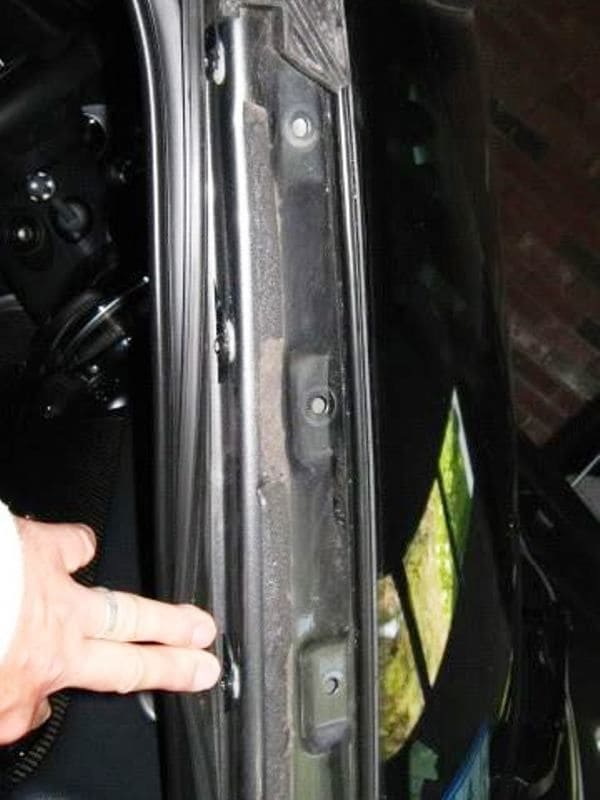
Figure 2. Pull back on the rubber weatherstripping to reveal five screws. 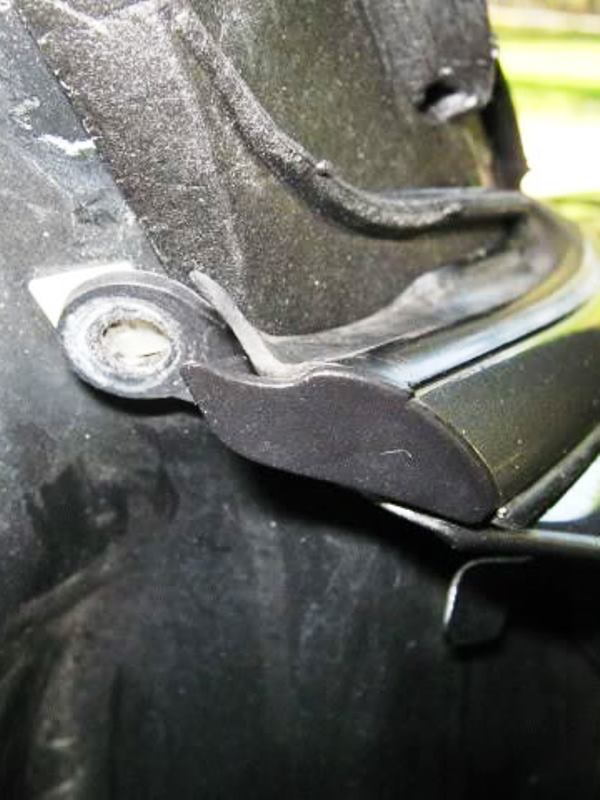
Figure 3. Remove the screw on the bottom edge of the trim. 
Figure 4. Remove the 4mm Allen screw from the base of the A-pillar. 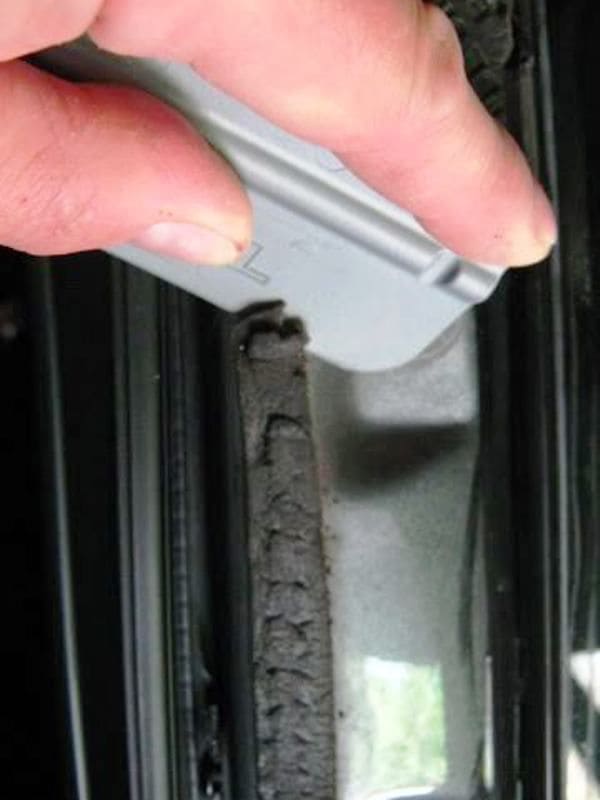
Figure 5. Scrape off any old tape with a plastic scraper.
Step 2 – Install new trim
- Place double-sided tape on the back of the new trim pieces between the holes for the clips and the screw holes.
- Remove the three paper tabs that are on the back of the trim pieces.
- Line up the new trim backing piece from top to bottom and insert it into the pillar.
- Tuck in the bottom edge under the lower windshield trim piece and replace the screw.
- Work your way down until the screw holes are lined up.
- Press in on the trim piece firmly to seat the adhesive.
- Install the five Phillips screws, being careful not to over-tighten them, as the trim piece will crack!
- Press the exterior trim piece firmly into the backing piece screwed into the pillar until you hear the clips snap into place.
- Reinstall the rubber door seal so the corner at the end of the dash is sitting in the channel.

Figure 6. Remove the three paper tabs on the back of the trim piece before installing. 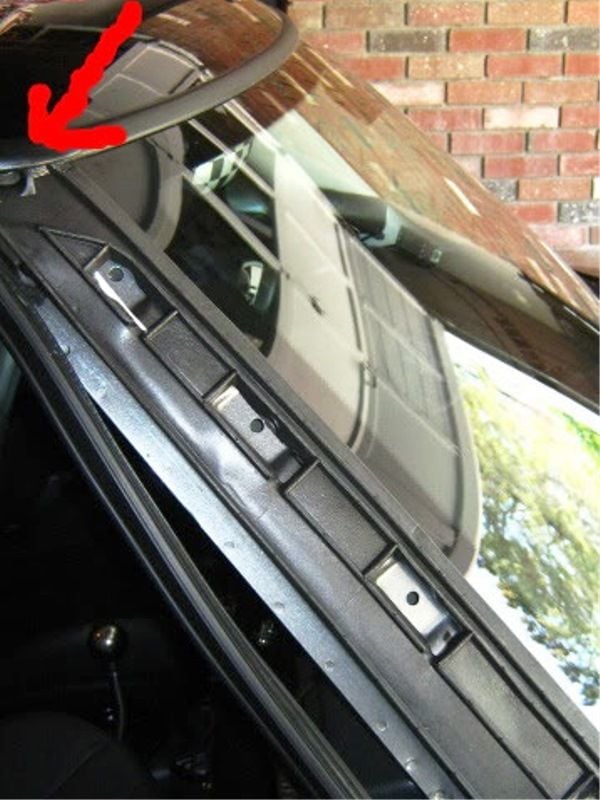
Figure 7. Install the trim backing piece. 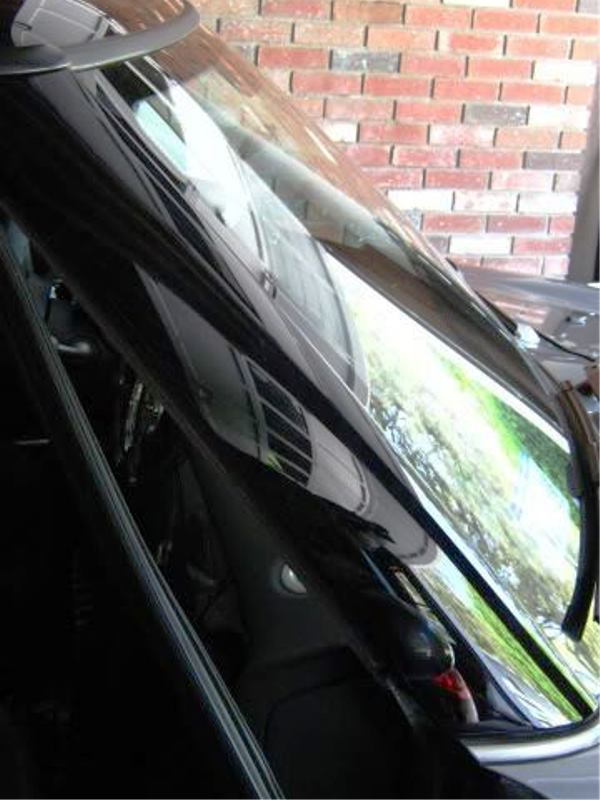
Figure 8. Snap new A-pillar trim into place.
Related Discussions
- DIY A-Pillar Cover Replacement - NorthAmericanMotoring.com
- Anybody Have Their Windshield Molding Fly Off? - NorthAmericanMotoring.com
- Windshield Trim Replacement Parts - NorthAmericanMotoring.com