Mini Cooper 2001-2006: How to Remove and Repair Your Headliner
This article will walk you through the easy process of repairing your Mini Cooper's headliner, once and for all.
This article applies to the 1st Gen Mini Cooper (2001-2006).
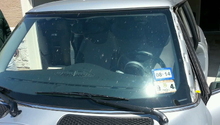
There's nothing worse than a droopy headliner. It may flap around in the breeze when you roll the window down, sometimes even smacking you in the head. And while it's hard to believe that a quality motor like the Mini Cooper would have such an old school problem, the truth is many 1st gens suffer from saggy headliners. The good news is, you can fix that droopy headliner with minimal effort and at a very cheap price. Keep reading and we'll walk you through the process.

Materials Needed
- Phillips screwdriver
- Pliers
- Flat head screwdriver
- Gloves
- Adhesive spray (such as 3M)
- 2.15 yards of headliner fabric, approximately 1.5 feet wide
- Paint brush
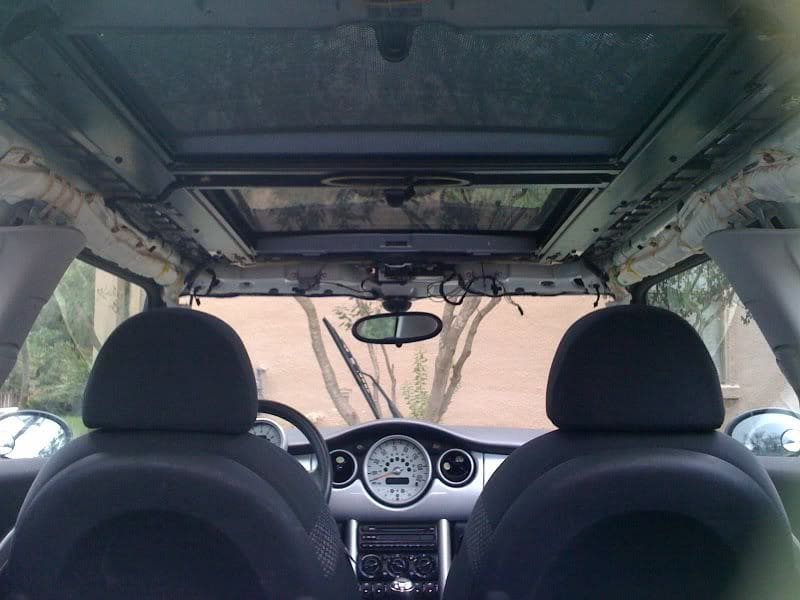
Step 1 – Remove the old headliner
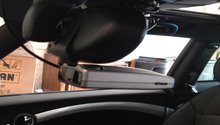
Use a Phillips head screwdriver to remove all the bits and pieces along the roof, including the grab handles, sun visors, and coat hooks, unplugging everything and fully removing it. When removing the sun visors, use a flat head screwdriver to pop off the plastic cover over the screws so you can remove them.
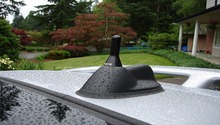
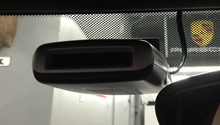
The rear view mirror simply twists off to the left. Remove the small black plug by the rear view mirror using a pair of pliers.
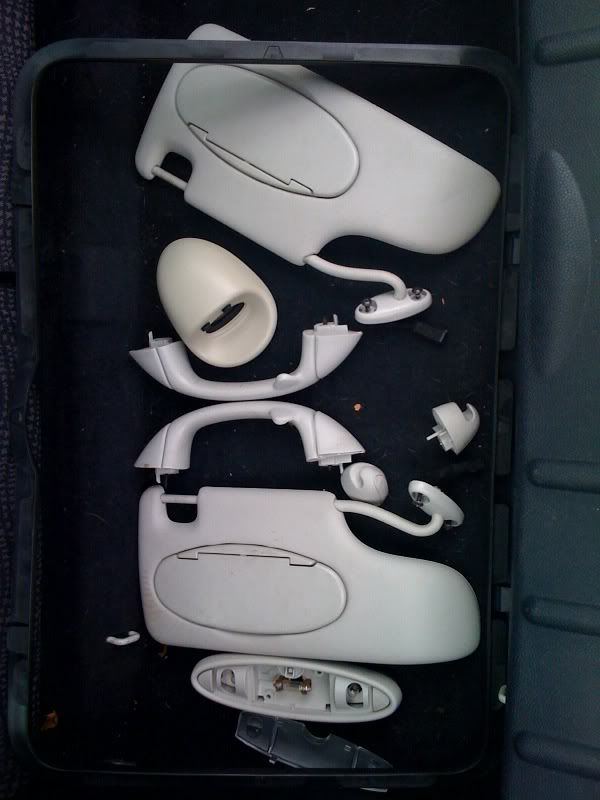
Figure 1. Remove all the trim pieces from the interior roof area. 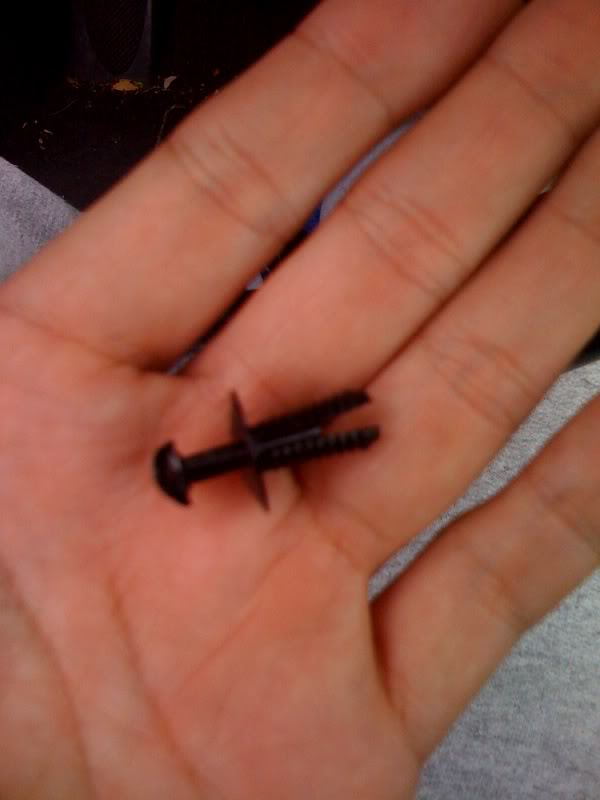
Figure 2. Remove the black plug in the roof near the rear view mirror.
Loosen (but don't remove) all six pillars (two in the front, two in the middle, two in the back). In the rear, remove the rubber seals first, then pull straight out.
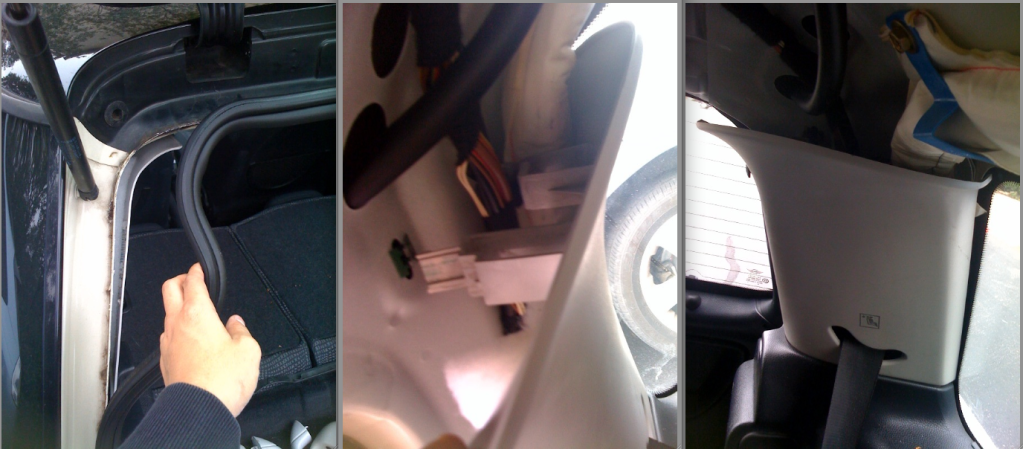
Next, move to the center pillars. On the side pillars, remove the Phillips screw

Push down and pull out to unhook them.
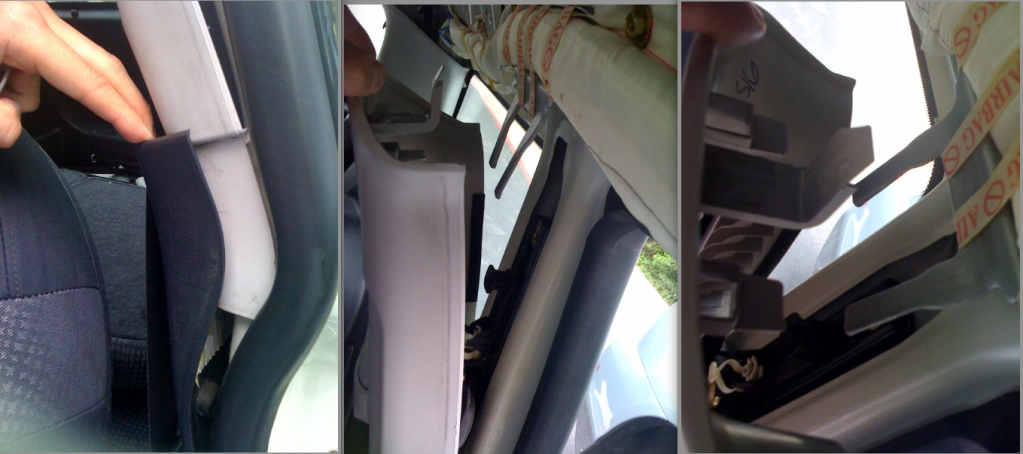
With the front pillars, it's a good idea to disconnect the battery to avoid having any issues with the airbags.
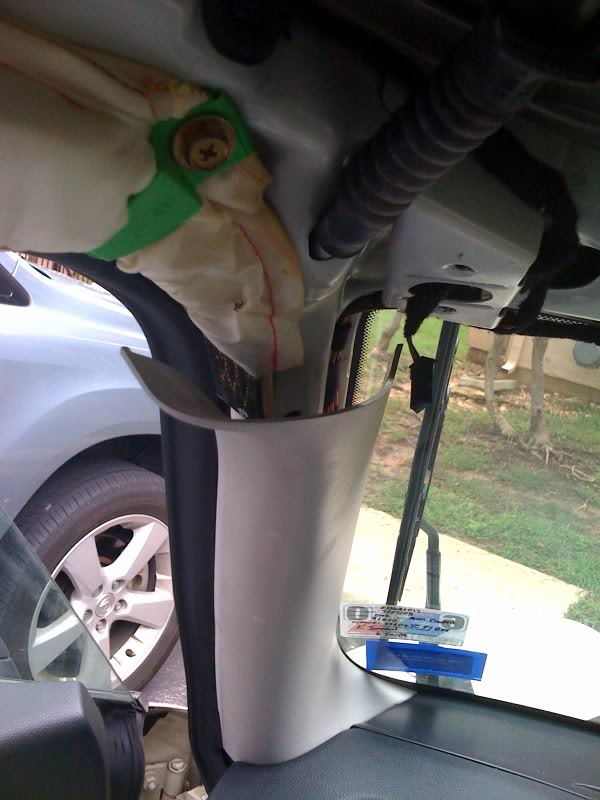
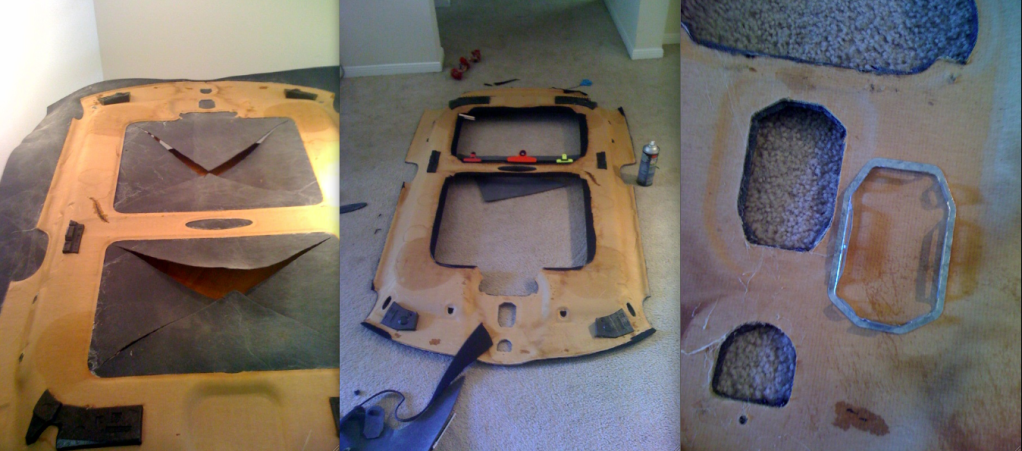
With all of the pillars loose, remove the headliner and pull it out through the hatch at a slight angle.
Step 2 – Install the new headliner fabric
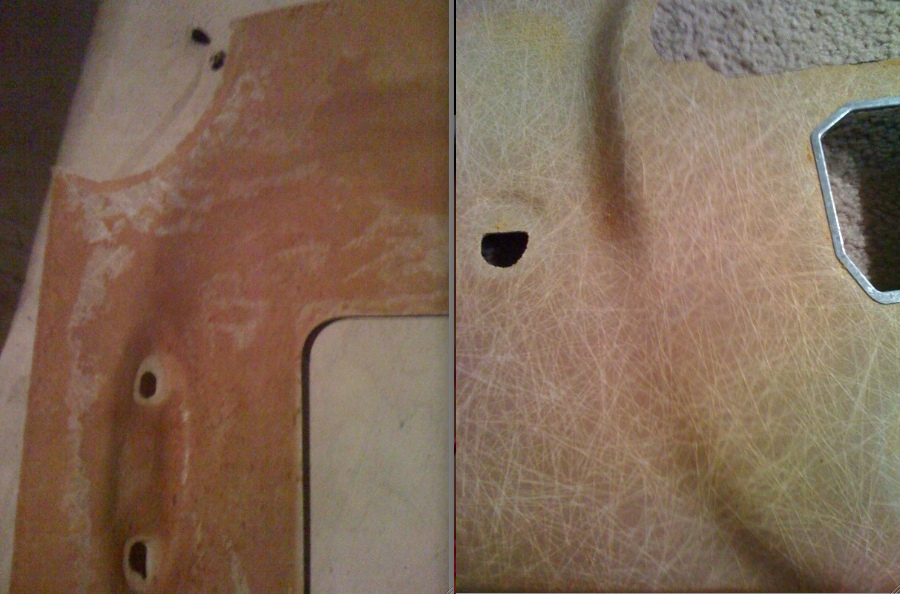
Peel the old headliner fabric off of the headliner support. Scrape all the old, nasty foam off of the headliner support before putting on the new fabric. You will want to use gloves for this, as the old foam can make your hands quite itchy.
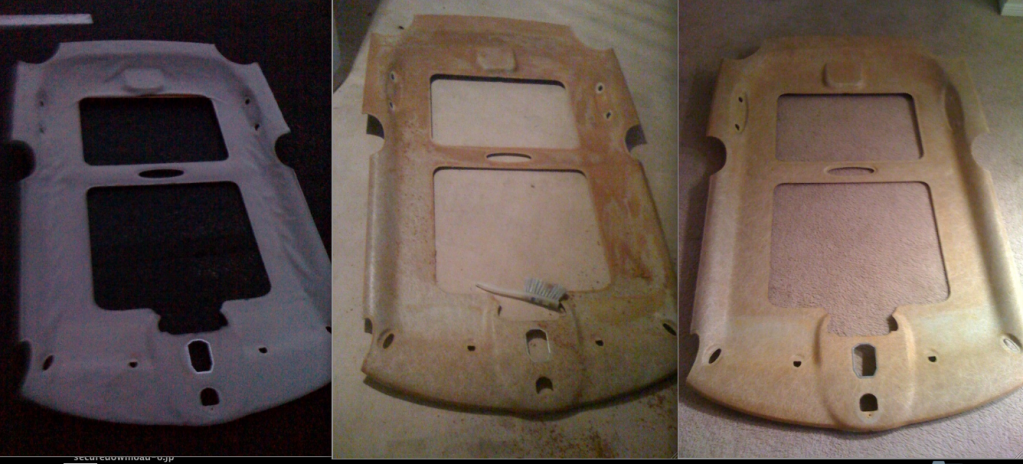
Take your time here and be thorough, scraping until you can see the fibers in the headliner support.
Spray the headliner support and the back of your new headliner fabric with adhesive spray, then allow them to dry for around four minutes. Spray a small section of the support and fabric at a time and then press it into place for around 30 seconds. If necessary, you can use clamps to hold it. Work your way down until the entire support is covered. Once dry, start cutting the excess fabric off the sides and cut out the holes in an "X" pattern. Leave a little extra to wrap around the back, then spray and clamp these parts.
Step 3 – Install the new headliner in the car
It's a good idea to let the new headliner dry for at least 24 hours before reinstalling it, or you are going to have a strong glue smell in the car for a few days. Slide the headliner in at an angle.
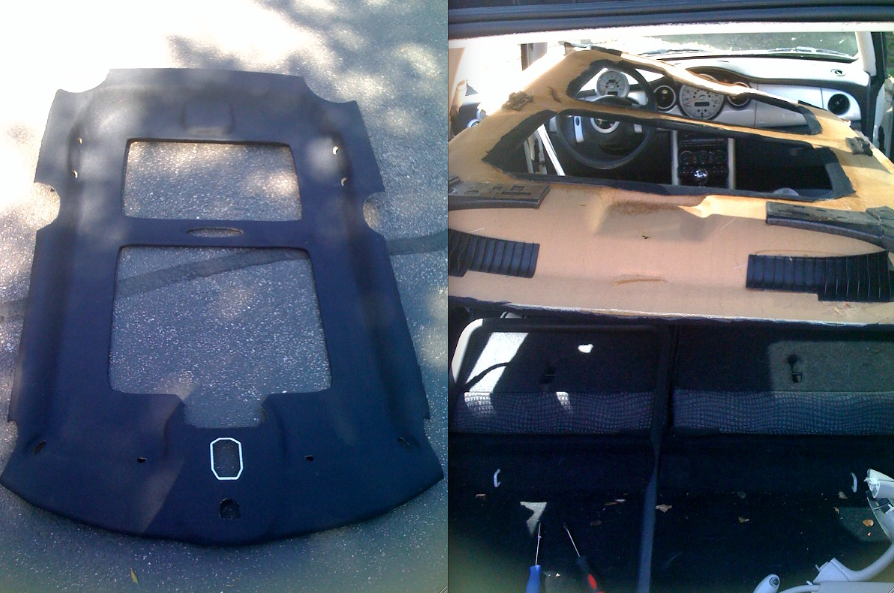
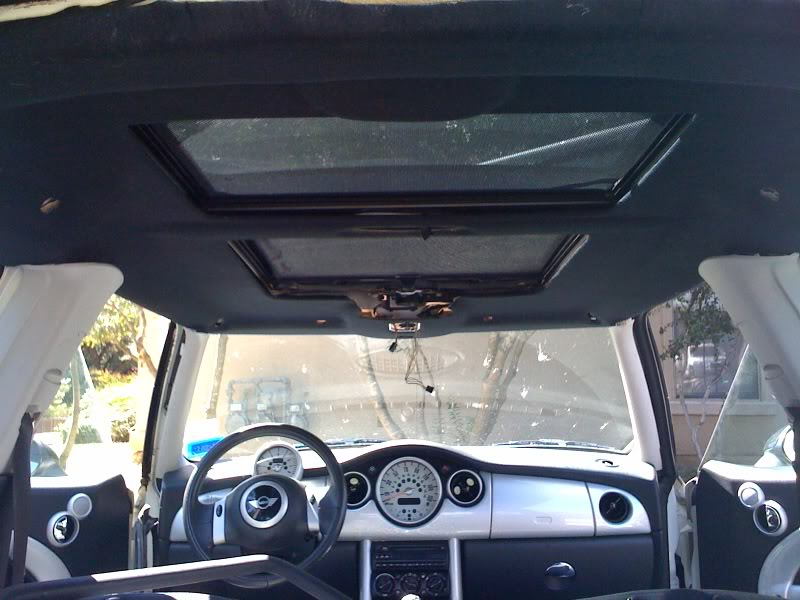
You may need to manipulate the seat positions to get it all the way in. Once the headliner is up and in, reinstall all six pillars and the interior bits and pieces.
Related Discussion
- Headliner DIY - NorthAmericanMotoring.com