Mini Cooper 2001-2006: How to Replace Starter
The Bentley Manual will tell you to remove the exhaust manifold on your Mini in order to change out the starter. Following these instructions will show you how you can do it without going to that extent, and save you a ton of time as well as money in the process.
This article applies to the Mini Cooper (2001-2006).
Just like any other vehicle, it's a fact of life mechanical things will fail, and it's no different with the Mini. The starter has brushes which will at some point wear out, the solenoid may no longer make the electrical connection to run the motor, or the one way gear may wear out. Whatever the reason, changing the starter is going to need to be done at some point. While changing out the starter on a Mini can be a challenge, getting it done doesn't have to be a huge issue. It can be accomplished without too much cussing.

Materials Needed
- Jack and four jack stands
- Metric tool set
- 15mm ratcheting boxed end wrench
- Various extensions totally 3' or more
- Breaker bar or cheater pipe
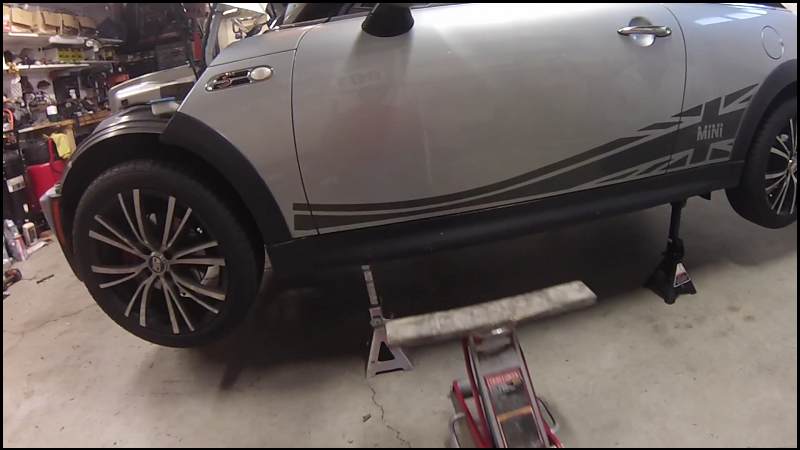
Step 1 – Place vehicle on jack stands
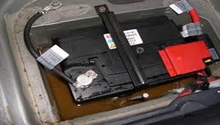
Park the Mini on a flat level work surface. Using the jack, bring one side of the Mini up and place the jack stands at the appropriate support locations. The vehicle should be level when done with enough room to crawl underneath comfortably. In the trunk, lift the cover and disconnect the negative (black) battery lead. Do not close the hatch, as it is electrically operated and this would make it hard to get it back open. Having done this before, it's not fun. Stuff a towel between the hatch and the bumper to keep it from latching.
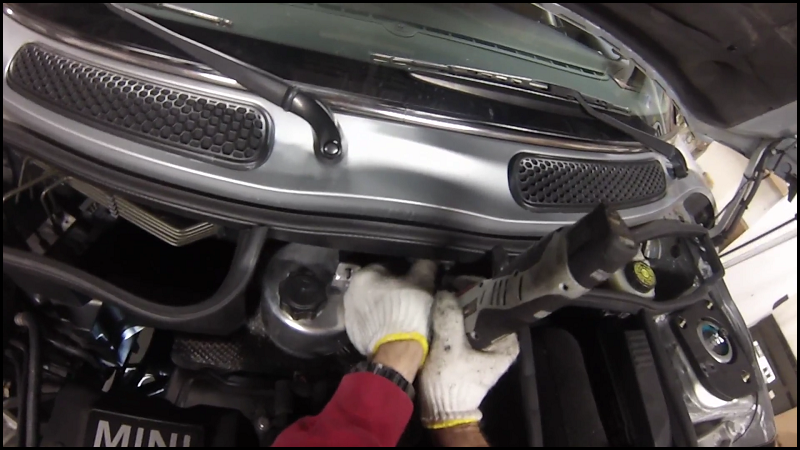
Step 2 – Remove heat shields
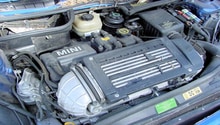
Remove the five nuts holding the two reservoirs at the top back of the engine bay (Figure 2). There is no need to disconnect, drain, or otherwise remove the two reservoirs. The intent is to allow them to be moved to the side a little and out of the way.
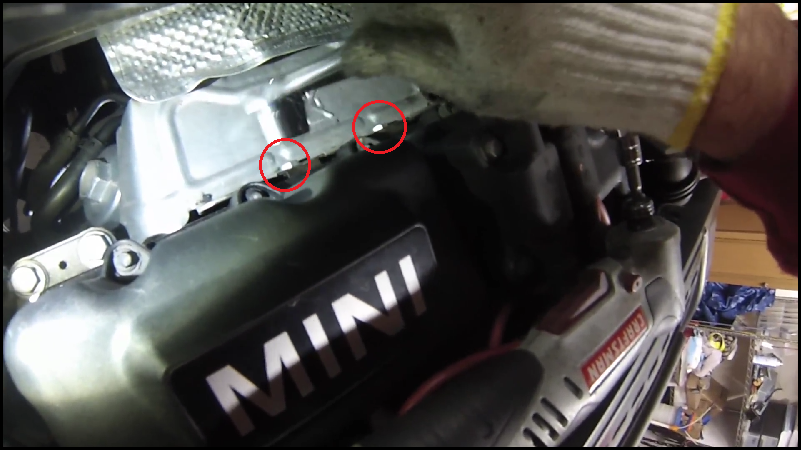
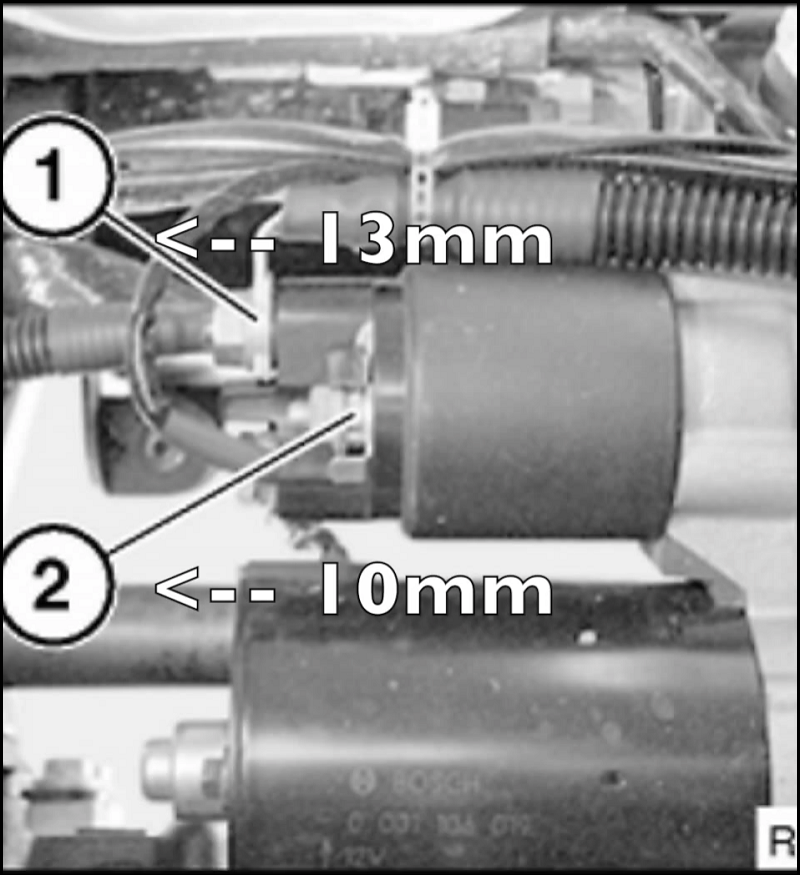
Below the reservoirs is the top heat shield. Remove the two 13mm bolts, which connect it to the engine (Figure 3). Once removed, slide the heat shield towards the rear of the vehicle to push it out of the way. This will reveal the headers and the lower heat shield.
Remove the single 10mm bolt (Figure 4) to disconnect the lower heat shield. Push the lower heat shield out of the way; It may need to be deformed slightly to accomplish this, but can be easily reformed during re-installation. This should reveal the starter motor.
Step 3 – Remove starter motor
On the starter motor, disconnect the energizer wire and the main power cable (Figure 4). This may be a little cramped, but is completely doable. Work around the exhaust header to accomplish.
Once the starter wires are disconnected, move to the bottom of the vehicle and remove the power steering cooler fan. There should be two nuts and the power connector holding it onto the vehicle. Remove the lower starter bolt using a 15mm socket. Use as much extension as needed (probably as much as 3') and run it from the constant velocity joint, along the axle shaft to the bottom starter bolt (Figure 5). Use a breaker bar or ratchet with a cheater pipe to break this bolt free.
Back on top, using a 15mm ratcheting box end wrench, loosen and remove the top starter bolt. There is enough room to access it down through the header tubes. From the bottom, clip the zip tie (if present) holding the wire bundle going to the oil pressure sender and other sensors. Back on top, finagle the starter motor up and around to remove it.
Step 4 – Install new starter motor
Before beginning, set the two starters next to each other and ensure they are exact. There are several different starters used on the various Minis, and while they look the same at the outset, may cause issues during installation if they are not exact. Save a lot of frustration and double check to be sure. Once you are completely sure of the new starter, drop it down from the top of the engine. It should go fairly close into place, then from the bottom, position it the rest of the way. Install the two bolts to hold the starter in place. Install the energizer and power wires to the solenoid. Pull the lower heat shield up into place, adjusting the fit as necessary to fit it back into place. Install the 10mm bolt to retain it. Install the upper heat shield using the two 13mm bolts. Place the reservoirs back into position and secure with the proper nuts. Reconnect the negative power lead to the battery. Enter vehicle and ensure it will start. Once satisfied, bring the vehicle down off of the jack stands.
Featured Video: MINI Cooper Starter Replacement
Related Discussions
- Startup Noise - NorthAmericanMotoring.com
- No Crank No Start Please Help - NorthAmericanMotoring.com
- Replaced Starter Now No Charge - NorthAmericanMotoring.com
- R53 Not Starting - NorthAmericanMotoring.com