

R56 Please post pictures of your R56 here...


Your steering wheel looks great! Which leather options did you choose from Redline, standard leather or Nappa? Also, any in-progress pics of install?
Thanks!
Thanks!


1st Gear
Joined: Feb 2015
Posts: 28
Likes: 0
From: Northern Virginia
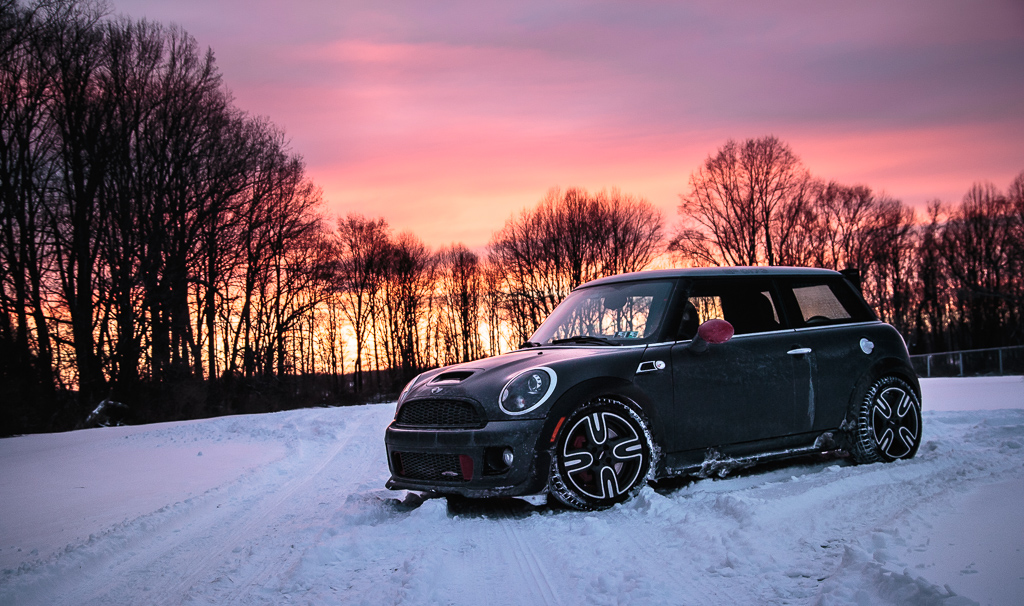
I just joined the forum. Here's a picture of my Reef Blue '13 R56s shortly after I bought it last May - it had been a program car and I bought it 'used' with less than 10k on the odometer.
Next step: install the 'Bullet' wheels / tires in my shed and get those windows tinted!
Next step: install the 'Bullet' wheels / tires in my shed and get those windows tinted!

4th Gear
Joined: Aug 2007
Posts: 339
Likes: 1
From: Palatine, IL
to get it to conform properly to the curves. I bought a used wheel off eBay and removed the stock leather, then covered it in sheets of craft foam (1/8" thick, comes in 8.5x11 sheets at hobby stores). The seems are separated and glued to the back of the leather wrap when you get it from Redline, but I didn't want to see the bulges so I "unglued" them and cut notches in the steering wheel to accommodate the excess leather. This was tricky too, since the cover has to be perfectly aligned on the wheel to mark just enough so you don't remove more rubber than needed, which leads to "dips" in the seems. The actual stitching was the easiest part, but it can be nerve racking since you want to glue the edges down as you go, but you only get one shot with contact cement and foam. That's why I took so much time to stretch the leather before stitching it up. You can see in the 3rd pic how the leather is sort of fighting the angles of the spokes. If I were to have just stitched it up before any prep, the inside corners of the leather would not even touch the corners of the wheel. Ultimately, you're dealing with a natural material, cut and sewn together by someone halfway around the world, using who knows how old of a template, so you have to use your own abilities and time to get professional results. Still, for the money, even including buying a spare wheel, you won't find a nicer wheel, not to mention the fact that it's completely made to your specs in terms of colors and materials.

6th Gear
Joined: Mar 2013
Posts: 3,428
Likes: 37
From: Mission Viejo, CA
thanks - all the leather is Nappa. The smooth Nappa is definitely better than the standard leather (the standard is nice, but since I was replacing black vinyl with black leather, I knew the standard leather would look nearly identical to the stock vinyl). The perforated Nappa on the other hand feels a lot more synthetic than you would think. It is thicker and much harder to work with than the smooth Nappa for some reason, and without seeing the back side (suede) you'd swear it was just vinyl. I'd be curious to see how the standard perforated would look next to the smooth Nappa. I don't have many in-progress pics, since the majority of the work is in damp stretching the leather
to get it to conform properly to the curves. I bought a used wheel off eBay and removed the stock leather, then covered it in sheets of craft foam (1/8" thick, comes in 8.5x11 sheets at hobby stores). The seems are separated and glued to the back of the leather wrap when you get it from Redline, but I didn't want to see the bulges so I "unglued" them and cut notches in the steering wheel to accommodate the excess leather. This was tricky too, since the cover has to be perfectly aligned on the wheel to mark just enough so you don't remove more rubber than needed, which leads to "dips" in the seems. The actual stitching was the easiest part, but it can be nerve racking since you want to glue the edges down as you go, but you only get one shot with contact cement and foam. That's why I took so much time to stretch the leather before stitching it up. You can see in the 3rd pic how the leather is sort of fighting the angles of the spokes. If I were to have just stitched it up before any prep, the inside corners of the leather would not even touch the corners of the wheel. Ultimately, you're dealing with a natural material, cut and sewn together by someone halfway around the world, using who knows how old of a template, so you have to use your own abilities and time to get professional results. Still, for the money, even including buying a spare wheel, you won't find a nicer wheel, not to mention the fact that it's completely made to your specs in terms of colors and materials.
to get it to conform properly to the curves. I bought a used wheel off eBay and removed the stock leather, then covered it in sheets of craft foam (1/8" thick, comes in 8.5x11 sheets at hobby stores). The seems are separated and glued to the back of the leather wrap when you get it from Redline, but I didn't want to see the bulges so I "unglued" them and cut notches in the steering wheel to accommodate the excess leather. This was tricky too, since the cover has to be perfectly aligned on the wheel to mark just enough so you don't remove more rubber than needed, which leads to "dips" in the seems. The actual stitching was the easiest part, but it can be nerve racking since you want to glue the edges down as you go, but you only get one shot with contact cement and foam. That's why I took so much time to stretch the leather before stitching it up. You can see in the 3rd pic how the leather is sort of fighting the angles of the spokes. If I were to have just stitched it up before any prep, the inside corners of the leather would not even touch the corners of the wheel. Ultimately, you're dealing with a natural material, cut and sewn together by someone halfway around the world, using who knows how old of a template, so you have to use your own abilities and time to get professional results. Still, for the money, even including buying a spare wheel, you won't find a nicer wheel, not to mention the fact that it's completely made to your specs in terms of colors and materials.
4th Gear
Joined: Aug 2007
Posts: 339
Likes: 1
From: Palatine, IL
Redline Goods could possibly sell you a fully finished steering wheel. When I ordered my cover from them, they offered to install it on one of the wheels they had in their stock. They can work with you on special requests as well, such as wheel thickness. Basically its just a matter of adding more foam and accounting for the thickness in extra leather. Even the relatively minor thickness of the foam I added to mine made a considerable difference in the feel, so you may be happy with the standard foam option.


3rd Gear
Joined: Jan 2015
Posts: 215
Likes: 1
From: Mt Pleasant, SC 29466
[QUOTE=kvnadriano;4053500]Just recently picked her up! Gonna be putting on the S-Spoke wheels I also got when I buy tires in the summer.
Why in the world would you put on cast aluminum wheels that weight over 25 lbs?
Nice car congrats!
Why in the world would you put on cast aluminum wheels that weight over 25 lbs?
Nice car congrats!

Neutral
Joined: Mar 2015
Posts: 10
Likes: 0
From: San Francisco, CA
[QUOTE=cguzz;4053662]Thanks aha. And the wheels were given to me for free by a relative. Plus I according to Mini, theyre made of some "light alloy. " whether or not that means aluminum, im not sure. But thats why im here haha.
3rd Gear
Joined: Jan 2015
Posts: 215
Likes: 1
From: Mt Pleasant, SC 29466
[QUOTE=kvnadriano;4053690]Free is a nice price...They'll look good for sure.


3rd Gear
Joined: Jan 2015
Posts: 215
Likes: 1
From: Mt Pleasant, SC 29466
so we're talking bikerack huh?
OK...Bought an MCS and my friend sold his Justa and offered me his mini towers and crossbars...cheap. I just couldn't do it due to the wind noise and blocking my sunroof. I mountain bike a lot and didn't want to leave my bike racks up there full time. So, I can up with this: Bought a receiver that is very stealth and didn't require removal or cutting the bumper to install:
http://torkliftcentral.com/trailer-h.../ecohitch/mini
Then measured the spread to center my bikes using the Thule Sidearms (I already have 3). Drew it up and took it to my local welding shop and had this fabricated and powder coated. It works like a charm. Here it is with one sidearm on it:

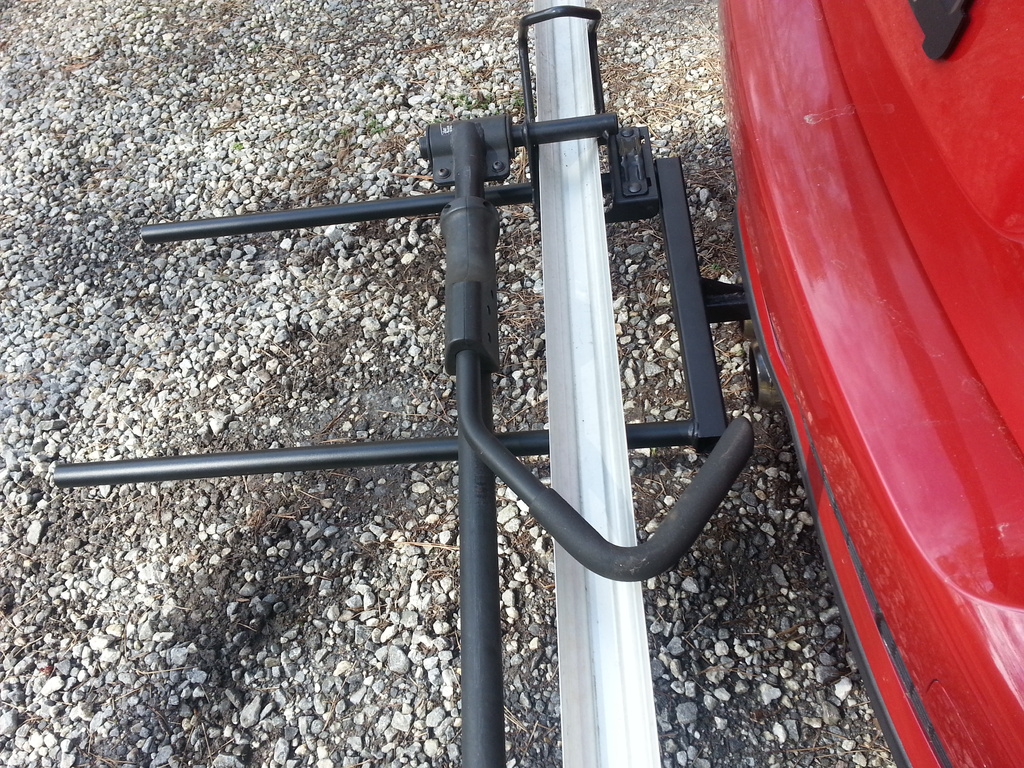
Here's what the hitch looks like...Now what kind of turbo back exaust is gonna fit???

Oh yea. Got some 17" forged BBS on it recently too.

http://torkliftcentral.com/trailer-h.../ecohitch/mini
Then measured the spread to center my bikes using the Thule Sidearms (I already have 3). Drew it up and took it to my local welding shop and had this fabricated and powder coated. It works like a charm. Here it is with one sidearm on it:
Here's what the hitch looks like...Now what kind of turbo back exaust is gonna fit???
Oh yea. Got some 17" forged BBS on it recently too.
Last edited by cguzz; Mar 21, 2015 at 01:56 PM.
3rd Gear
Joined: Dec 2013
Posts: 253
Likes: 0
OK...Bought an MCS and my friend sold his Justa and offered me his mini towers and crossbars...cheap. I just couldn't do it due to the wind noise and blocking my sunroof. I mountain bike a lot and didn't want to leave my bike racks up there full time. So, I can up with this: Bought a receiver that is very stealth and didn't require removal or cutting the bumper to install:
http://torkliftcentral.com/trailer-h.../ecohitch/mini
Then measured the spread to center my bikes using the Thule Sidearms (I already have 3). Drew it up and took it to my local welding shop and had this fabricated and powder coated. It works like a charm. Here it is with one sidearm on it:
Here's what the hitch looks like...Now what kind of turbo back exaust is gonna fit???
Oh yea. Got some 17" forged BBS on it recently too.


1st Gear
Joined: Nov 2013
Posts: 28
Likes: 0
From: Bend Oregon
Recently powder coated my summer wheels a new shade of bronze. I powder coat for work and hadn't tried using two tones until now. Started off with a semi gloss black base coat and used our "triple bronze" powder for the top coat. Was trying for a bit less bronze than what turned out, but overall pretty happy with it. Good learning experience, now I want to try another set with a lighter bronze coating. 
Also, if anyone is near Oregon and wants some custom wheel coatings or wheels repaired check us out at www.nwwheelrepair.com. Also calling all fellow mini enthusiasts to follow me on instagram or Facebook, IG is nw_wheelrepair. Thanks for looking!
Also, if anyone is near Oregon and wants some custom wheel coatings or wheels repaired check us out at www.nwwheelrepair.com. Also calling all fellow mini enthusiasts to follow me on instagram or Facebook, IG is nw_wheelrepair. Thanks for looking!


minibenworks - I like those wheels, what are they?
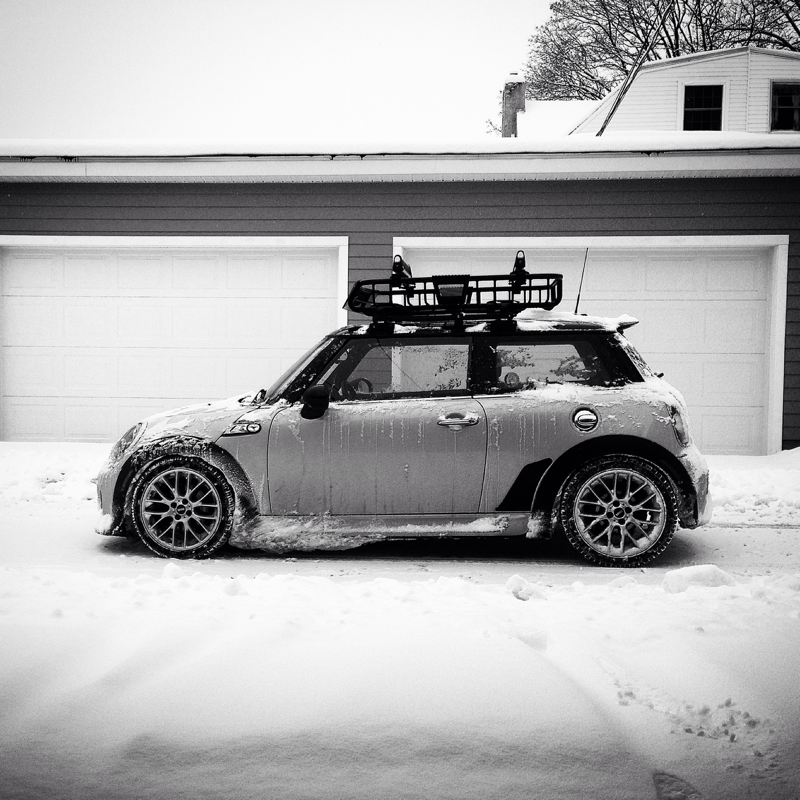
I'll add my new to me used '11 non-S with S Suspension/Upgrades and more to come over the next few weeks! I had the tint done and put the roof / bike racks on, fairing for the racks will be added this weekend.

I'll add my new to me used '11 non-S with S Suspension/Upgrades and more to come over the next few weeks! I had the tint done and put the roof / bike racks on, fairing for the racks will be added this weekend.