When you click on links to various merchants on this site and make a purchase, this can result in this site earning a commission. Affiliate programs and affiliations include, but are not limited to, the eBay Partner Network.
Thought I’d document my partially successful attempt at making an R56 carbon fiber sunroof replacement panel.
I’m a 100% novice with carbon fiber / composites....
Started by prepping the orginal sunroof to make a mold. Plastic sign board, paperboard, tape, wax, you name it. I only captured the 4 Bolt holes on each side (the aluminum rails). The extra bolt holes toward the front and back of the assembly that support the drip tray and sunroof motor would have been extra support, but making those as part of the plug would have been very tricky.
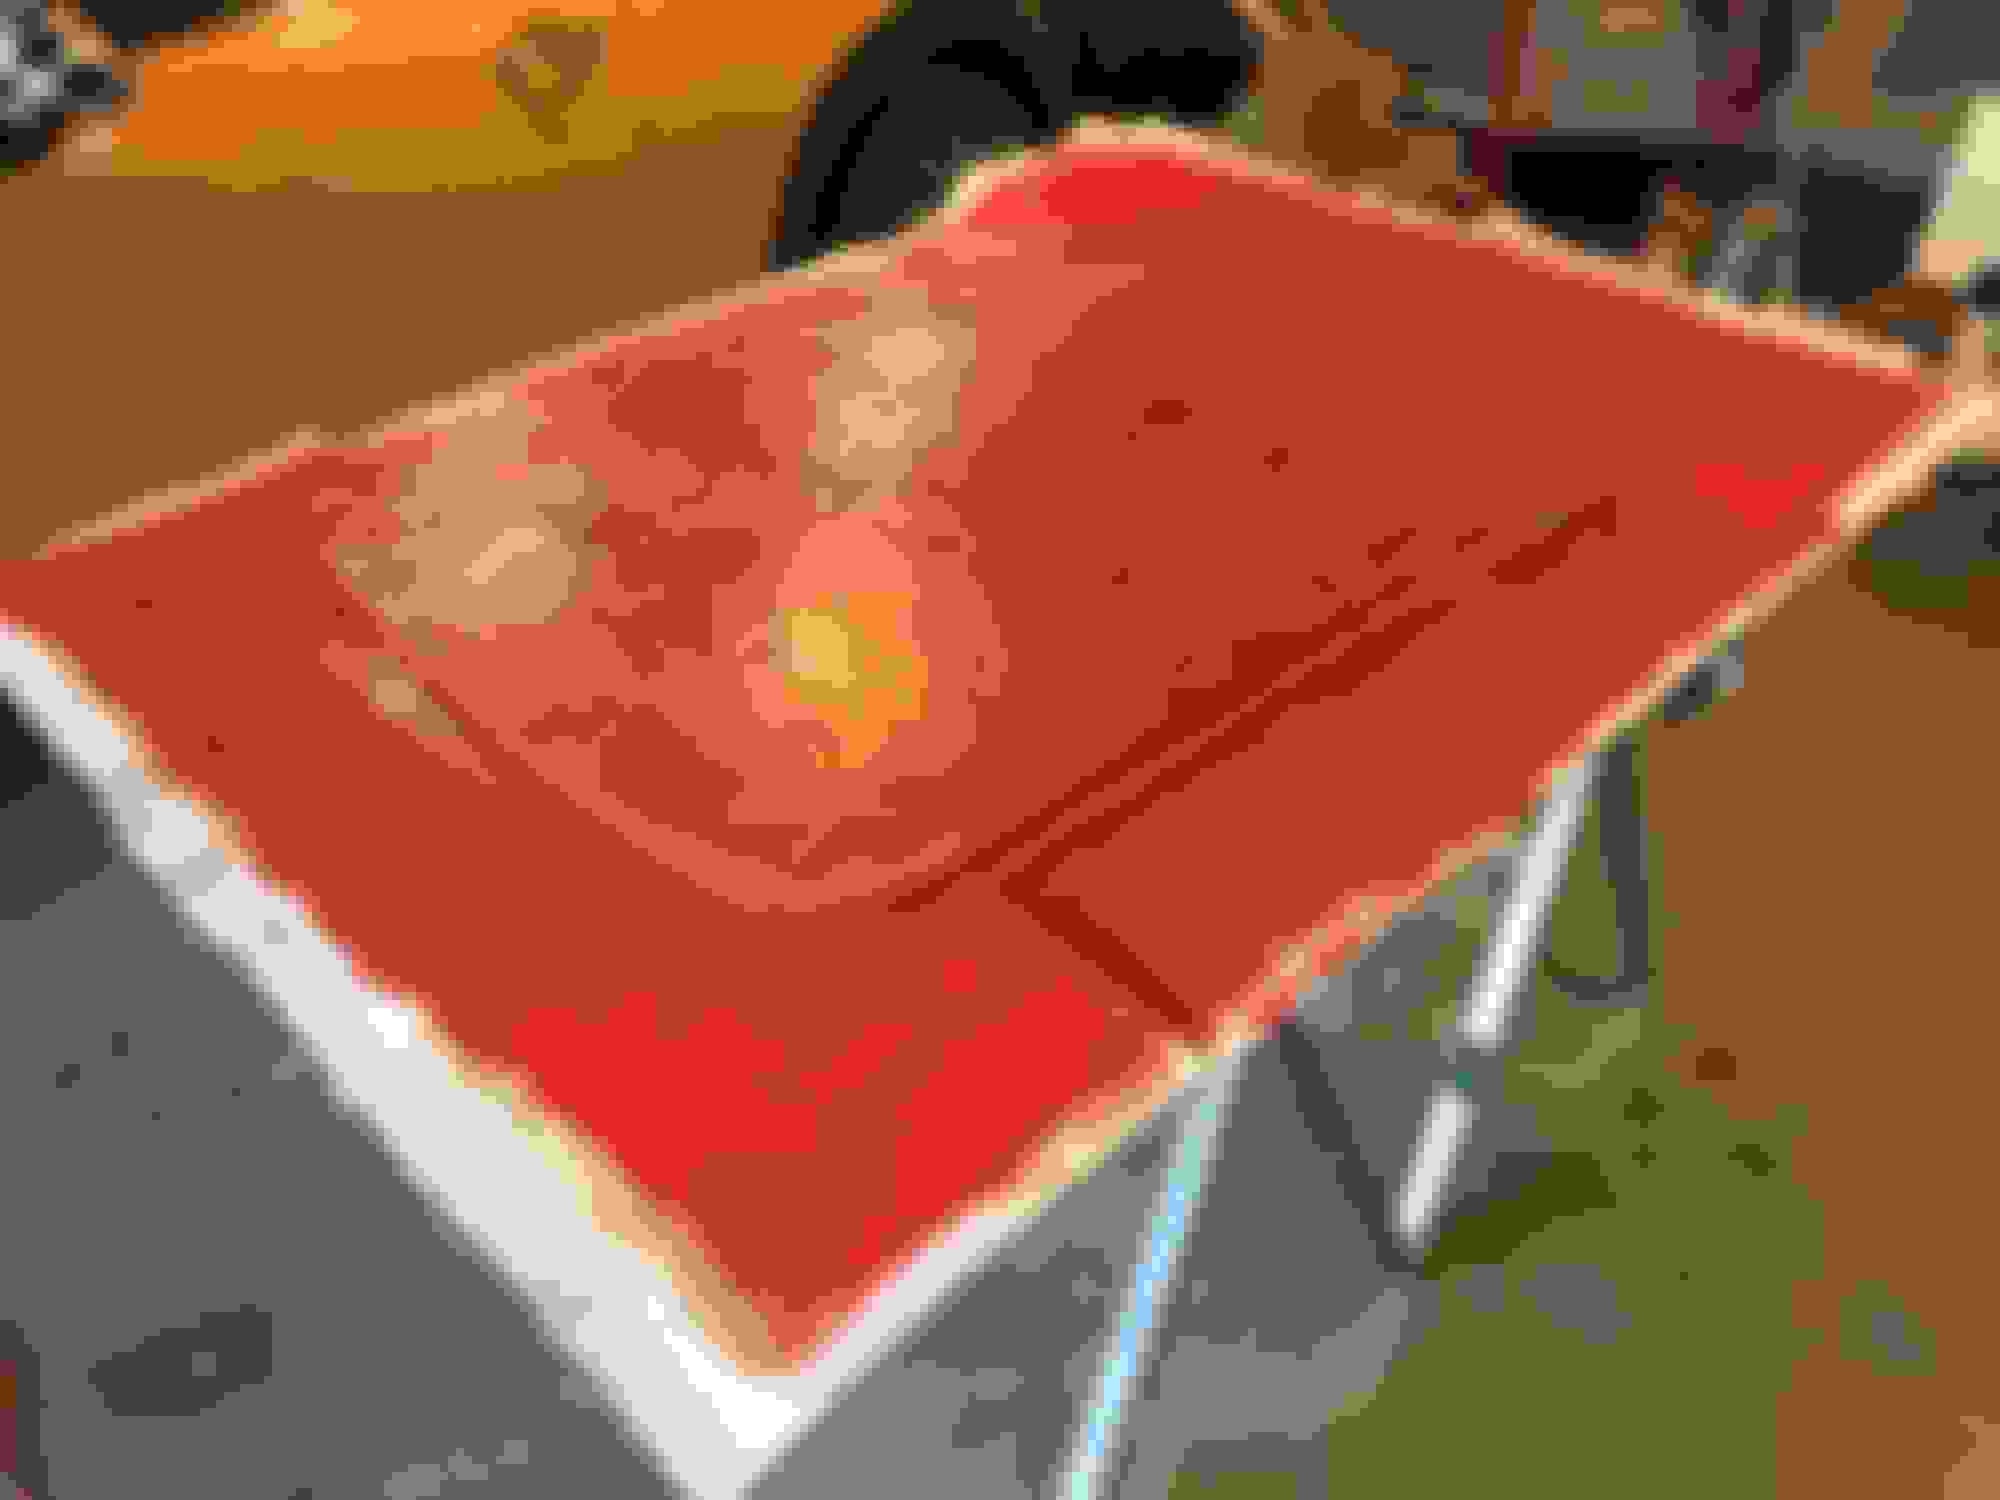
I coated the “plug” in PVA mold release, then applied a tooling resin and many layers of chopped strand fiberglass mat and finally embedded some foam to make the mold more rigid.
Tooling resin. Multiple layers of chopped strand mat.
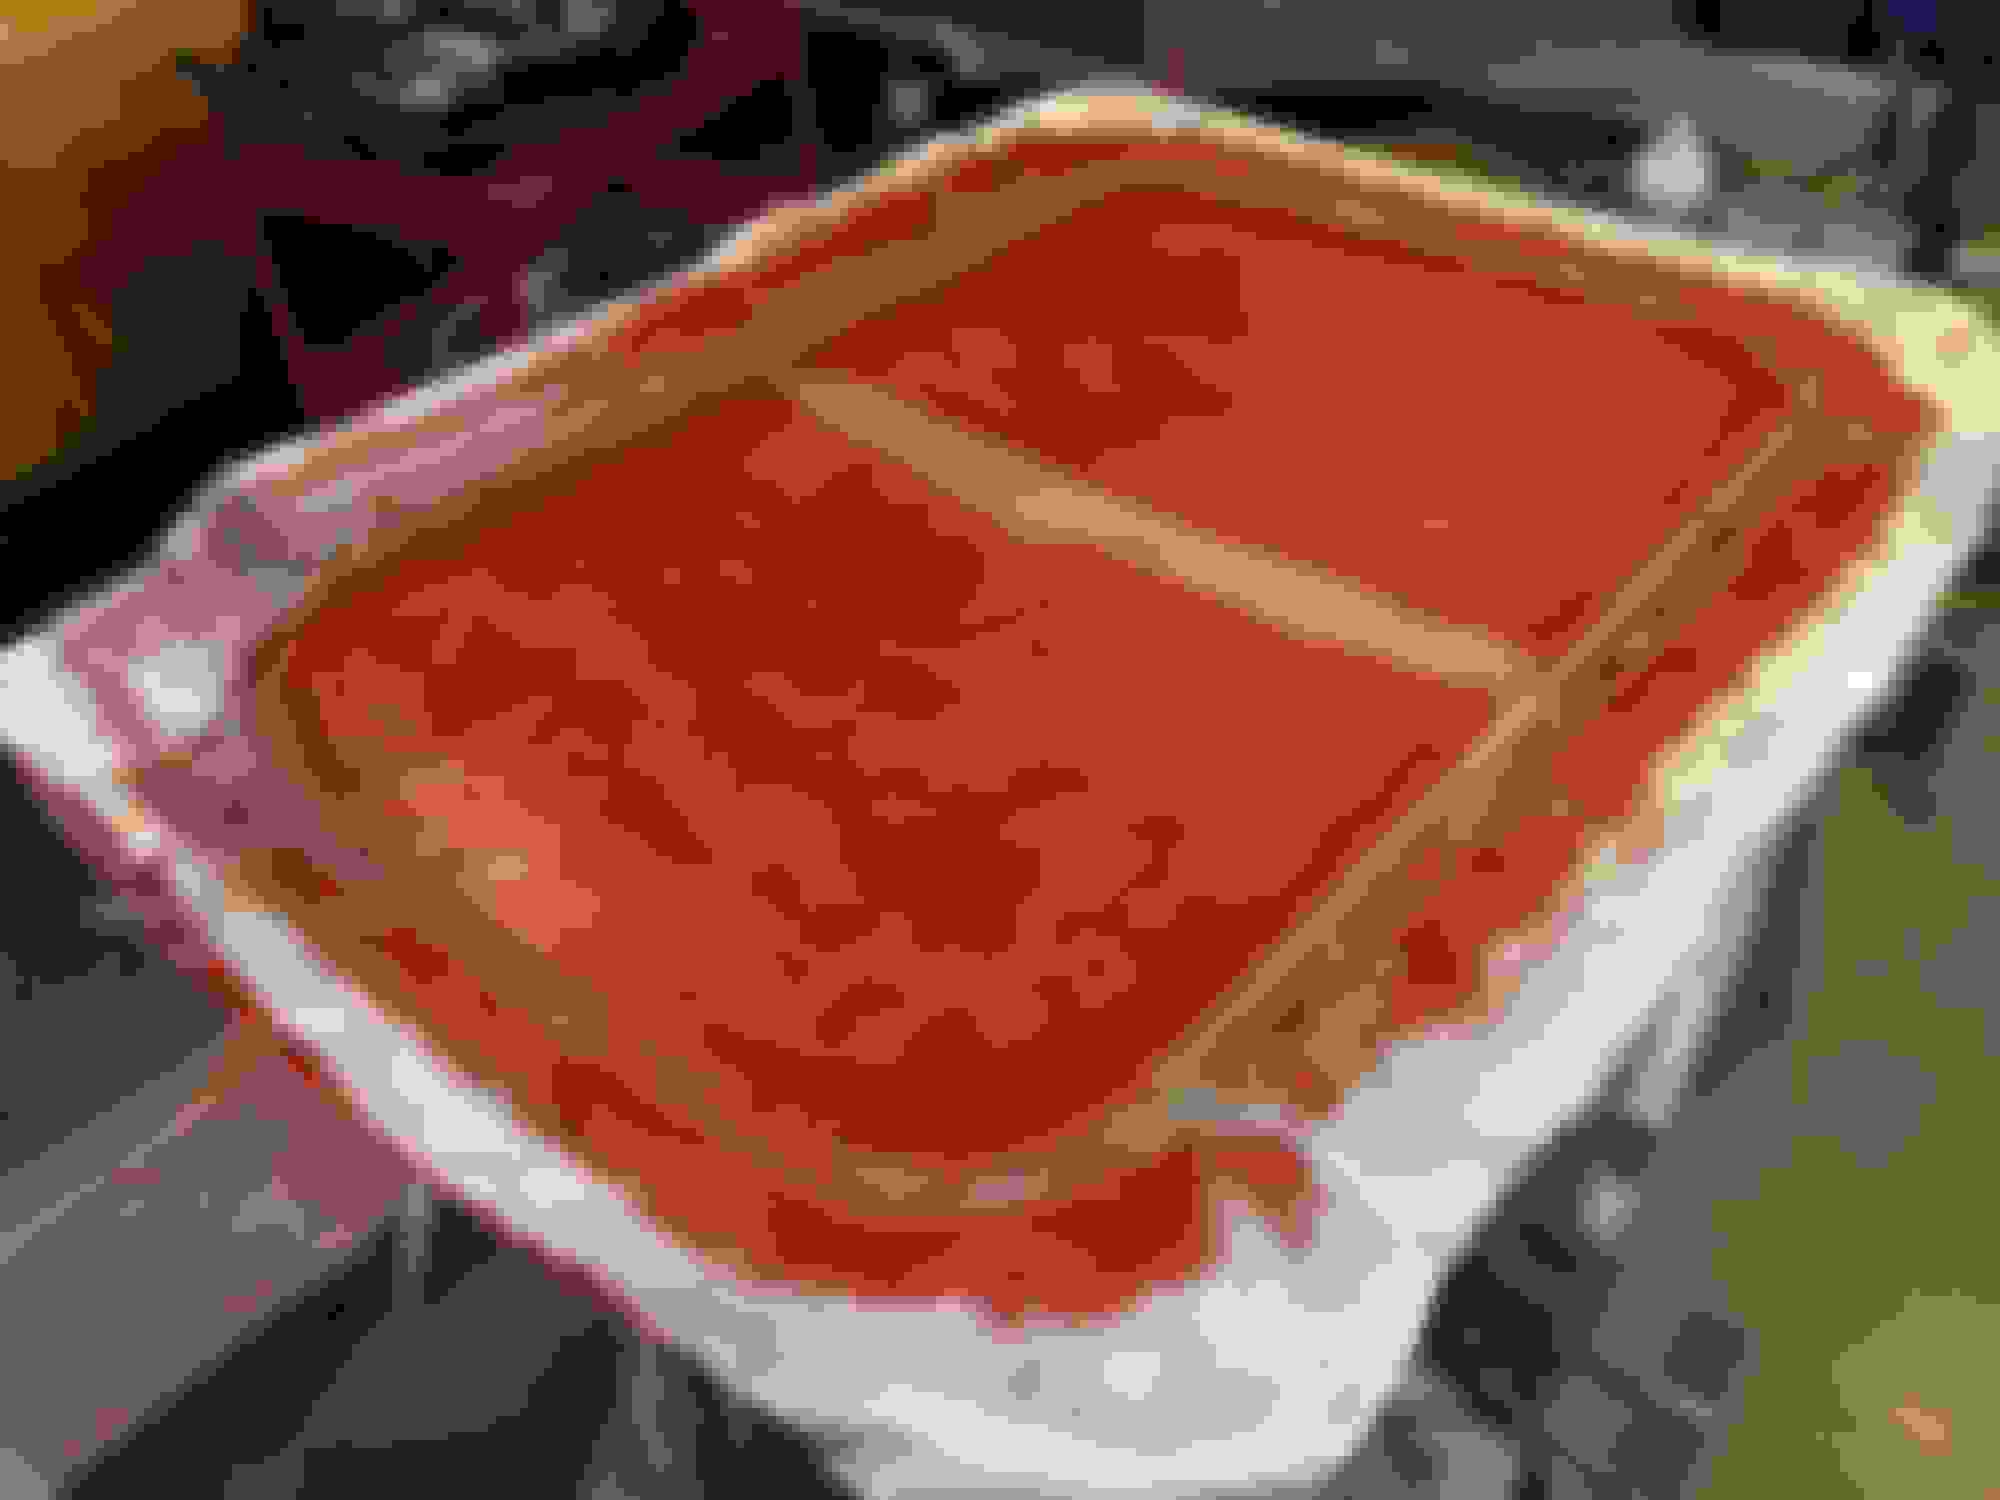
The mold came off the plug pretty cleanly, but I did need to do some smoothing and touch up with bondo.
Mold off the plug. Bondo touch up.
Last edited by AutoCoarsen; 09-25-2017 at 03:29 PM.
Since this was first attempt at composite work, I decided to do one wth fiberglass instead, since it was much cheaper. I did a hand lay-up which is where I came into my first real issues. The angles were tight enough and close enough together on the mounting rails that I ended up with a lot of air pockets. Not terrible (and still usuable), but not perfect. The actual surface of the glass turned out really well, just not the corners. Looks like a resin infusion process will help that a ton. Someday I’ll figure that out.
Then I came across my 2nd big issue. Turns out even 5 layers of fiberglass twill over the big of a span was too flimsy. It would have worked, but any weight on the roof would “oil can” the panel.
After some digging I discovered end-grain balsa core sheets. I applied this to panel and covered it in a few more layers of fiberglass.
After this process, the panel was as rigid and strong as could be.
After that I trimmed and test fit the panel. It needed some minor grinding of the mounting points to get the level right with the roof surface. Overall the fit was quite nice. Level wise, just as good as the original sunroof glass which wasn’t perfect.
After the fit was right it got a rattle can paint job. Lots of layers and wet sanding, and it came out pretty decent. This was somewhere in the middle of painting.
I weighed the original sunroof assembly at 51 lbs and this at 15 lbs. Not super light, but OK. Probably was < 10 lbs without the balsa core. I’m guessing using carbon fiber, epoxy and a resin infusion process it’ll be well under 10 lbs. This hand layed process just uses so much excess resin in my unskilled hands. I also added many layers of extra material and resin to the flange area to reinforce the air pockets which didn’t help the weight.
Here’s the final product. I’m waiting for the paint to cure a week or so for a good polish. I also ended up removing the sunroof seal. It’s hard to caulk with it there. Removed the seal, filled most of gap with small foam backer rod and used gloss white caulk to fill the gap. Kinda rag-tag, but it’ll work and last.
Overall. Learned a ton, it took forever and I am fairly pleased with results. I still have a good mold, so someday in the future I’ll attempt a resin infusion for a much higher quality product.
Last edited by AutoCoarsen; 09-25-2017 at 04:08 PM.
Nice work. I have made some carbonfibre parts for my 944 turbo, definitely more work than fiberglass if you plan on keeping it carbon finish.
Also so glad my Mini doesn't have sunroof.
Wow, this is awesome. I have done some work with fiberglass messing about with boats, and carbon fiber developing brake ducts for my R56 so I am familiar with the challenges. Great work! Thanks for posting.
I agree.... tempted to try something like this because I need to cut as much weight as I can for this upcoming time attack season, and my sunroof is 55lbs of unnecessary parts. This thread makes it super tempting, and seems fairly doable.
Bravo sir. Nicely done! A few helpful suggestions. You may want to look into a 3k woven prepreg carbon material for your next try. Since the material is pre impregnated with the resin you generally end up with a more even distribution of resin. Using a carbon prepreg you’ll definitely be left with a textured surface but that’s nothing a sandable filler/primer won’t solve. You can still get good epoxy penetration of a dry fabric though which will save some money plus you don’t need to refrigerate the prepreg. Tape the edges before working it in with a wide spreader. A vacuum bag with porous Teflon and a fiberglass bleeder cloth will help eliminate those voids you noticed and leave a nice surface requiring less filler / primer. I’ve used Nomex and aluminum honeycomb cores before to save weight and add rigidity but your use of cork was genius with the thinness required.
Pre-pregs are great but unless you find material with a room temperature cure epoxy, you'll need an oven to cure it and vacuum bagging is usually required. Not a problem for a shop that specializes in carbon fiber fabrication (there are carbon fiber sailboat masts that are over 100 feet long), it would take a good sized oven to handle a sunroof though. As Tigger2001 said, aluminum, nomex, or foam core instead of the balsa would make it really light and vacuum bagging will also help because it pulls out the excess resin. The core is just to increase the panel thickness because panel stiffness goes up proportional to the cube of the thickness.
If you decide to try to do it again, use gel coat for the first layer in the mold, then a really fine weave cloth to prevent "print through" of inner layers which can be heavier weight cloth. Then the core material, then the cloth on the other side. That's basically how fiberglass boat hulls are made.
I love the look of the panel unpainted with the balsa showing through, you could have made a kind of retro-surf style out of it. Awesome project.
After the fit was right it got a rattle can paint job. Lots of layers and wet sanding, and it came out pretty decent. This was somewhere in the middle of painting.
I weighed the original sunroof assembly at 51 lbs and this at 15 lbs. Not super light, but OK. Probably was < 10 lbs without the balsa core. I’m guessing using carbon fiber, epoxy and a resin infusion process it’ll be well under 10 lbs. This hand layed process just uses so much excess resin in my unskilled hands. I also added many layers of extra material and resin to the flange area to reinforce the air pockets which didn’t help the weight.
Here’s the final product. I’m waiting for the paint to cure a week or so for a good polish. I also ended up removing the sunroof seal. It’s hard to caulk with it there. Removed the seal, filled most of gap with small foam backer rod and used gloss white caulk to fill the gap. Kinda rag-tag, but it’ll work and last.
Overall. Learned a ton, it took forever and I am fairly pleased with results. I still have a good mold, so someday in the future I’ll attempt a resin infusion for a much higher quality product.
do you still have this mold? I have a crazy r60 build going and need to get a delete made.

 09-25-2017, 11:53 AM