

R56 Carbon Cleaning - Back of Valve Stem


Thread Starter
|
1st Gear
Joined: Dec 2014
Posts: 35
Likes: 0
Carbon Cleaning - Back of Valve Stem
I have started doing the walnut blasting on my intake valves. It's going well except for the gunk on the back of the valves. For some reason I cannot get to it. I have used about 1/3 of my media on one cylinder. Should I just move on and not worry about it? It seems like the valve itself is clean except for the back of the stem.

3rd Gear
Joined: Nov 2014
Posts: 241
Likes: 2
From: Seattle, WA
dental tools, the little metal picks, you can usually find them in a small set of 5 tools or so at a hardware or automotive store. harbor freight would definitely have them. anyways I've found that it's best to pick at and chip the carbon off the best you can manually, seems like it gives the media something more to "grab on to" and makes the cleaning process that much easier.
btw, the sides of your intake are aluminum. don't try to scrap anything off of the aluminum with steel tools. Your intake valves are steel, so you are not very likely to scratch them, but be careful with any sharp points on the tools. I dulled mine.
btw, the sides of your intake are aluminum. don't try to scrap anything off of the aluminum with steel tools. Your intake valves are steel, so you are not very likely to scratch them, but be careful with any sharp points on the tools. I dulled mine.


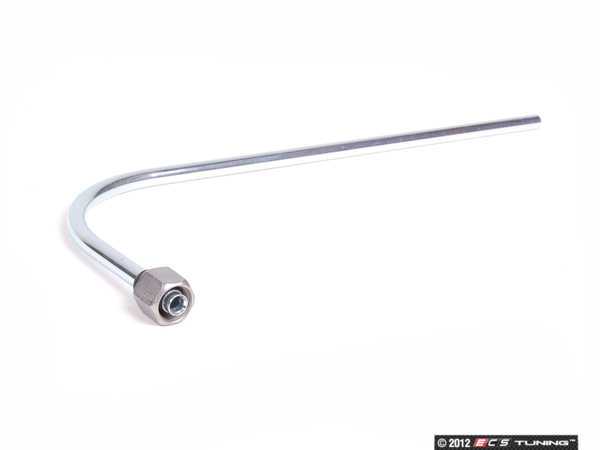
Ideally your going to want a compressor that is rated at 10 cfm at 90 psi or more. You can use one that delivers less but you can only clean a short period of time before the pressure drops and you have to stop and let it build back up. I've found setting the pressure at 120 psi works well. Once it drops below 90 psi it's much less effective. On one really stubborn vehicle that had gone 87k miles without being cleaned I had to use brake cleaner with a long bent stem to soften the carbon deposit behind the valve stem in order to get it all.
Thread Starter
|
1st Gear
Joined: Dec 2014
Posts: 35
Likes: 0
I did scratch one of my valves with a screw driver getting a little too aggressive. Hopefully I don't see any ill effects of that.
I had a 20 gallon compressor set to 120psi and it was super slow going. I got probably 95% of it. I ran out of time and had to get the car together. Next time will go alot faster and I will be more thorough. I'll probably do it again after 3 oil changes (15k).
Thanks for all the suggestions.
I had a 20 gallon compressor set to 120psi and it was super slow going. I got probably 95% of it. I ran out of time and had to get the car together. Next time will go alot faster and I will be more thorough. I'll probably do it again after 3 oil changes (15k).
Thanks for all the suggestions.
3rd Gear
Joined: Nov 2014
Posts: 241
Likes: 2
From: Seattle, WA
A minor scratch is nothing compared to all that carbon, as I'm sure you've already thought to yourself, this is just for reassurance, 
I know how you feel about the time thing, my mom was flying into down early the next morning and I had to commute 70 miles to get there. When the sun went down it was crunch time, lol.
It's only been about 4k miles for me since I did mine, if I find the spare time at work I really do want to see what they look like in the very short term. Besides it's really not that difficult to get to.
Trending Topics


When cleaning make sure you have the right wand or tools. Seen them caked on and with the tools and a blast it comes right off with the walnut media.
Here is some DIYs for carbon cleaning, good reference.
https://www.northamericanmotoring.co...-cleaning.html
Here is some DIYs for carbon cleaning, good reference.
https://www.northamericanmotoring.co...-cleaning.html
__________________

MINI Guru/ MINI Owner Since 2004 | NEW Lifetime Part Replacement | Local Pickup
Milltek | Genuine MINI | Forge Motorsport | NM Engineering | ECS Performance | M7 Speed
Customer Service Hours: 8am-8pm EST|Sales Team Hours: 8am-11pm | SAT 10am-7pm 800.924.5172
MINI Guru/ MINI Owner Since 2004 | NEW Lifetime Part Replacement | Local Pickup
Milltek | Genuine MINI | Forge Motorsport | NM Engineering | ECS Performance | M7 Speed
Customer Service Hours: 8am-8pm EST|Sales Team Hours: 8am-11pm | SAT 10am-7pm 800.924.5172
Thread Starter
|
1st Gear
Joined: Dec 2014
Posts: 35
Likes: 0
 The carbon was really bad. The valves looked like gum drops. I could hardly tell if they were open or closed. I had to hook up my compression tester to see when the needle moved while turning the engine by hand.

Thread
Thread Starter
Forum
Replies
Last Post
igzekyativ
MINIs & Minis for Sale
34
Jul 16, 2020 12:54 PM
Navigation & Audio My 07 COOPER S has an mp3 jack STOCK!
surfblue
Navigation & Audio
4
Oct 24, 2018 01:20 AM