When you click on links to various merchants on this site and make a purchase, this can result in this site earning a commission. Affiliate programs and affiliations include, but are not limited to, the eBay Partner Network.
Received the M7 intake and heat shield yesterday. Install took all of 20 minutes, including making a martini for the wife. Haven�t had a chance to drive it yet, but looks good in the bay.
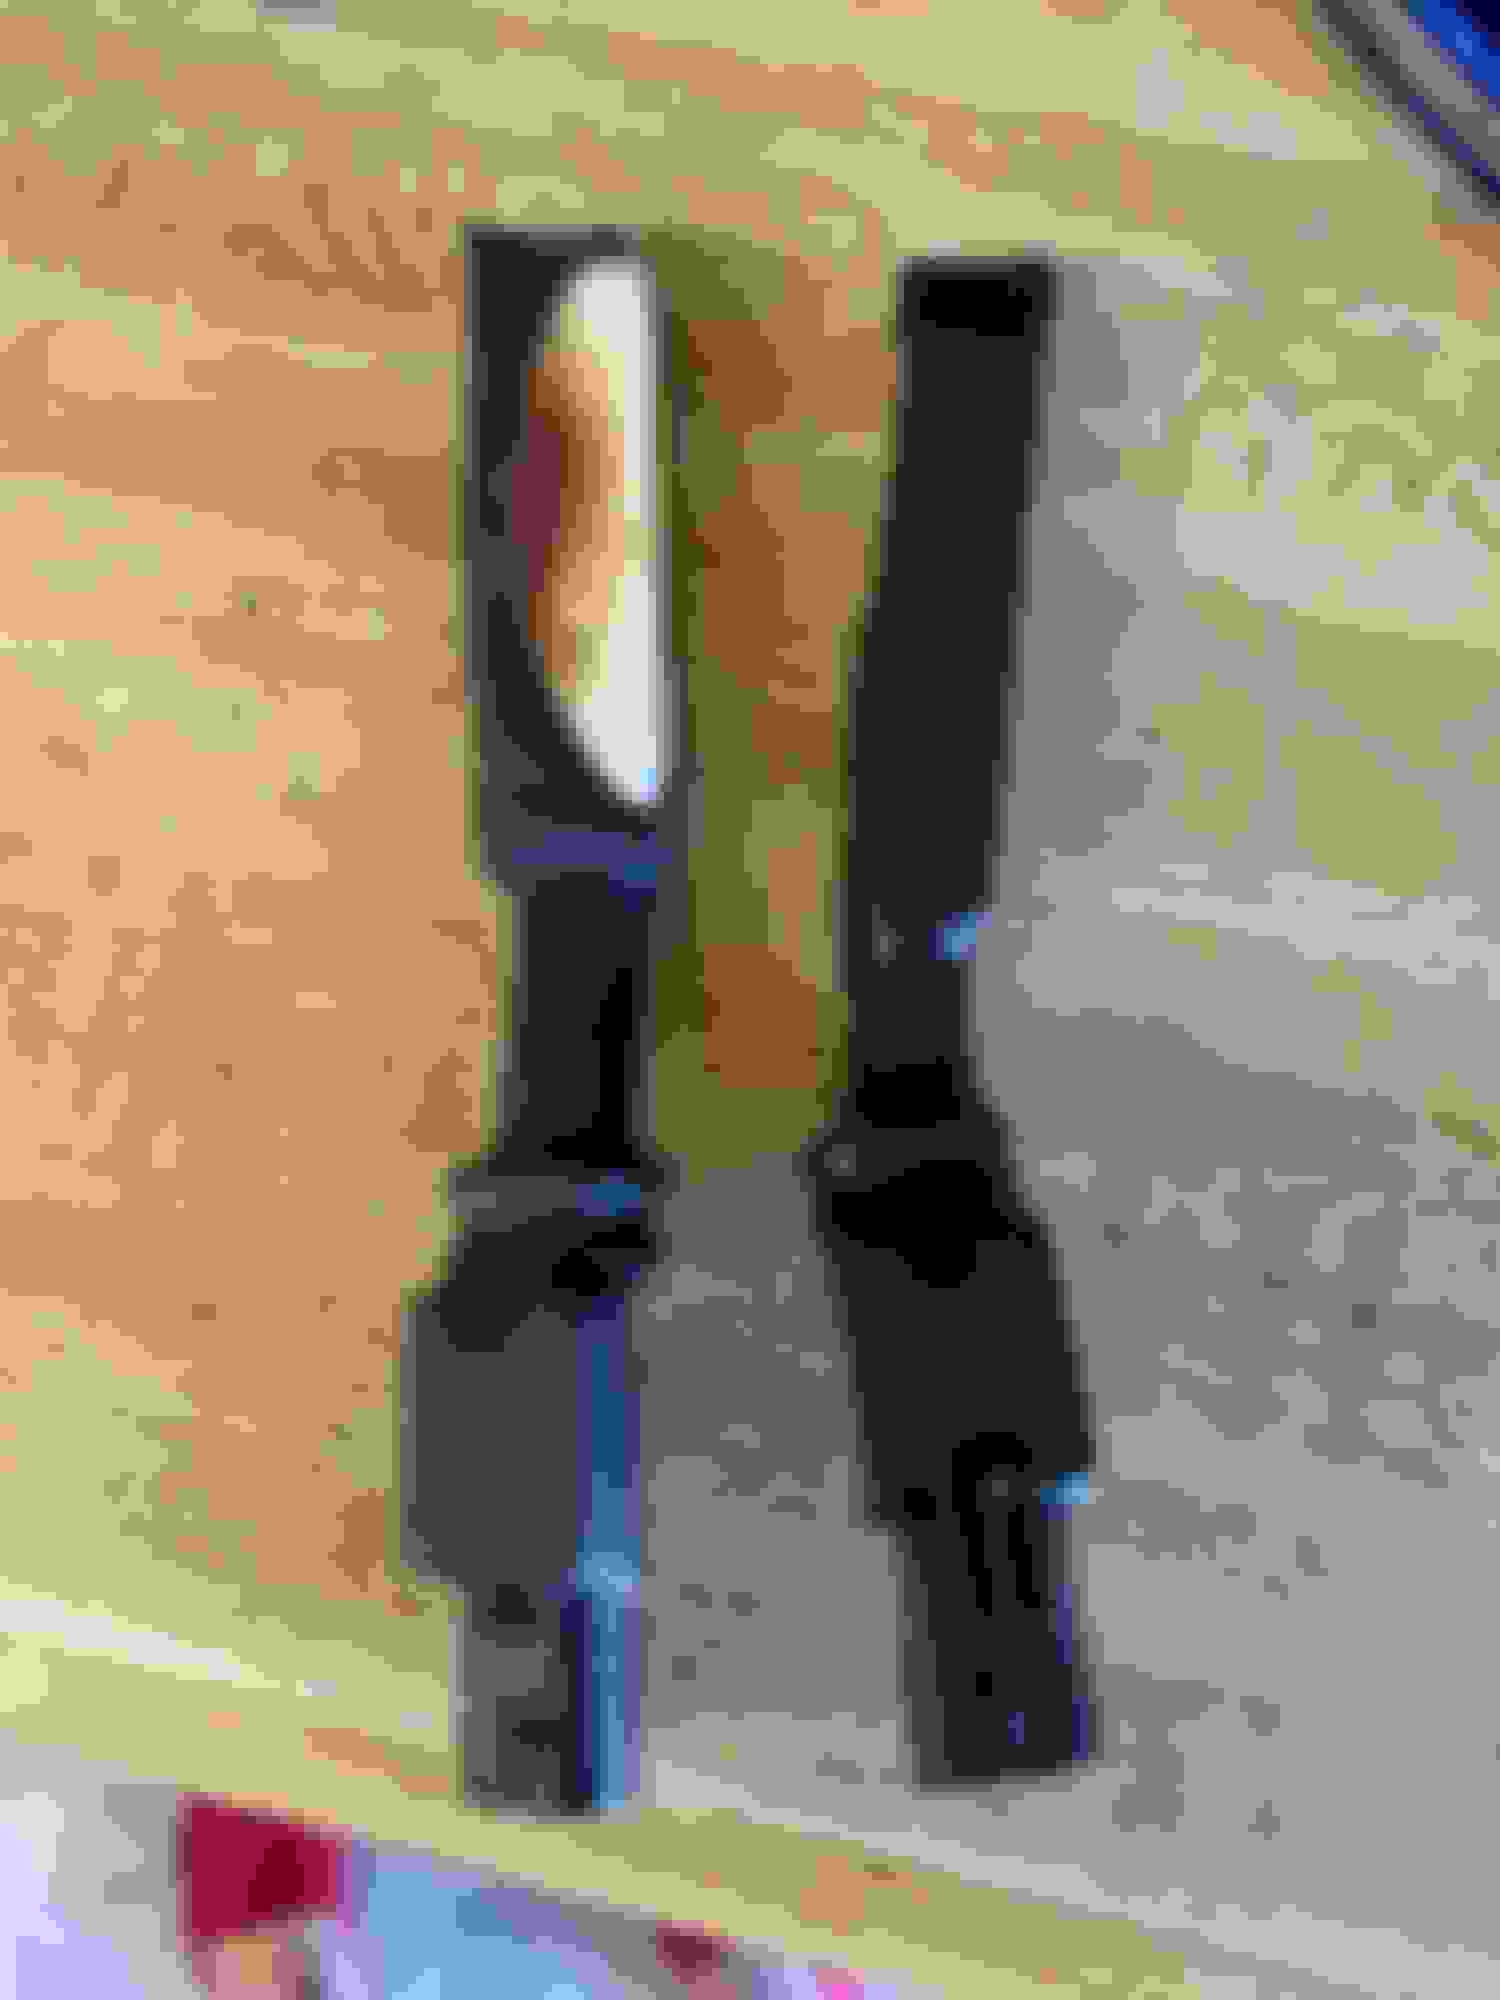
install of the inlet tube was pretty straight forward, no real gotchas. M7 includes �resistor� packs for the two electrical connectors that plug into the PCV connections. The M7 �resistors� are much larger than the NM units, at least when comparing them to the pictures of the NM units on their website.
Just an update on the M7 intake tube...
I noticed today that one of the PCV resistor elements appears to be burned. Trying to contact them to see what they have to say about it:
Just an update for those following my M7 saga... Their response is below:
Originally Posted by M7
The circuit is functioning as designed. The sealing tubing on the outside of the circuit has a lower maximum working temperature than the maximum circuit temperature.
We are manufacturing replacement parts now. Once completed and tested we will send out replacements. In the meantime be sure the replicator is not touching any wires or vacuum hoses.
We apologize for this inconvenience.
So, at this point, I'm not turned off yet. I'll update again once I receive the replacement parts.
Just an update on the M7 debacle... I asked for an update last week, and received this response:
Originally Posted by M7
The pins in the connector are unavailable worldwide. We are waiting on our order to arrive. The date has changed three times since March 15. So I do not have a date for you at this time.
Brakes needed doing, so I took this as an opportunity to upgrade to the rear JCW brackets and rotors. JCW rotors are 280mm, vs the S rotors coming in at 259mm. Nice thing about the JCW rear upgrade is the stock S calipers bolt right up.
I also wanted to clean up the calipers a bit, so I painted the caliper body gloss black.
Swapped out my fog lights for generic 4" LED modules with halo rings. I had the OEM Mini DRL LED fog lights, but one of the halo rings burned out a couple years ago. Was never really happy about that, and didn't want to replace just one side. Then, the lens patina wouldn't match between the two sides. Didn't want to spend the money to replace both sides, either. I vacillated between just swapping in a pair of OEM fog housings with LED plug-n-play bulbs, but that would have cost almost as much as a pair of new OEM LED fog lights. Decided to just measure the fog lights, then find something that fits. Here is where I ended up.
The install was pretty straight forward. The tabs on the new housing are in a suitable position to just screw them into the OEM fog mounting ring. I didn't get any pictures of that part. Then, I snipped the OEM connectors off the harness, and made the connections to the new housing. Fog light connector to the new fog connector, and the upper running light harness to the new housing DRL halo ring. Recoded my DRLs for upper fog light, and done.
Those are sick. I may have to grab a set! Edit: Are those seriously $47 for a pair? That is amazing.
Oh yeah! They look a little bit better than in the pictures, since it was full sun when I took them. They were much easier to install than I expected, too. You just have to not be afraid to cut the factory wiring.
Just an update on the M7 debacle... I asked for an update last week, and received this response:
Originally Posted by M7
The pins in the connector are unavailable worldwide. We are waiting on our order to arrive. The date has changed three times since March 15. So I do not have a date for you at this time.
Blah
For anyone who cares, M7 apparently shipped something out for me. I've had no responses to my requests for update, until today when I received a "Shipping Notification." I'll post another update when 'whatever it is' shows up.
So, the new "module" from M7 showed up. The new one is slightly smaller than the old one, but no indication what has been updated or changed since its all wrapped up in shrink wrap. Time will tell if I have any issues with this new piece.
After two full days working in the garage, new parts installed:
- Clutchmaster FX100 clutch kit with steel flywheel
- Clutch release fork, guide tube, and pivot
- MFactory LSD
- Poly front control arm bushings
- Poly front sway bar bushings
- Sneed4Speed Driver's side axle
- Tie-rod ends
Need to try and keep my foot out of it until the new clutch has time to break in....
You will find a nice little difference in the front from the poly replacements. I certainly did when I got the Powerflex control arm bushings. Which color combo did you get as i am aware there are 2 different versions. As for the front sway bar, did you get an OEM size poly front sway bar bushing? I did for the oem R55 front sway bar bushing from Powerflex special order.
You will find a nice little difference in the front from the poly replacements. I certainly did when I got the Powerflex control arm bushings. Which color combo did you get as i am aware there are 2 different versions. As for the front sway bar, did you get an OEM size poly front sway bar bushing? I did for the oem R55 front sway bar bushing from Powerflex special order.
Front end feel much more composed, but I need an alignment so I haven't pushed it too hard yet.
Wanted to post up a couple update on a few of the newer parts that have been thrown at the car...
M7 intake update:
It seems like the new PCV module that M7 sent me is working as expected. I haven't noticed any scorching on the module, and I haven't had any engine lights either.
ClutchMasters FX100 kit with Steel Flywheel:
I am VERY happy with my new clutch kit. At first, the flywheel seemed to be quite heavy, but the OEM dual-mass flywheel is a heavy beast. Now that it is installed and running, I almost wish I went with the aluminum flywheel, but I am still quite happy with the steel version. As far as the pressure plate and clutch disc are concerned, again, I'm much happy with my decision on this kit. Having an aftermarket tune on the car, I was worried about holding capacity, but at the same time I didn't want to go with a clutch that was too grabby. I wanted a stock feel, with increased holding for the additional power. I think this kit has checked all the boxes and concerns I had for an aftermarket clutch. I now have ~700 miles on the kit, so I'm past the recommended 'break-in' period. I haven't noticed any chattering or slippage, and pedal feel is lighter and smoother than the OEM clutch ever was. Love it!
MFactory LSD:
With my LSD choice, I again wanted a unit that offered smooth engagement, and didn't want a clutch-pack version that would have some maintenance interval. The MFactory LSD is a purely mechanical LSD, similar to a Torsen or a Quaife unit. When I ordered it, the MFactory was less expensive than the Quaife, and more readily available. So far, I am impressed with it. I haven't noticed much inside wheel spin in tight turns, the car just pulls threw the corners now. And traffic signal take offs are now full power to both wheels. When I pulled the gearbox down, I filled it back up with Valvoline gear oil, which I'm not too impressed with. I plan to change it out in a few more miles, and I may update my review of the LSD with a different fluid later.
Sneed4Speed Race Axles:
These things are just beefy. The axles overall feel very well built. And since they have a lifetime warranty, and cost CONSIDERABLY less than OEM axles, it was a "no brainer" to use these as replacements. The only comment I want to make at this point is the customer service from Sneed has been top notch so far. His communication before and after the order were lacking, however, after I received the two axles, and saw that one of the boots was already compromised, the return and replacement process was very quick and smooth. I hope they last as long as I plan to keep the car.
Poly Bushings:
While the front subframe was down, I replaced both the control arm bushings and the OEM front sway bar bushings, both with new poly versions. The front of the car now feels so much more planted to the road. I thought the car had good responses before, but its MUCH sharper now. My recommendation: if you are swapping out your control arm bushings, spend the little bit extra in parts and time to install the sway bar bushings too. I feel everything in the road now, but the handling and response are much more direct.
I think that's all for now... Thanks for reading along!