
ND's MCS R53 JCW build/progress


Thread Starter
|
6th Gear
Joined: Jun 2020
Posts: 1,146
Likes: 313
From: The Netherlands
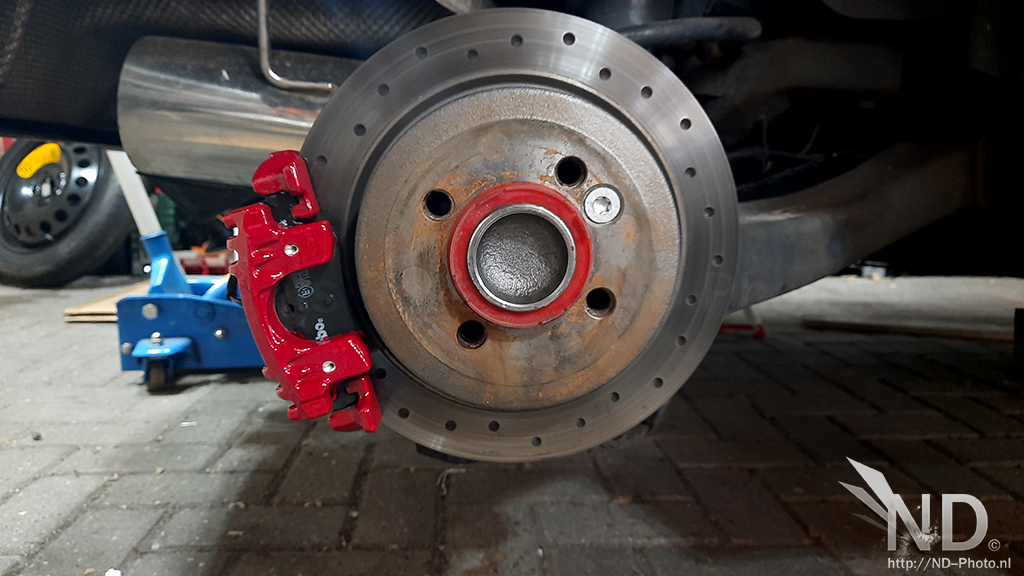
In the meantime I spent some time painting/repainting the brake calipers. The front calipers were already red, but where in dire need of a refresh. I bought Foliatec Racing Rosso (paint from a can).
Starting situation

Work in progress
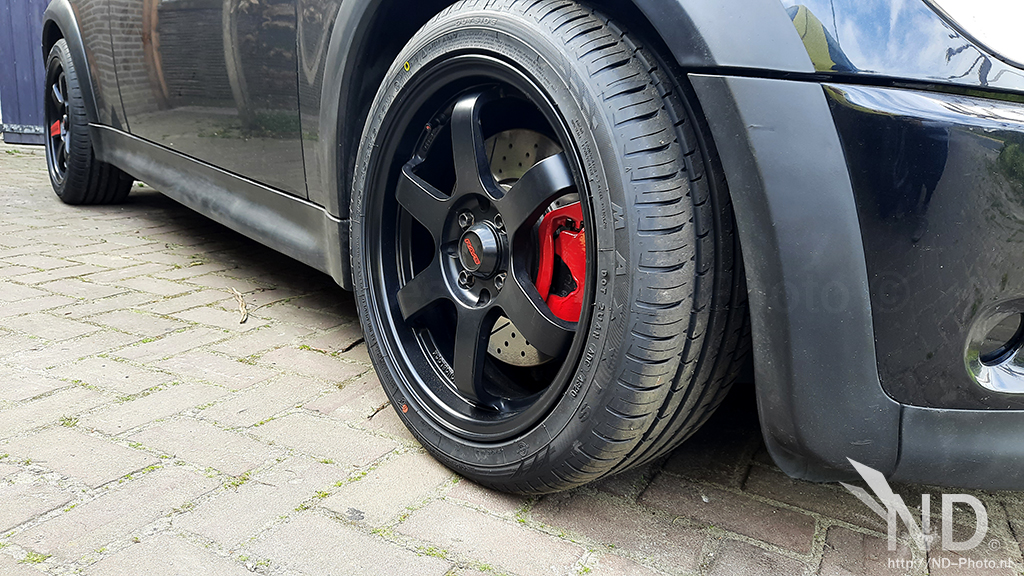
Added some red to the rear wheels only

Let it dryyyyyy


Working on the front

I will decide later if I will add the "John Cooper Works" decal, or let them be nice and clean. Any thoughts...?

Finished product

Starting situation
Work in progress
Added some red to the rear wheels only
Let it dryyyyyy
Working on the front
I will decide later if I will add the "John Cooper Works" decal, or let them be nice and clean. Any thoughts...?
Finished product
Thread Starter
|
6th Gear
Joined: Jun 2020
Posts: 1,146
Likes: 313
From: The Netherlands
I think the JCW logo will be added, I found them on eBay
https://www.ebay.com/itm/202657813658
On the rear wheel? Its a sticker, bought it from Aliexpress. I didnt add them on the front wheels as well, as that might be a tad "too much".
Link: https://aliexpress.com/item/1005001742295717.html
https://www.ebay.com/itm/202657813658
On the rear wheel? Its a sticker, bought it from Aliexpress. I didnt add them on the front wheels as well, as that might be a tad "too much".
Link: https://aliexpress.com/item/1005001742295717.html
Thread Starter
|
6th Gear
Joined: Jun 2020
Posts: 1,146
Likes: 313
From: The Netherlands
Went on dechroming, a job which I wanted to do earlier.
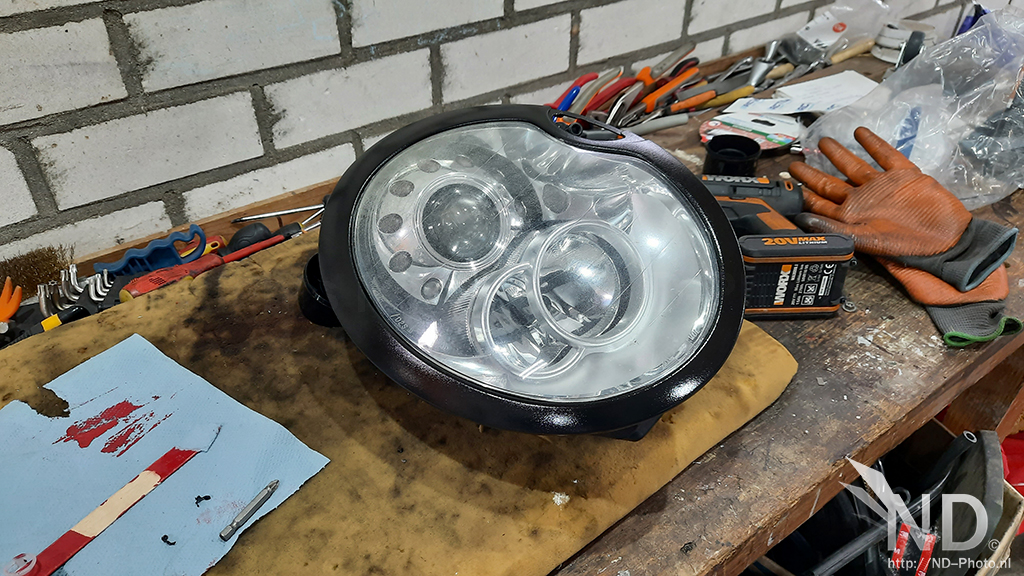
Dechromed the rings of the HID headlights, using plastidip/removable coating (Motip spraycan)
Before
After. Happy with the results

Dechromed the rings of the HID headlights, using plastidip/removable coating (Motip spraycan)
Before
After. Happy with the results

Can u plz gimme more info on that BMW throttlebody ? I need a larger one and would rather try that BMW instead of my ported mini one... buuuut I knowtice the mini one has the vacuum port in it , can that just be rerouted or does that control idle or what do you do with that then ? Plz fill me in... I've ALWAYS had great results using larger tbodies on my projects.
Thread Starter
|
6th Gear
Joined: Jun 2020
Posts: 1,146
Likes: 313
From: The Netherlands
Most of the information is in here (there is where I got the idea ), but I will summarize it for ya > https://www.northamericanmotoring.co...ttle-body.html
BMW partnr: 13541439580
BMW application: BMW E65 760i throttle body, these were on 2003-2008 big v12 7 series (and more)
To make it fit the Mini R53, I needed to:
-Drilled out the mounting holes on the TB (1mm bigger), as the bigger TB has a different spacing (minimal difference)
-Cut into the bracket which holds the TB onto the black plastic intake pipe (as the holes do not align)
-Used 2 extra washers per mounting bolt
-Optional: Bottom part of the airbox trimmed to allow for a 45 angle 3" silicone hose for a custom intake
-Optional: Cut 10mm hole for rocker cover ventilation
-Optional: Cut 8mm hole for EVAP ventilation
Effect on my car:
0.1 BAR higher pressure
If you want you can probably port this bigger TB for even more gains.
), but I will summarize it for ya > https://www.northamericanmotoring.co...ttle-body.htmlBMW partnr: 13541439580
BMW application: BMW E65 760i throttle body, these were on 2003-2008 big v12 7 series (and more)
To make it fit the Mini R53, I needed to:
-Drilled out the mounting holes on the TB (1mm bigger), as the bigger TB has a different spacing (minimal difference)
-Cut into the bracket which holds the TB onto the black plastic intake pipe (as the holes do not align)
-Used 2 extra washers per mounting bolt
-Optional: Bottom part of the airbox trimmed to allow for a 45 angle 3" silicone hose for a custom intake
-Optional: Cut 10mm hole for rocker cover ventilation
-Optional: Cut 8mm hole for EVAP ventilation
Effect on my car:
0.1 BAR higher pressure
If you want you can probably port this bigger TB for even more gains.
Thread Starter
|
6th Gear
Joined: Jun 2020
Posts: 1,146
Likes: 313
From: The Netherlands
started the major suspension overhaul! Ordered all kinds of stuff, some has been delivered, but a lot still needs to arrive. Even though, I was able to start
Silver Project Camber arms
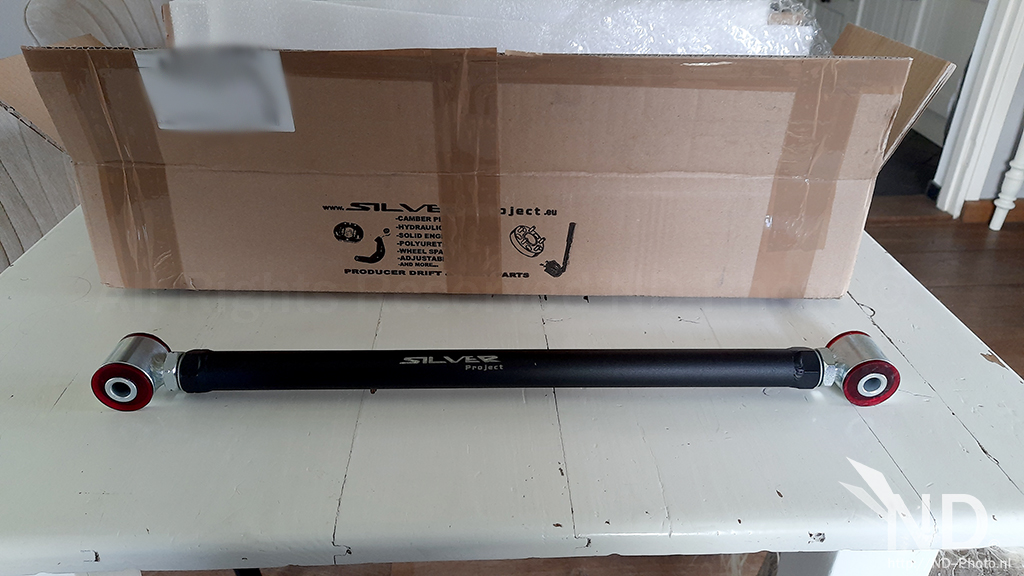

Powerflex bushings which should outlast the car
-Roll Center adjusters
-Rear trailing arm bushes
-Bushes for the front arms (+2 caster version). I ordered the normal ones, but got these instead which are 2x as expensive. Decided to keep them and go with it


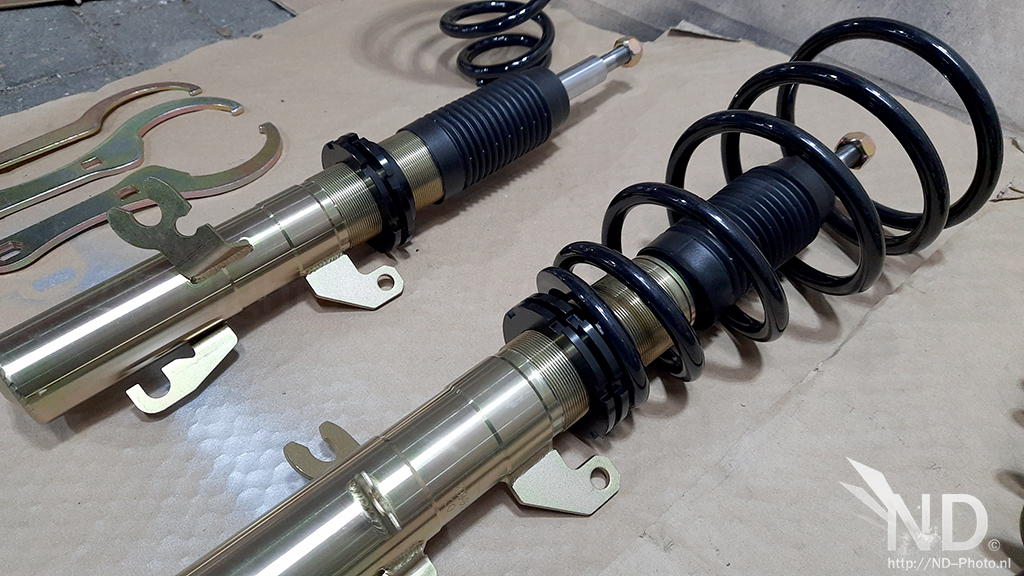
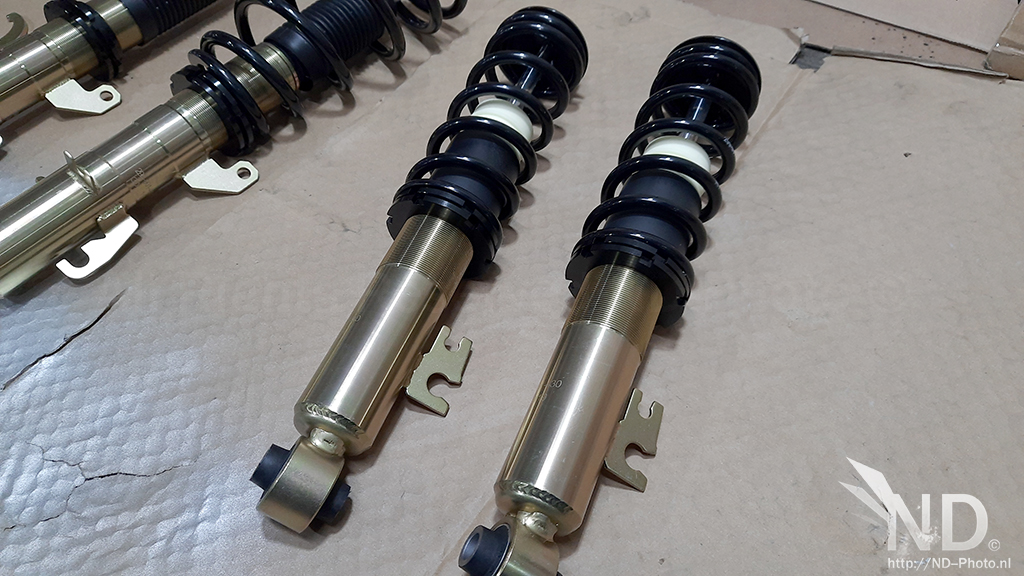
DTSline SX coilovers, went back and forwards with normal setup or coilovers and a member on a dutch Mini forum talked me into this set.When doing a little research, it looks identical to the better known AP Fahrwerk coilover set.

Silver Project Camber arms
Powerflex bushings which should outlast the car
-Roll Center adjusters
-Rear trailing arm bushes
-Bushes for the front arms (+2 caster version). I ordered the normal ones, but got these instead which are 2x as expensive. Decided to keep them and go with it
DTSline SX coilovers, went back and forwards with normal setup or coilovers and a member on a dutch Mini forum talked me into this set.When doing a little research, it looks identical to the better known AP Fahrwerk coilover set.
Thread Starter
|
6th Gear
Joined: Jun 2020
Posts: 1,146
Likes: 313
From: The Netherlands
Started with the rear trailing arms bushes, which is a pita! I did this job before on 2 other cars (Seat Leon 1.8T and my Golf 3 GTI), but even so its still a horrible job to do without a press. With the help of some chisels I was able to get one out
Original bushing after some rounds of "battling". Rubber looked quite good, but its still 15 years old.
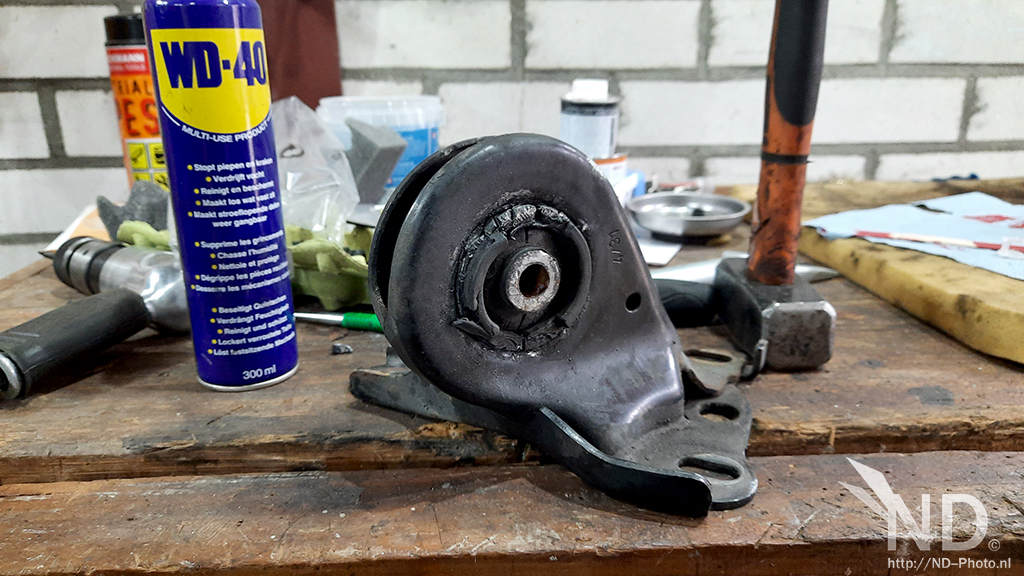
Whack a mole and its out!

New aluminium bush in the trailing arm support


1 Side finally done. If you need to tackle it, go from this side, not the bottom of the car!

Original bushing after some rounds of "battling". Rubber looked quite good, but its still 15 years old.
Whack a mole and its out!
New aluminium bush in the trailing arm support
1 Side finally done. If you need to tackle it, go from this side, not the bottom of the car!
4th Gear


Joined: May 2020
Posts: 600
Likes: 120
From: North Carolina
Nice man! I just got Powerflex bushings for the rear of my front control arms. Cant wait to get them on! I will eventually get some lower control arms for the rear too. I may get uppers at some point but def the lowers.

4th Gear
Joined: May 2020
Posts: 600
Likes: 120
From: North Carolina
At this rate it may be the end of the month before I can get to it 😒 I'd love to know how hard it is too! I also have a motor mount to swap and I STILL have that Braille sitting on the workbench....
Thread Starter
|
6th Gear
Joined: Jun 2020
Posts: 1,146
Likes: 313
From: The Netherlands
No worries, take your time...
The rest of my stuff should arrive in the next 7 days or so, then I can make progress again as I cant wait to put coilovers under the car! Yesterday I was able to mount the Camber arms under the car as I was missing spanner 27mm in my hardware collection (you need 2, or an adjustable wrench).
The rest of my stuff should arrive in the next 7 days or so, then I can make progress again as I cant wait to put coilovers under the car! Yesterday I was able to mount the Camber arms under the car as I was missing spanner 27mm in my hardware collection (you need 2, or an adjustable wrench).
Thread Starter
|
6th Gear
Joined: Jun 2020
Posts: 1,146
Likes: 313
From: The Netherlands
Well that took longer than expected. Waited for almost a month, but the rest of the stuff has finally arrived. Got quite some tasks to do, but I will take my time to do so, no rush!
Thread Starter
|
6th Gear
Joined: Jun 2020
Posts: 1,146
Likes: 313
From: The Netherlands
Status updates!
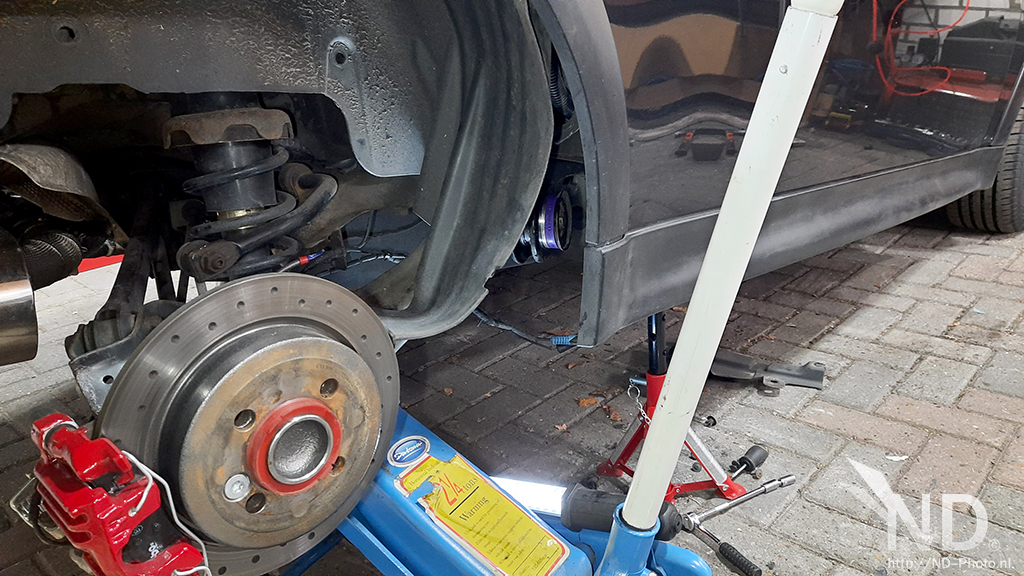
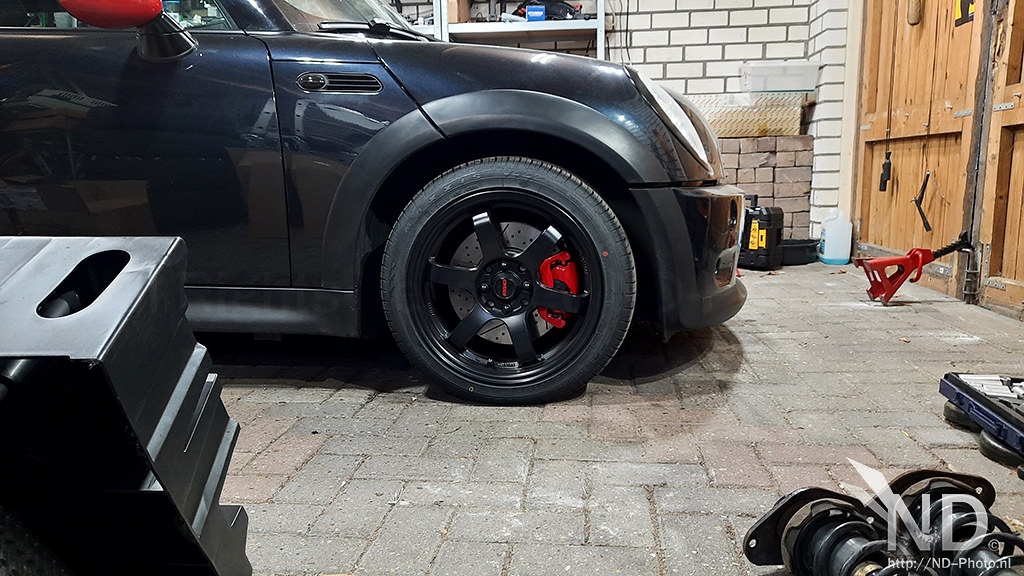
Rear axle is complete, swapped the stut over with the new DTSline coilovers. Put it on minimal lowering and I'm already happy with the result! It will drop a little bit more over time, but that is fine.


Shot from the front axle before it will be lowered
On to the rest of the front axle!
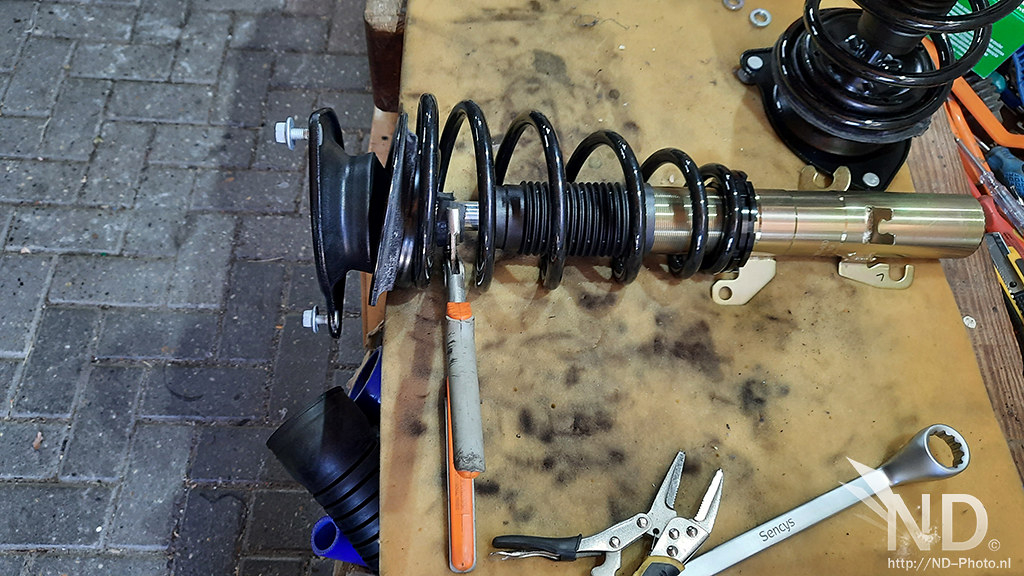
Assembling the front struts put me straight into a dilemma. I didnt have no special tools to tighten the top nut. A impact wrench is not recommended so I needed to come up with another solution. I had a "eureka" moment the day after, using a piece of thick rubber and some pliers, I was able to block the piston from turning without damaging it. Nice!

Reassembling the subframe looked daunting, but wasnt to bad in the end.
But the front axle of the Mini decided to put up a fight...
-Replaced the wheel bearing on one side, when I was ready I found out I had the wrong one (pre facelift). The pre facelift accepts M12 wheel bolts, I have M14 wheel bolts. New bearing should arrive in a day or 2...
-When wacking out the control arm bushing, I managed to break the bush holder. So I ordered 2 new ones for me to mod...
-I jacked up the Mini just a tad bit low, which resulted into me not being able to roll out the sub frame from under the car. As I only have 1 floor jack, I cannot raise the car higher. In other words, all work on the subframe will take place under the car
Rear axle is complete, swapped the stut over with the new DTSline coilovers. Put it on minimal lowering and I'm already happy with the result! It will drop a little bit more over time, but that is fine.
Shot from the front axle before it will be lowered
On to the rest of the front axle!
Assembling the front struts put me straight into a dilemma. I didnt have no special tools to tighten the top nut. A impact wrench is not recommended so I needed to come up with another solution. I had a "eureka" moment the day after, using a piece of thick rubber and some pliers, I was able to block the piston from turning without damaging it. Nice!
Reassembling the subframe looked daunting, but wasnt to bad in the end.
But the front axle of the Mini decided to put up a fight...
-Replaced the wheel bearing on one side, when I was ready I found out I had the wrong one (pre facelift). The pre facelift accepts M12 wheel bolts, I have M14 wheel bolts. New bearing should arrive in a day or 2...
-When wacking out the control arm bushing, I managed to break the bush holder. So I ordered 2 new ones for me to mod...
-I jacked up the Mini just a tad bit low, which resulted into me not being able to roll out the sub frame from under the car. As I only have 1 floor jack, I cannot raise the car higher. In other words, all work on the subframe will take place under the car
Thread Starter
|
6th Gear
Joined: Jun 2020
Posts: 1,146
Likes: 313
From: The Netherlands
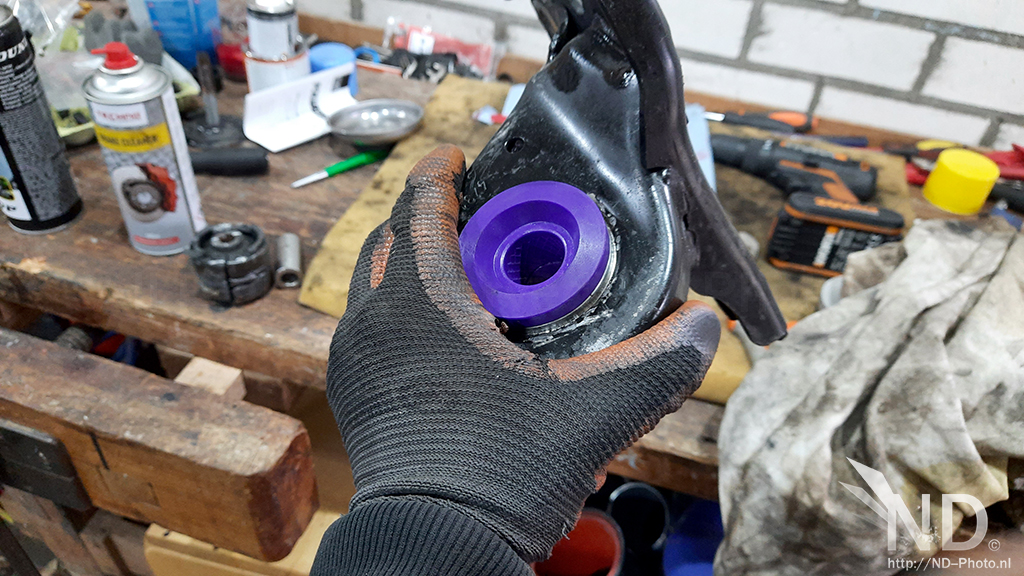
Was able to remove 1 outer ball joint (went more difficult than expected). This is how it looks with the Powerflex Roll Center Adjuster.

And replaced the power steering bushing with the Powerflex bushing. That went pretty smooth

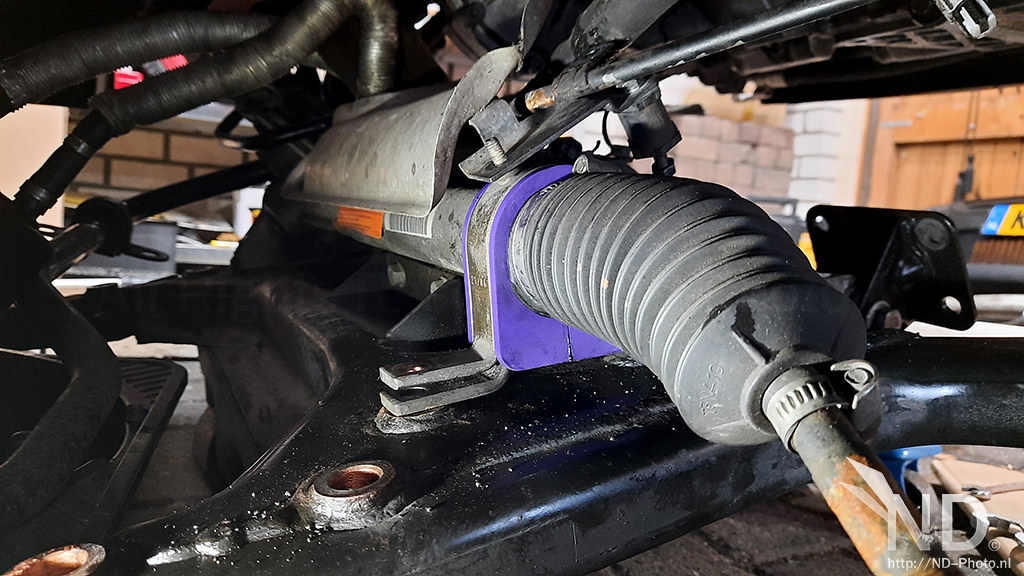
More updates will follow (hopefully soon!)
And replaced the power steering bushing with the Powerflex bushing. That went pretty smooth
More updates will follow (hopefully soon!)
Thread Starter
|
6th Gear
Joined: Jun 2020
Posts: 1,146
Likes: 313
From: The Netherlands
Thanks!
Yes correct so many options make it harder to make a choice. For me budget and second hand experience of someone I know, were important factors in the decision making process.
Yes correct so many options make it harder to make a choice. For me budget and second hand experience of someone I know, were important factors in the decision making process.
Thread Starter
|
6th Gear
Joined: Jun 2020
Posts: 1,146
Likes: 313
From: The Netherlands
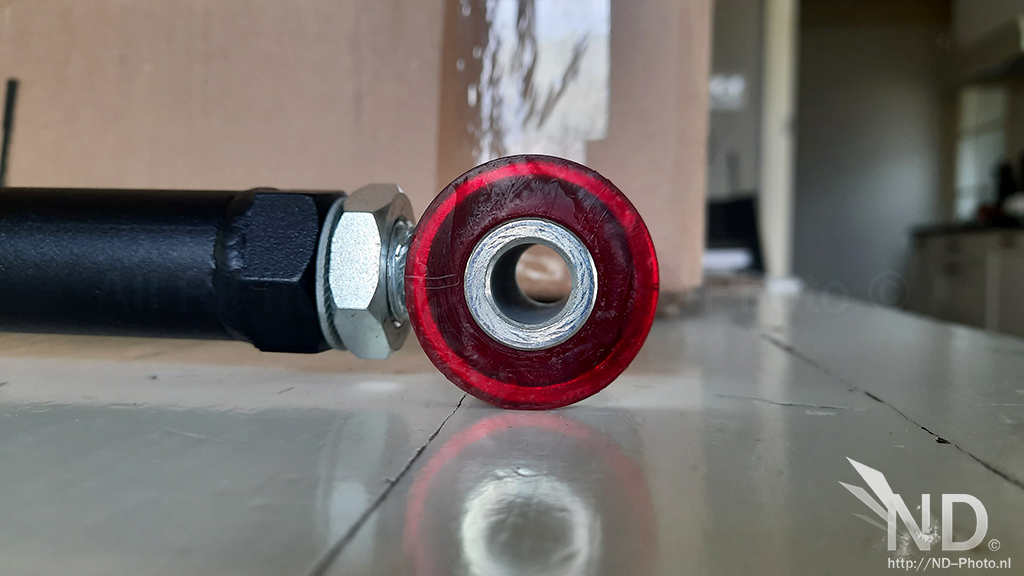
Was fed up with it as I could not get the Powerflex bushing in, so I decided to invest a little and bought myself a 12 ton hydraulic press. Off course my reaction was: 'I shouldve done this earlier' haha
Bought it from the company I work for (vidaXL), so a nice discount was in place.
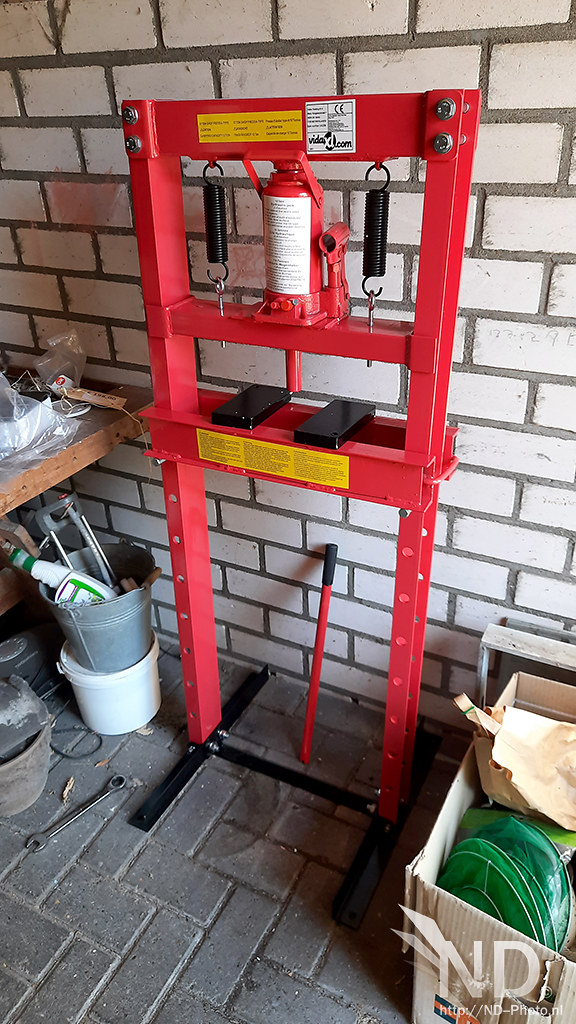
Work in progress shot

The difference between the Powerflex PFF5-101G and a normal hydrobushing.

The Powerflex bushings are already under the car, so I can continue fitting the coilovers this upcoming weekend. Hopefully I will have it rolling again somewhere sunday
Bought it from the company I work for (vidaXL), so a nice discount was in place.
Work in progress shot
The difference between the Powerflex PFF5-101G and a normal hydrobushing.
The Powerflex bushings are already under the car, so I can continue fitting the coilovers this upcoming weekend. Hopefully I will have it rolling again somewhere sunday