
ND's MCS R53 JCW build/progress


3rd Gear
Joined: Jul 2020
Posts: 171
Likes: 36
From: South Florida
I�m going to get some good recordings of the MCS JCW I picked up the other day. Currently in the shop for a few items.
it�s basically the JCW exhaust with the two rear mufflers removed and pipe welded in place.
it�s very loud and drones. But it sounds very racecar. Lol.
I�m pretty sure the catalytic converter is still on there. Not sure if a resonator is still on there.
But recordings should give you an example of what LOUD sounds like. Then I may have 2 aftermarket mufflers welded where the stock were to quiet it down. I did have a thought to put a muffler on one side and then have an exhaust cutout valve that�s electric that diverts exhaust to the side without the muffler when I�m feeling racey.
Thread Starter
|
6th Gear
Joined: Jun 2020
Posts: 1,146
Likes: 313
From: The Netherlands
I cant handle straight pipes hahah. Let me know if you've recorded something
I have the JCW exhaust right now and it's way too quiet. I will probably go for the Gravity exhaust with the carbon tips (next month)
I have the JCW exhaust right now and it's way too quiet. I will probably go for the Gravity exhaust with the carbon tips (next month)
Thread Starter
|
6th Gear
Joined: Jun 2020
Posts: 1,146
Likes: 313
From: The Netherlands
I undid the VGS mod and went looking for a better solution. I obviously read about the stronger spring, which helps in boost buildup, so off to investigating. I grabbed the old bypass valve and took it apart, checked my garage for springs (I had some lying around from dumpvalves etc), but they weren't in the correct size. Then I checked the vacuum reservoir and approached it differently.
What if I could add more pretension to the stock spring?
So with that idea in mind, I found 2 stainless washers I had lying around and gave them a go. And it was a perfect fit! The measurements are 30mm diameter and 3mm thick. This adds some pretension to the spring, effectively strenghtening it.
And the effect on the driving is dramatic. Drives smoother and gives better boost buildup than the vgs mod to be honest. Before you deck out the money for a "tuned" bypass valve like the Detroit Tuned one, give this 2 washer method a go. You saw it here first :D
I got the idea from a Forge 006 diverter valve (for turbo car), where you can add shims to add pretension to the spring. Analogue boost gauge & Torque app both give me the same results, 0.9 BAR / 13 PSI which is to be expected for a JCW 210BHP.
Pictures for clarification


Washer diameter & thickness


Perfect fit!

What if I could add more pretension to the stock spring?
So with that idea in mind, I found 2 stainless washers I had lying around and gave them a go. And it was a perfect fit! The measurements are 30mm diameter and 3mm thick. This adds some pretension to the spring, effectively strenghtening it.
And the effect on the driving is dramatic. Drives smoother and gives better boost buildup than the vgs mod to be honest. Before you deck out the money for a "tuned" bypass valve like the Detroit Tuned one, give this 2 washer method a go. You saw it here first :D
I got the idea from a Forge 006 diverter valve (for turbo car), where you can add shims to add pretension to the spring. Analogue boost gauge & Torque app both give me the same results, 0.9 BAR / 13 PSI which is to be expected for a JCW 210BHP.
Pictures for clarification
Washer diameter & thickness
Perfect fit!
Last edited by nd-photo.nl; Aug 30, 2021 at 10:58 AM.
3rd Gear
Joined: Aug 2009
Posts: 203
Likes: 182
From: NJ
Haha I love seeing tinkering like this. Glad your drivability is improved. I've seen folks get the same effect of a "stronger" spring by gently puling the spring to elongate it by a few mm, but you solution is more adjustable and less permanent. I wonder if the added weight of the washers on the diaphragm has any impact?
Also, just curious, what about the VGS mod didn't you like? Did you still have a yo-yo around 0psi vac/boost?
Also, just curious, what about the VGS mod didn't you like? Did you still have a yo-yo around 0psi vac/boost?
Thread Starter
|
6th Gear
Joined: Jun 2020
Posts: 1,146
Likes: 313
From: The Netherlands
The VGS mod has a lot more raw character to the driving, especially when lifting off the gas it "cuts" hard. The oem way is a lot more forgiving and makes for a more enjoyable driving experience (I hope that makes sense).
The weight will have some effect I guess, I tested it first with just pushing the rod in by hand without the engine running. To see if it would hold and how the resistance would feel. I was still able to push it in with ease, it doesn't feel "over the top".
Also with the vgs mod, you are giving the diaphragm the full experience from -0.8 BAR to 0.9 BAR, it will probably hold, but without the VGS mod the range is lowered to -0.8 BAR to 0 BAR.
Thread Starter
|
6th Gear
Joined: Jun 2020
Posts: 1,146
Likes: 313
From: The Netherlands
Added some carbon wrap I had lying around to the steering wheel inserts. Looks better than the gloss black it was before!
Before

After (with smudgy camera lens)

Before
After (with smudgy camera lens)
Last edited by nd-photo.nl; Aug 30, 2021 at 10:58 AM.
4th Gear


Joined: May 2020
Posts: 600
Likes: 120
From: North Carolina
I like to use my "smudgy" camera for my DIY mods because it makes it look less half assed ha ha!
Yours actually looks good though. I've been trying to pin down the direction I want to go with my interior. The seats are just awful. and the headliner is sagging. I was thinking about doing a satin carbon wrap on the headliner instead of the fabric. I'd need to tie it in a few other places though I think so it doesn't look out of place.
Yours actually looks good though. I've been trying to pin down the direction I want to go with my interior. The seats are just awful. and the headliner is sagging. I was thinking about doing a satin carbon wrap on the headliner instead of the fabric. I'd need to tie it in a few other places though I think so it doesn't look out of place.
Thread Starter
|
6th Gear
Joined: Jun 2020
Posts: 1,146
Likes: 313
From: The Netherlands
Received the new dogbone and Superpro bushings. Was quite a battle to get the small bushing in, but emerged victorious in the end  Haven't had a chance to test it yet...Soon!


Haven't had a chance to test it yet...Soon!
Last edited by nd-photo.nl; Aug 30, 2021 at 10:59 AM.
Thread Starter
|
6th Gear
Joined: Jun 2020
Posts: 1,146
Likes: 313
From: The Netherlands
Tested it today, wow very impressed. Im sounding like the doge meme
But seriously, if you want to know the effect. It can be best described as the car reacting on the power instantly. The reason behind it: the engine isn't allowed to tilt/pivot by the reinforced dogbone, delivering power to the wheels faster.
I have done this mod in the past on other cars, and it was always combined with vibration in the cabin. This is the first time no extra vibrations were noticeable in the cabin, so happy days!
Hihgly recommended mod

Sweet.glad to know you could tell a difference!. I filled the gaps on my dog dogbone with windowweld and did the tiny bushing with a polly one..i then filled the drivers side mount AND i pressed window weld into the control arm bushings too then. Tomorrow I'm going to check my steering rack bushing to see if its accessible and I might change that too then.
nice job on the wheel wrap !
nice job on the wheel wrap !
Thread Starter
|
6th Gear
Joined: Jun 2020
Posts: 1,146
Likes: 313
From: The Netherlands
Swapped the fog lights for some LED SMD units, purely for looks as I dont use them at all.

And painted the intercooler black, also purely for looks. It looked grimey under the hood and this simple step cleans it up nicely. The vacuum lines in the back are a temporary solution for the boost gauge (waiting for new vacuum hose + pod holder)

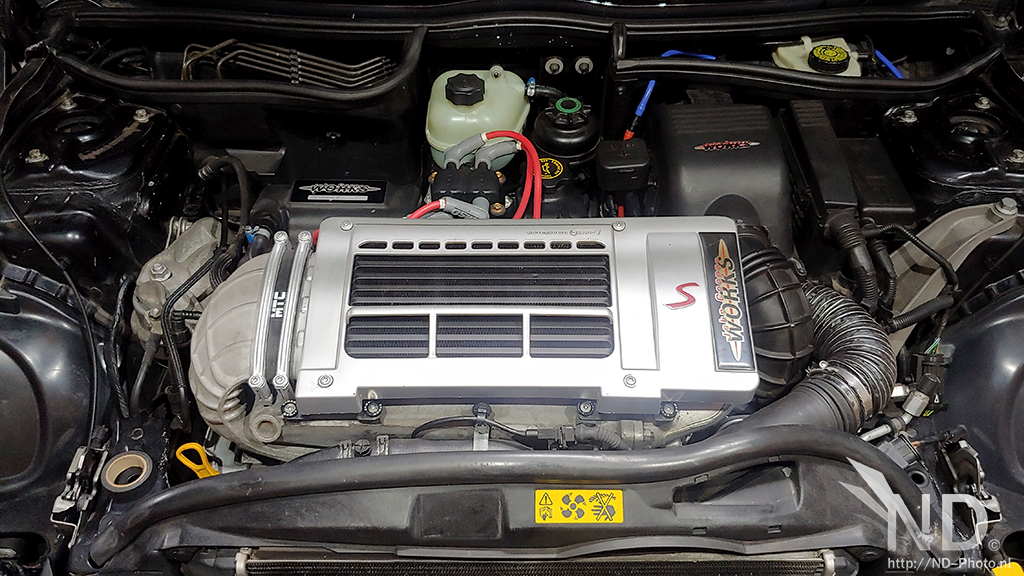
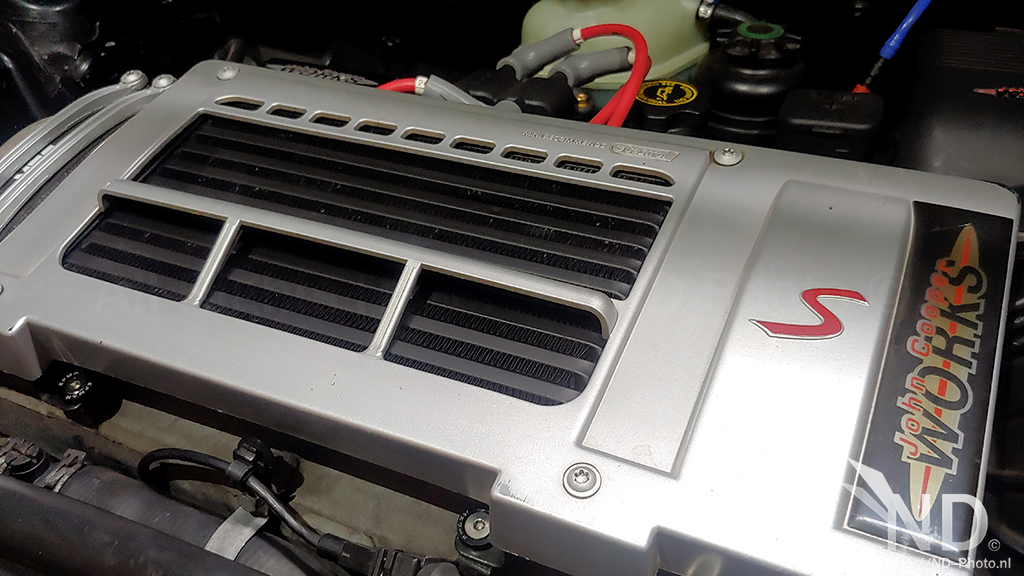
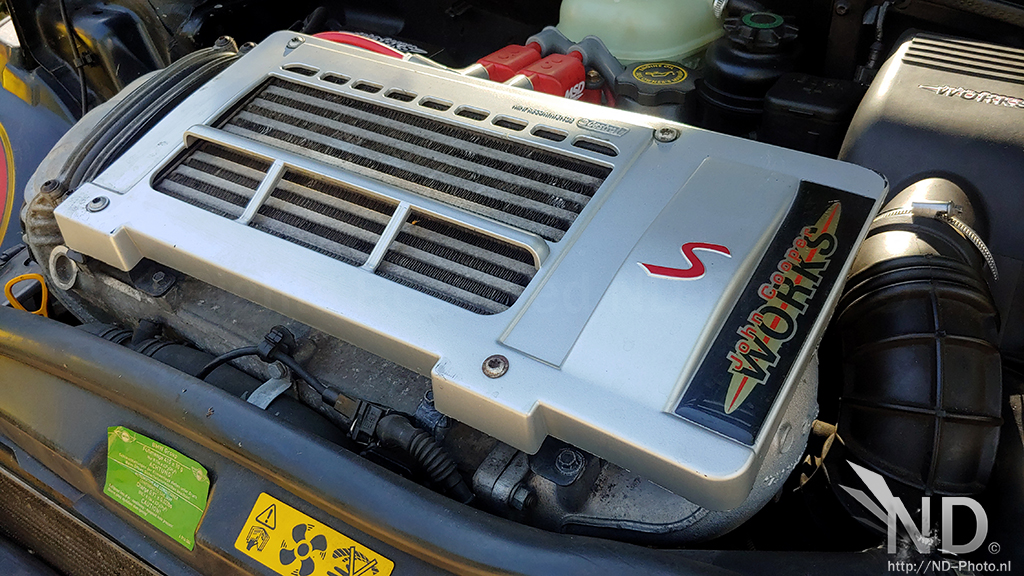
And this is how it looked
And painted the intercooler black, also purely for looks. It looked grimey under the hood and this simple step cleans it up nicely. The vacuum lines in the back are a temporary solution for the boost gauge (waiting for new vacuum hose + pod holder)
And this is how it looked
Last edited by nd-photo.nl; Aug 30, 2021 at 11:00 AM.
Thread Starter
|
6th Gear
Joined: Jun 2020
Posts: 1,146
Likes: 313
From: The Netherlands
Decided to buy some R87 Double Spoke wheels as I found that the R113 wheels were a bit heavy. Also the looks are ok, but I want the Rota Grid 16" ET20 setup, which will take some time before I will get them.
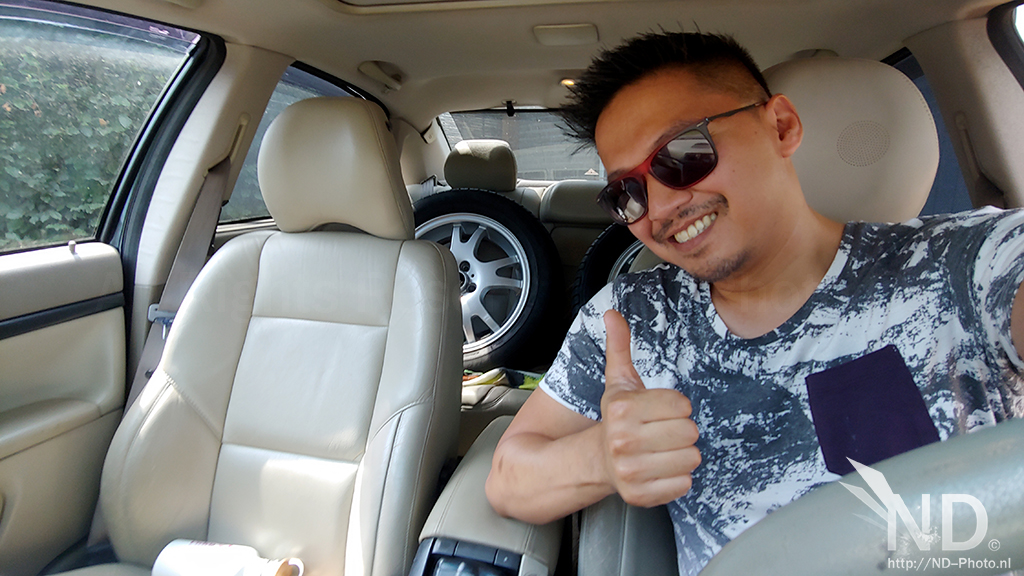
The goals was to reduce unsprung weight and have some comfort back (mission success!). But I also knew that the R87 will make the appearance a little bit less special, which is ok for now. The wheels were in immaculate state, especially for the price. Fitted them straight away and went for a drive, the car feels more nimble (and faster), which is to be expected with almost 3kg unsprung weight savings per corner (10.8kg in total).
Traditional selfie whenever I buy new wheels
I chose the R87 especially for the low weight, they also clear the JCW caliper with 294mm brake setup

15.3kg with 205-55-16 tyres with about 5mm profile left.

18kg with 205-40-17 tyres with about 6mm profile left

And how the Mini looks now
I like the look of a "full wheel"


The goals was to reduce unsprung weight and have some comfort back (mission success!). But I also knew that the R87 will make the appearance a little bit less special, which is ok for now. The wheels were in immaculate state, especially for the price. Fitted them straight away and went for a drive, the car feels more nimble (and faster), which is to be expected with almost 3kg unsprung weight savings per corner (10.8kg in total).
Traditional selfie whenever I buy new wheels
I chose the R87 especially for the low weight, they also clear the JCW caliper with 294mm brake setup
15.3kg with 205-55-16 tyres with about 5mm profile left.
18kg with 205-40-17 tyres with about 6mm profile left
And how the Mini looks now
I like the look of a "full wheel"
Last edited by nd-photo.nl; Aug 30, 2021 at 11:01 AM.
Thread Starter
|
6th Gear
Joined: Jun 2020
Posts: 1,146
Likes: 313
From: The Netherlands
Ordered a stainless catback exhaust, now we wait

I decided for this one btw. The owner of the R87 wheels had a prefacelift with the Malian exhaust and it was crazy loud and very droney, which I cannot live with.

I decided for this one btw. The owner of the R87 wheels had a prefacelift with the Malian exhaust and it was crazy loud and very droney, which I cannot live with.
4th Gear
Joined: May 2020
Posts: 600
Likes: 120
From: North Carolina
Good call on the exhaust. Lucky having the chance to hear the Malian exhaust before you bought it!
And my vote would be go black for the wheels. I think it'd look better with the red accents.
And my vote would be go black for the wheels. I think it'd look better with the red accents.
Thread Starter
|
6th Gear
Joined: Jun 2020
Posts: 1,146
Likes: 313
From: The Netherlands
Yes that was very lucky. Exhaust has already been delivered yesterday, never expected that. I just returned from the garage and removed the catback. I will continue tomorrow.
Decided to leave the wheels as is for now and evaluate again in a later stadium.
Decided to leave the wheels as is for now and evaluate again in a later stadium.
Thread Starter
|
6th Gear
Joined: Jun 2020
Posts: 1,146
Likes: 313
From: The Netherlands
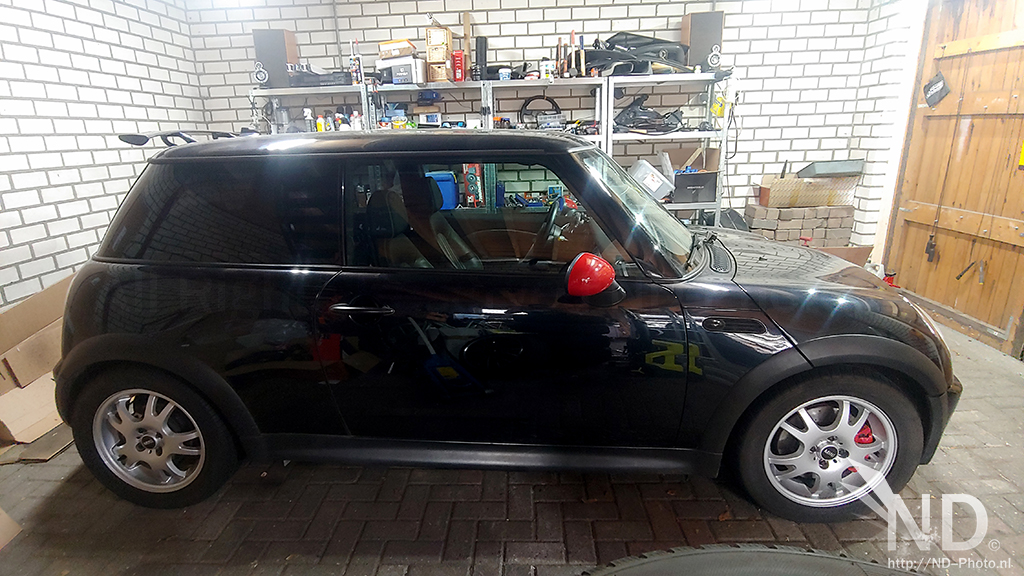
Exhaust mounted, started yesterday and finished the job today. Very happy with the results! Pictures first, videos will come later probably tomorrow.
The JCW exhaust is a one piece catback

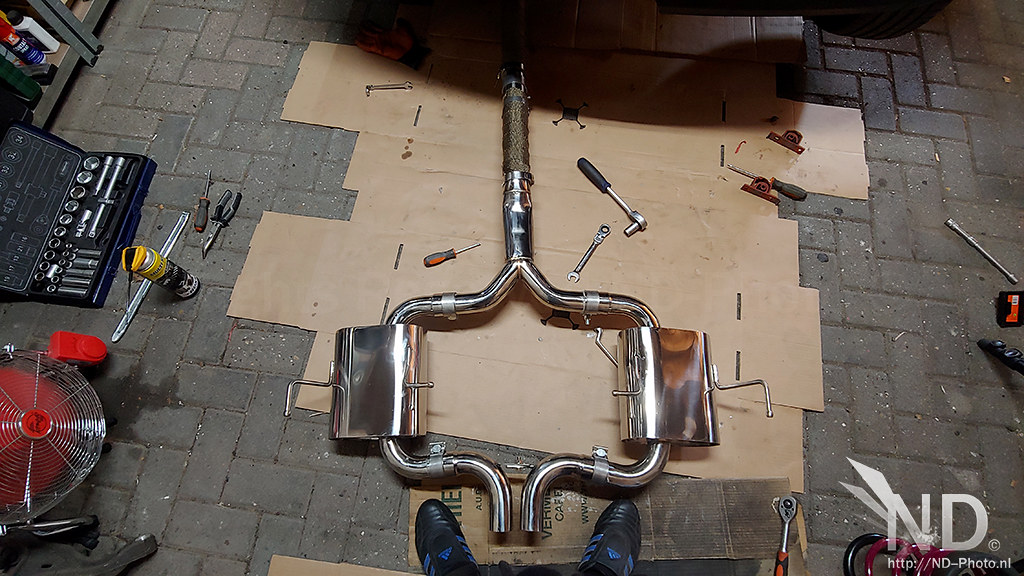
The Gravity Performance is a six piece exhaust
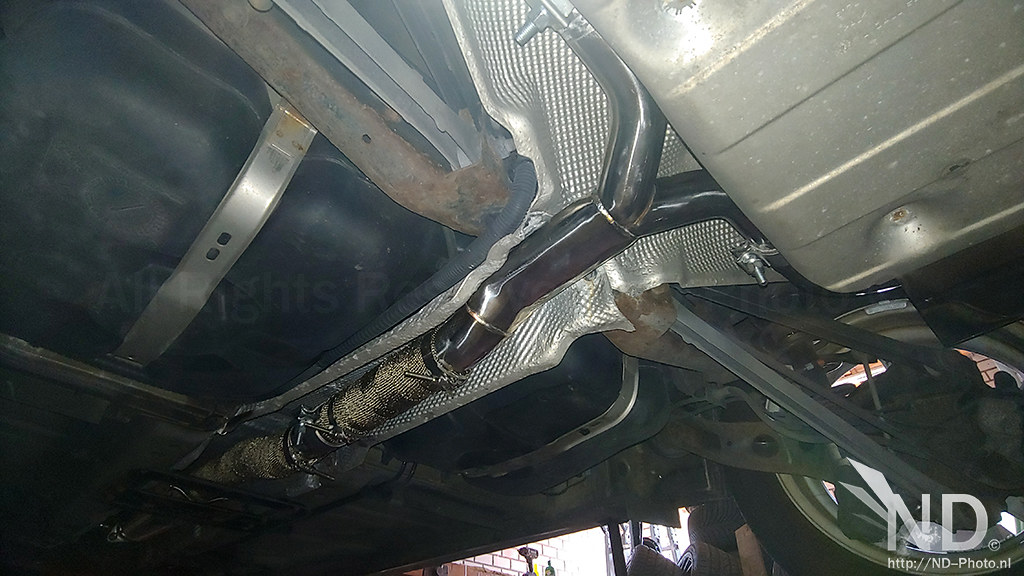
Used some heatwrap on the middle section, will be doing the end as well (have to wait for order)

The catalyst seems to be in good state. I changed the O2 sensor not too long ago.


The crushed piece of pipe after the fuel tank
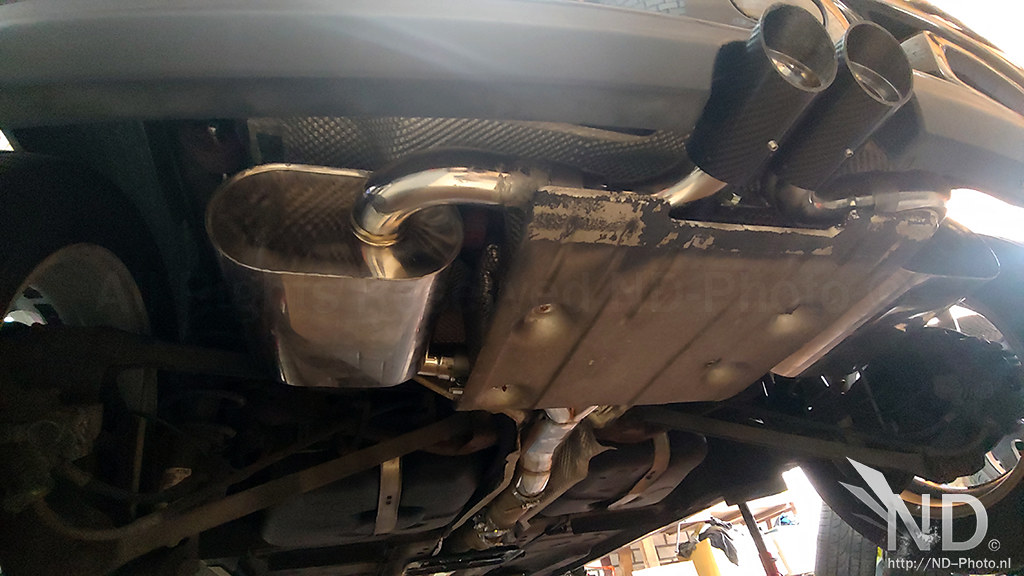
And the end result! Looks very good with all the other bits of carbon trim


The JCW exhaust is a one piece catback
The Gravity Performance is a six piece exhaust
Used some heatwrap on the middle section, will be doing the end as well (have to wait for order)
The catalyst seems to be in good state. I changed the O2 sensor not too long ago.
The crushed piece of pipe after the fuel tank
And the end result! Looks very good with all the other bits of carbon trim
Last edited by nd-photo.nl; Aug 30, 2021 at 11:03 AM.
Thread Starter
|
6th Gear
Joined: Jun 2020
Posts: 1,146
Likes: 313
From: The Netherlands
Havent driven it much, but havent found any drone yet. Very happy with this exhaust, it will become a little louder over time
Some more pics before it was installed. Nice welds!


Dachshund for scale

The nice carbon tips


Box full of goodies

Some more pics before it was installed. Nice welds!
Dachshund for scale
The nice carbon tips
Box full of goodies
Last edited by nd-photo.nl; Aug 30, 2021 at 11:04 AM.