When you click on links to various merchants on this site and make a purchase, this can result in this site earning a commission. Affiliate programs and affiliations include, but are not limited to, the eBay Partner Network.
JCW GarageInterested in John Cooper Works (JCW) parts for your 1st Generation MINI? This is where JCW upgrades and accessories for the Cooper (R50), Cabrio (R52), and Cooper S (R53) MINIs are discussed.
I would have liked to have the connecting bar as well, but like you, I found out that it's not available.
I thought that the bar from tower to tower was steel, not aluminum
Bryan
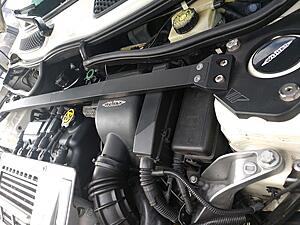
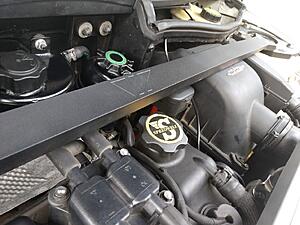
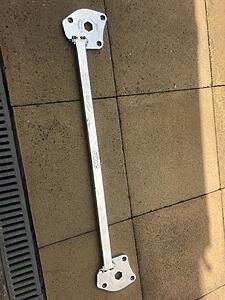
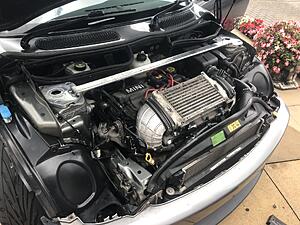
Of the few complete sets with crossbar remaining available, I like WMW's best being a 1-piece vs multi-section crossbar. Also like how they notched the bar underside for clearance to the ECU cover and even the largest JCW airbox as shown in the image below snagged from an old C&B auction listing. OTOH, the hard anodized Type 3 Class 2 hard anodized finish might be durable but isn't (IMO) a thing of beauty. In any case, the topic whether a crossbar brace adds enough chassis rigidity to be worthwhile has been debated for years. Mine shown in sig topic has an M2 brace bar which requires too many fitment compromises thus will be coming off soon. My thinking is that with mine having low miles and no mushrooming, ECS' plates in combo with the robust Helix adjustable camber plates underneath the towers will provide the best solution for my needs and wants.
Sad to hear that the VIP brace is NLA,
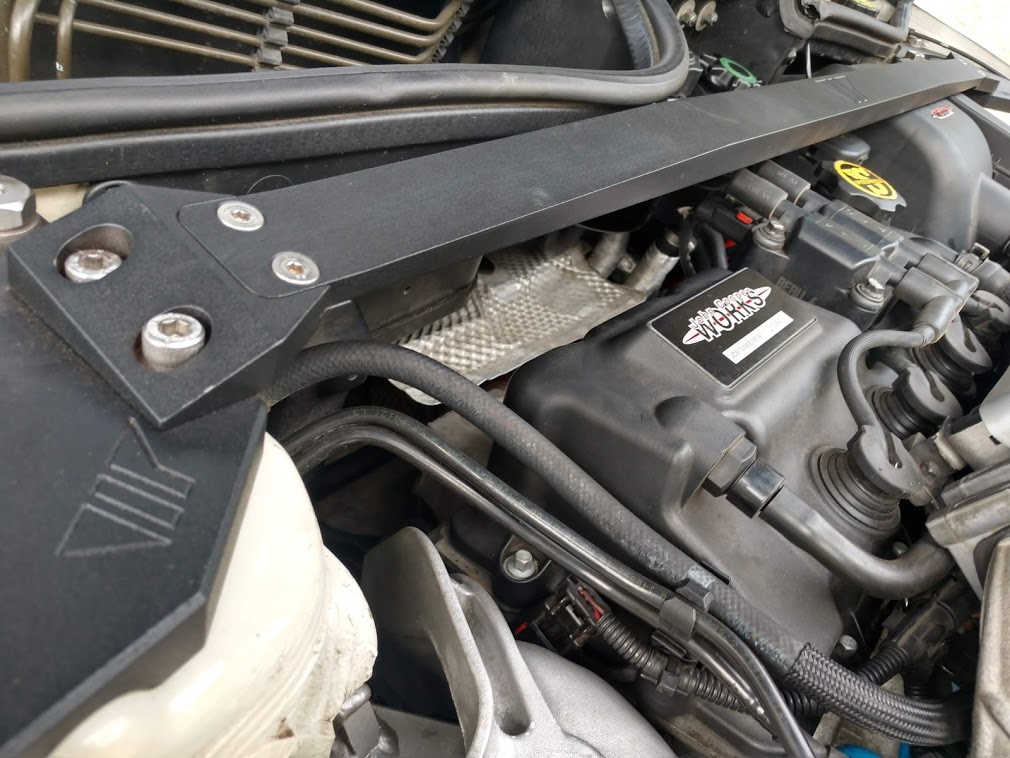
but glad I got one while they were still available as it is my favorite design/finish.
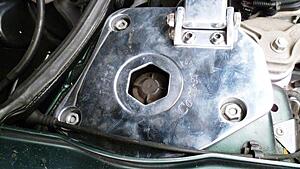
Forge makes one with a similar design, but unsure if still available, but odd top opening isn't exactly camber-adjustment friendly if you have adjustable mounts,
really weird:
^^^ Agreed on noted and shown aspects. I especially like how VIP's design featured thicker intermediary blocks from the plate(s) to the crossbar, which allows that to be flat and full thickness while still clearing the JCW airbox. Despite material cost increases, perhaps VIP's owner might adjust the pricing accordingly and let the market decide whether too costly. I'll ping him with link to the recent posts for his consideration...
Hi Bryan,
Long time since I have been here. I finally got back on after losing two laptops and all my stuff in them. I hope all is well with you and yours. I am still in North Carolina and thinking of moving not far away on a 7.4 acre property with a large pond. The 10 acres I live on now, is worth enough to buy the other piece and build a nice house on it. I have to sell this first.
I am glad I left Southern Oregon, as crime is out of hand there. I miss the coast, but not all the dopers there!
I have been fighting health, but hanging it there for a 72 year old type 1 diabetic!
Itsme Wayne
Looks like winter weather is settling in for me, I have found a place to store the R52 inside out of the rain and snow that is on the way.
I will be able to work on the car when I can. Car has been running great, and everything works except for the rear window defogger system, the heater grid lines are blown apart, all of them except for just one.
I have been slowly collecting a few other items that I want to install on the car over the winter, I'll post pictures of what I have collected so far and what's on the way as well. One of the items I found was the factory CD changer mounting pieces for the R52...a big thank you to ECS for having this item available
Figured I might as well update my thread ....car is still running great, I'm still fixing and replacing stuff. Below is what I have done over the summer.
Car is at the shop to get a new convertible top installed and the driver's seat fixed... that's gonna hurt the bank account
Some of the new items are:
Door plugs to hide the screws
New hood scoop to replace the chrome one, $30 from eBay
New JCW speedometer and tachometer faces
Metal rear bumper vents
New fabric dash cover
Simulated woodgrain dash and steering wheel
Strut tower plates installed
New under engine tray
Looks good, the chrome trim rings go well with the wood dash and wheel. Where did you get the gauge faces and do you have any pics of them before installation? Was it difficult to remove the needles and re-install them? Also, what did you add to the VIP T-nuts?
I was going to mount my strut cross bar to the top of the VIP plates, so I went and got some bolts to do it, but the cross bar was then too tall so I couldn't close the hood.
Changing the gauge faces was nerve-wracking, I was afraid of breaking something. I had to mark where the needles were at full counterclockwise stop so I could get them back on the same place.
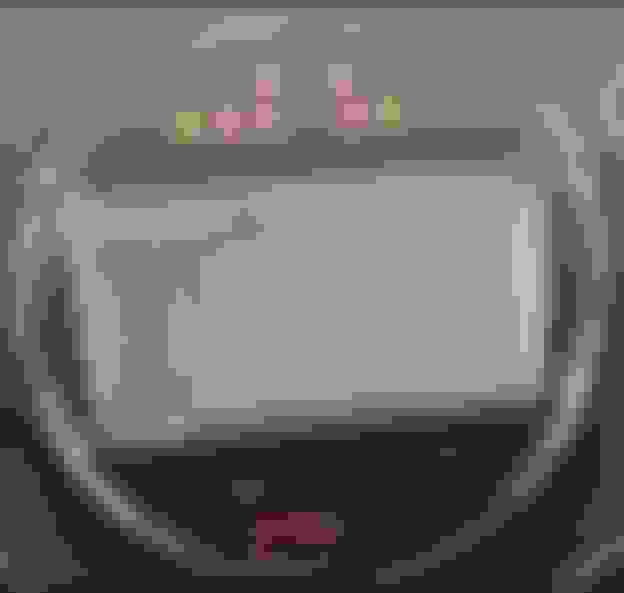
I got the faces for the speedometer and tachometer, along with the new face for the navigation system from overseas, company is called, Chameleon LED, I found them on Facebook.
My car came with the chrome trim ring option from the factory, and the woodgrain really makes it pop
I'll upload a video of the new faces after I convert it to something the forum likes...you can then see all the new icons that he put in place of the stock "pictures" in the stock faces
Looks good, the chrome trim rings go well with the wood dash and wheel. Where did you get the gauge faces and do you have any pics of them before installation? Was it difficult to remove the needles and re-install them? Also, what did you add to the VIP T-nuts?
I can't get the video to load in here, seems it's too big, it's only 45 seconds long.....if you have Facebook, I can send it to you there.....otherwise, I'll keep trying
Thanks for the info and pics. I’m not on FB but would be interested in what the indicators look like, mostly the check engine light.
Maybe you can post a screen capture from the video?
I’ve drawn a new set of dual gauges but I’m still trying to decide what I want to do for the CEL symbol before I print them. Maybe I’ll just get a set from Chameleon LED instead. I want a cleaner design like they have the UK or Australia with all circles instead of the rectangle Service Engine Soon on the US speedo.
That’s cool they offer the icon panel for the NAV screen. I don’t think I’ve seen those before. Looking at your pics again I noticed your chrome NAV trim is upside down from stock. Was this intentional or is that how you got the car?
The original VIP strut bar didn’t really fit under without removing or compressing the hood pad. I had to soak the hood pad with hot water several times with drives in between to get it to conform so the hood could close completely.
Thanks for the info and pics. I�m not on FB but would be interested in what the indicators look like, mostly the check engine light.
Maybe you can post a screen capture from the video?
I�ve drawn a new set of dual gauges but I�m still trying to decide what I want to do for the CEL symbol before I print them. Maybe I�ll just get a set from Chameleon LED instead. I want a cleaner design like they have the UK or Australia with all circles instead of the rectangle Service Engine Soon on the US speedo.
That�s cool they offer the icon panel for the NAV screen. I don�t think I�ve seen those before. Looking at your pics again I noticed your chrome NAV trim is upside down from stock. Was this intentional or is that how you got the car?
The original VIP strut bar didn�t really fit under without removing or compressing the hood pad. I had to soak the hood pad with hot water several times with drives in between to get it to conform so the hood could close completely.
I'll get a screen shot of the twin gauges lit up with the new icons.....give me a day or two.......and yes, the chrome trim ring is upside down on my nav system.....I saw it somewhere a while back and swapped mine around....dare to be different I guess
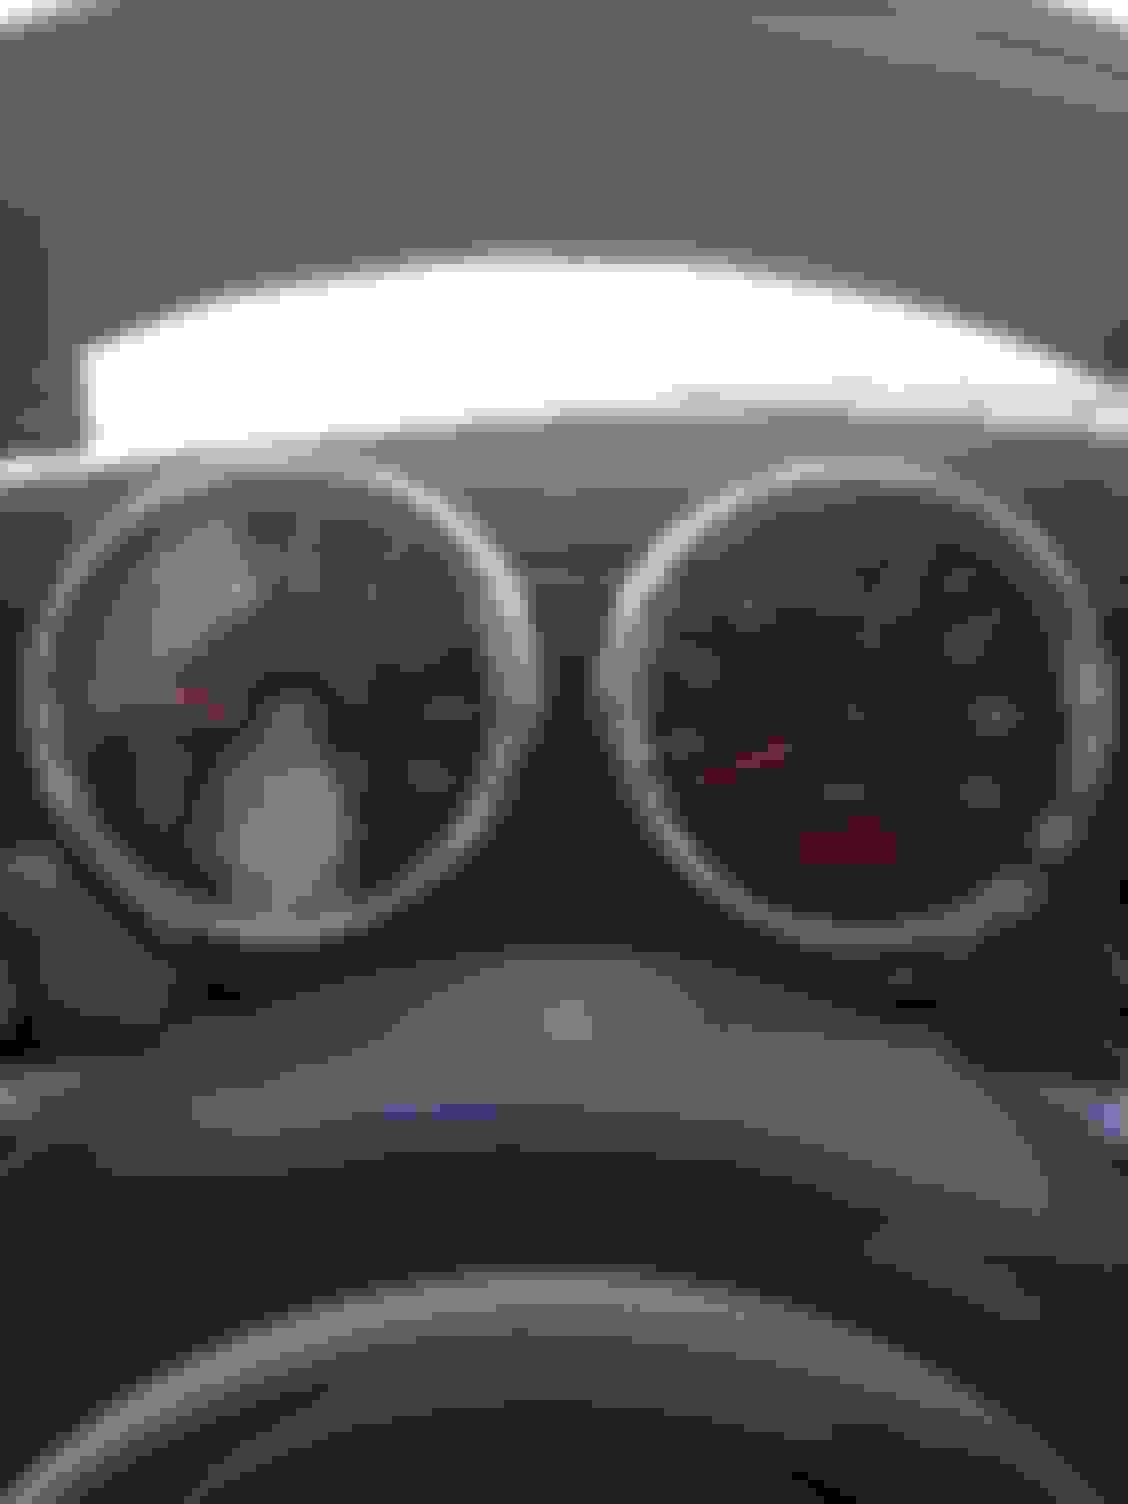
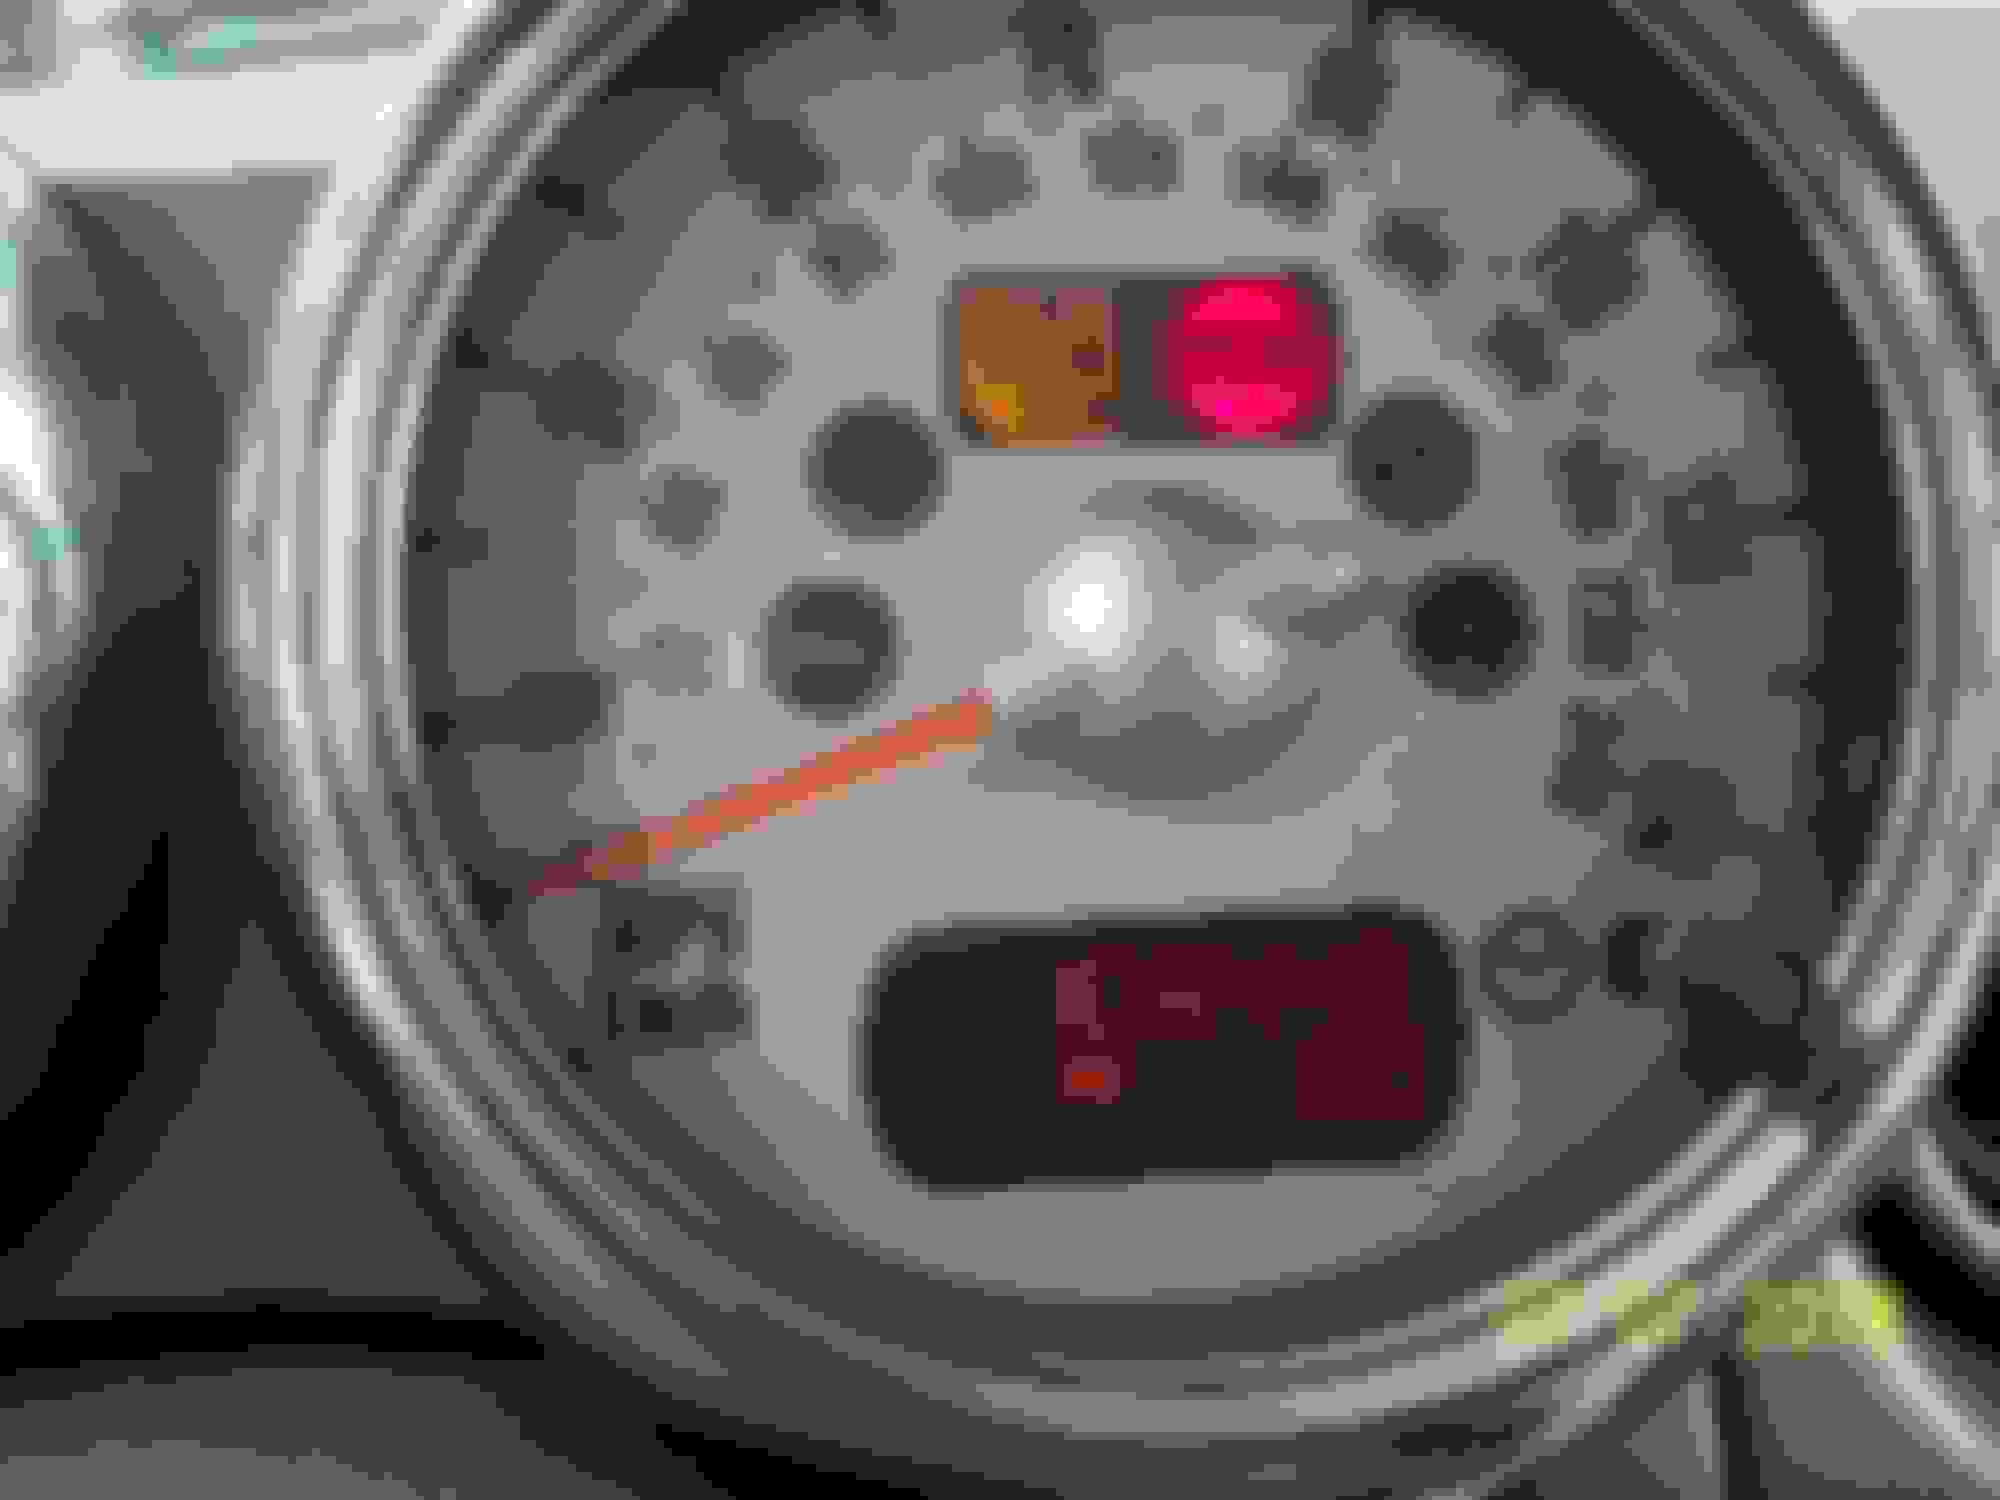
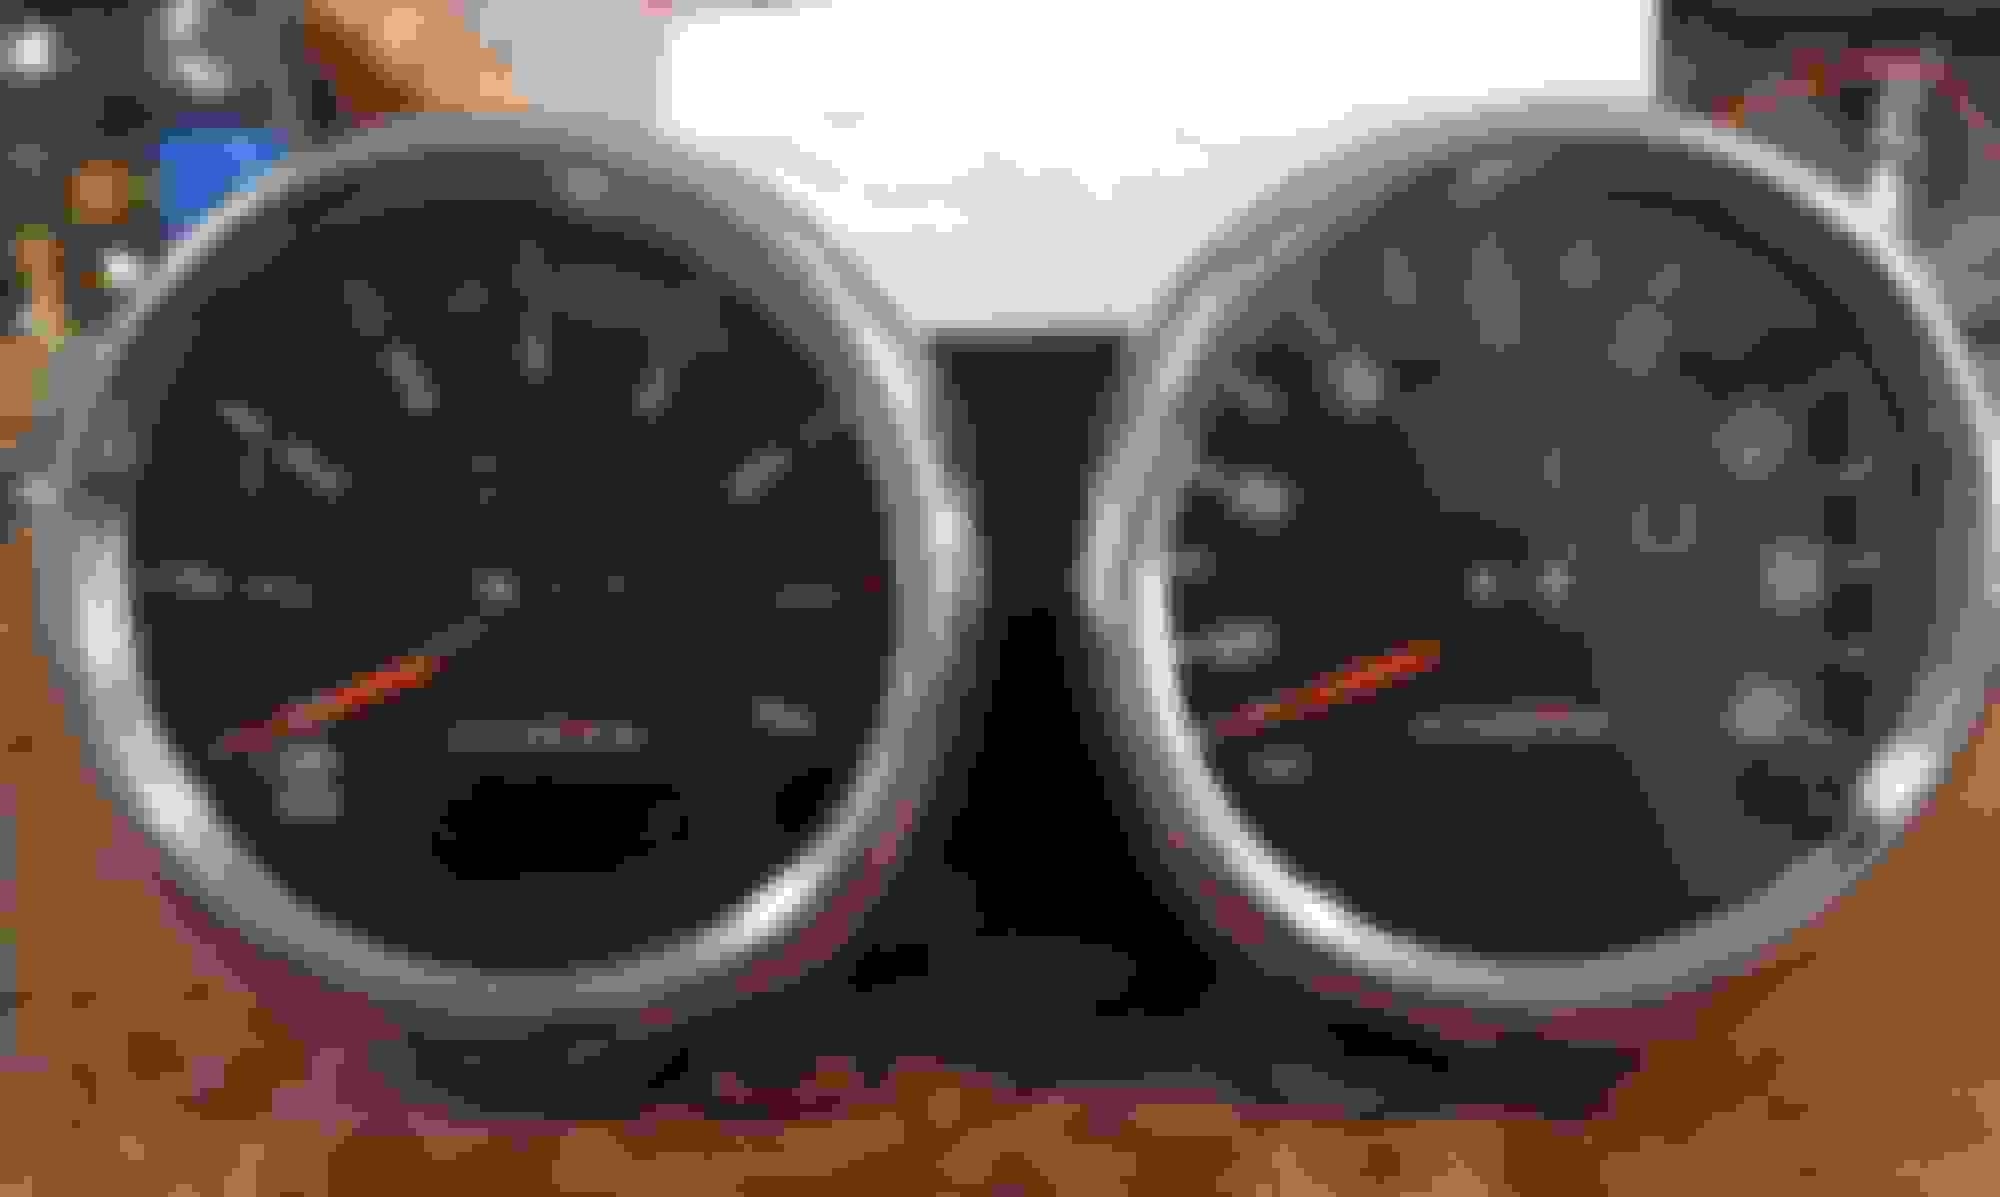
RB-MINI.....here's a couple screenshots.....best I can do. I opted for a cleaner look on the gauge faces, no metric numbers like the original gray faces. I also didn't want the colored circles around the icons and the square readout screens in the two gauges either.....I also wanted a darker colored face, he gave my a choice of dark gray or black, I chose the black
Bryan
My original tach My original speedometer New faces installed New faces installed and tested in the car with my scanner New Nav face installed and tested with my scanner
Thanks for the pics! I couldn’t see the video, but I’ll try on a PC when I get a chance. Looks like we’re going after the same layout for the gauges as I also prefer all circles, mph only, and getting rid of the clock icon next to the odometer reset button.
Thanks for the pics! I couldn�t see the video, but I�ll try on a PC when I get a chance. Looks like we�re going after the same layout for the gauges as I also prefer all circles, mph only, and getting rid of the clock icon next to the odometer reset button.
I checked the web....seems he only deals with customers on Facebook.....he's located in the UK in Stafford.....he has a number of pictures on his Facebook page...he does good work, but service was rather slow
I was trying to find someone here in the states to change my orange ugly dash lights to green.....not many people want to do it over here....there's a lot of people across the pond that change out the LED's....but shipping is terrible
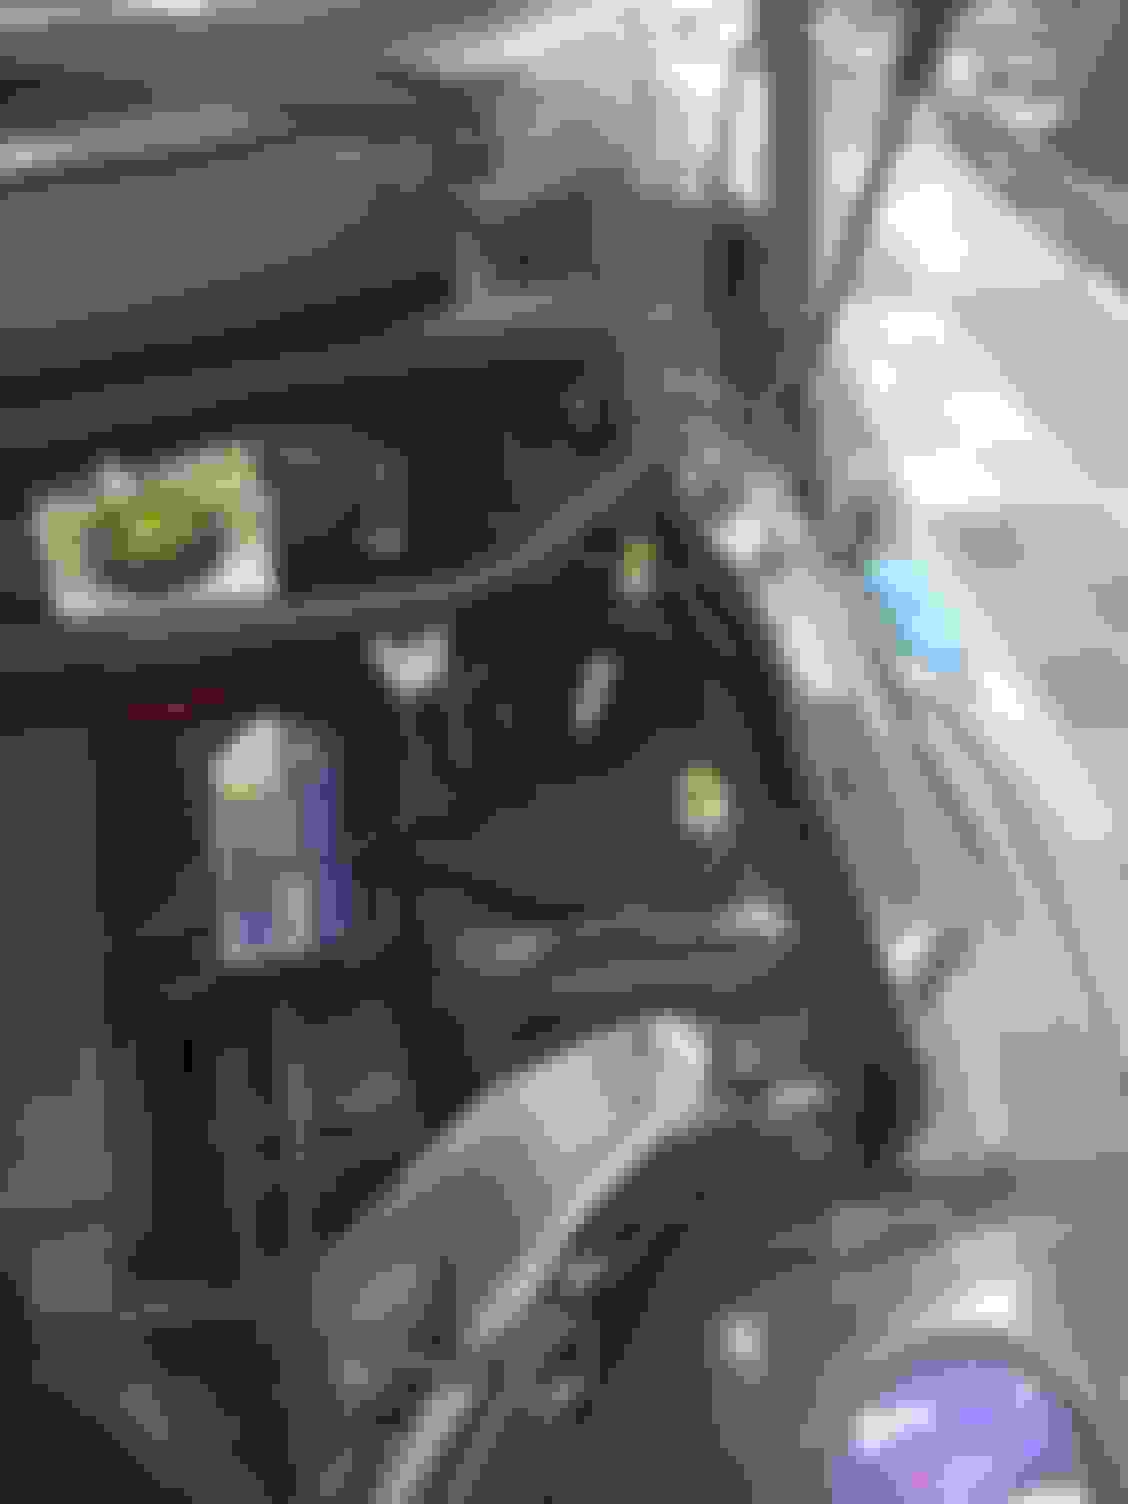
I know it's been a while since any updates......I had this issue earlier this summer on my R52.....I would get in the car, put the key in and start the engine....the Nav screen would not change from the MINI logo, and my top would not work. I thought I had a faulty BCM. I called a place that checks and rebuilds them to pick their brains. They told me that the BCM does not control the convertible top operations.....well that's just great, there goes my theory.....
I decided to take the BCM out of the car and do some investigation.....I have had everything else out of this car, so I figured why not
It was kind of a pain to remove, and that green connector does not remove very easily. Once I got it out and in the house, I inspected the outside connections and found a lot of corrosion in them. I decided to take the circuit board out and found even more corrosion all over inside on the board and the metal pins that lead to the outside connectors. I found and purchased some very small wire brushes to get inside the female pins to also clean out the corrosion as well as between the metal pins inside.
After cleaning everything, I put the BCM back together and went back to the car and just connected the 4 different colored connectors without re-mounting the BCM to the kick panel......turned the key on, and the Nav system went to the map screen and the top worked again right away. I'm thinking the corrosion was connected to the Can-Bus or K-bus wiring stopping the Nav and top from working.. I left the BCM just sitting there for a week or so just to make sure things would stay working as they should.....so far so good. I pulled all the connectors back off and used dialectic grease and plugged the 4 connectors back into the BCM slots. I remounted the BCM and now have to put the long plastic kick panel and door sill trim piece balk in now, might have to pull the seat to do it
Not scared of Windows Vista era computer boards are you. 😅 A can of DeoxIT contact cleaner and a brand new paint brush should get that cleaned up quickly.
Not scared of Windows Vista era computer boards are you. 😅 A can of DeoxIT contact cleaner and a brand new paint brush should get that cleaned up quickly.
Kurt
Did you even read the post, or skip over the part where I had to clean inside all of the female connector pins and between the metal circuit pins on the BCM module?