When you click on links to various merchants on this site and make a purchase, this can result in this site earning a commission. Affiliate programs and affiliations include, but are not limited to, the eBay Partner Network.
EDIT: Sorry about the lack of pictures. Photobucket is trying to extort users to pay $400 a year to continue 3rd party hosting. That's not gonna happen!
Last edited by vetsvette; Jul 3, 2017 at 10:39 PM.
I tried eyeballing them after I found the template to be difficult to deal with. I finally taped off the area with painter's tape to make sure I got them on correctly.
Mind you - this was after I put them on wrong the first time. The 3M adhesive tape on the bottoms adheres instantly. I had to use a blow dryer to heat them up, and some fishing line to remove them. I took off the original tape that was ruined, put on some more 3M auto adhesive tape, and started over to make sure I got them aligned correctly the second time. So take your time, tape off where you want to put them, and realize if you screw up, it's not the end of the world.
What color did you use for the red? I tried to find a red pair but no luck so picked up a pair of black ones to paint. Just not sure what color red matches.
I couldn't tell you. I had the roof, hood scoop, grill surround painted at the same time. Also had the custom stripes done at the same time. Didn't get an itemized invoice.
Is there a guide to lining up and properly sticking the extensions on the spoiler?
Thanks!
Don't know why these are not included with the kit......but gluing the rear diffused is the only way to get it fit properly. Here are the instructions for the extensions, splitters and diffuser.
I just purchased the JCW Pro rear spoiler extensions for my 2019 JCW. Thanks for posting the instructions and great pictures. I plan to get the rear diffuser kit too, so this will be a great help.
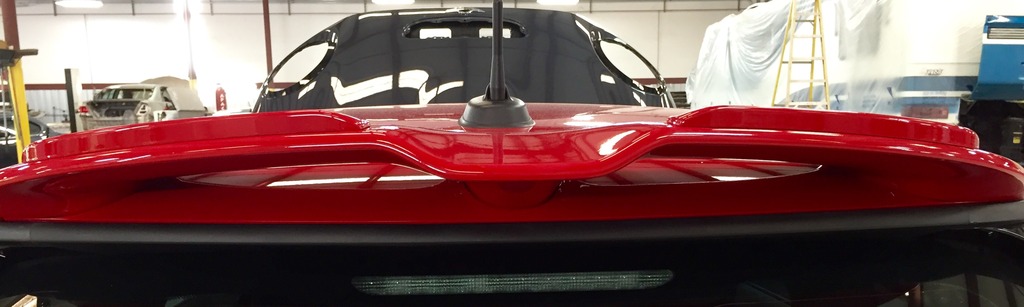
A while back I bought the JCW Pro winglets for the rear spoiler and have finally gotten a chance to install them. It is quite easy and probably doesn�t need a DIY, but I thought I would do one anyway.
I decided to leave the winglets the flat black that they came as. My car is black and I thought the flat black went well with the rest of the flat black pieces. Others had theirs painted to match the color of their cars. Either is an option.
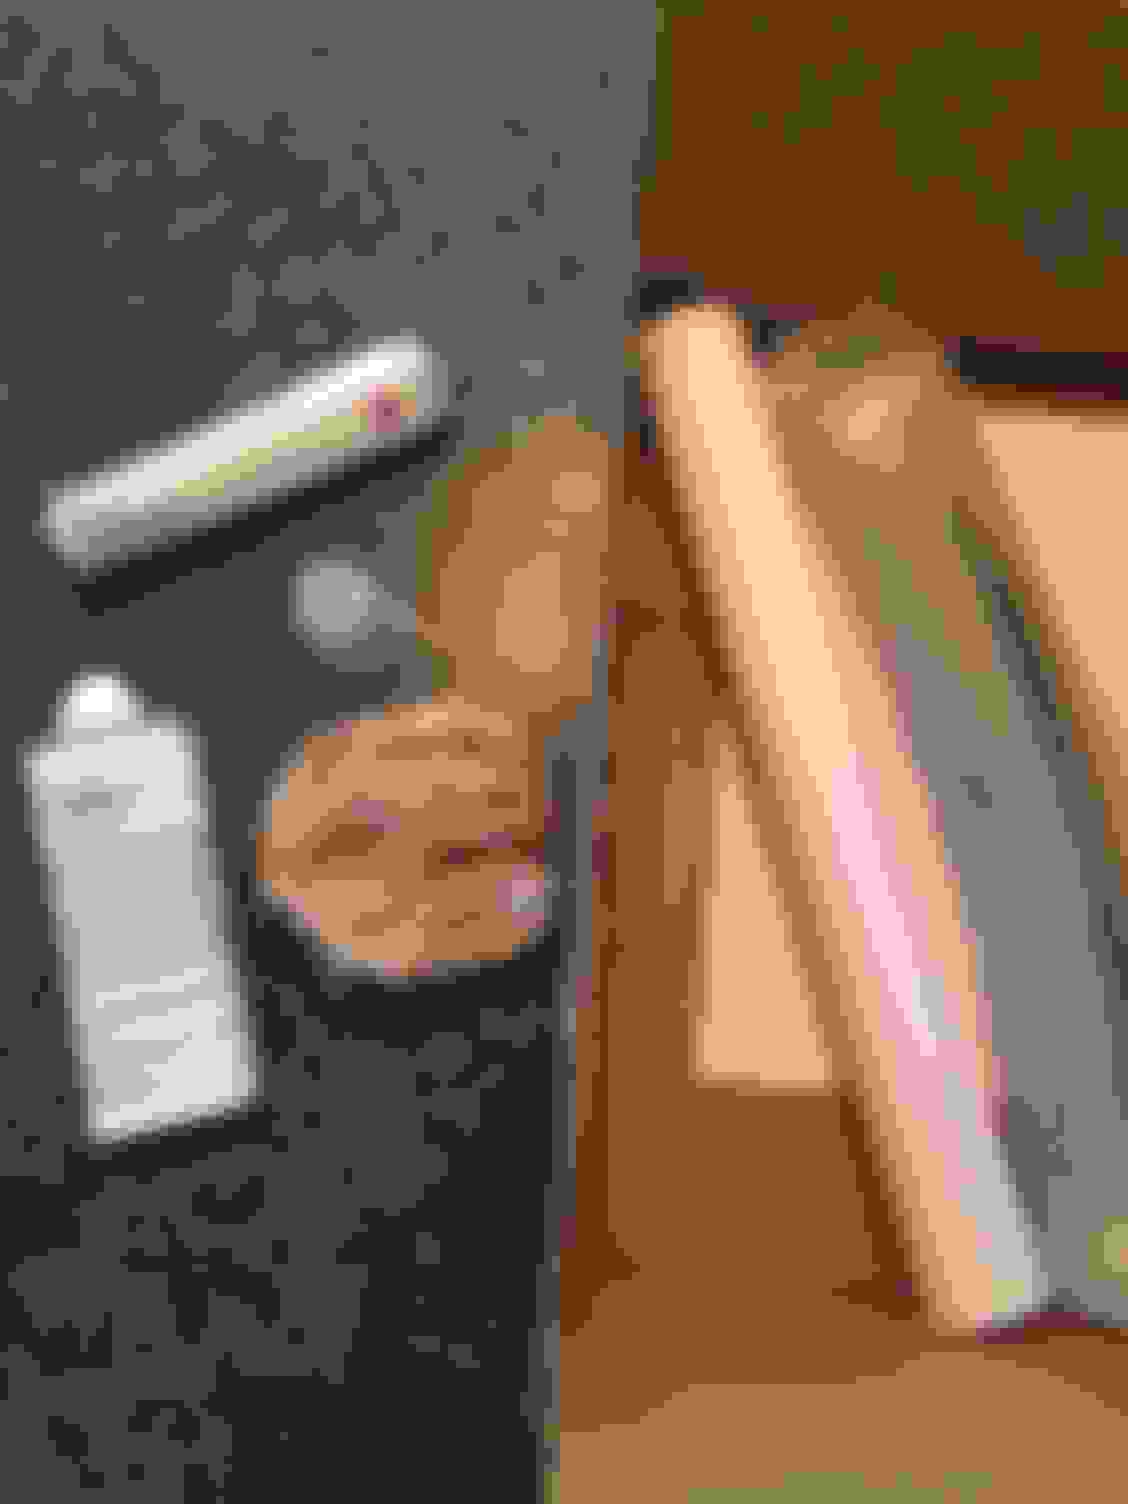
Not sure why I was surprised at how small they are, but I was when I picked them up. I also bought the installation kind kit that consists of a paint cleaner and the BMW adhesive (not worth it, more to come about that).
BMW/MINI mounting kit and JCW Pro rear spoiler extensions
The winglets package includes a template and no instructions (the ones posted above are really good). I know that some people installed these by eye and did just fine. The template really simplified the installation for me, especially considering how tenacious the mounting tape is. It was easy to just line up the parts with the template and then press them down on the spoiler. Not sure how easy this would have been to do if there was the adhesive on the underside of the winglet.
I took a close look at the cleaner. My nose tells me this is just naphtha that you can buy at a hardware store, for much less money. A test on the car finish showed no damage so I went a head with using it to clean off any wax and whatnot. As for the MINI/BMW adhesive, I decided to not use that either. The underside of the winglets has 2 spots of exposed plastic where this glue is to be applied. This would likely take only about a half ounce of adhesive, whereas the kit probably contains 6 to 8 oz of the stuff. The adhesive is packaged in what can only be described as a plastic sausage wrap. I figured once opened the rests was waste. I�ll save that for the JCW Pro diffuser I plan to get.
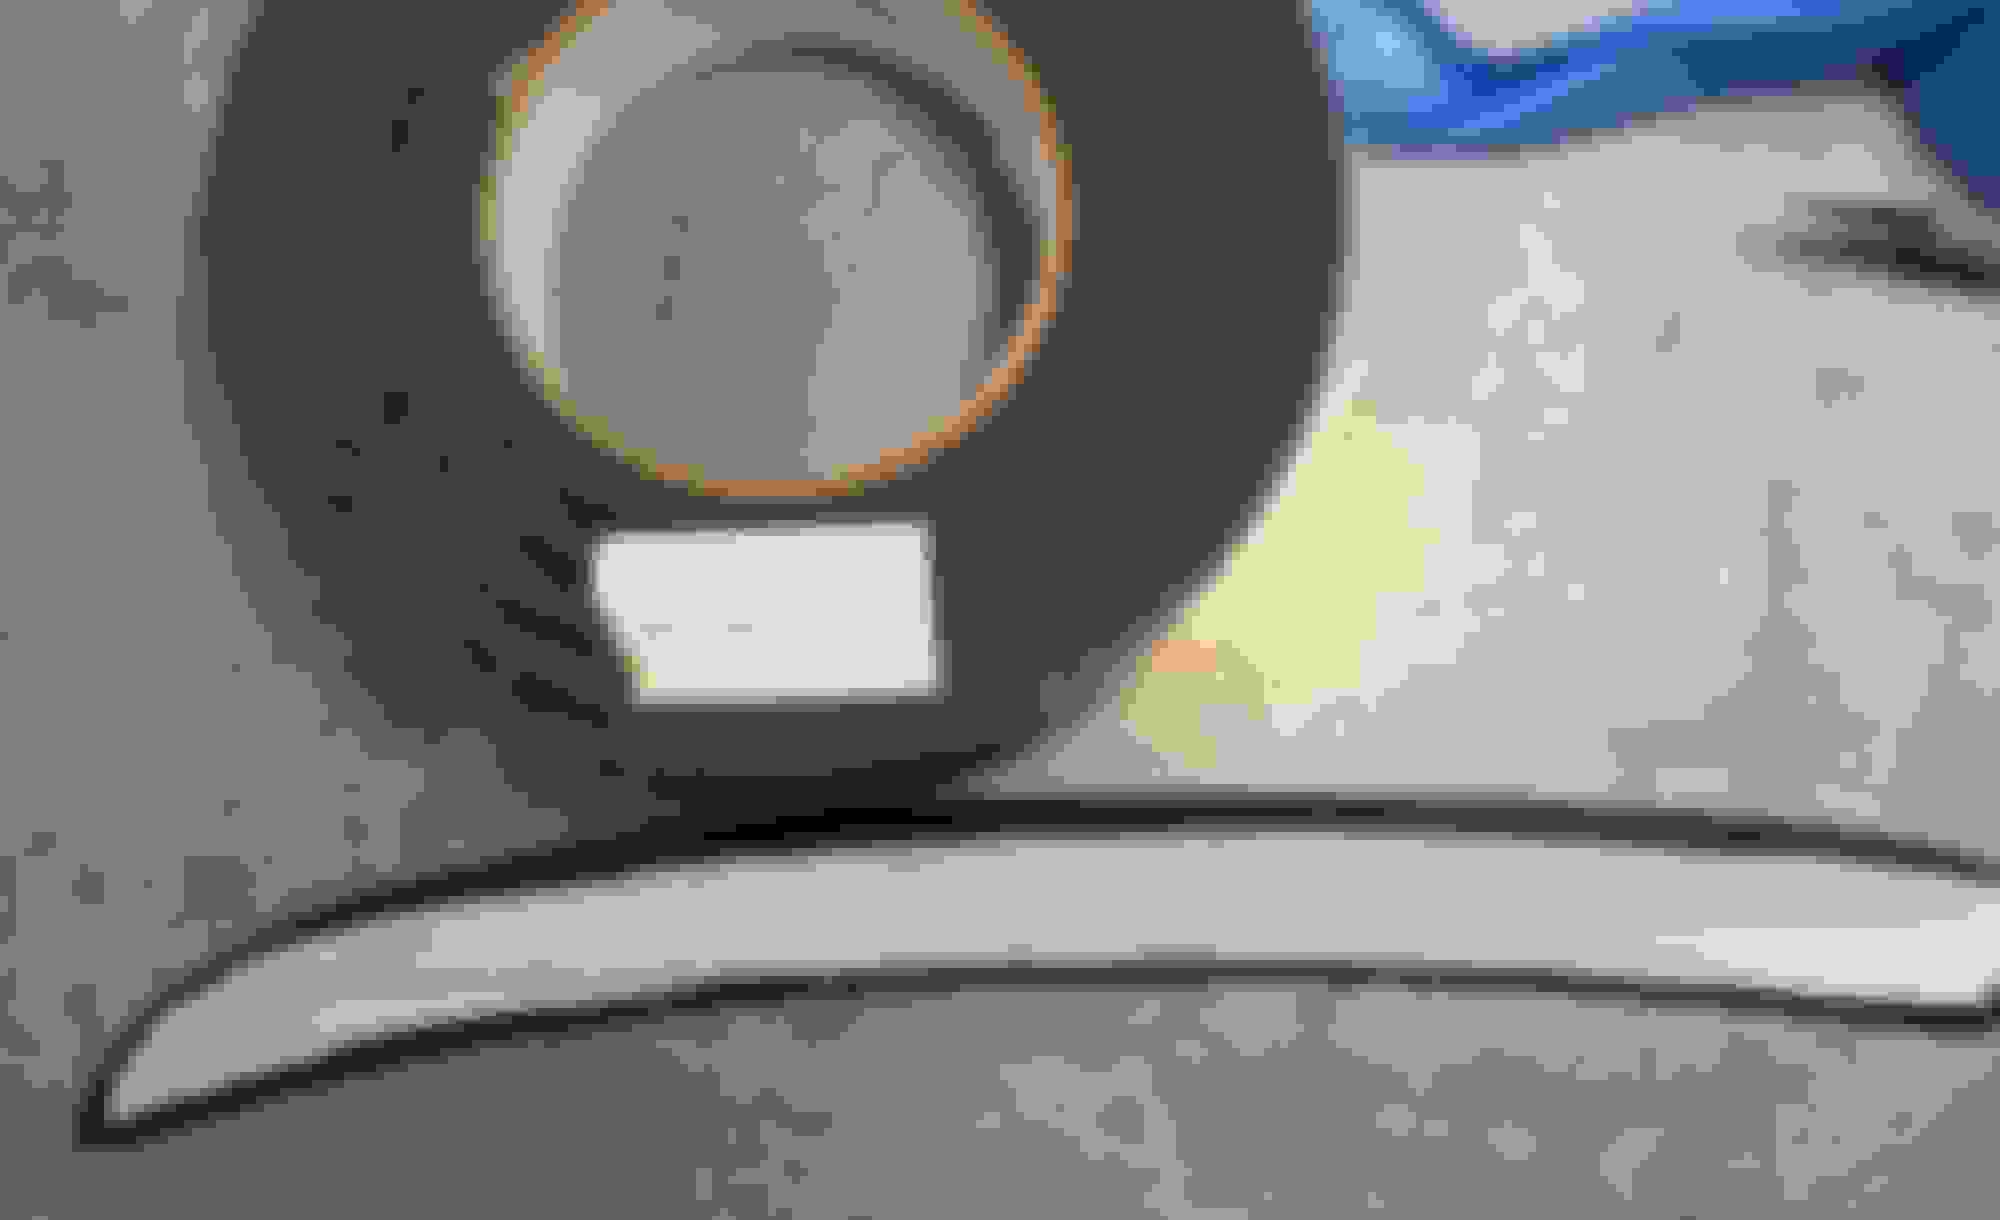
Instead of using the adhesive, I used a second layer of automotive trim tape that I applied over the exiting trim tape on the winglets. I felt that slight additional height of the second layer of tape would ensure a uniform stick to the spoiler.
Winglet with second layer of trim tape. Used an Exacto knife to trim the tape once it was in place.
[size=3]As the instructions say, cut the template out along the dotted line. But my suggestion is to not cut out the center section as it shows. Instead, from the edge of the paper, just make a 2�-3� cut along the dotted line to let it flex a little and fit the curvature of the spoiler. I found this retains some stiffness of the paper through its length, making it easier to fit to the spoiler.[/size]
I used blue painter�s tape to attach the template to the spoiler. I took care to get the lines on the template lined up with the leading (most forward) edge of the spoiler. There are some sharpe curve lines on the template outline that match the edge of the spoiler, which make for good reference points. The leading edge of the template matches the edge of the roofline.
Winglets in place with the template.
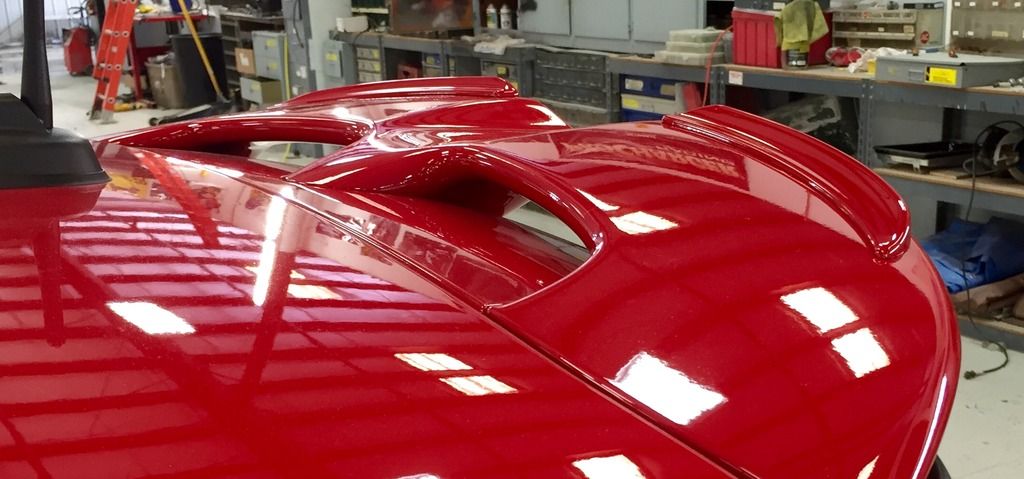
[size=3]From there, the rest is easy. Line the winglets up with the template and press them into place. I let them sit for 24 hr to ensure good bonding (that comes from a vague recollection of something I may have read). And the completed product:[/size]
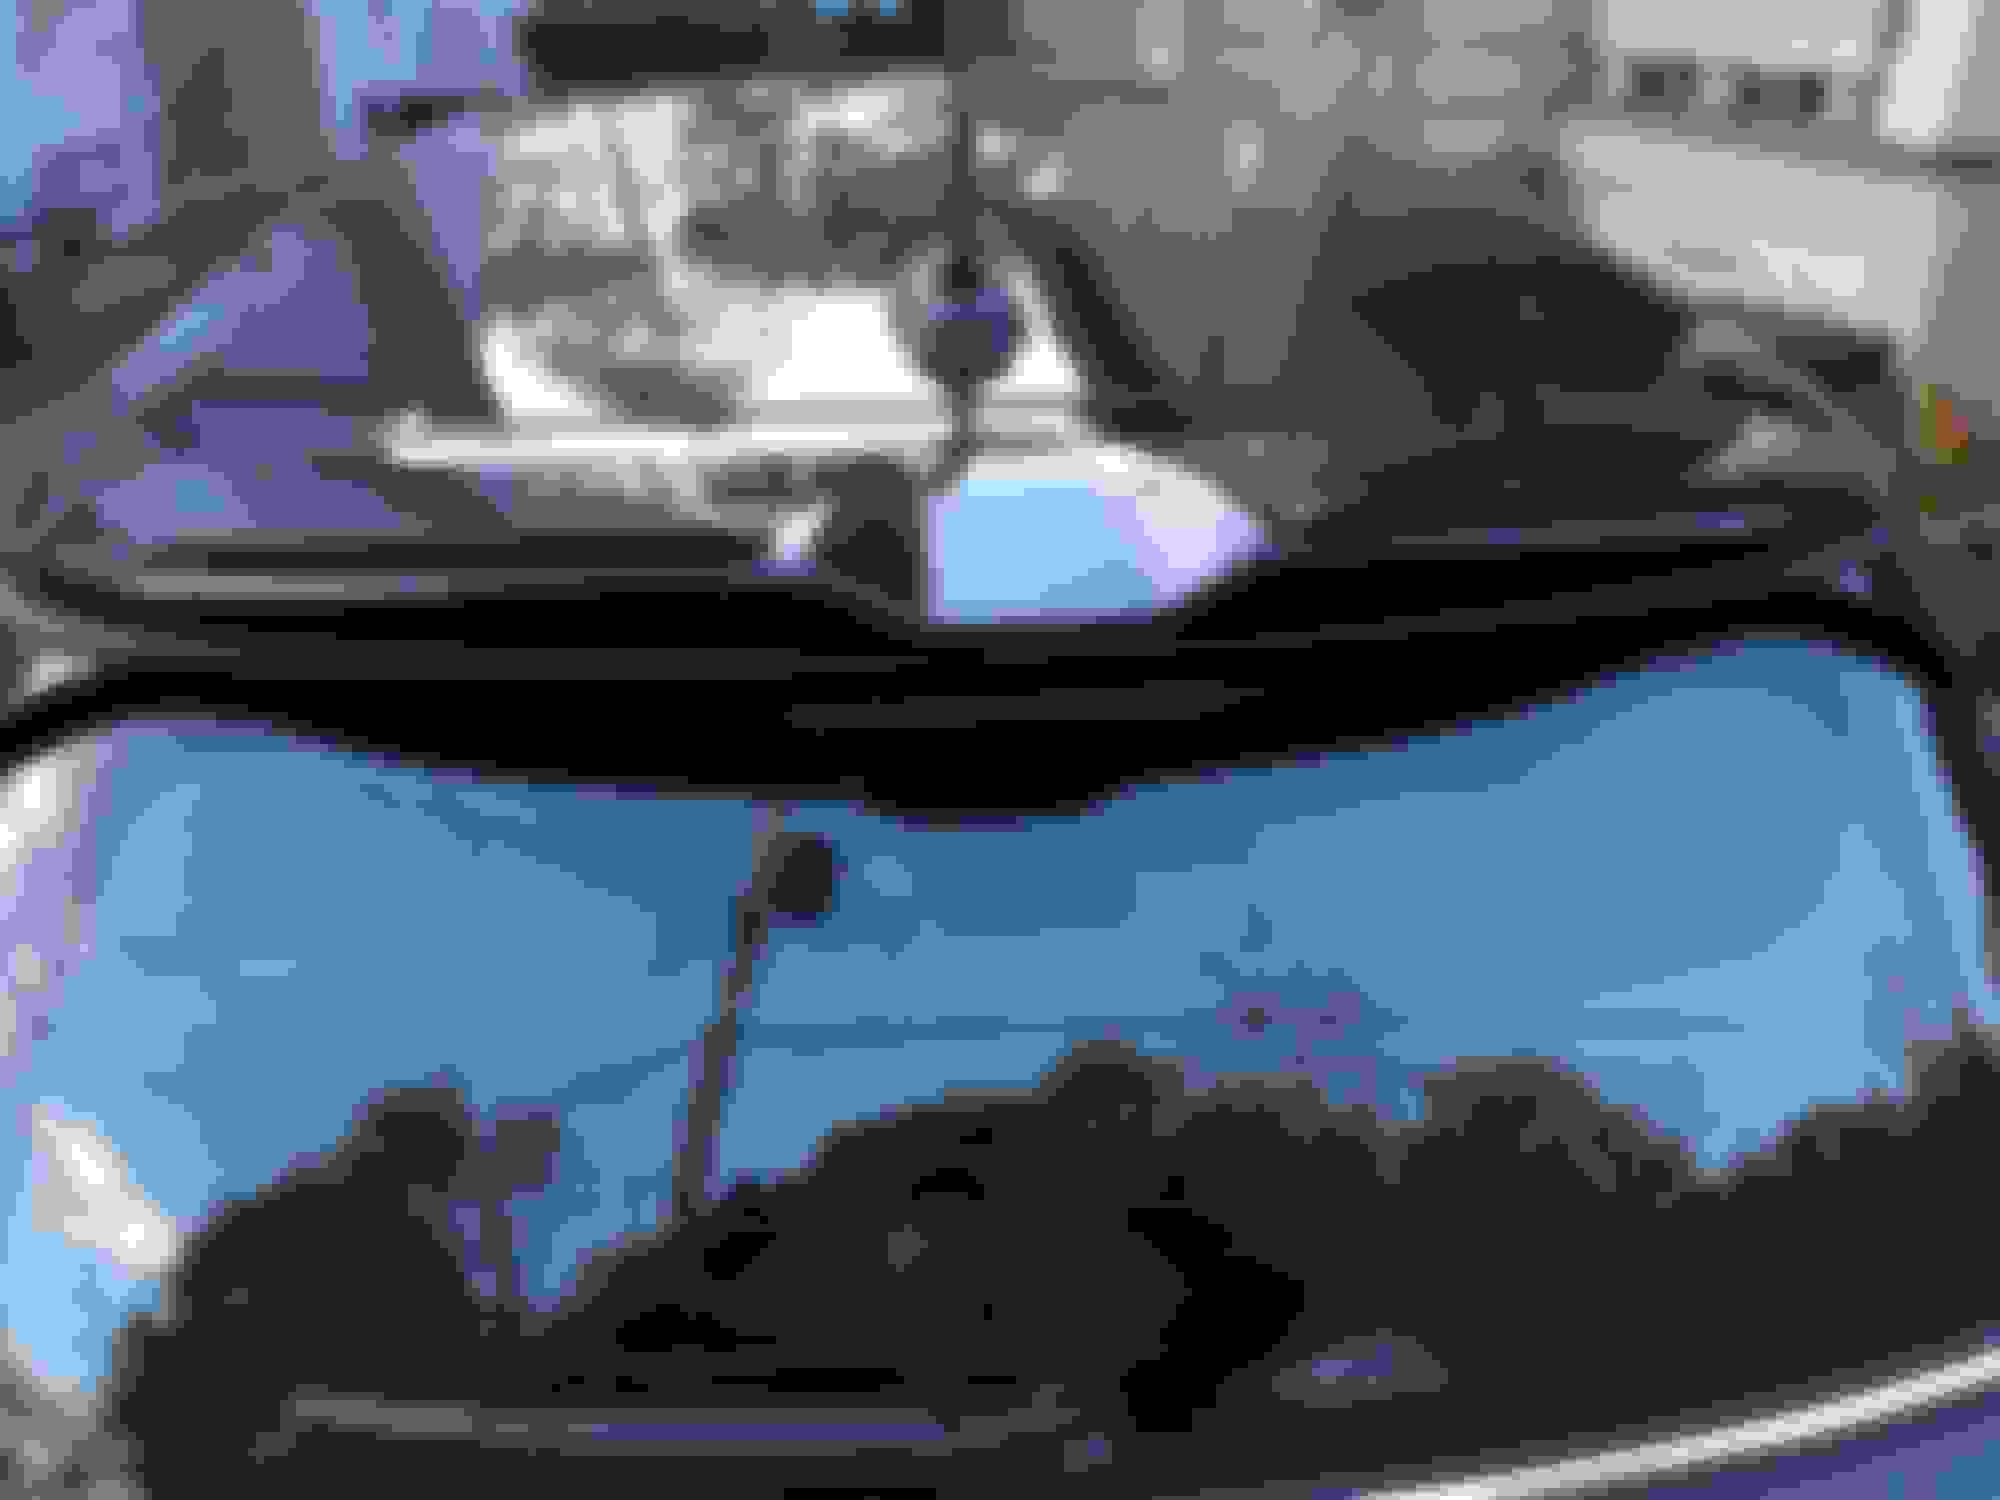
Winglets installed with mural of the fall colors painted on the roof. Just kidding about the mural - nice reflection...