When you click on links to various merchants on this site and make a purchase, this can result in this site earning a commission. Affiliate programs and affiliations include, but are not limited to, the eBay Partner Network.
JCW GarageInterested in John Cooper Works (JCW) parts for your 2nd Generation MINI? This is where JCW upgrades and accessories for the MINI Clubman (R55), Cooper and Cooper S (R56), and Cabrio (R57) MINIs are discussed.
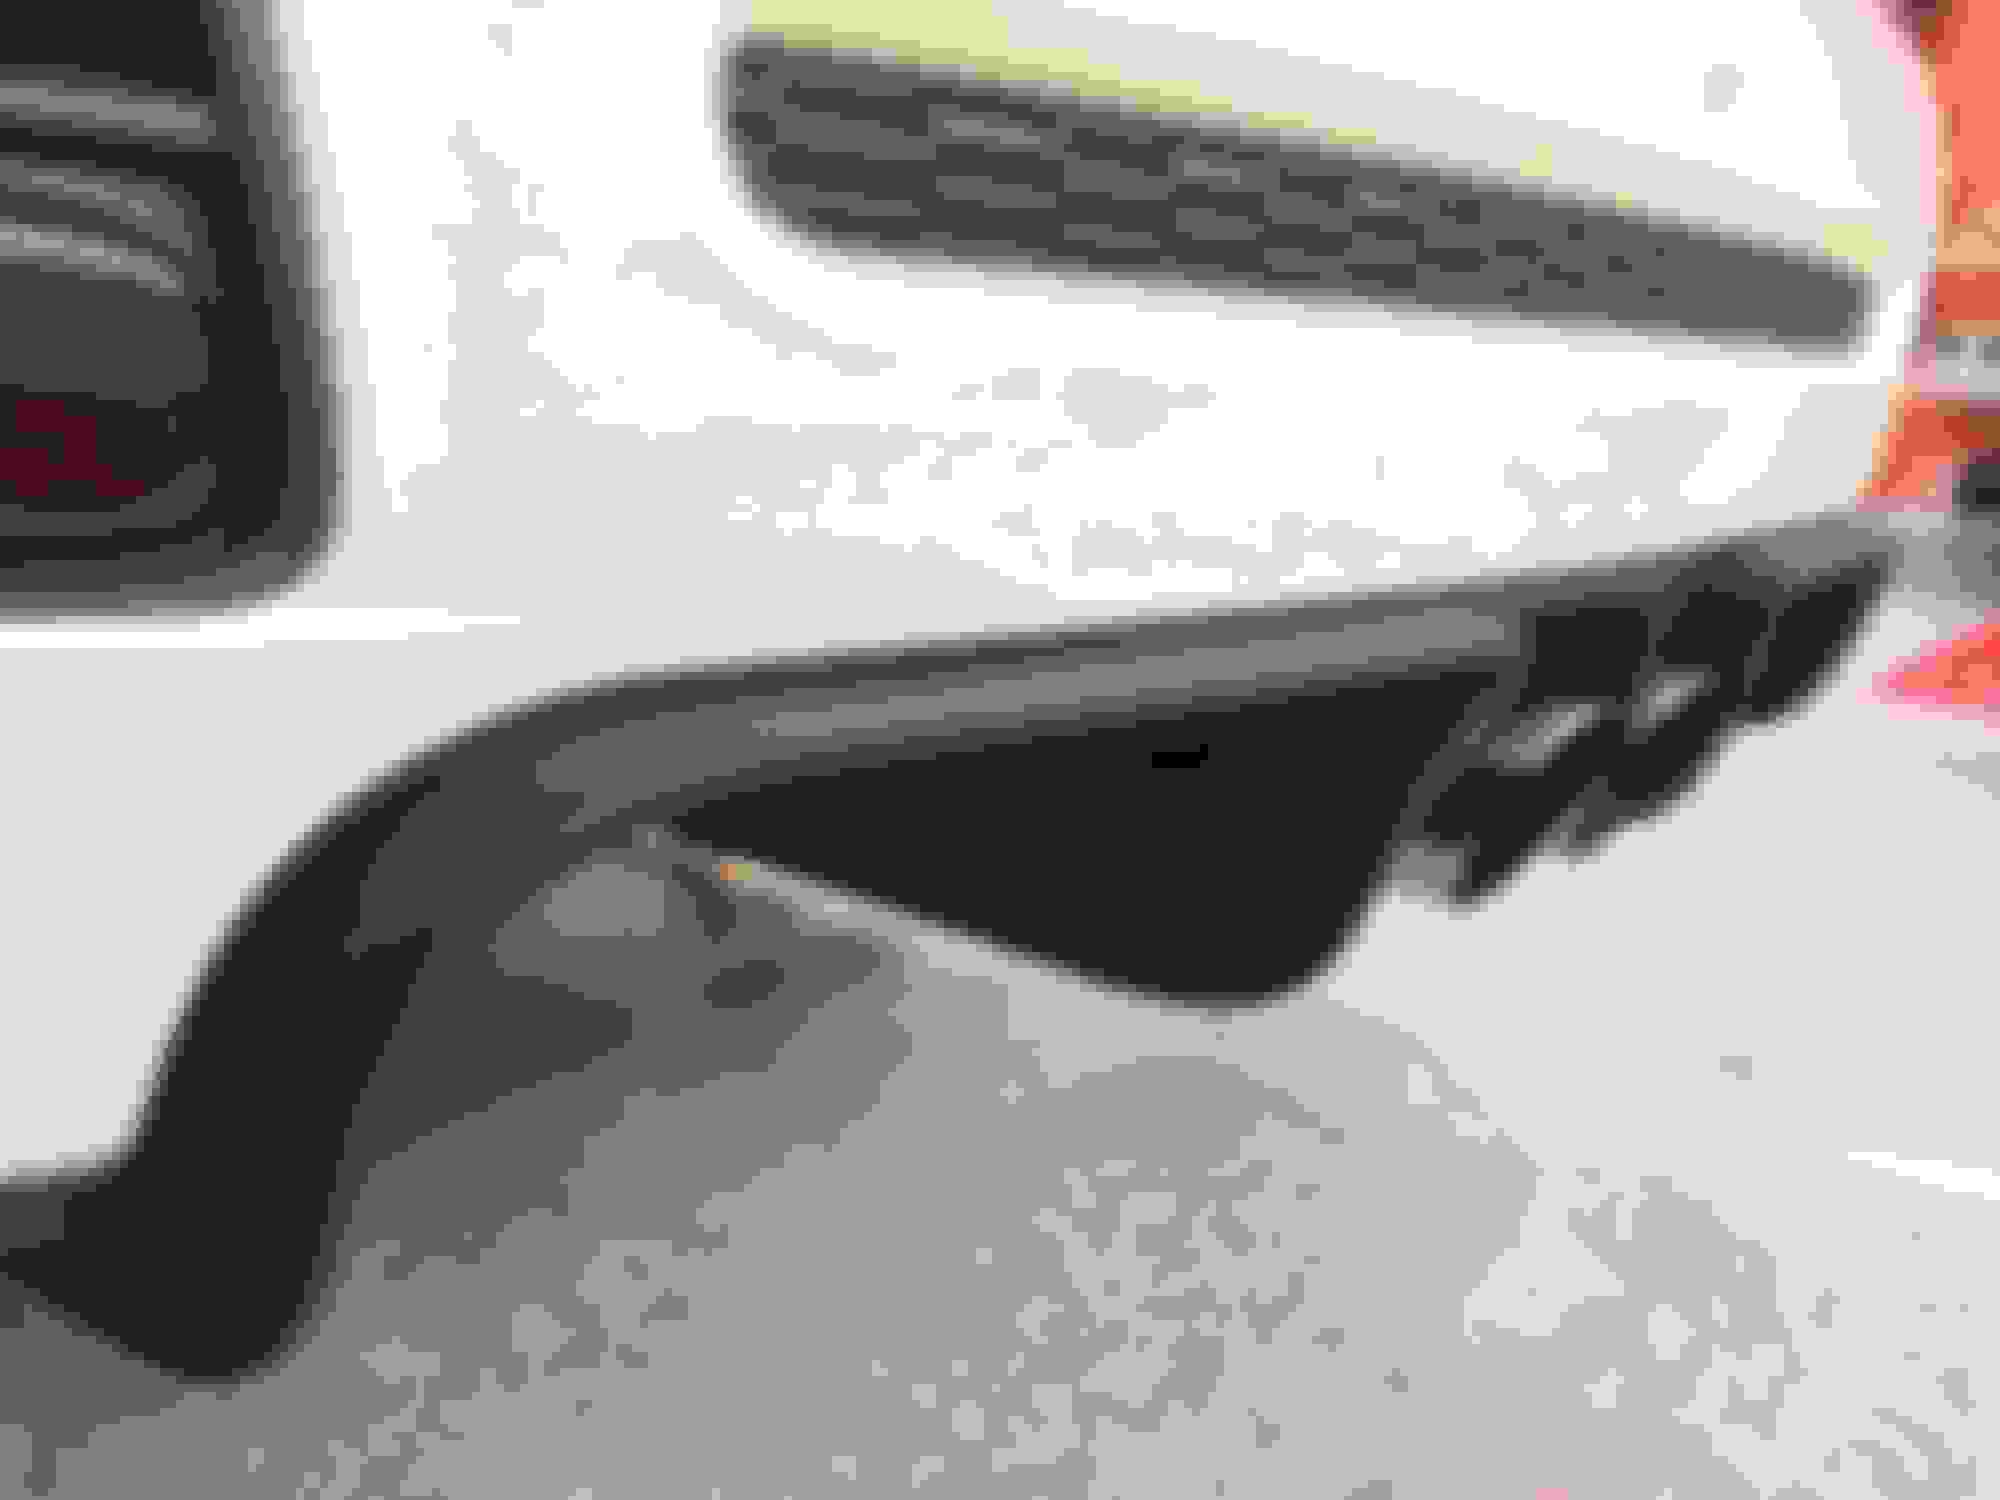
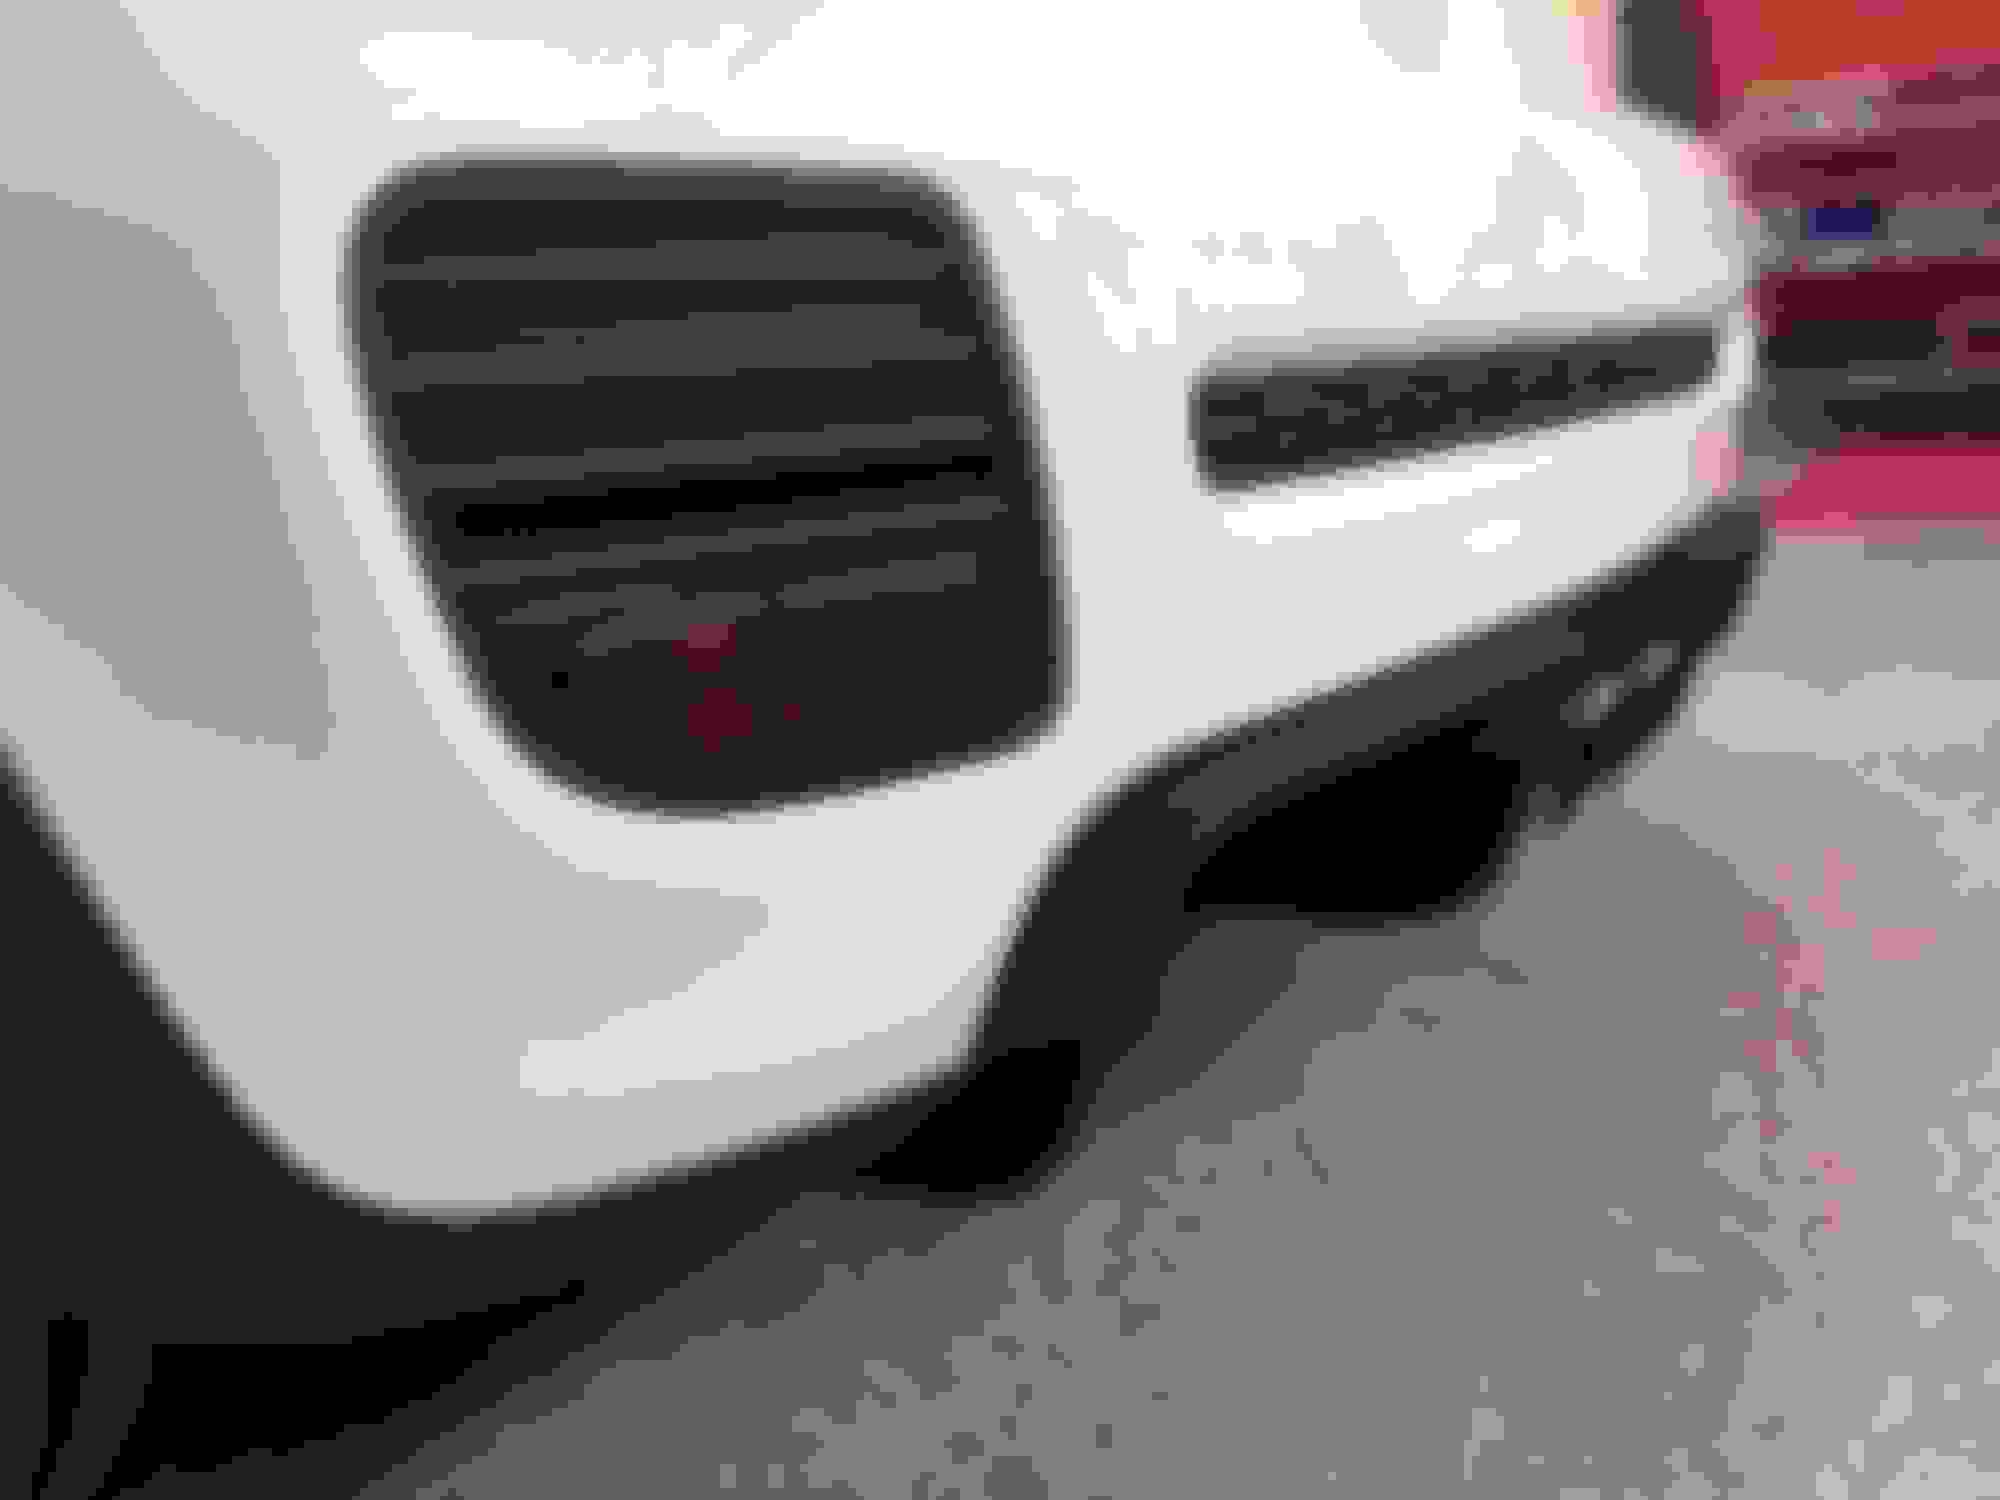
Installed the OEM GP diffuser today. This is a straight forward mod, and I figured out how to easily remove the 2 torx screws from the ends of the stock JCW rear bumper center section. Snap out the 2 corner black trims but don't remove. That gives you enough room to use a torx driver. Reverse when installing the new diffuser.
I haven't driven at high speed yet to tell the difference but sure look pretty cool and aggressive. I believe it completes the JCW look very well.
What do you mean by what you said about the 2 hard to reach torx? I know they are hard to get to but please explain.
Thanks
Sent from my iPad using NAMotoring
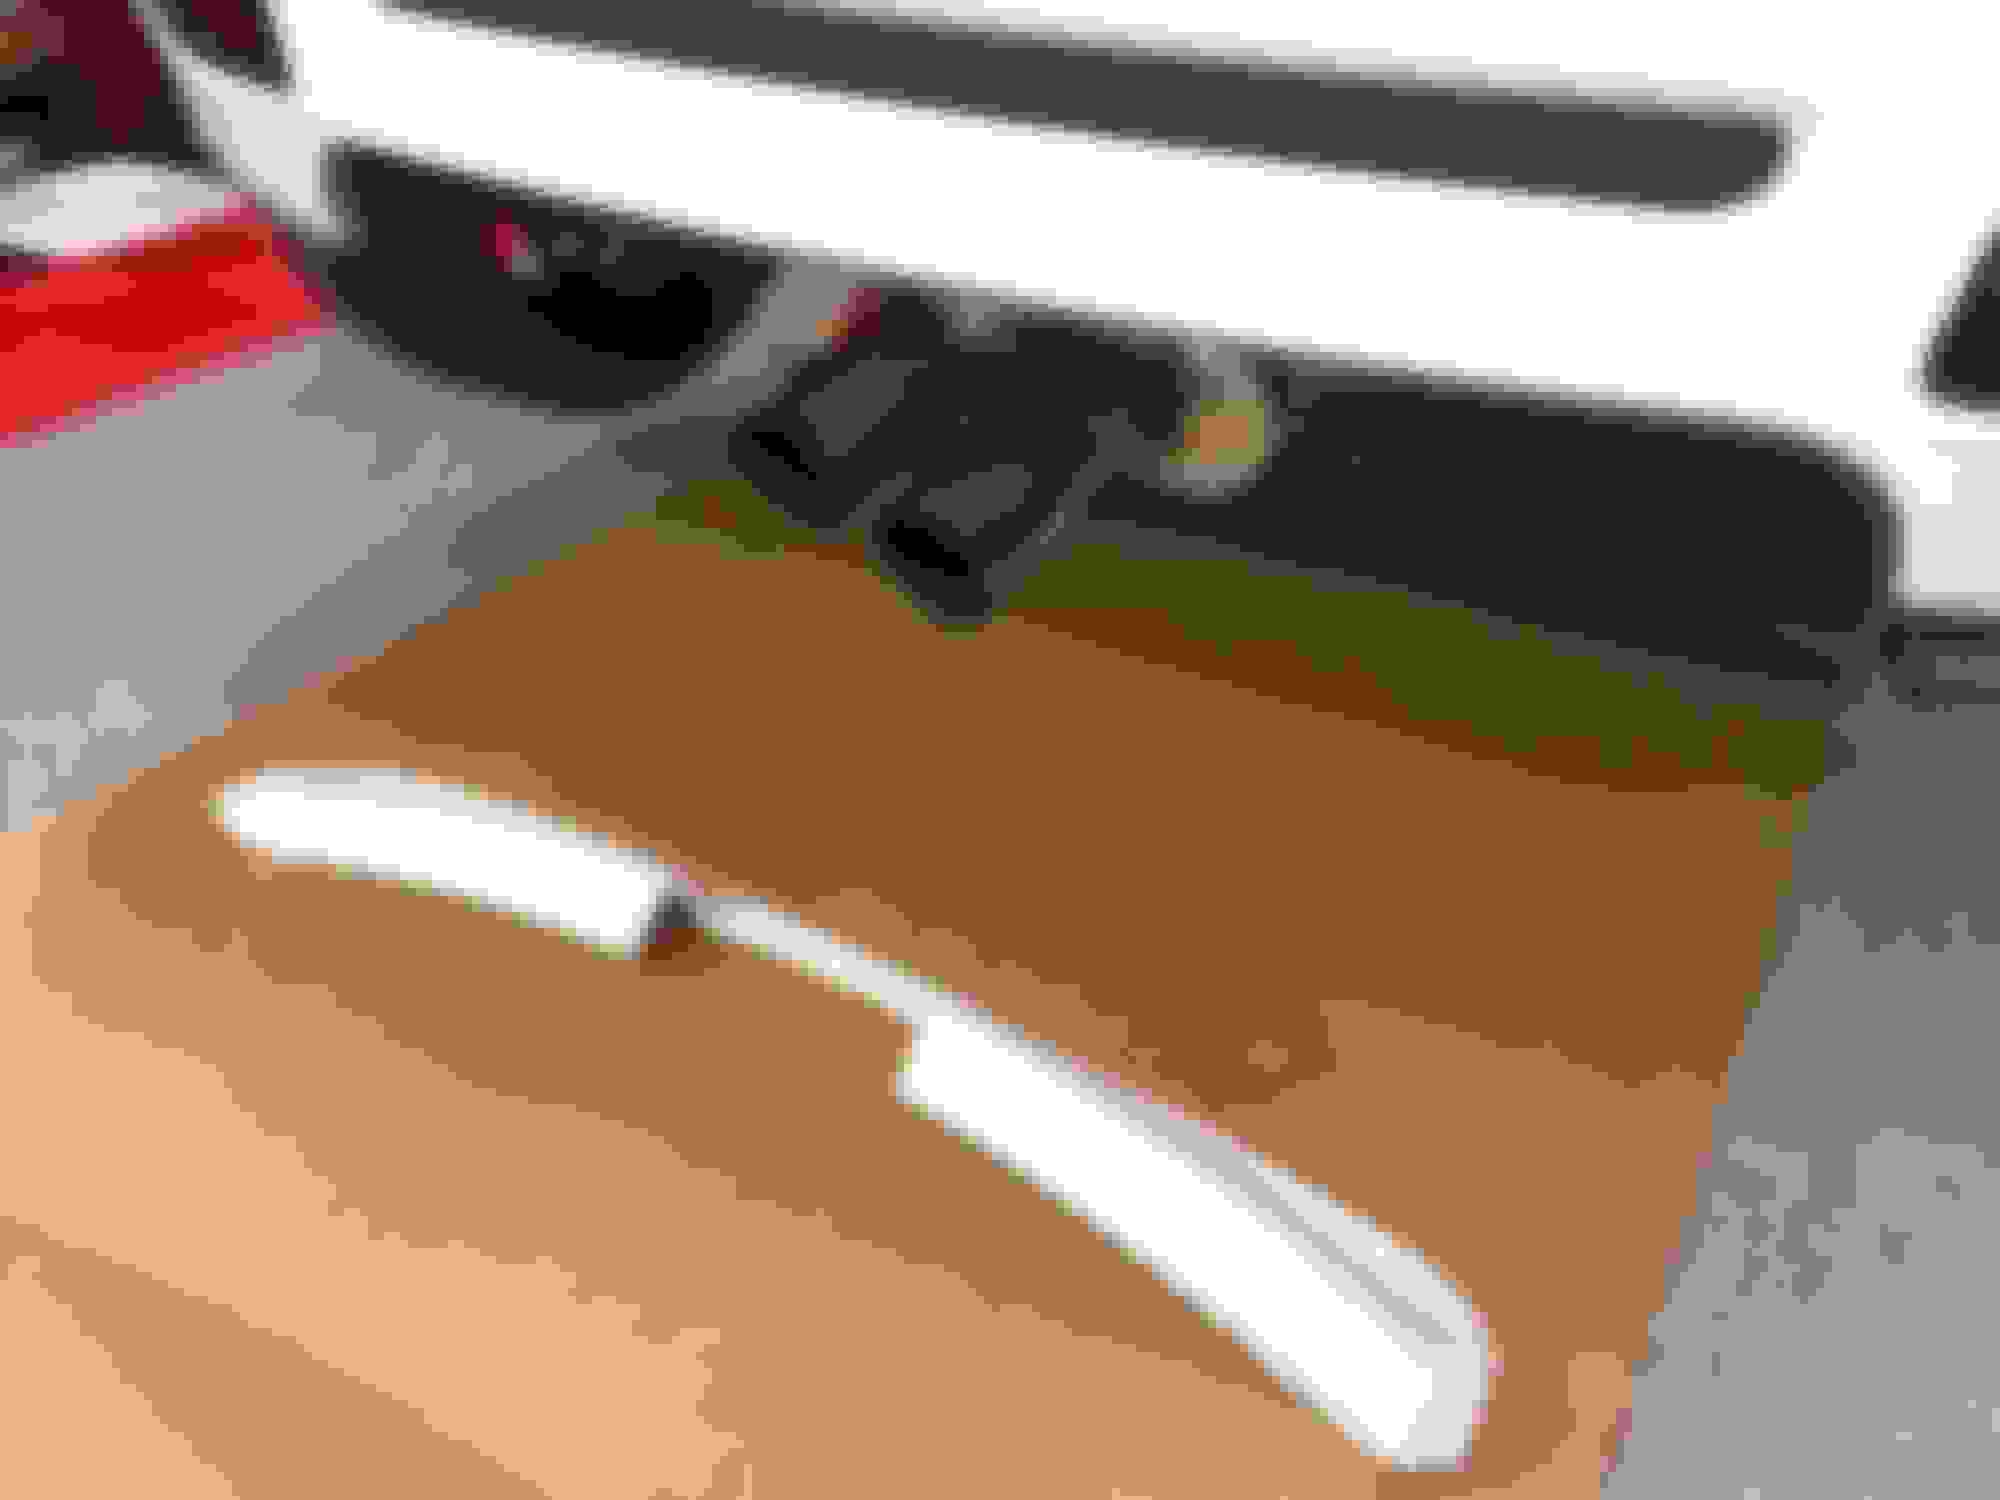
at the ends of the stock center bumper piece (1st pic), there are 2 t25 torx screws that attach it to the bumper itself. if you look closely at the 1st pic, you'll see the black trimming on the bumper that are slightly detached from the bumper. that's how i got to the 1 torx screws to get them out. otherwise they're behind the bumper at an angle such that you can't put a long screwdriver in to get them.
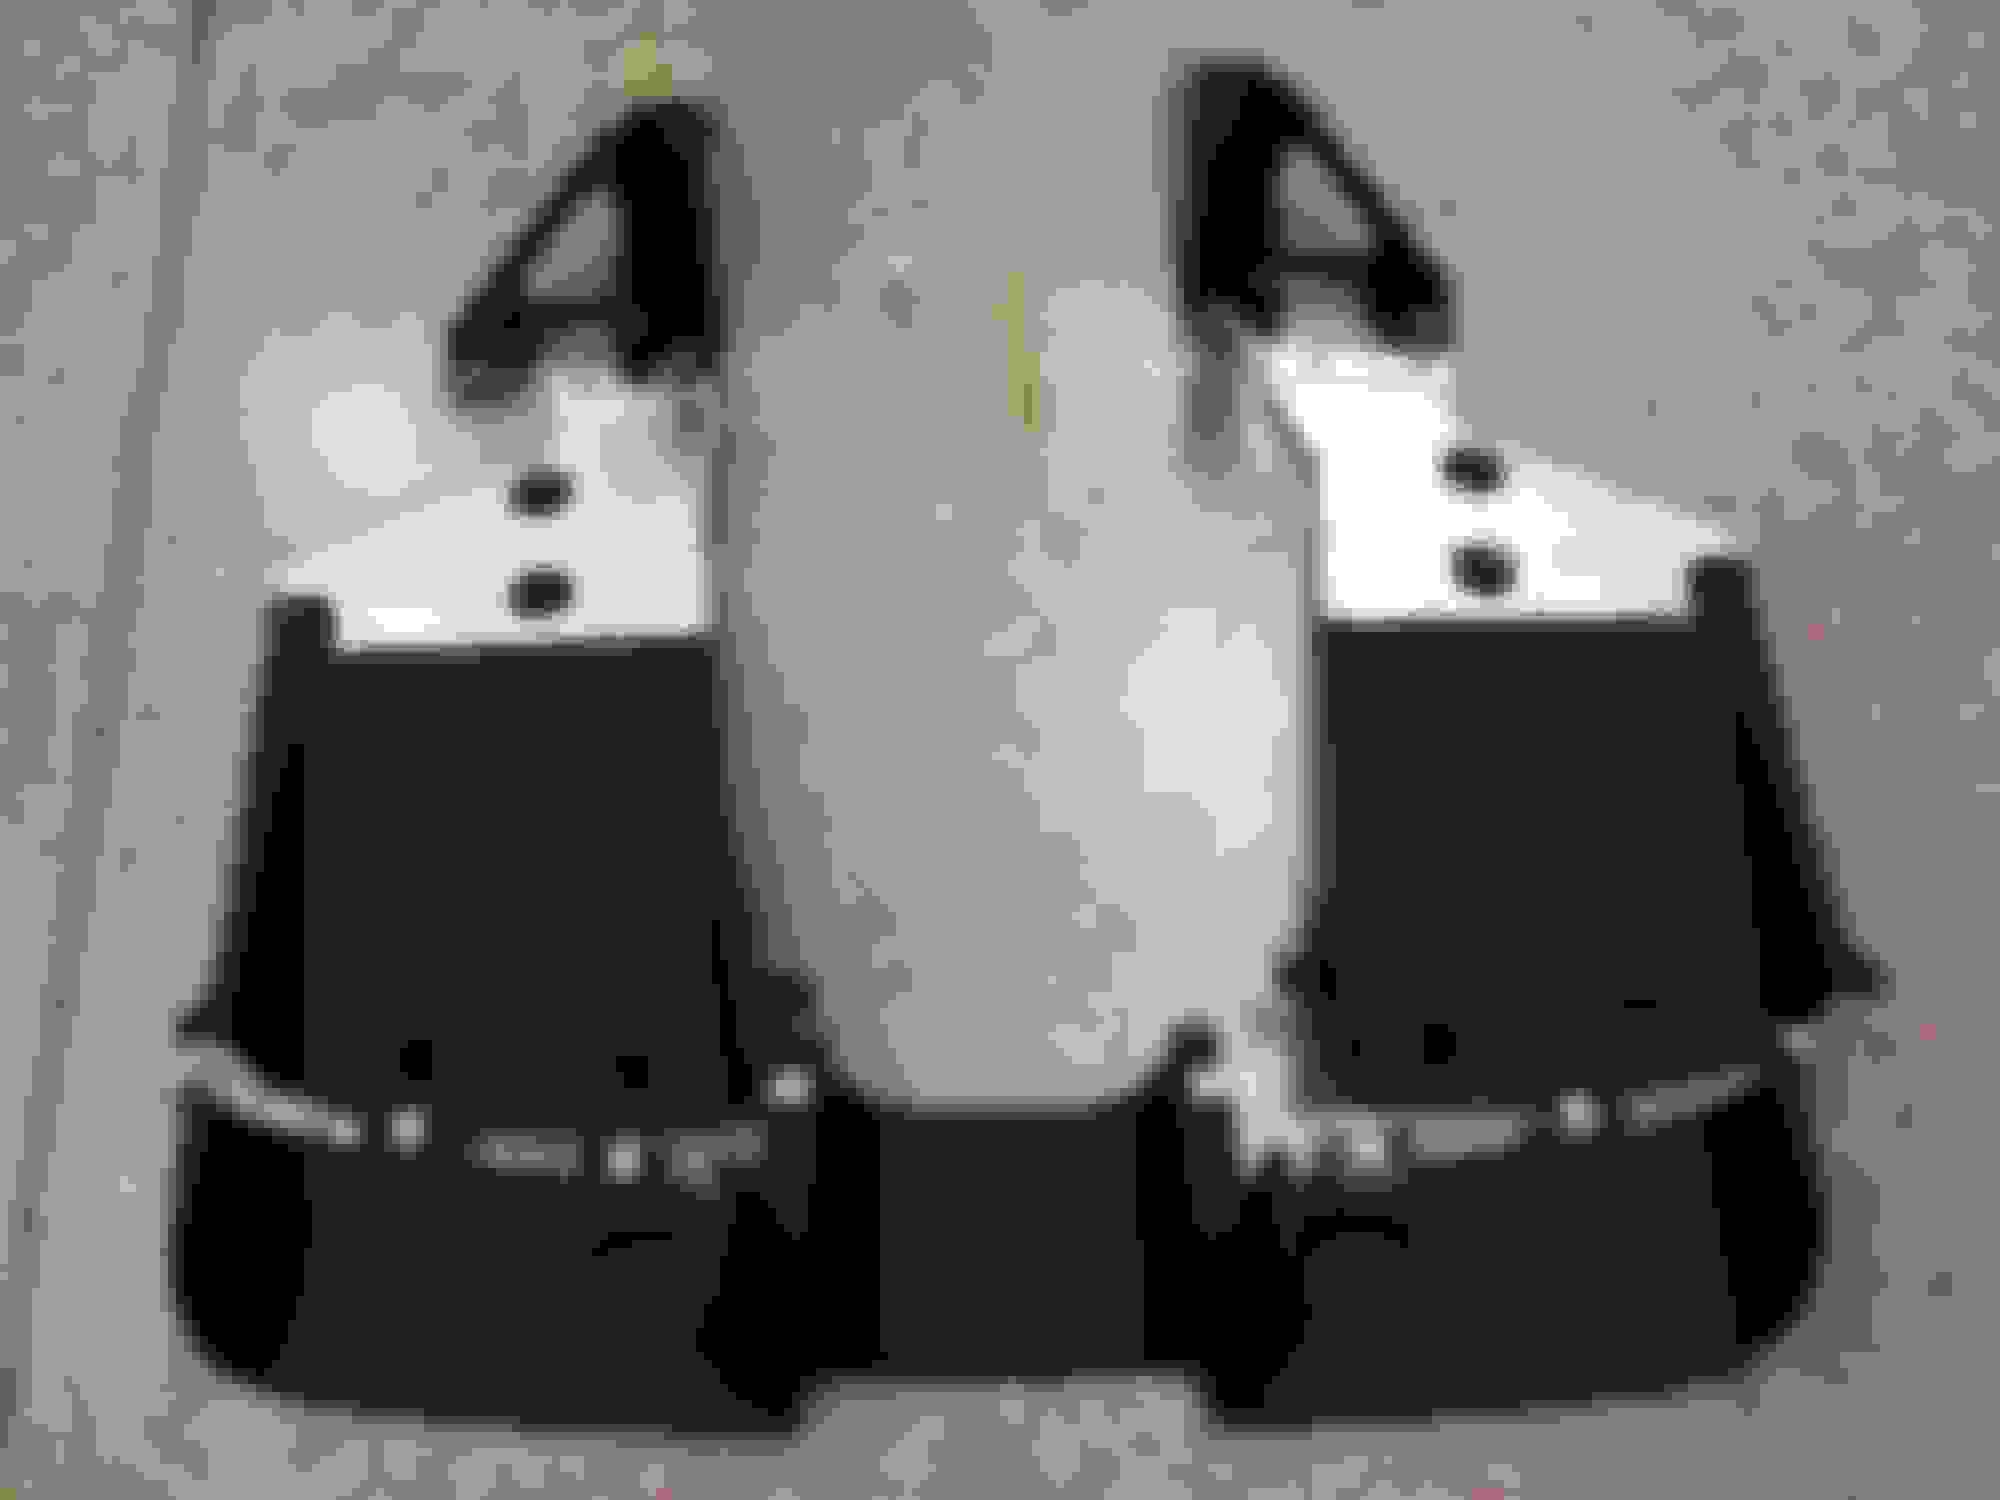
those 2 t25 torx screws are reused with the new/gp diffuser. that's really the hardest part of this install. i've circled the 2 locations where the 2 screws are in this pic below.
Last edited by minimofo; Aug 26, 2015 at 01:36 PM.
Looks good! I installed this with my Aero Kit. I was cheap and did just the outer trim piece and not the actual diffuser parts. I wasn't sure I'd actually feel a difference from them.
I like the look with the white paint. Mine is installed on a 13 coupe, which is red and painted to match the body. If interested look at my gallery for a different look. Q
I like the look with the white paint. Mine is installed on a 13 coupe, which is red and painted to match the body. If interested look at my gallery for a different look. Q
I was thinking about having the top side/surface painted chilli pepper red to match the car's roof and leave the bottom side matte black. Yes, I think I saw yours and was my inspiration. Still debating it though.
I will have the Orranje GP wing's horizontal slat painted chilli pepper red and vertical legs gloss black to blend in with the glass so to speak...when it arrives mid-September.
The only problem I have which isn't major - diffuser came missing the 4 screws (2 per side) at leading edge/aluminum end that attaches with the belly pan and 1 screw that attaches the left side of the center panel. These are not major and over to the dealer to grab the missing screws.
Last edited by minimofo; Aug 29, 2015 at 12:37 AM.
Installed the OEM GP diffuser today. This is a straight forward mod, and I figured out how to easily remove the 2 torx screws from the ends of the stock JCW rear bumper center section. Snap out the 2 corner black trims but don't remove. That gives you enough room to use a torx driver. Reverse when installing the new diffuser.
I haven't driven at high speed yet to tell the difference but sure look pretty cool and aggressive. I believe it completes the JCW look very well.
Now, top it off with the GP2 engine under tray. Having the under panels and diffusers is like having a wing with no leading edge. The louvers in the engine under tray help direct the air coming through the intercooler. That was one of the reasons for it on the GP2. I have all 3 on my 2013 JCW Hardtop. I can tell the difference, especially in a crosswind. It makes the car feel real solid @ 80 (only in Utah on I-15 and I-70). Easy to install once you get the clips pressed in the frame. Did it in my driveway on jack stands. Oh, bought mine at Way Motors!
Now, top it off with the GP2 engine under tray. Having the under panels and diffusers is like having a wing with no leading edge. The louvers in the engine under tray help direct the air coming through the intercooler. That was one of the reasons for it on the GP2. I have all 3 on my 2013 JCW Hardtop. I can tell the difference, especially in a crosswind. It makes the car feel real solid @ 80 (only in Utah on I-15 and I-70). Easy to install once you get the clips pressed in the frame. Did it in my driveway on jack stands. Oh, bought mine at Way Motors!
Btw you mentioned you "have all 3". What's the 3rd part if you also have the diffuser and belly pan?
Btw you mentioned you "have all 3". What's the 3rd part if you also have the diffuser and belly pan?
Ok, to clear this up. My 2013 JCW Hardtop came with the flat under trays. First I added the rear diffusers, bought thru MINI. Later on I added what I call the engine under tray. I bought that from Way Motors, but it has the MINI part # on it that came on the GP2's. Like I said earlier having the flat under trays and diffusers without the engine under tray is like having a wing with no leading edge on it. It is needed to direct the airflow to the under trays and diffuser. It all works together. I tested it with my leaf blower. Old men have too much time on their hands! LOL