
Interior/Exterior Dorky Cheapskate Mods - Gen 2


1st Gear
Joined: Aug 2013
Posts: 41
Likes: 0
From: Pittsburgh, PA
Then I proceeded to poke out the little burs that built up in the openings with a small flathead, and then went over each of the openings and the outside whit what is locally called a whirly-gig in the local shops. (one of these http://www.zorotools.com/g/00025925/...FdKj4Aod6U4AvA)
Then blasted it with a hose to clean out the scraps.

And Installed

As a disclaimer, I am not responsible for this going poorly if you attempt it yourself. An angle grinder can be dangerous. I was reminded of this with this mod when I wasn't paying attention as much as I should have been and bumped the edge of the spinning sanding disk with the knuckle of my right index finger. I've got two nice deep grooves cut into my finger now as a reminder. Be careful. Wear safety glasses and a good set of leather/welding gloves is a pretty good idea as well.
Then blasted it with a hose to clean out the scraps.
And Installed
As a disclaimer, I am not responsible for this going poorly if you attempt it yourself. An angle grinder can be dangerous. I was reminded of this with this mod when I wasn't paying attention as much as I should have been and bumped the edge of the spinning sanding disk with the knuckle of my right index finger. I've got two nice deep grooves cut into my finger now as a reminder. Be careful. Wear safety glasses and a good set of leather/welding gloves is a pretty good idea as well.
Last edited by watson 29; Aug 26, 2013 at 07:38 PM.

I concur. You might want to check for leaves occasionally.
1st Gear
Joined: Aug 2013
Posts: 41
Likes: 0
From: Pittsburgh, PA
To reiterate what the two above have posted, There is no danger. With the mesh, a few more bugs may get in, and you may have a few more dusty parts on the top of your engine bay, but really that's it.
Using torque to measure coolant temps, my coolant temps take longer to rise and at the same speeds on the highway were generally about 3* celcius lower than with it sealed. I didn't think to see if there were any difference in intake temps(didnt take a before reading), but today in 75*f heat going 75mph my intake temps were 80.2*f so I have a feeling it's helping to keep that cool, plus under the hood cools quicker as hot air rises and the heat from the turbo has a very short and easy place to escape.
Using torque to measure coolant temps, my coolant temps take longer to rise and at the same speeds on the highway were generally about 3* celcius lower than with it sealed. I didn't think to see if there were any difference in intake temps(didnt take a before reading), but today in 75*f heat going 75mph my intake temps were 80.2*f so I have a feeling it's helping to keep that cool, plus under the hood cools quicker as hot air rises and the heat from the turbo has a very short and easy place to escape.
I have the Mini Fini stainless grill insert, essentially the same thing.
Today I removed the small stock clutch stop bump, and I added a "BMS Short Throw Clutch Stop" :
http://burgertuning.com/clutch_stop_mini_cooper.html
Best $10 ever spent.
The left foot equivalent of a short shift kit.
Do it.
http://burgertuning.com/clutch_stop_mini_cooper.html
Best $10 ever spent.
The left foot equivalent of a short shift kit.
Do it.

1st Gear
Joined: Apr 2011
Posts: 19
Likes: 0
Today I removed the small stock clutch stop bump, and I added a "BMS Short Throw Clutch Stop" :
http://burgertuning.com/clutch_stop_mini_cooper.html
Best $10 ever spent.
The left foot equivalent of a short shift kit.
Do it.
http://burgertuning.com/clutch_stop_mini_cooper.html
Best $10 ever spent.
The left foot equivalent of a short shift kit.
Do it.
3rd Gear
Joined: Mar 2011
Posts: 279
Likes: 1
From: Simi Valley, CA
Today I removed the small stock clutch stop bump, and I added a "BMS Short Throw Clutch Stop" :
http://burgertuning.com/clutch_stop_mini_cooper.html
Best $10 ever spent.
The left foot equivalent of a short shift kit.
Do it.
http://burgertuning.com/clutch_stop_mini_cooper.html
Best $10 ever spent.
The left foot equivalent of a short shift kit.
Do it.

Finding the right shifting feel has been one of my only complaints with my MINI. I've driven manual for years but this one can be a challenge sometimes. I've already added the NM short shift adapter and a Whalen so this clutch stop is a nice addition. Thanks for the recommendation.

2nd Gear
Joined: Aug 2013
Posts: 65
Likes: 0
From: Earth
Today I opened up the honeycombs in the hood scoop. Cost: $0, but I already had all the tools I needed.
So, What I did was put a sanding disk on an angle grinder and sanded down the backside of the honey comb so it was flat, applying no pressure to it except for the weight of the tool, and I kept it moving so the plastic sanded more than melted. heres what it looked like at that point.
I then proceeded working with a less gritty disk to sand down until all the openings opened up. Again, let the tool do the work and keep it moving so the plastic doesn't melt too much. If it starts to, stop and take a break for a minute. Should look like this when done.
EDIT: Found it.


1st Gear
Joined: Jul 2011
Posts: 12
Likes: 0
From: Montgomery, AL
Ditto this...
I'm not sure how I missed this item for so long! Ordered two days ago and it arrived yesterday. It wasn't until after that I realized Burger Tuning is only a few miles from my house. JB+ is next on my list
Finding the right shifting feel has been one of my only complaints with my MINI. I've driven manual for years but this one can be a challenge sometimes. I've already added the NM short shift adapter and a Whalen so this clutch stop is a nice addition. Thanks for the recommendation.
Finding the right shifting feel has been one of my only complaints with my MINI. I've driven manual for years but this one can be a challenge sometimes. I've already added the NM short shift adapter and a Whalen so this clutch stop is a nice addition. Thanks for the recommendation.
1st Gear
Joined: Jun 2012
Posts: 17
Likes: 0
Changed Parking lights- 194 white Canbus LEDs from E-bay. 5 elements, plug right in.. No warning light. Just a few bucks. Got 4 of them free shipping. Did the rear tag lights too. Takes all of 1 min to change the bulb.
1 st pic - Passenger side is the stock w5w bulb, drivers is LED.
2nd pic - all LED front end (minus HIDs and Fogs..).
Very happy with the light color.. Looks like a much brighter (whiter) light.
1 st pic - Passenger side is the stock w5w bulb, drivers is LED.
2nd pic - all LED front end (minus HIDs and Fogs..).
Very happy with the light color.. Looks like a much brighter (whiter) light.


2nd Gear

Joined: Jul 2012
Posts: 67
Likes: 0
From: Denham Springs, LA
I installed the BMS clutch stop yesterday with all shims and it is perfect. It has made my shifting smoother since those several inches of extra travel before clutch engagement have been eliminated.
1st Gear
Joined: Jun 2012
Posts: 17
Likes: 0
Dan, I believe so, and yes they work great
Canbus Error Free Warning Wedge T10 W5W, 168, 194 5050 SMD LED Light for Audi, BMW, Benz
Last edited by JShip; Sep 10, 2013 at 06:37 PM.

6th Gear
Joined: Apr 2013
Posts: 1,894
Likes: 8
From: Philly PA
http://www.ebay.com/itm/111091600244...84.m1497.l2649
Were the ones I used without an issue.
2nd Gear
Joined: Jul 2012
Posts: 67
Likes: 0
From: Denham Springs, LA
Make sure they are all on and if not plug them in the other way. They only work plugged in in one direction.
3rd Gear
Joined: Mar 2011
Posts: 279
Likes: 1
From: Simi Valley, CA
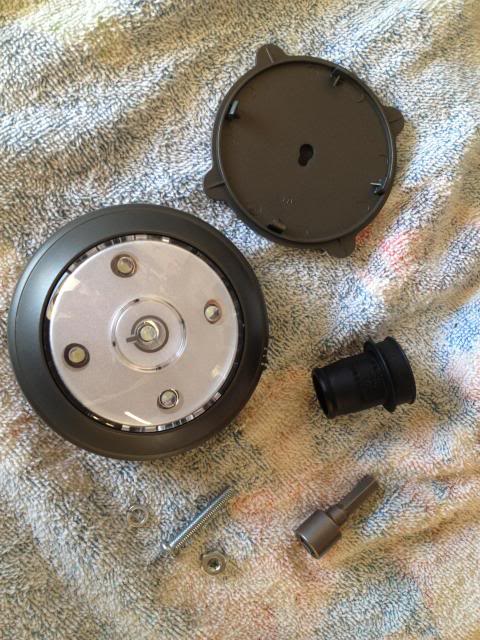
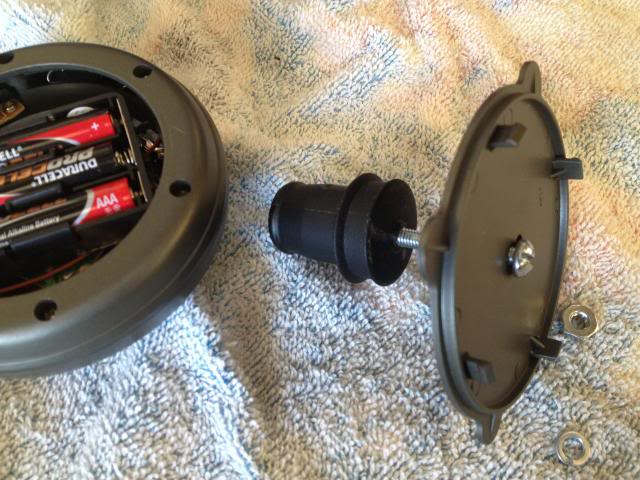
I felt this belonged nowhere else but under Dorky Cheapskate Mods 
Rite Light Wireless LED Puck Light from Walmart http://www.walmart.com/ip/Rite-Light...Light/16627633
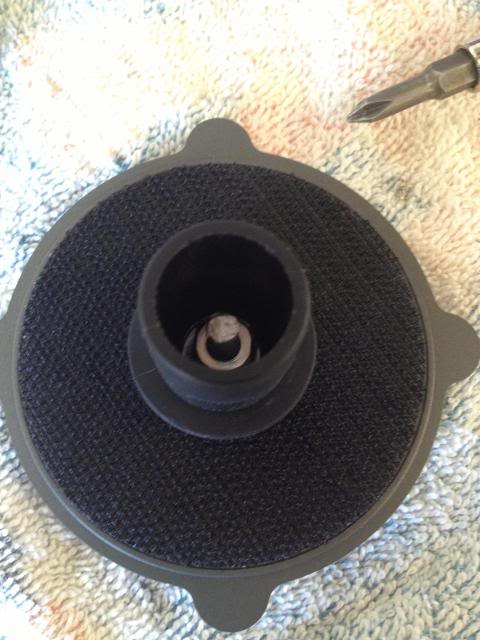
Dummy 12V plug from boot
Bolt, nut, lock washer
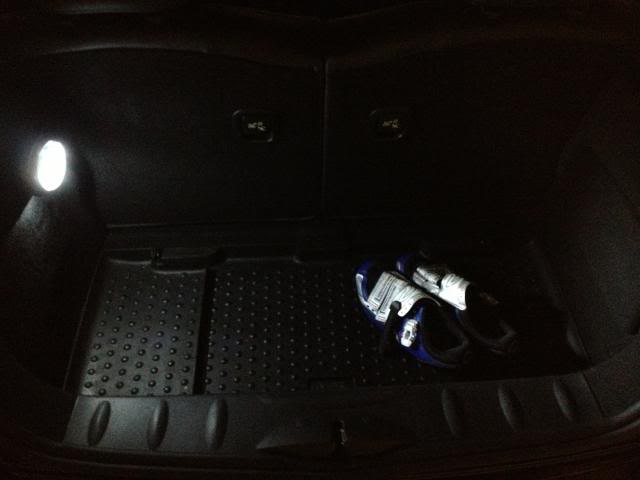
Cool features about puck light: wireless, 2-level brightness, doubles as a flashlight, bright, lens tilts and it's CHEAP!
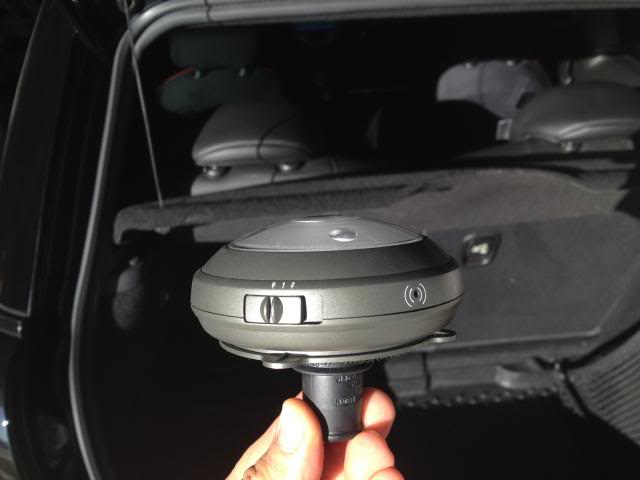
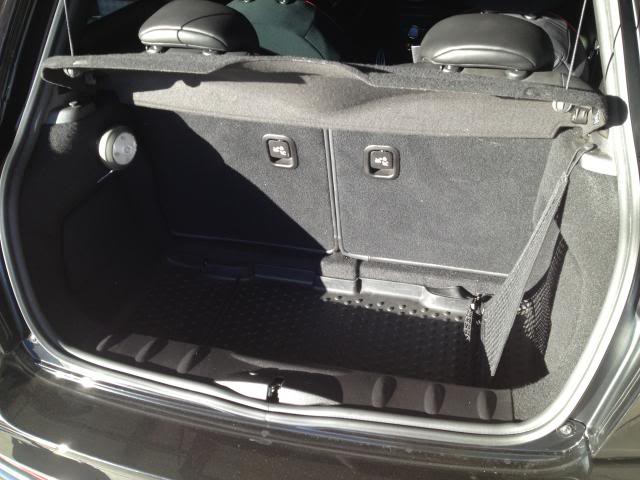
LED boot light WITHOUT puck light
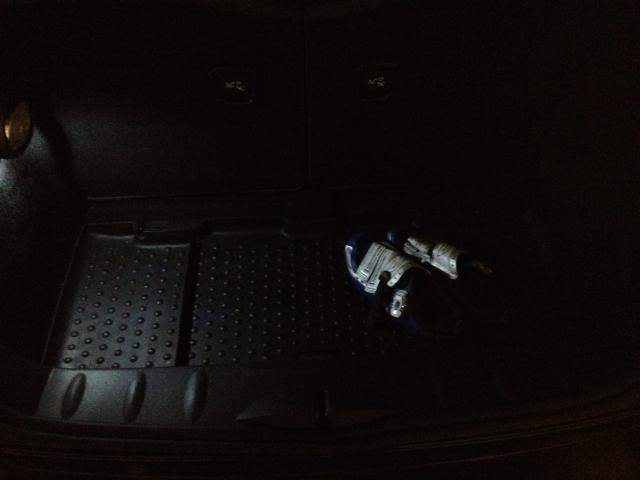
WITH puck light
Rite Light Wireless LED Puck Light from Walmart http://www.walmart.com/ip/Rite-Light...Light/16627633
Dummy 12V plug from boot
Bolt, nut, lock washer
Cool features about puck light: wireless, 2-level brightness, doubles as a flashlight, bright, lens tilts and it's CHEAP!
LED boot light WITHOUT puck light
WITH puck light

Neutral
Joined: Mar 2013
Posts: 6
Likes: 1
From: NoVA
Changed Parking lights- 194 white Canbus LEDs from E-bay. 5 elements, plug right in.. No warning light. Just a few bucks. Got 4 of them free shipping. Did the rear tag lights too. Takes all of 1 min to change the bulb.
1 st pic - Passenger side is the stock w5w bulb, drivers is LED.
2nd pic - all LED front end (minus HIDs and Fogs..).
Very happy with the light color.. Looks like a much brighter (whiter) light.
1 st pic - Passenger side is the stock w5w bulb, drivers is LED.
2nd pic - all LED front end (minus HIDs and Fogs..).
Very happy with the light color.. Looks like a much brighter (whiter) light.

Neutral
Joined: Mar 2013
Posts: 6
Likes: 1
From: NoVA
Then I proceeded to poke out the little burs that built up in the openings with a small flathead, and then went over each of the openings and the outside whit what is locally called a whirly-gig in the local shops. (one of these http://www.zorotools.com/g/00025925/...FdKj4Aod6U4AvA)
Then blasted it with a hose to clean out the scraps.
And Installed
As a disclaimer, I am not responsible for this going poorly if you attempt it yourself. An angle grinder can be dangerous. I was reminded of this with this mod when I wasn't paying attention as much as I should have been and bumped the edge of the spinning sanding disk with the knuckle of my right index finger. I've got two nice deep grooves cut into my finger now as a reminder. Be careful. Wear safety glasses and a good set of leather/welding gloves is a pretty good idea as well.