
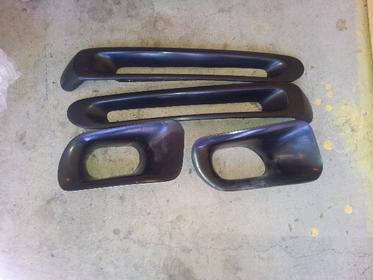
Interior/Exterior Challenger diffusers (replica) on R53

Challenger diffusers (replica) on R53
For some reason I can't post this on my existing thread so here it is as a new thread.
Since the diffusers are for designed for the R56 I had to make some modifications to the R53.
Rear clips added.
Partially cut my battbox to accommodate the diffuser.
Trimmed battbox.
I'm retaining the battery location so no need to remove the whole enclosure.
Exhaust? I dont know yet where its going out.
Last edited by miles_miles7; Oct 26, 2012 at 09:28 PM.
More
Since R56 are longer than the R53 these diffuser needed to come fwd underneath the car therefore enlarging the cut is a must for the lower control arms.
Rear attachments
Undershot pic of the adjustable (up/down) attachments.
Rear attachments
Undershot pic of the adjustable (up/down) attachments.
More
Topshot
Initial installation. Still going to tweak it for alignment before I trim the lower bumper trim. Space between the diffusers is going to be blocked off as another tunnel. As for the center tunnel I'm thinking of staggerring four panels from the front to the rear. It will look like a/c vents (spaced 1/4 inch) from each others. Yes they will be inclined.
Initial installation. Still going to tweak it for alignment before I trim the lower bumper trim. Space between the diffusers is going to be blocked off as another tunnel. As for the center tunnel I'm thinking of staggerring four panels from the front to the rear. It will look like a/c vents (spaced 1/4 inch) from each others. Yes they will be inclined.


They are fiberglass and not made by me. These diffusers has a little bit of flaws that needs to be fixed and its nothing that can't be fix. No updates yet as i got busy with my Turbo MR2.
Little update
While waiting for dinner to get cooked I had one hour to move fwd with this project.
Using spare heatshield I have laying around to cover up the battbox. Its easy enough to bend around corners. Silicon adhesive is used to prevent moisture coming in.
Note the battery vent line sticking out.
RH side is covered and soundproofing applied. Installed 2 L shape strips on both side of the battery for lateral movement control during hard cornering. They are just extra precaution in addition to the OEM battery metal strap.
Trending Topics


Template
Work done over the weekend.
Piece of cardboard was used to make a template. Diffuser tail end was traced on the cardboard and cut.
Template positioned and tape on the bumper. Since the cut cardboard is a wider than what i needed, i used tape to close in the template to the actual diffuser shape.
Make sure template don't move out of place other than lifting it over the diffuser.
Note: Rod is used to spread the legs (this is the flaw). Either i'm going to lay a layer of fiberglass to keep the legs straight or i will just simply
keep the rod in between the legs.
Last edited by miles_miles7; Nov 5, 2012 at 03:12 PM.
Template
Remove diffuser but template stayed in place.
Installed the bumper lower trim behind the template and traced the shape to the lower trim for cutting.
Here is the diffuser on the lower trim. Came out really good with minimal gap
between the trim and diffuser.
Installed the bumper lower trim behind the template and traced the shape to the lower trim for cutting.
Here is the diffuser on the lower trim. Came out really good with minimal gap
between the trim and diffuser.
Center tunnel
Both tunnels are installed.
As far as muffler(s), it looks like dual side exit (outward of the diffusers) is going to be neat. Still surfing the net on what brand, size and shape of mufflers I'm going to get. 2011 oem Camaro muffler tips are on hand but they are a slanted. I have to see if the will look good with the shape of the lower bumper trim. Anybody has a 4 inch hole saw blade?
Experimenting with the center tunnel with or without a center fin. With the center fin the whole setup looks too busy.
Screen will be installed on the OEM muffler exit area for diffusing hot air generated by the mufflers. In the future a small tow hitch will be installed behind the screen for my mountain bike.

Thread
Thread Starter
Forum
Replies
Last Post
BRracing
MINIs & Minis for Sale
18
Dec 22, 2015 09:25 AM