Interior/Exterior Venting the Bonnet - A Unique Design


#52
 11-16-2007, 01:31 PM

5th Gear
Join Date: Dec 2006
Location: bay area
Posts: 915
Likes: 0
Received 0 Likes
on
0 Posts

#54
11-16-2007, 02:06 PM

3rd Gear
Join Date: Aug 2005
Location: Bay Area, CA
Posts: 261
Likes: 0
Received 0 Likes
on
0 Posts
 [/quote]
Ok just me thinking and reading some of the other comments, but whatever car this tan one is (I am 25 yrs old so not sure I would know, before my time) the louvers on the side paneling here look to be a perfect fit for the contours and lines of our MINI's. Also nto sure how it would look but I think that angled louvers would look pretty interesting/aggressive. I think that Gnat has taken this where we all want to go and I love it, but having a background in both engineering and racing I am always looking for ways of improving things, even from other people.
I don't know what do you guys think?
Sorry Gnat not trying to take away anything my mind is always ticking...
Also Gnat are you going to really go into production with this as I was working with Vorsteiner to produce some of these hoods with louvers off their M5 and M6 models. Not sure if anything will happen but who knows...
#55
11-16-2007, 04:57 PM

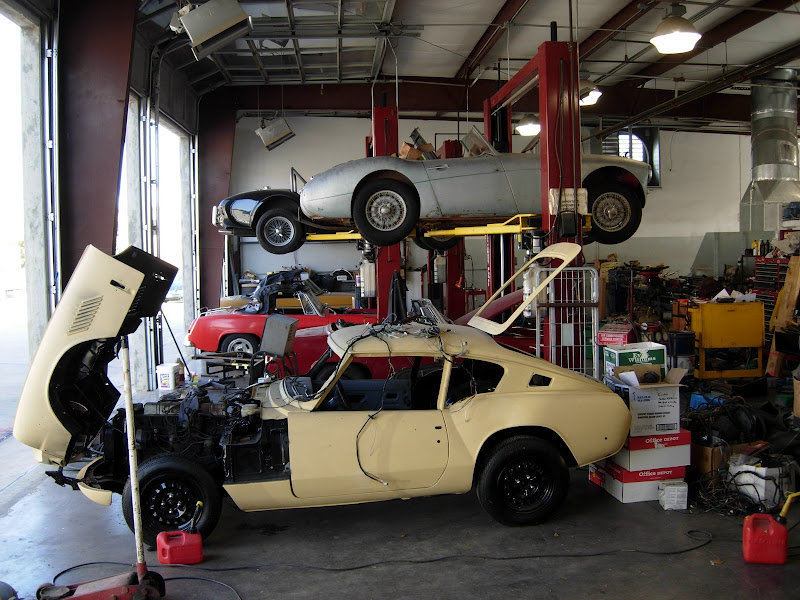
In the picture above on the ground Triumph GT6 then 3 MG's. On the lifts. I forget what the silver car is, the black one behnd that is an AC Ace body with a 4.0l TVR Tuscan V8.
racinbmw...I was eying those louvers in the GT6, even made a template and played around with them on the Mini hood. The angle is too severe to my eye and good luck finding a GT6 hood to cut up for some louvers.
We were talking more today about how to design Fiberglass hood and I pulled up the pics of the Vorsteiner M3 and it's more organic shaped louvers. Thats what I really wanted but with the time and materials we had on hand it was not possible. I've commissioned some drawings and we'll go from there. It's not going to be real soon if it happens at all. Just in the talking stages.
This is the Vorsteiner hood. I'm thinking this type of louver but made to fit the Mini's contours.

roaduscarnivorous The shop is in Lewisville TX, a little north of Dallas.
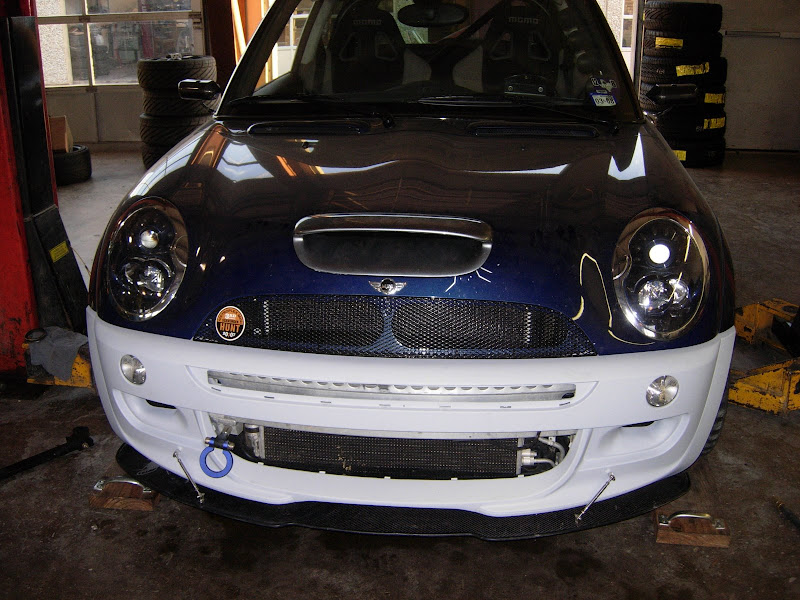
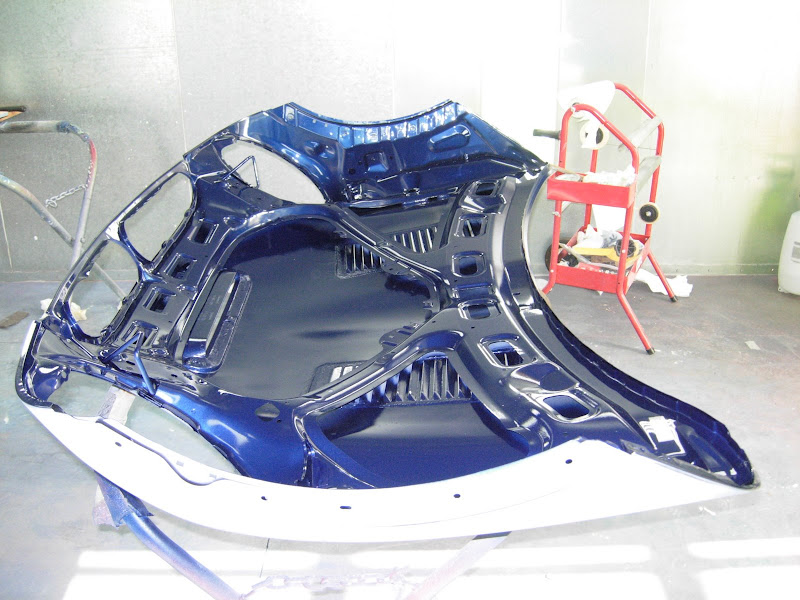
There was no way we were going to finish today. So we punted and got me ready for the track day. I have a Dark Sliver Extreme Scoop on hand so we installed that on my old hood since I had swapped out the DFIC stuff for the GP IC. The bumper cover was far from finished, but we slapped a coat of primer on and hung that.
My Redneck Mini
My little excursion had really beat the crap out of the USS, bent it too.
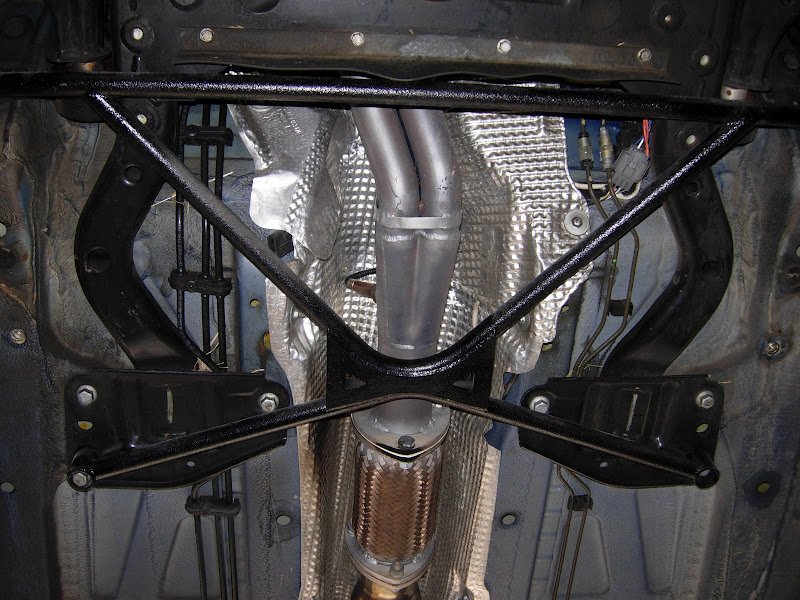
Thats been replaced by the TSW X-Brace. This is not the TSW finish, I picked up an unfinshed one and did a flex type crinkle paint job.
So it's off to the track tomorrow and back to the shop on Monday.
racinbmw...I was eying those louvers in the GT6, even made a template and played around with them on the Mini hood. The angle is too severe to my eye and good luck finding a GT6 hood to cut up for some louvers.
We were talking more today about how to design Fiberglass hood and I pulled up the pics of the Vorsteiner M3 and it's more organic shaped louvers. Thats what I really wanted but with the time and materials we had on hand it was not possible. I've commissioned some drawings and we'll go from there. It's not going to be real soon if it happens at all. Just in the talking stages.
This is the Vorsteiner hood. I'm thinking this type of louver but made to fit the Mini's contours.
roaduscarnivorous The shop is in Lewisville TX, a little north of Dallas.
There was no way we were going to finish today. So we punted and got me ready for the track day. I have a Dark Sliver Extreme Scoop on hand so we installed that on my old hood since I had swapped out the DFIC stuff for the GP IC. The bumper cover was far from finished, but we slapped a coat of primer on and hung that.
My Redneck Mini
My little excursion had really beat the crap out of the USS, bent it too.
Thats been replaced by the TSW X-Brace. This is not the TSW finish, I picked up an unfinshed one and did a flex type crinkle paint job.
So it's off to the track tomorrow and back to the shop on Monday.
Last edited by gnatster; 11-16-2007 at 05:11 PM.


#58
11-19-2007, 11:23 PM

Peace Keeper

#59
11-20-2007, 07:16 AM

5th Gear
Join Date: Mar 2007
Location: Baltimore
Posts: 637
Likes: 0
Received 0 Likes
on
0 Posts


#63
11-20-2007, 08:20 AM
5th Gear
Join Date: Mar 2007
Location: Baltimore
Posts: 637
Likes: 0
Received 0 Likes
on
0 Posts

#66
11-20-2007, 08:37 AM

OK, I admit it... before I saw this shot I really disliked the vented look... But unified under paint/color it looks pretty sharp. I'm reserving judgment on the molded supercharger scoop - in the past I thought it looked kind of silly after painting, but we'll see how it looks on THIS car. In any case, impressive work - kudos!
#67
11-20-2007, 09:44 AM

Join Date: Feb 2005
Location: Miami, Florida
Posts: 3,291
Likes: 0
Received 0 Likes
on
0 Posts

#69
11-20-2007, 02:28 PM

#70
11-20-2007, 02:36 PM

2nd Gear
Join Date: Aug 2007
Location: MIAMI, FLORIDA
Posts: 98
Likes: 0
Received 0 Likes
on
0 Posts
#71
11-20-2007, 02:38 PM
5th Gear
#73
11-20-2007, 04:48 PM
#74
11-20-2007, 07:34 PM
6th Gear
Join Date: Aug 2002
Location: Centerville, Ohio
Posts: 1,707
Likes: 0
Received 0 Likes
on
0 Posts
#75
11-20-2007, 09:24 PM
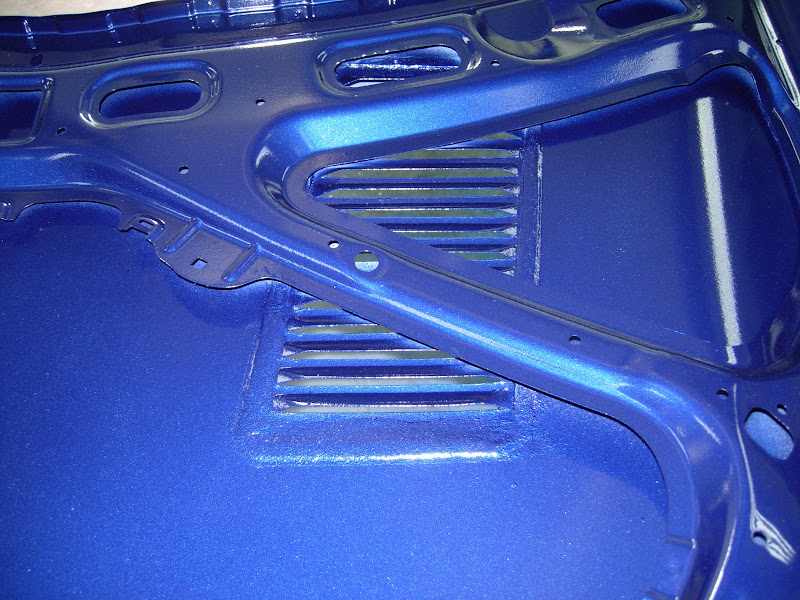
We used 3M's Duramix™ Adhesive #4186. All areas were ground to bare metal with a grinder and then roughed by hand with 80 grit paper. The scoop was roughened with the same. After cleaning with acetone a bead was laid down and the scoop pressed into place. The OEM clips and fasteners were then used to hold in place. All the seamer were filled with the same bonding material making sure to work it into all the gaps. Then left to set for 24 hours. At that point any gaps in the back were in-filled with a 3M paintable caulk designed to flex when cured. This was left cure for 24 hours. We then sanded the exterior smooth and to the correct profile. Low spots were filled with Duramix™Fiberglass-Filled Polyester Putty #4055, allowed to cure, sanded and followed by filler #4056, allowed to cure and finally sanded smooth with 320 grit paper. This was then primed, scuffed and primed again with a different color as a trace coat. A light sanding with 320 grit to smooth any high spots. Wiped down with a tack cloth and primed again. It now awaits the color coats. 3M was contacted before we started and a rep came out to look over the project. These were the steps and products recommended buy 3M. I'm confident cracking and crazing will not occur, but only time will tell.