How To Suspension :: Springs Install How-To


The bearing can punch through the encasement without cracking the rubber up top; replace the guide support. To verify, turn the guide support upside down and compare with the other support for thickness, it will show signs of separation around the bearing sleeve edges on the bottom. Also, the early model (R53/50) guide support rubber encasement is flat on top, and the bearing rides a little higher; the later version for the same model (R53/50 etc.), is dished with a conical neck around the bearing, you could have a different guide support version between sides if it has seen repair before.


I agree with the IE fixed plates since they are the same price as factory ones. The only other money saving alternative I can think of is put an ad in the marketplace here and get one used, but if you are looking to do it right, get the IE plates.

A couple of useful tips that I've used previously in other cars for those working on this without wanting to spend the money on the BMW half open tool. You can use spark plug sockets that can be purchase at any auto parts store and an allen wrench as demonstrated below. I've worked on a lot of different cars in the past and the MINI has to be the easiest suspension I've ever worked on. I didn't even have to compress the springs while on the vehicle to get it out. After removing the bolts, I was able to just lightly stomp on brakes with my foot and it pulled right out of the shocks.
3/16 for the top hat and 5/8 for the sway bar links.
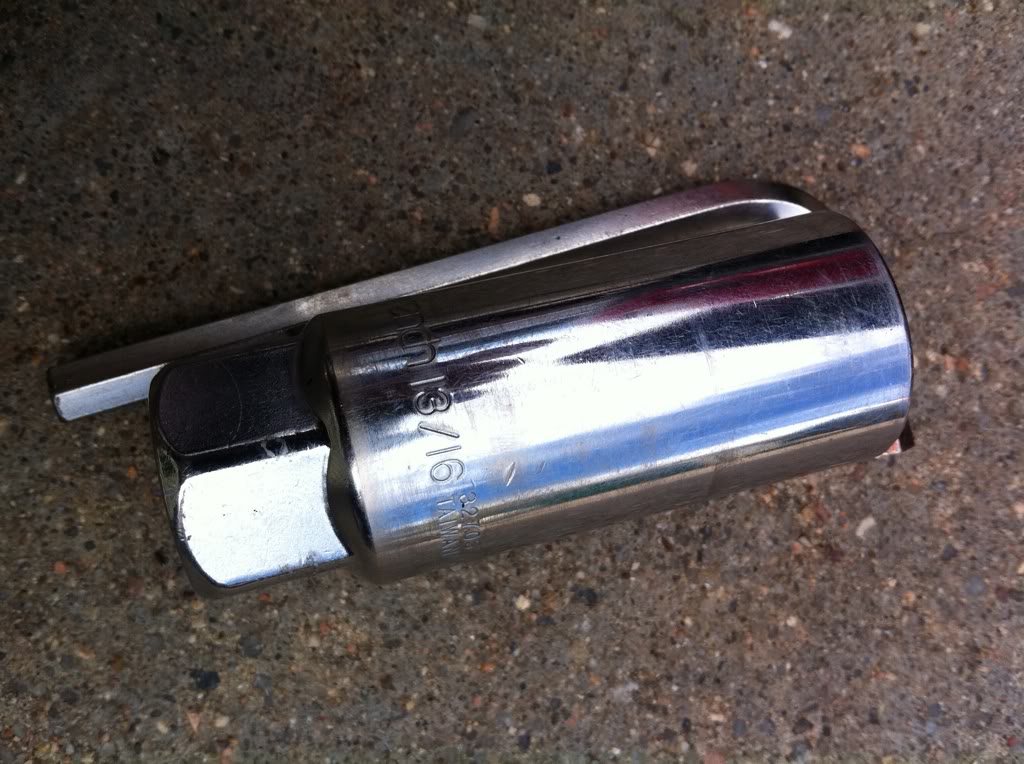
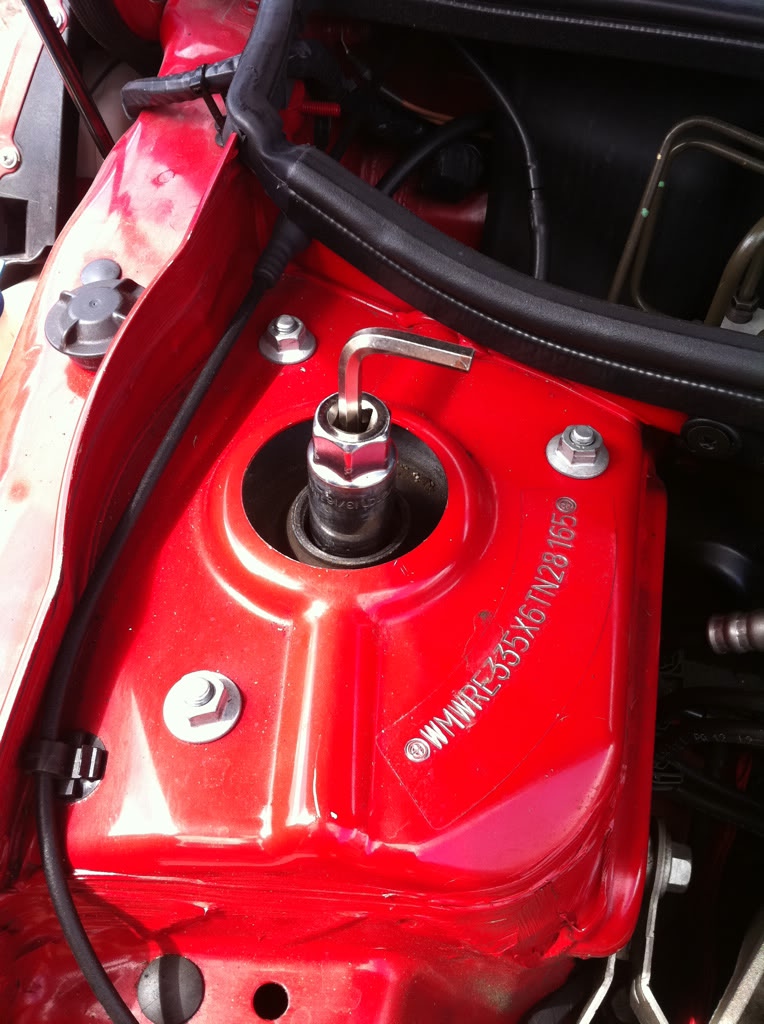
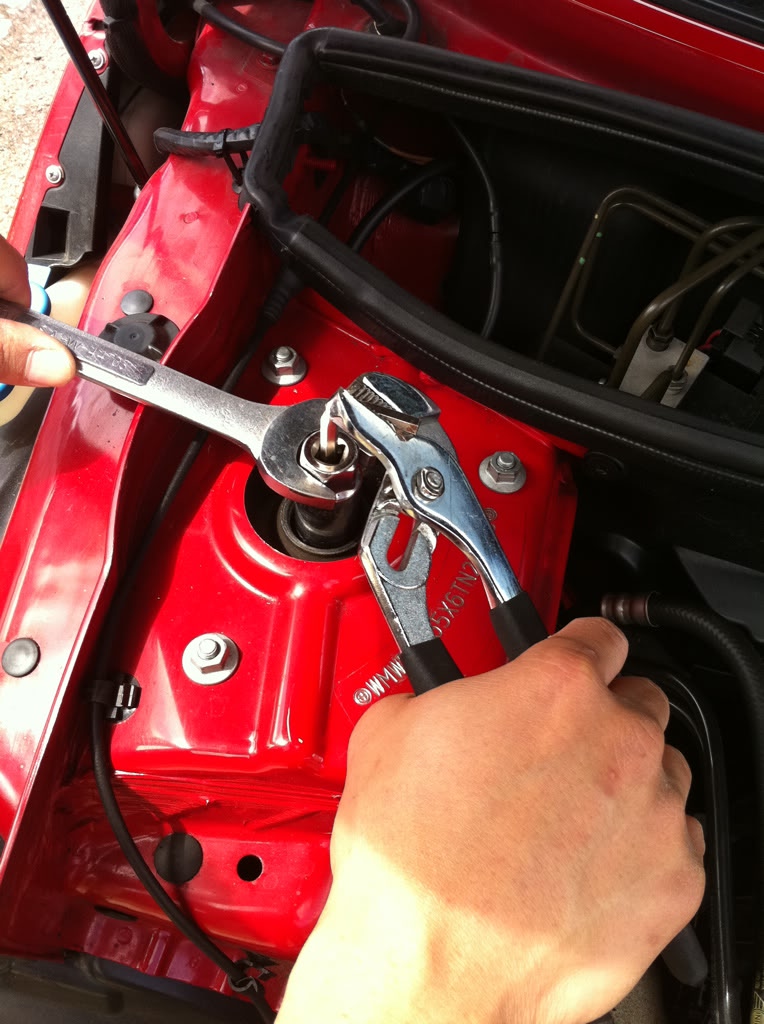
You want to remove the top hat AFTER you remove the shock/spring assembly from the vehicle. I'm only showing this as a demonstration on how it works. Slide the allen wrench until it's secured in then use an open wrench on the flat side of the socket and use a plier to hold the allen wrench in place.
3/16 for the top hat and 5/8 for the sway bar links.
You want to remove the top hat AFTER you remove the shock/spring assembly from the vehicle. I'm only showing this as a demonstration on how it works. Slide the allen wrench until it's secured in then use an open wrench on the flat side of the socket and use a plier to hold the allen wrench in place.
Just put in a set of Koni FSDs using the spark plug socket and allen wrench but used a 6 mm box wrench on the allen. Word of caution.... the Koni's use a 3/4" nut so the spark plug socket doesn't fit too well. But being 6 point you can get by. Also, it is a little easier to loosen the nut on the top hat while it is still in the car but do it only a turn or 2. An impact wrench works well for that. Without the allen wrench, the nut and shaft just spin when it is loose. Don't use an impact wrench to tighten it...other posts say you can snap the stud off if you do.

3rd Gear
Joined: Jun 2011
Posts: 188
Likes: 0
question for all, attempted to do the install this past weekend and may have ran into a problem. when attempting to loosen the strut shaft nut Imay have stripped the hex bolt. Anyone run into this? possible solutions?

5th Gear
Joined: Oct 2010
Posts: 1,053
Likes: 5
From: Bx, NY
U mean the strut is still on the car and u stripped the Allen bolt(Strut shaft) while removing the strut shaft nut....
If that's the case either take the whole strut out(remove the 3 nuts on top and the bolt on the bottom of the strut)
Or just see it u can get an air gun or impact gun to the nut up top and it should get the nut off the shaft.
If that's the case either take the whole strut out(remove the 3 nuts on top and the bolt on the bottom of the strut)
Or just see it u can get an air gun or impact gun to the nut up top and it should get the nut off the shaft.
5th Gear
Joined: Oct 2010
Posts: 1,053
Likes: 5
From: Bx, NY
Oh yeah if u do remove the strut Shaft bolt while still in the car it's guna be dangerous to take the strut out cuz it will be under pressure. Better to remove the nut when the assembly is out of the car. Sorry I didn't say that before I'm on my phone writing this post and at a party lol

Neutral
Joined: Aug 2011
Posts: 4
Likes: 0
From: Tallahassee, Florida
Thanks to Everyone
This is an excellent post and all of the information helped with a successful repair. I have only owned my 2005 R50 for four months and the cold weather alerted me to a cracked passenger strut mount. The strut tower on the drivers side was badly mushroomed as well. Purchased the IE Fixed Camber plates and Craven STD's to ensure a proper fix as well as beef up the strut tower. They were purchased from WMW who was extremely helpful. Also replaced the struts since I'm around 75K miles. After alignment, it feels amazing and really handles the turns great! Thank you all!

Hey guys this post is awesome. I have just have some quick words.
I just swapped out the stock springs for some m7 sport springs. I did the front and rear without removing the struts. It was incredibly easy, I am not sure if this has already been mentioned I just thought I would share just in case there are some people scared of this task.
All I did was remove the swaybar endlink from the top of the strut, removed the nut holding the strut to the strut mount and pulled the assembly out far enough that I could remove everything.
Same with the rear pretty much, just separated the sway bar from the strut and removed the two bolts holding the assembly to the car and pulled it out.
Like I said, it was incredibly easy. First side took me 45min per wheel, second half was half that amount.
Oh and no special tools or spring clamps needed

4th Gear
Joined: Feb 2007
Posts: 362
Likes: 2
From: Ashburn, Virginia
diponyou makes this sound easier than the previous posts. Can I get a second opinion on that? Seriously, no need to use the special tools or spring clamps?
Last edited by Derepente; Feb 8, 2012 at 06:18 PM.
You don't really need the spring clamp but it makes it safer to do so. The spring clamp prevents the pressure from popping the top hats off when you remove the top nut from the strut. I've done it before by stepping on the spring and putting a blanket over it so loose parts don't fly all over the place. If you don't have an air compressor you will need to get creative with the bolt to remove the top hat. Best way to do it is by using a spark plug socket. I would suggest loosening the top hat bolt while the strut is still bolted on to the strut tower too or you will end up fighting yourself trying to hold the strut and springs while breaking it loose. See my pic below. Loosen just enough so it breaks the tightness. Don't remove the top hat bolt all the way or the spring expand and lengthen the strut making it even more difficult to remove.

It really is easy. And if you are removing the stock springs you do not need the spring compressors. And you can do it without a impact wrench. 
You can tell how much pressure the springs will have once you start loosening the retaining nut, as you get towards the end of the threads there is no pressure from the springs any more.
Lets not complicate this guys, it is an incredibly easy job to do and anybody with some basic wrenching skills can do this in a few hours.
Evasive tip about using a spark plug wrench is awesome, I would not have thought of that.
If anybody has some questions regarding this please send me a pm I will be happy to answer anything.
What are you looking to do or are stuck with? Maybe someone can help.

1st Gear
Joined: Mar 2008
Posts: 33
Likes: 0
From: Stamford, CT
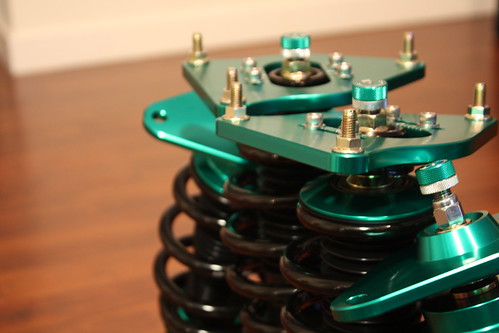
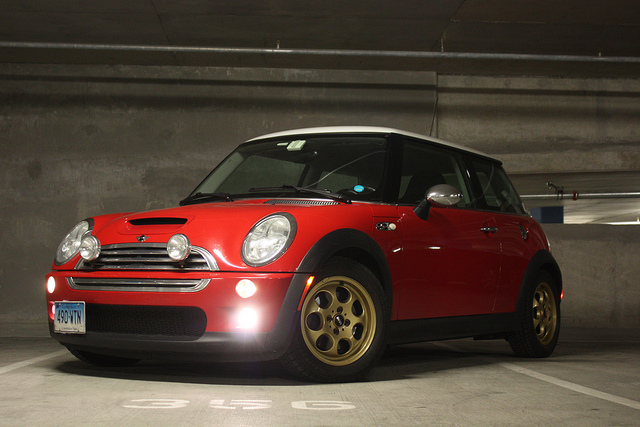
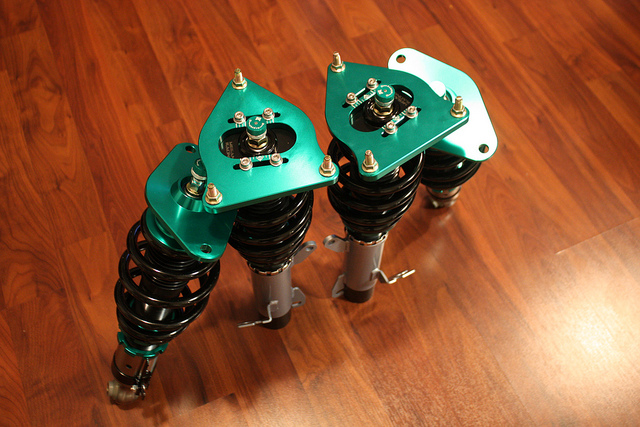
Just got a new set of coilovers for my MCS, I'm going on the Arctic Mini run in Feb and I found one of me mounts almost completely cracked when I installed my new BBS golden Holies! I just bought a set of Megan's and the M7 brace/defenders to solve the problem for good.

Just got a new set of coilovers for my MCS, I'm going on the Arctic Mini run in Feb and I found one of me mounts almost completely cracked when I installed my new BBS golden Holies! I just bought a set of Megan's and the M7 brace/defenders to solve the problem for good.
Like the Holies, BTW
Is there a particular part of the change out that you need help with that you need the pictures for?
1st Gear
Joined: Mar 2008
Posts: 33
Likes: 0
From: Stamford, CT
No not really, my buddy and I are going to tackle it probably this up coming Friday. We both have plenty of knowledge of wrenching. I was just reading the thread to get familiar with the concepts. I'm used to working on my 68 Pontiac that as you can imagine is just different all together lol. I think the "How To" threads are a great tool that should be preserved for future use!
Thanks for the like on the R81's I've wanted a set of holies for a while! And Gold is one of the only colors that look good on a chili red!
Thanks for the like on the R81's I've wanted a set of holies for a while! And Gold is one of the only colors that look good on a chili red!

BTY - what is this "Arctic Mini run"? Kinda sounds like me going to northern VT (Stowe) to go skiing in January


1st Gear
Joined: Mar 2008
Posts: 33
Likes: 0
From: Stamford, CT
This year we are doing about 4500 miles. Our first part of the route is the first link. Then we put the MINI's on a ferry and for a day or two and pick up the trip on the second link. Its a pretty intense trip and only 5 MINI's and an AWD car are going.
We have a few avid photographers coming so we are sure to have some sweet pictures of the trip! I will post a flicker link when we get back. We are starting on the 16th of February.
https://maps.google.com/maps/ms?msid...60aa458d&msa=0
https://maps.google.com/maps/ms?msid...7e44f611&msa=0
1st Gear
Joined: Mar 2008
Posts: 33
Likes: 0
From: Stamford, CT
So as it turns out I do have one question, is there a hole on the top of the rear strut towers that I can sneak the "remote" damper adjuster through? The Megan system ships with approximately 10" long damper extensions that attach to the adjustment **** on the top of the strut. (see picture)