When you click on links to various merchants on this site and make a purchase, this can result in this site earning a commission. Affiliate programs and affiliations include, but are not limited to, the eBay Partner Network.
Replace Filter Material in Trunk Loading Sill Cover
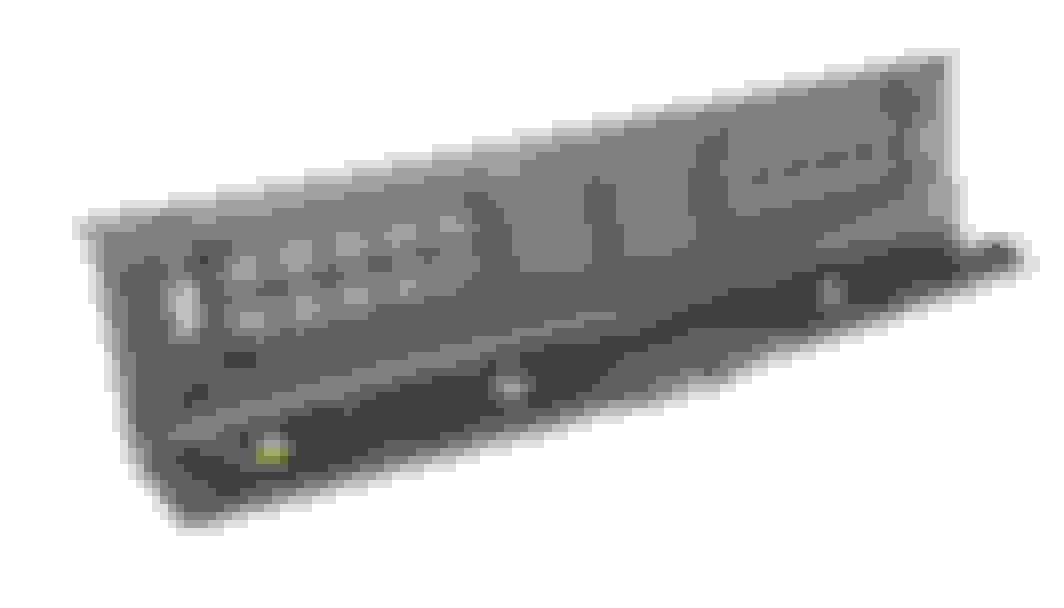
In the trunk there is a load sill cover that hides most of the latching mechanism and protects the bottom rear of the trunk. On the inside of that sill cover are two large oval shaped holes that have a thin filter type material behind it. That material degrades over time and will become easily ripped, torn or simply fall apart. This repair is to fix that filter material.
Tools:
Auto trim rivet removal tool (goes by many names). Not required but reduces chance of breaking the plastic rivet.
Very small flat blade screwdriver (jewelry style), sharp blade or wife's fingernails.
Sharp scissors
Shop rag or paper towels
Alcohol or de-greaser (only if needed)
Material:
Frost King window air conditional filter 3/16" thick pn: F1524
3m headline adhesive pn: 38808 OR similar
Amazon box
Procedure:
1. Open the rear hatch and pull the rubber gasket away from the sill cover. You don't have to pull it all off just pull the section around the sill cover. Sill Cover - Item 3 are the plastic rivets, Item 4 are the yellow clips
2. On the lower inside section of the sill cover are 3 reusable plastic expanding rivet style pins (pn: 51118174185). Use a flat blade or similar suggestions mentioned above to pull the center pin of the rivet out and then the rivet removal tool to pull the entire plastic rivet out. Don't misplace or lose the center pins.
There are 3 plastic rivets Trim removal tool
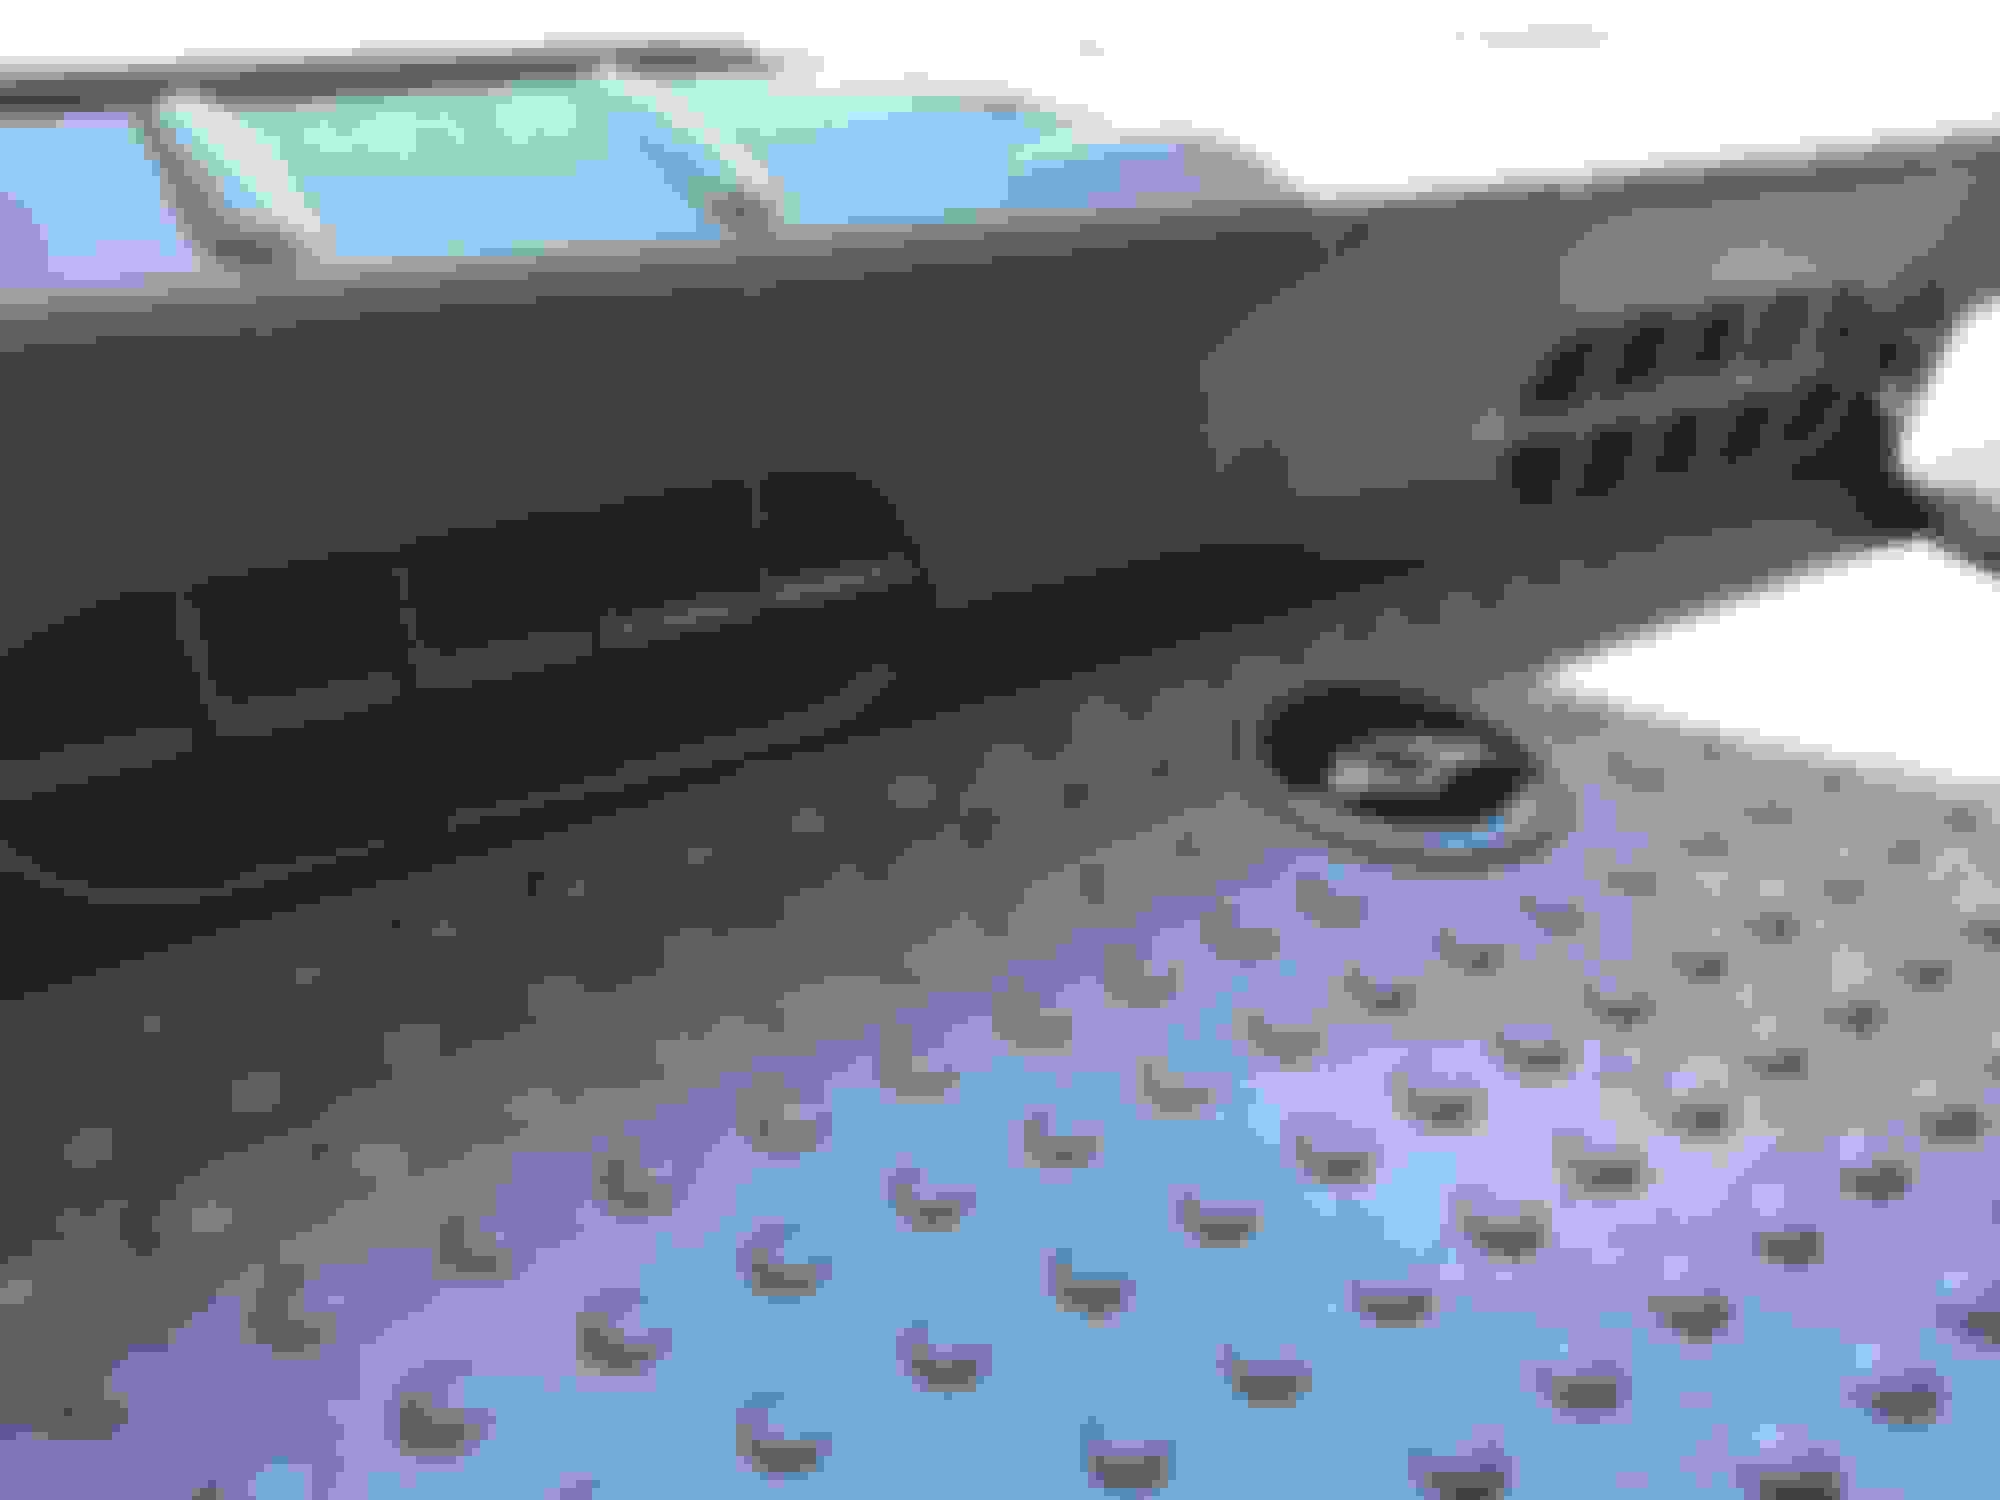
3. Now the sill cover will lift away from the car frame but is still held by 4 yellow plastic clips (pn: 07131503417) on top which are hidden by the cover. Yellow clips
From the outside where the rubber gasket was installed you should be able to use your hand to pull straight up or the removal tool to lift the sill cover to release the yellow clips. See the location of each yellow clip in the photo. Location of yellow clips and filter material over sill cover holes
4. Once the sill cover is removed you will see, unless they are missing, the "filter" material on the backside of the sill cover. The filters are melted directly into the plastic of the sill cover via a sharp edge melting tool in several locations. Simply pull or scrape away any material from the sill cover.
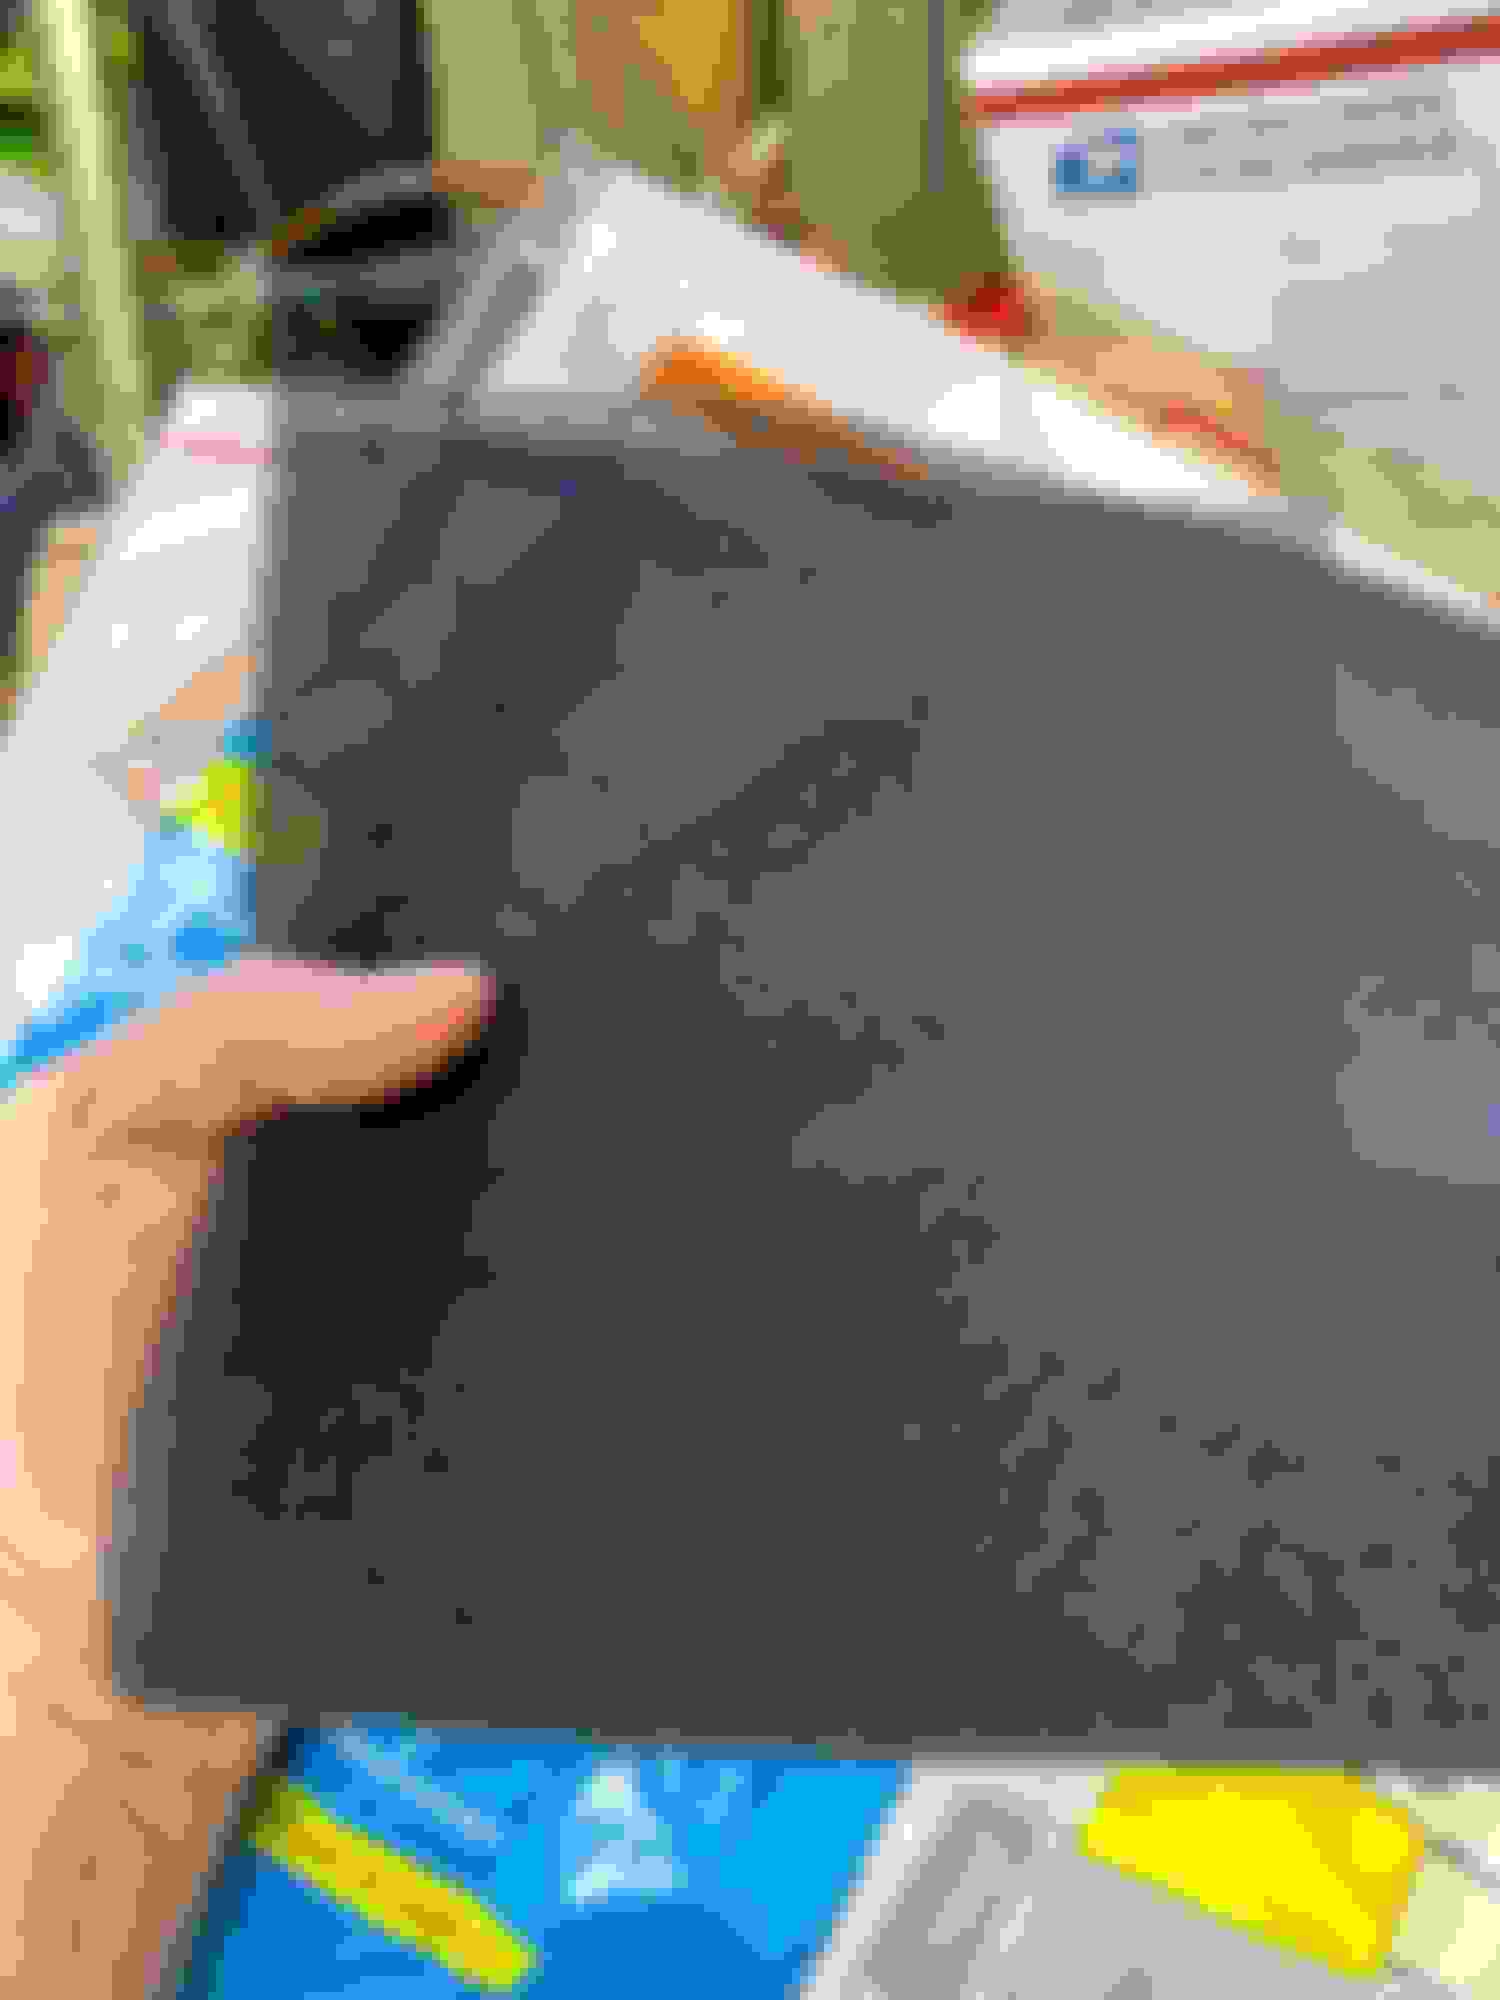
5. I was able to use one of the old filters as my guide to cut the new filter, but if you don't have any material remaining, just make sure that the new filter is long enough to over lap the opening by a couple of inches. No need to be exact. Cut 4 filters. Filter material
Single layered
Double layered
6. Wipe down any dust or grime from the plastic of the sill cover with a rag. If there is any oil or grease you might need to use a de-greaser such as alcohol or simple green.
7. Flatten that Amazon box and lay the sill cover down so that the backside is facing up and the vent hole is on top of the box. Make sure you are outside or in a well ventilated location (the adhesive is a fairly strong order).
8. Now spray adhesive around the edges of the hole in the sill cover. Don't worry about overspray or spraythrough. Make sure you cover at least a couple of inches on all sides of the hole so that the filter sticks to the plastic. Wait about 5-10 min. If its warm out side wait 5 min but if its cold then 10 min. Basically the adhesive needs to get tacky and not just wet.
9. Lay your first filter on the adhesive and press down on all areas that has the plastic sill cover behind it. Don't forget to press on the "grill" of the hole as well.
10. Repeat on the other side.
11. I decided I wanted a thicker "filter" so I sprayed again on top of the first layer and placed a second filter on top so it was twice as thick. Once I installed the sill cover I found that the second layer made it thick enough so that if I accidentally pushed the filter it would not tear or pull off from the adhesive but was sandwiched between the frame of the car and the sill cover. Seems much more durable.
12. Flip the sill cover over and clean any adhesive that might have landed on the filter. It looks like white string at this point and is easy to pull off, or leave, your choice.
13. Install the sill cover in reverse and admire your mostly hidden repair.