
How To R50 belt tensioner replacement


Thread Starter
|
4th Gear
Joined: Feb 2009
Posts: 545
Likes: 0
From: Athens, GA
R50 belt tensioner replacement How To
Today i replaced my second serpentine belt tensioner in two years. I was hoping to just replace the belt (a-la excellent DIY tutorials in the How To section) but two outside sources recommended replacing the tensioner as well as it seemed to have too much play. The tensioner was "whistling" loudly on wet/cold days as well.
TOOLS NEEDED
Buy or borrow the MINI belt tensioner tool. It's like 50 bucks but it made the job super easy.
An open ended wrench to get at the tensioner mounting bolts. Its a narrow space! Too small for a socket wrench.
A new belt if you're changing yours at the same time as tensioner.
A new tensioner. Mine is made by Gates.
You'll also need: a heavy board, vice, and screws to temporarily mount the new tensioner when you release the compression on it. I could not fit mine in place to attach it while the pin it was shipped with was in place.
THE PROCEDURE
First you need to put the car on 2 jack stands and remove the PS wheel and wheel liner. You also need to disconnect the in and out lines to a valve that's in the way, and slide it off it's mount. There's a great guide herehttps://www.northamericanmotoring.co...placement.html
I ordered replacement belt (Conti) and tensioner (Gates) from Promini. I also got a belt tensioner tool (glad I did).
Here's a shot of the tool. When I opened it, I saw rust, scaling, and scraped off paint. Promini, this is a used tool! I realize it's basically a slim prybar, and kind of outside the realm of aesthetics, but for the money I wanted to be the one who used it first. Are you listening, Promini? I paid for a new tool...

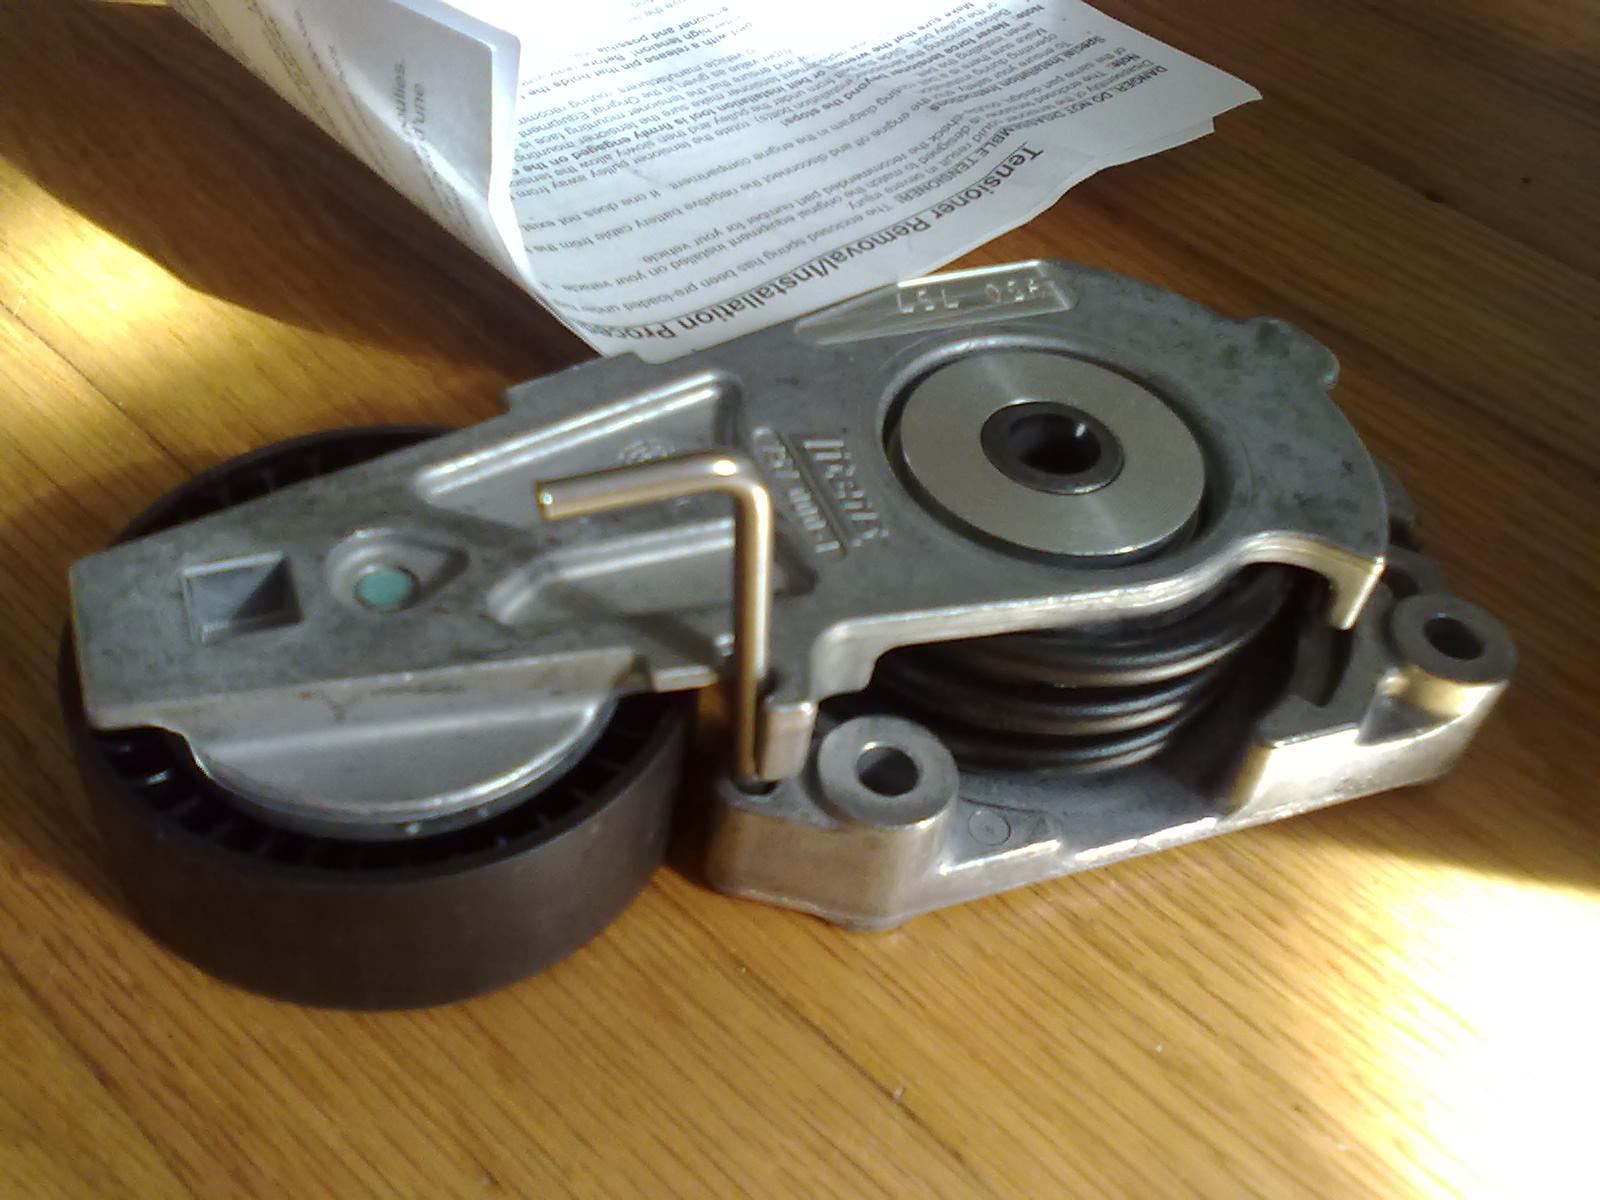
Here's the tensioner. Note it comes packaged with a silver pin in place that keeps it compressed. As mentioned above, the pin proved to be problematic on install. The pin shown here is close in length to the one that comes with the tool, but I couldn't get this one to fit without the pin hitting the frame. It prevents you from holding the tensioner flush when you position the three bolts that hold it in place. I was worried also that I would spring the tensioner trying to get it in place, which would be very painful!
I removed the old belt by sliding the tensioner tool onto the old tensioner, compressing it (so there's no tension on the belt) and placing the tensioner's tool pin in the hole that appears when the tensioner is completely compressed.
The pin is in while you side off the belt. In the above pic it's the bent silver piece in the lower left with some glare on it. After that, use the tensioner tool to again hold the tensioner compressed while you remove the pin. Once the tensioner is relaxed, you can unbolt the three bolts that hold it on-tight space!
Here's the old belt. Note the backside is worn by the tensioner. Some cracking on the business side, but not as bad as I imagined.

But where's all that grease on Stan's hand coming from, you may be asking.
The inner CV boot has a bad tear that is slinging grease onto the belt and tensioner. Schadenfreude time, if you're into that sort of thing.

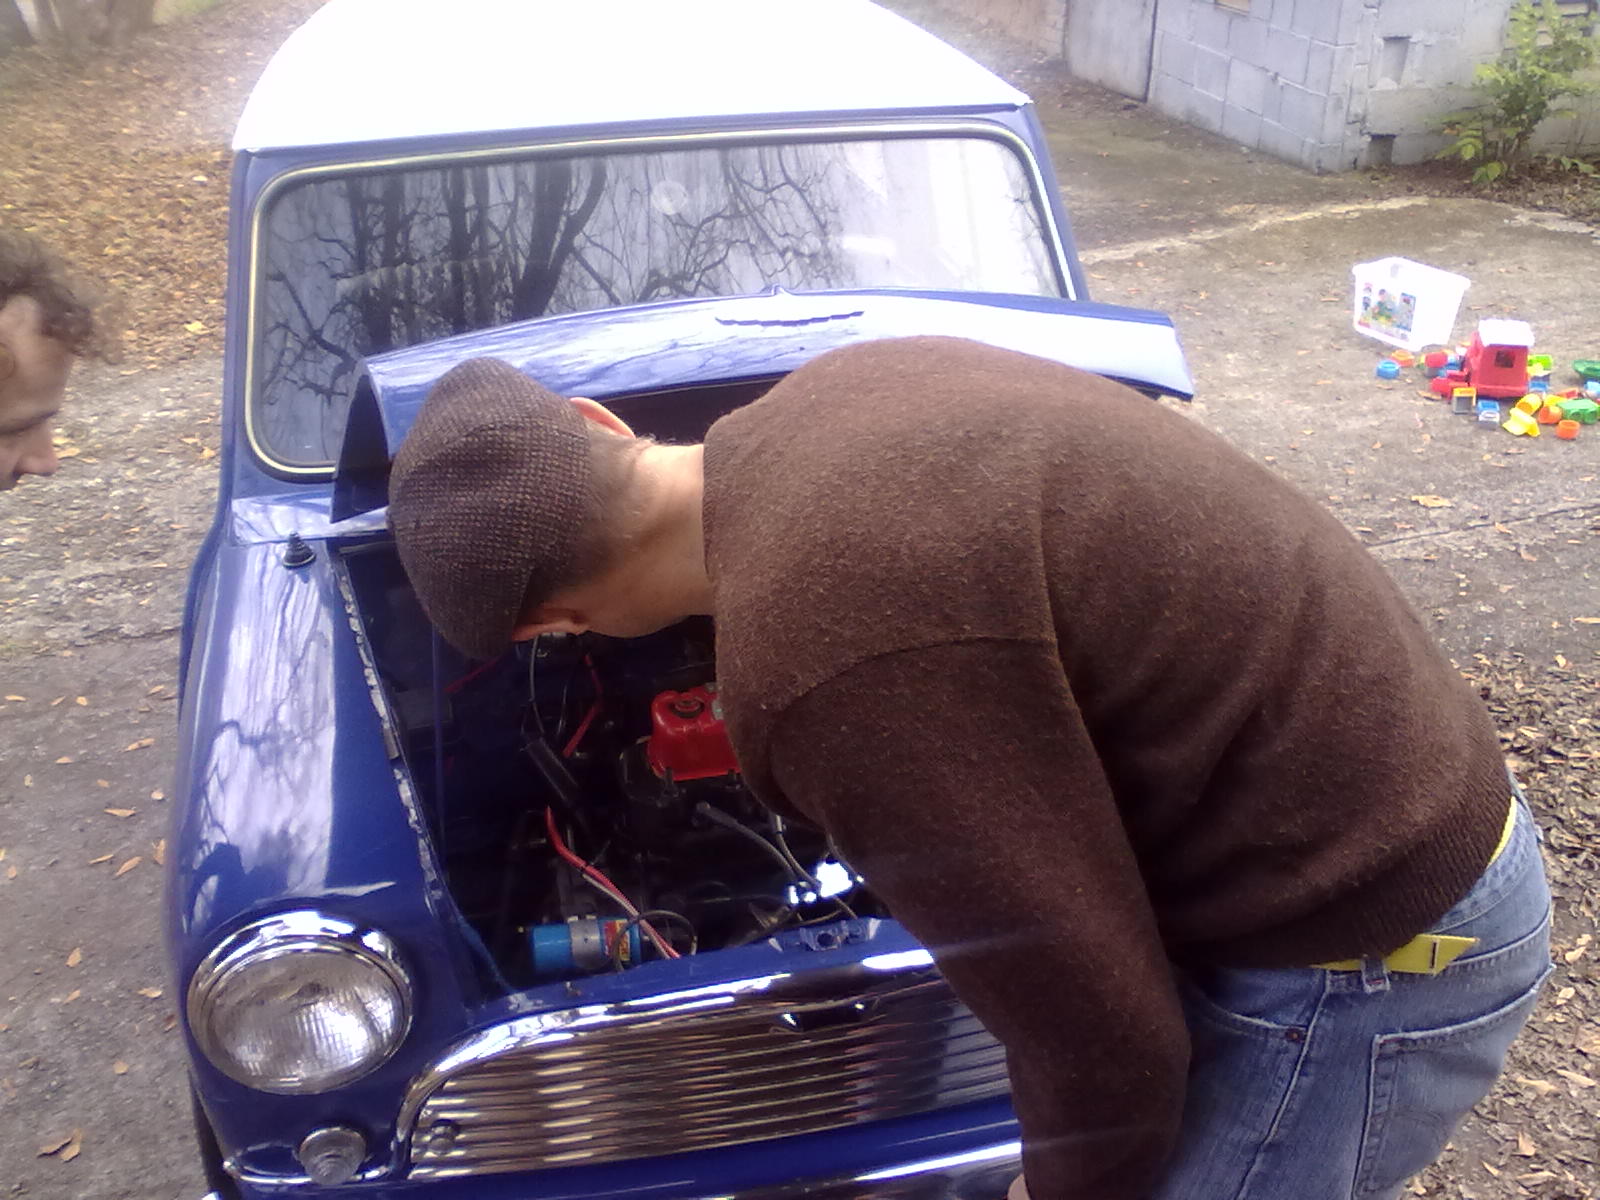
The pain was eased when my neighbor stopped by to lend a hand and work on his Mark 1's choke cable
The problem with the tensioner was that the pin that was keeping it compressed was too long to allow the piece to fit. It had to go. How to remove the pin without breaking fingers? You should BE CAREFUL not to spring the tensioner by removing the pin! The tensioner is super compressed, like a bear trap. To remove the pin safely I ended up screwing the tensioner to a board, then using the handy tensioner tool to gently release the springs. Then the tensioner bolted in place, tension back on using tensioner tool, tensioner tool in place, new belt on. Make sure the belt has been run correctly (under the tensioner and over everything else) and that its seated properly. CHECK IT TWICE

Soon I discovered my gearbox is leaking, and the oil is coating my PSP cooling fan cover. At least I think it's coming from the gearbox. That would explain 'notchy' shifting lately. Good grief. Feel for me, if you can brothers and sisters.
TOOLS NEEDED
Buy or borrow the MINI belt tensioner tool. It's like 50 bucks but it made the job super easy.
An open ended wrench to get at the tensioner mounting bolts. Its a narrow space! Too small for a socket wrench.
A new belt if you're changing yours at the same time as tensioner.
A new tensioner. Mine is made by Gates.
You'll also need: a heavy board, vice, and screws to temporarily mount the new tensioner when you release the compression on it. I could not fit mine in place to attach it while the pin it was shipped with was in place.
THE PROCEDURE
First you need to put the car on 2 jack stands and remove the PS wheel and wheel liner. You also need to disconnect the in and out lines to a valve that's in the way, and slide it off it's mount. There's a great guide herehttps://www.northamericanmotoring.co...placement.html
I ordered replacement belt (Conti) and tensioner (Gates) from Promini. I also got a belt tensioner tool (glad I did).
Here's a shot of the tool. When I opened it, I saw rust, scaling, and scraped off paint. Promini, this is a used tool! I realize it's basically a slim prybar, and kind of outside the realm of aesthetics, but for the money I wanted to be the one who used it first. Are you listening, Promini? I paid for a new tool...
Here's the tensioner. Note it comes packaged with a silver pin in place that keeps it compressed. As mentioned above, the pin proved to be problematic on install. The pin shown here is close in length to the one that comes with the tool, but I couldn't get this one to fit without the pin hitting the frame. It prevents you from holding the tensioner flush when you position the three bolts that hold it in place. I was worried also that I would spring the tensioner trying to get it in place, which would be very painful!
I removed the old belt by sliding the tensioner tool onto the old tensioner, compressing it (so there's no tension on the belt) and placing the tensioner's tool pin in the hole that appears when the tensioner is completely compressed.
The pin is in while you side off the belt. In the above pic it's the bent silver piece in the lower left with some glare on it. After that, use the tensioner tool to again hold the tensioner compressed while you remove the pin. Once the tensioner is relaxed, you can unbolt the three bolts that hold it on-tight space!
Here's the old belt. Note the backside is worn by the tensioner. Some cracking on the business side, but not as bad as I imagined.
But where's all that grease on Stan's hand coming from, you may be asking.
The inner CV boot has a bad tear that is slinging grease onto the belt and tensioner. Schadenfreude time, if you're into that sort of thing.
The pain was eased when my neighbor stopped by to lend a hand and work on his Mark 1's choke cable
The problem with the tensioner was that the pin that was keeping it compressed was too long to allow the piece to fit. It had to go. How to remove the pin without breaking fingers? You should BE CAREFUL not to spring the tensioner by removing the pin! The tensioner is super compressed, like a bear trap. To remove the pin safely I ended up screwing the tensioner to a board, then using the handy tensioner tool to gently release the springs. Then the tensioner bolted in place, tension back on using tensioner tool, tensioner tool in place, new belt on. Make sure the belt has been run correctly (under the tensioner and over everything else) and that its seated properly. CHECK IT TWICE
Soon I discovered my gearbox is leaking, and the oil is coating my PSP cooling fan cover. At least I think it's coming from the gearbox. That would explain 'notchy' shifting lately. Good grief. Feel for me, if you can brothers and sisters.
Last edited by Stanislaus; Nov 23, 2011 at 12:37 PM. Reason: tidying up and clarity
Thread Starter
|
4th Gear
Joined: Feb 2009
Posts: 545
Likes: 0
From: Athens, GA
I forgot to mention--The MINI front PS jack point collar(?) was missing. The weird MINI jack that comes with the R50 was of no help-popped out when I was cranking it up at the jack point. I feel lucky no one or nothing other than the bottom of the trim piece between wheel arches was damaged. I'd hate to have to change a flat using one of those freaky jacks in adverse conditions...

1st Gear
Joined: Jul 2010
Posts: 28
Likes: 0
hi, stanislaus.
can you give me a picture of the other side of tensioner? how the pulley fixed in the tensioner.
i think you don't need to replace the whole tensioner. you can only change Pulley.
this part: http://www.rockauto.com/catalog/x,ca...parttype,10346
can you give me a picture of the other side of tensioner? how the pulley fixed in the tensioner.
i think you don't need to replace the whole tensioner. you can only change Pulley.
this part: http://www.rockauto.com/catalog/x,ca...parttype,10346

The pulley's ARE available, but you need to hunt for them. I got a generic, and needed to narrow the nylon pulley sides on a lathe, because they rubbed the tensioner a bit. Therefore, I won't recommend the part I'm using, as it's not direct fit. But for $7.00, it's worth the rigging I had to do.
I was able to use a 1/4" ratchet to unbolt the tensioner. Just need to find the right extension. An even better tool would be a Gearwrench, but I don't have one that small (10mm, I think).
Another trick is to use an allen key to lock it down, rather than that long pin. I forget the size, but if you put the short end in the hole, you can R&R the tensioner locked down.
Trending Topics
Thread Starter
|
4th Gear
Joined: Feb 2009
Posts: 545
Likes: 0
From: Athens, GA
can you give me a photo about the other side of the belt tensioner? I think you don't need to replace a new tensioner, you can replace the pulley only.
Another trick is to use an allen key to lock it down, rather than that long pin. I forget the size, but if you put the short end in the hole, you can R&R the tensioner locked down.
I don't hear any bearing-like buzz anymore, by the way, but then again I'm trying not to drive until I get my CV axle worked on.

Thread
Thread Starter
Forum
Replies
Last Post
iamcamkeenan
R50/R53 :: Hatch Talk (2002-2006)
3
Aug 10, 2015 03:31 PM
ECSTuning
Interior/Exterior Products
2
Aug 7, 2015 09:51 AM
ECSTuning
Vendor Classifieds
0
Aug 7, 2015 08:10 AM