
How To Audio/Navigation :: Front/Rear Channel Swap


2nd Gear
Joined: Aug 2013
Posts: 91
Likes: 2
From: Vancouver BC
I also did the swap. But haven't had a chance to take a listen yet 
I drew a little diagram so I can reference it from my phone when I'm hunched over in the car.
Also included a version that is color-blind friendly
Hopefully this would prove useful for those who would like to do this swap.

I drew a little diagram so I can reference it from my phone when I'm hunched over in the car.
Also included a version that is color-blind friendly
Hopefully this would prove useful for those who would like to do this swap.

2nd Gear
Joined: Jul 2012
Posts: 122
Likes: 0
The mods should make this diagram a sticky.
I also did the swap. But haven't had a chance to take a listen yet
I drew a little diagram so I can reference it from my phone when I'm hunched over in the car.
Also included a version that is color-blind friendly
Hopefully this would prove useful for those who would like to do this swap.
I drew a little diagram so I can reference it from my phone when I'm hunched over in the car.
Also included a version that is color-blind friendly
Hopefully this would prove useful for those who would like to do this swap.

1st Gear
Joined: Feb 2012
Posts: 38
Likes: 0
I have read the thread, and looking forward to trying this tomorrow on my 2012 MCS, CD Boost system. In a nutshell..... disconnect the battery, take a Torx 20 and pop out eight of the connectors, replace them in the order described....and I should have a much improved sound system! Is that correct?
Thank you!
Thank you!

2nd Gear
Joined: Mar 2013
Posts: 137
Likes: 0
Silly question, but is there anyway to know if this has already been done to my car (without having to pull the trim). Like, would you be able to tell by playing with the fader settings (would the display show front being increased when it's actually rear)?

1st Gear
Joined: Oct 2013
Posts: 18
Likes: 0
From: North Hollywood, CA
When you fade TO the front, does the audio GO AWAY in the front instead and play only in the back??

5th Gear
Joined: Mar 2008
Posts: 678
Likes: 0
From: Phila, PA
Sound coming out of the speakers are now reversed. Dial up sound in rear...sound comes out of the front. Dial up sound to the front..sound comes out the rear. It should be really easy to tell.
2nd Gear
Joined: Mar 2013
Posts: 137
Likes: 0
Thank you both! That's what I was thinking, and it did seem that the fade was going in the opposite direction when I tried it back when I first bought him. I'll have to check it out when he's back from the dealer.

Neutral
Joined: May 2012
Posts: 4
Likes: 0
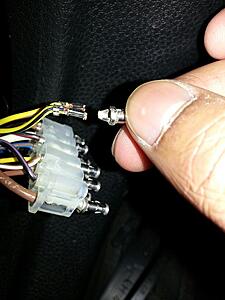
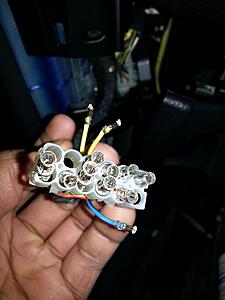
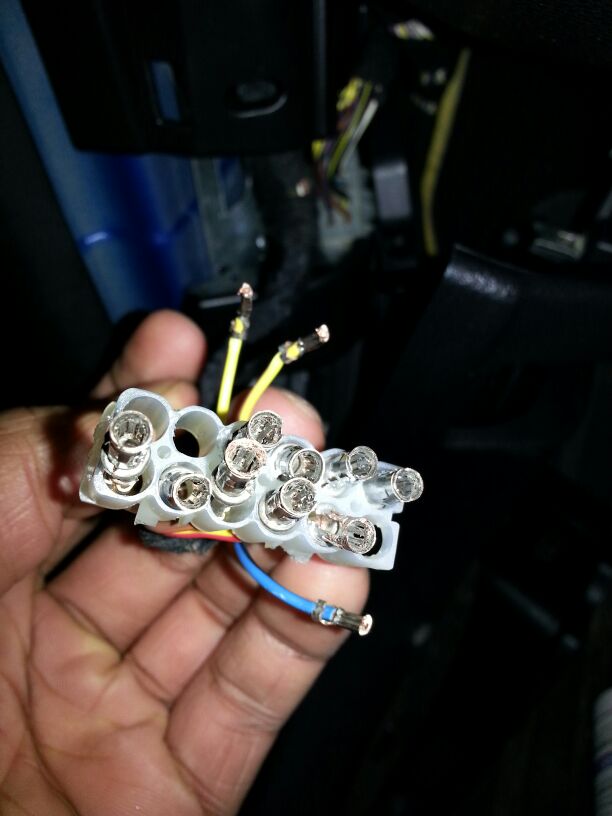
I think i screwed up big time. I broke off 3 tips of the connectors, once i fix the tips, how do i then get them all to line up so i can connect the clear plug with all the wires into the white connector? In hindsight, i realise i shouldn't have taken the whole of the clear plastic insert out of the white plug.
Furthermore, now the car wont lock or start even though i've connected the negative end of the battery back in. Someone please help :(
Does anyone know the part number or the name of the spade connectors?
Heres the damage:
EDIT: Had a read though the thread fully, looks like im going to have to order some new spade/bullet connectors and get them crimped on.
Meanwhile, does anyone know if the car start if I plug the connector back in minus all the speaker wires, just connecting up the brown, white and brown/white wires?
Furthermore, now the car wont lock or start even though i've connected the negative end of the battery back in. Someone please help :(
Does anyone know the part number or the name of the spade connectors?
Heres the damage:

EDIT: Had a read though the thread fully, looks like im going to have to order some new spade/bullet connectors and get them crimped on.
Meanwhile, does anyone know if the car start if I plug the connector back in minus all the speaker wires, just connecting up the brown, white and brown/white wires?
Last edited by Jaaay; Feb 15, 2014 at 03:47 PM.

Neutral
Joined: May 2012
Posts: 4
Likes: 0
I managed to get someone to solder the wires, bypassing the plug. Solved the problem, but no future channel swap for me! Ive learnt my lesson, i shall not be messing around with car electronics in the future.

1st Gear
Joined: Sep 2013
Posts: 17
Likes: 0
 I am just going to do a head unit upgrade and run a line for a small sub and be happy about it.


2nd Gear
Joined: Jul 2012
Posts: 62
Likes: 1
From: West Virginia
Correct me if I am wrong or if someone has mentioned it but this mod can be done solely in software and is especially good for those running amps off of the rear channel. Thanks to gtecko for this information. You need to use a suitable cable and NCSExpert. Don't know what this is? Gtecko has an awesome thread on it in the Electronics section.
Module: 2RAD
Description: Disables 100 Hz Rear Cutoff (Caution! Over-driving your rear speakers may damage your head unit!! Only use this if you have an aftermarket DSP!!)
Change "r56_stereo" to "56_hifi" to disable cutoff.
Module: 2RAD
Description: Disables 100 Hz Rear Cutoff (Caution! Over-driving your rear speakers may damage your head unit!! Only use this if you have an aftermarket DSP!!)
Change "r56_stereo" to "56_hifi" to disable cutoff.

Neutral
Joined: Mar 2014
Posts: 5
Likes: 0
From: Santa Barbara, CA
First Post!
Been reading a ton and just wanted to comment that this Mod is WELL WORTH it!
First, the R56 Mini is my girlfriends and I joined this site to help her mod her car correctly.
She loves listening to music but I always felt something was lacking in her car.
Quick search led me to this, and OMG what difference the switch makes!
Took less then an hour to do and no headaches anywhere.
Tools Used:
Flat head screwdriver (to pry the two pieces of the female connector apart)
Torx 20 (Did no damage to the pins as I pushed them out, I felt Torx 14 was a bit small)


Neutral
Joined: Aug 2014
Posts: 1
Likes: 0
From: England UK
Hi guys. New to this. Wanted to thank you all for a brilliant forum. Took your advice but couldn't remove the connectors with a torx bit. Scratched my head. Went shopping. Purchased an extending magnetic tip pick up tool for �1.49. Couple of dollars I guess. Cut off the magnet. Cut a slot down one side for about 10 mm using nice sharp snips. Magic! The connectors removed in under five minutes at a fraction of cost of any other tooling I've seen awesome cheap mod. Brilliant difference in sound. Thanks guys
awesome cheap mod. Brilliant difference in sound. Thanks guys
Last edited by Tony Gregory; Aug 6, 2014 at 07:23 AM. Reason: Added and spelling corrected


1st Gear
Joined: Aug 2014
Posts: 27
Likes: 0
I just did mine today. You need to pull off the rubber trim around the bottom of the door (it just pulls off), then pull off the bottom panel under the steering wheel (again, it just pulls off), and then pull the "triangle" piece off (you get the picture).
The white connector you need is attached to a sliding lock. I think I had to slide mine up to release.
BTW- for others wondering, I could not get my pins to release from the connector, so I just cut the whole damned thing off and then attached these to the wires:
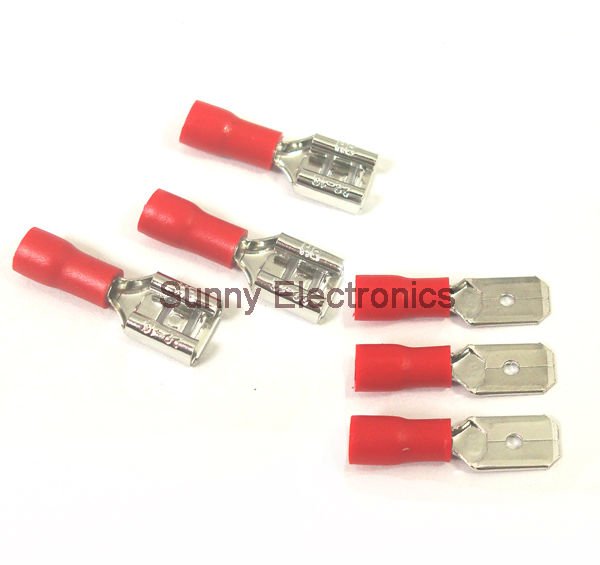
I think a bag of 10 cost me $1.39 from Radio Shack. Wrapped up the connections in tape to keep them separated and it was off and running.
As for the results, I was expecting a "Eh, I guess it's a little better" reaction. However, I got a "HOLY CRAP ***** THAT'S BETTER!" reaction instead If you're on the fence about this mod- DO IT!
The white connector you need is attached to a sliding lock. I think I had to slide mine up to release.
BTW- for others wondering, I could not get my pins to release from the connector, so I just cut the whole damned thing off and then attached these to the wires:
I think a bag of 10 cost me $1.39 from Radio Shack. Wrapped up the connections in tape to keep them separated and it was off and running.
As for the results, I was expecting a "Eh, I guess it's a little better" reaction. However, I got a "HOLY CRAP ***** THAT'S BETTER!" reaction instead
If you're on the fence about this mod- DO IT!