

A turn toward the dark side of Plastidip


Thread Starter
|
2nd Gear
Joined: Mar 2012
Posts: 103
Likes: 0
From: SW Ohio
A turn toward the dark side of Plastidip
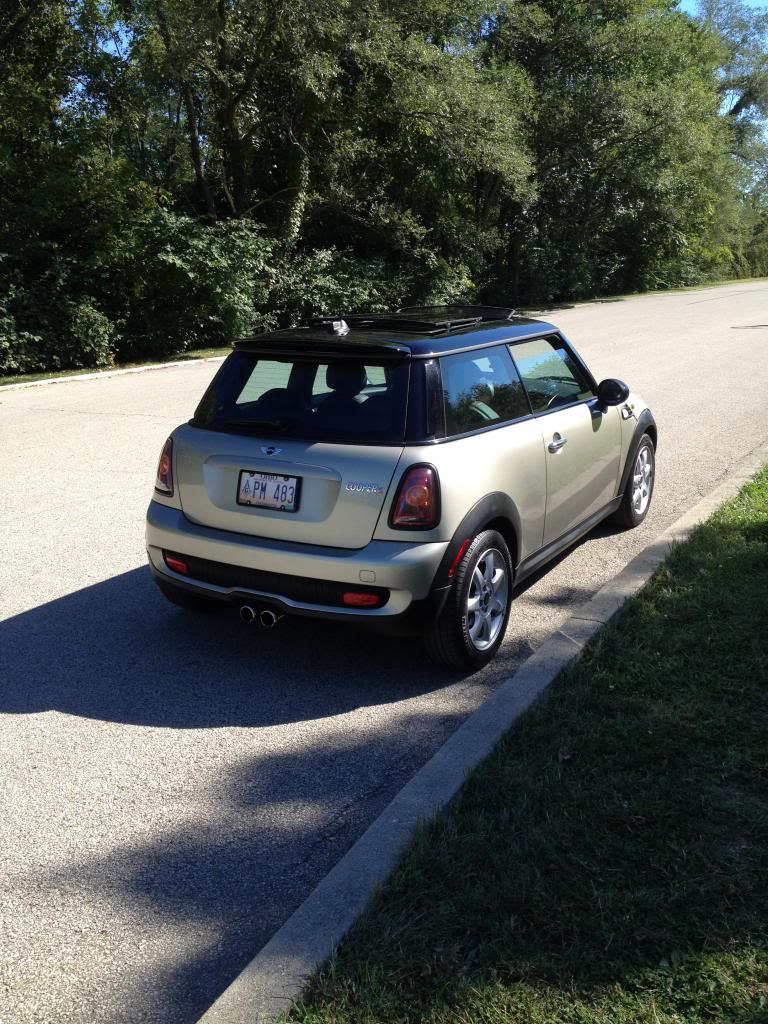
One the guys at work did the grill on his car, so it looked really easy and it was. I did the grill surround, headlight, and taillight trim. Total cost $6.12 Considering the gas cap and door handles, still undecided.


3rd Gear
Joined: Dec 2009
Posts: 299
Likes: 1
Of course it said there was an error, but it attached the photo 3 times. Not in love with this mobile app. Sorry
Trending Topics

4th Gear
Joined: Jun 2013
Posts: 519
Likes: 13
From: Charlottesville, VA
Looks great. How is that applied? Do you need to remove the trim or does it remain in place for application? Is it spray or a dip. Can you customize the color to Chili Red or is it their base red?

2nd Gear
Joined: Aug 2013
Posts: 123
Likes: 0
From: NJ
there's tons of info on plasti-dip out there. You can custom color, but I think its not quite as easy as buying the spray paint cans (but worth it if you are doing a large area- then you buy a gallon, thin it, and use a paint sprayer). I just started experimenting with it myself. The stuff is pretty amazing, and if I can do it, anyone can!
I am thinking about dipping the colorline in mine too - currently it is the checkerboard, which I'm not in love with. I either want to do it solid flat-black, or pepper-white like the car. So LarryB, did you remove it? If for no other reason to avoid some of the overspray on the porous bits?
I learned a lot from dipyourcar
oh, and LarryB, yea, the app is terrible. But I've found that when it gives me the errors, just hit cancel and it is still successful. Works the same with just making a post (it ALWAYS says it is a duplicate post, but isn't)

4th Gear
Joined: Jan 2012
Posts: 535
Likes: 0
From: Hickory,NC
Here is a tip I learned last year while Plasti-dipping everything that made sense and some things that didn't. Make sure your cans of Plasti-Dip are not cold, this is especially important as we head into winter. Soak the can in a sink of warm water for 10 minutes before you spray. If the can is cold when you apply the product it will appear textured and blotchy. Warm (or not cold) cans will produce a smooth satin finish.
2nd Gear
Joined: Aug 2013
Posts: 123
Likes: 0
From: NJ
Dipping the calipers would look fantastic. Not sure im brave enough to mess with the brakes though. Nor do i have time to remove the wheels to do it all properly. I would rather drop my car off and pay someone to do it haha
3rd Gear
Joined: Dec 2009
Posts: 299
Likes: 1
I removed the color line in order to Plastidip it the standard red color. I always get some kind of texture when I do this - it never is really smooth. The color line is below the curved checkboard portions of the dashboard. I would not personally plastic dip the curved checkerboard because I don't get a very smooth glossy finish out of this. I think it works fine on the colorline because that is already textured. However I have a hard plastic colorline. I have seen many MINIs that have a soft plastic colorline, and I don't know how plastidip would work on this.
As to doing the brake calipers, I don't think I would do that. Brake calipers get hot and plastic dip is not meant to get hot. Any Autozone will have a brake caliper paint. I suspect the brake ducts would be fine.
As to doing the brake calipers, I don't think I would do that. Brake calipers get hot and plastic dip is not meant to get hot. Any Autozone will have a brake caliper paint. I suspect the brake ducts would be fine.

3rd Gear
Joined: Jun 2011
Posts: 166
Likes: 0
From: Fallston, MD
In order to get a consistently smooth finish with PD you should first warm up the can in a jar of warm water. Do this for at least 5 minutes. Then shake the **** out of the can. At least a full minute. The 3rd and most important detail to get a smooth finish is lay the first two coats light to build a base for the last 3 coats. Those coats should be wet and heavy. Almost to the point where it would run, in overlapping patterns. Cross the last path by 50%. Allow 15 minutes between layers. Stop at coat 5. Always try and keep the can 6" away from the work and try to keep the spray at 90 degrees to the work surface. Keeps the overspray down..
Best of luck. PD is some amazing stuff and had gotten a bad wrap for a long time. Thats slowly changing.. Any questions PM me or email me john@dipfanatic.com
Best of luck. PD is some amazing stuff and had gotten a bad wrap for a long time. Thats slowly changing.. Any questions PM me or email me john@dipfanatic.com

Here you can see the two choices (I did 2 wheels of each to decide what I liked better and never changed it. Driver's side is the brighter red (white under) and Passenger's side is the base of black. The one unmounted on the DS looks a little pick from the bright sun and my crappy iphone camera.


Last edited by yetti96; Sep 25, 2013 at 04:42 AM.
http://www.plastidip.com/blog/2012/0...dip-tech-tips/

3rd Gear
Joined: Dec 2011
Posts: 236
Likes: 0
From: Central CT
A tip for using plastidip:
If you are having a hard time getting the old stuff off, spray some WD-40 on it and let it sit for a few minutes...You can basically wipe the plasti-dip off after. It gets so soft you can draw in it with your fingernail.
If you are having a hard time getting the old stuff off, spray some WD-40 on it and let it sit for a few minutes...You can basically wipe the plasti-dip off after. It gets so soft you can draw in it with your fingernail.
2nd Gear
Joined: Aug 2013
Posts: 123
Likes: 0
From: NJ
I removed the color line in order to Plastidip it the standard red color. I always get some kind of texture when I do this - it never is really smooth. The color line is below the curved checkboard portions of the dashboard. I would not personally plastic dip the curved checkerboard because I don't get a very smooth glossy finish out of this. I think it works fine on the colorline because that is already textured. However I have a hard plastic colorline. I have seen many MINIs that have a soft plastic colorline, and I don't know how plastidip would work on this.
As to doing the brake calipers, I don't think I would do that. Brake calipers get hot and plastic dip is not meant to get hot. Any Autozone will have a brake caliper paint. I suspect the brake ducts would be fine.
As to doing the brake calipers, I don't think I would do that. Brake calipers get hot and plastic dip is not meant to get hot. Any Autozone will have a brake caliper paint. I suspect the brake ducts would be fine.
and @yetti - wheels look cool. I think I like the white basecoat a little better, IMHO...
3rd Gear
Joined: Dec 2009
Posts: 299
Likes: 1
I thought the colorline was the checkerboard. oops. Anyway, mine has a softer colorline. From what I've seen, it might not be a good idea to use plasti dip on this (too porous?). But a little texture on the checkerboard part would not bother me
and @yetti - wheels look cool. I think I like the white basecoat a little better, IMHO...
2010 R57S Chili Red w/ Blackout
You are pretty much the biggest user of PD on here, but man the way I get heat into my brakes...I would be hesitant to give it a try.
"Wet and Heavy" - now you tell me!
I did five coats of my OE Holeys (? forgotten how to spell them - have not been here for ages!) wheels (blackout project).
First coat light 50% coverage (as per dipmycar) - and dipmycar never said "wet and heavy"!!!
so thanks for saying it.
result is I just used 1.5 cans for 4 wheels - so despite 5 coats quite a light (so easily scratchable) coat of paint.
so far looks fine - but will probably have to redo (am in MA so will wait until spring as I do not have a garage).
In order to get a consistently smooth finish with PD you should first warm up the can in a jar of warm water. Do this for at least 5 minutes. Then shake the **** out of the can. At least a full minute. The 3rd and most important detail to get a smooth finish is lay the first two coats light to build a base for the last 3 coats. Those coats should be wet and heavy. Almost to the point where it would run, in overlapping patterns. Cross the last path by 50%. Allow 15 minutes between layers. Stop at coat 5. Always try and keep the can 6" away from the work and try to keep the spray at 90 degrees to the work surface. Keeps the overspray down..
Best of luck. PD is some amazing stuff and had gotten a bad wrap for a long time. Thats slowly changing.. Any questions PM me or email me john@dipfanatic.com
Best of luck. PD is some amazing stuff and had gotten a bad wrap for a long time. Thats slowly changing.. Any questions PM me or email me john@dipfanatic.com