

Deionizing rinse setup


Thread Starter
|
3rd Gear
Joined: Dec 2010
Posts: 201
Likes: 0
Deionizing rinse setup
I have been accused of taking things to the extreme in several areas dealing with care of our cars, including maintenance and cleaning, so this should not surprise anyone who knows me. 
We're entering our third summer here in SoCal and are loving it, but the crappy, mineral-laden water has given me fits whenever I wash the cars - especially our black Corvette. The water spots are the worst I've ever seen so I finally gave in and ordered a CRSpotless deionizer filtration system. (http://www.crspotless.com/)
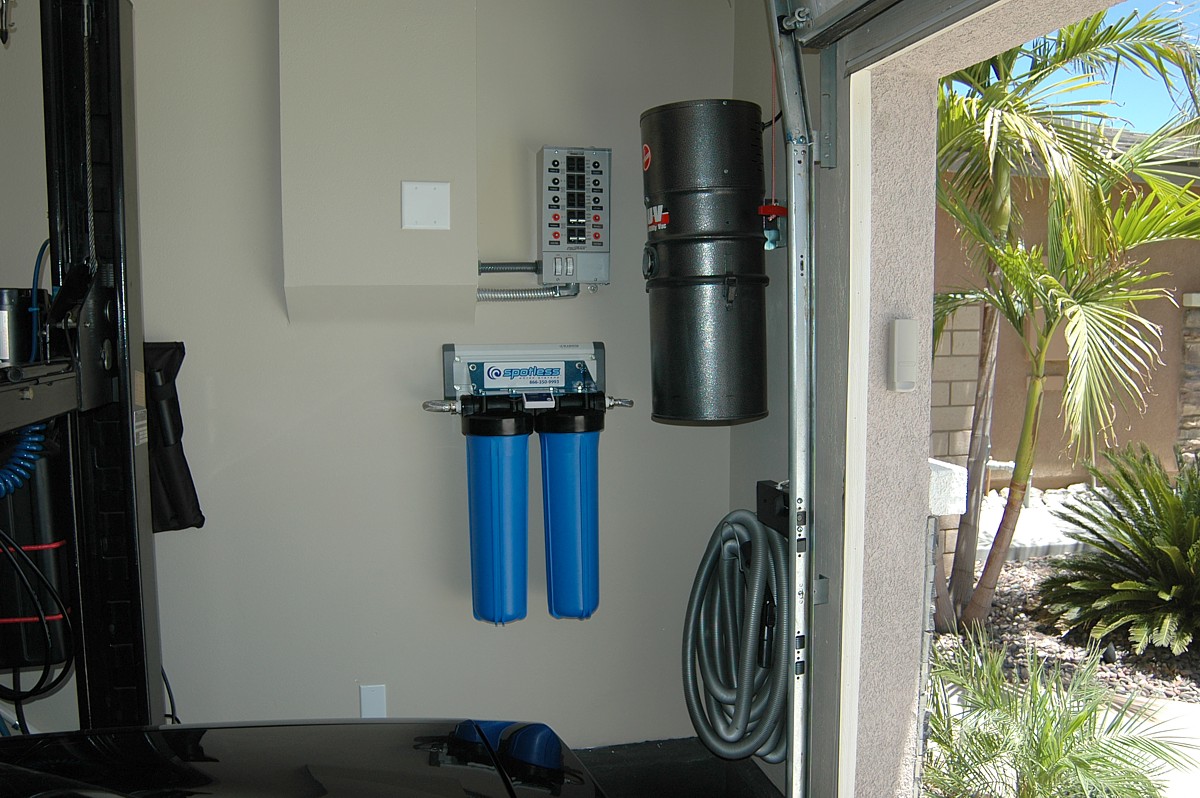
Of course, being me, I couldn't just order a system and start using it. I decided I wanted to custom-mount it and install a diverter valve to make it convenient to switch back and forth between unfiltered and deionized water. So, I sketched out the circuit and then collected the items I'd need to finish it up. Here's what I ended up with.
I had some Gladiator mounting material left over from the cabinets so I made a bracket for the filter assembly. I can lift it off the bracket very easily if I need to work on it.
I also bought two extra filter sets to make it easier to switch in new media when it's time. You can buy the media seperately in bags for less and replace it in the inner canisters yourself. I thought two extra sets of canisters would make it more convenient to have a set ready to swap in.

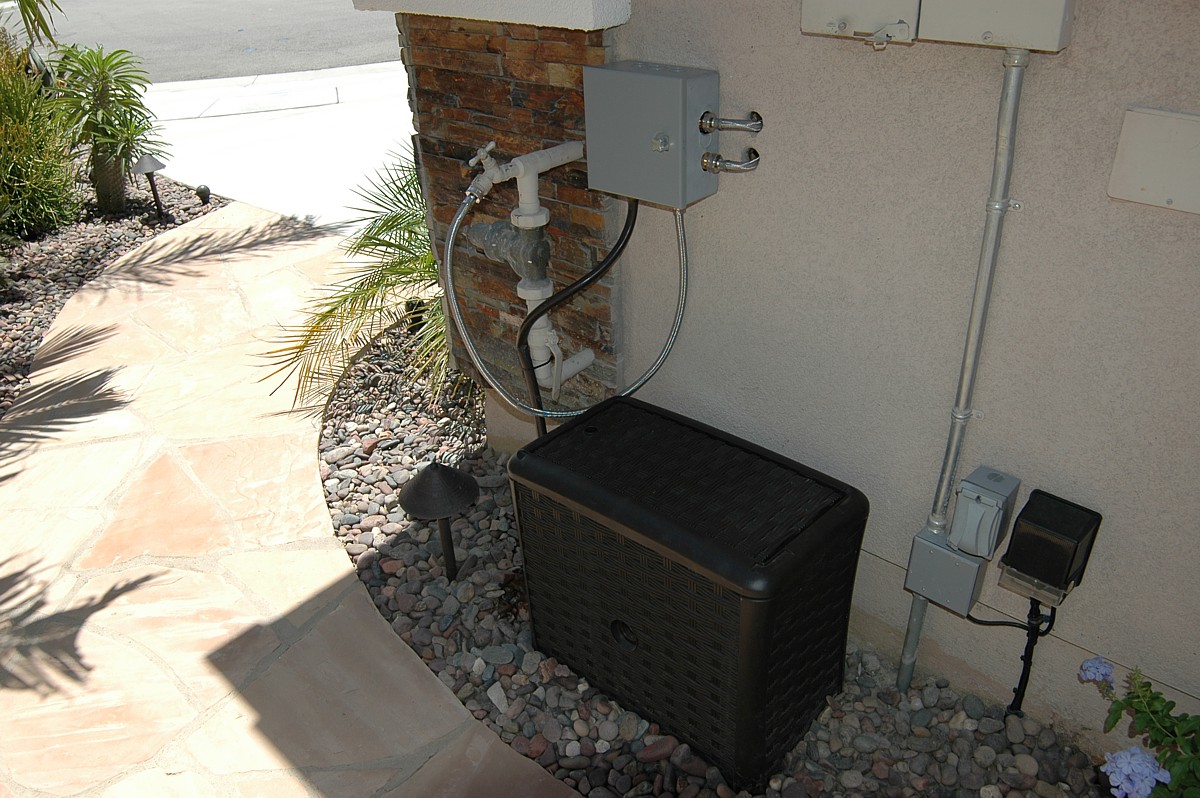
The hoses go through the wall to the diverter valve box on the other side.
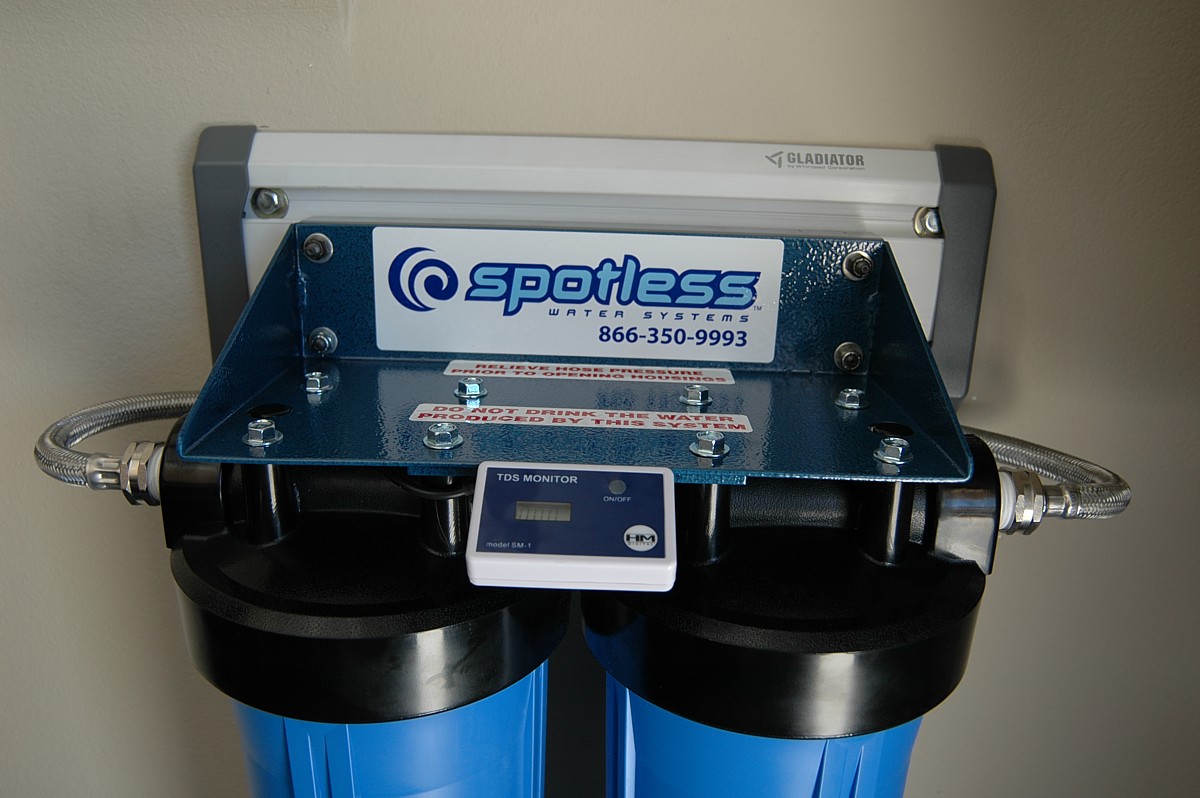
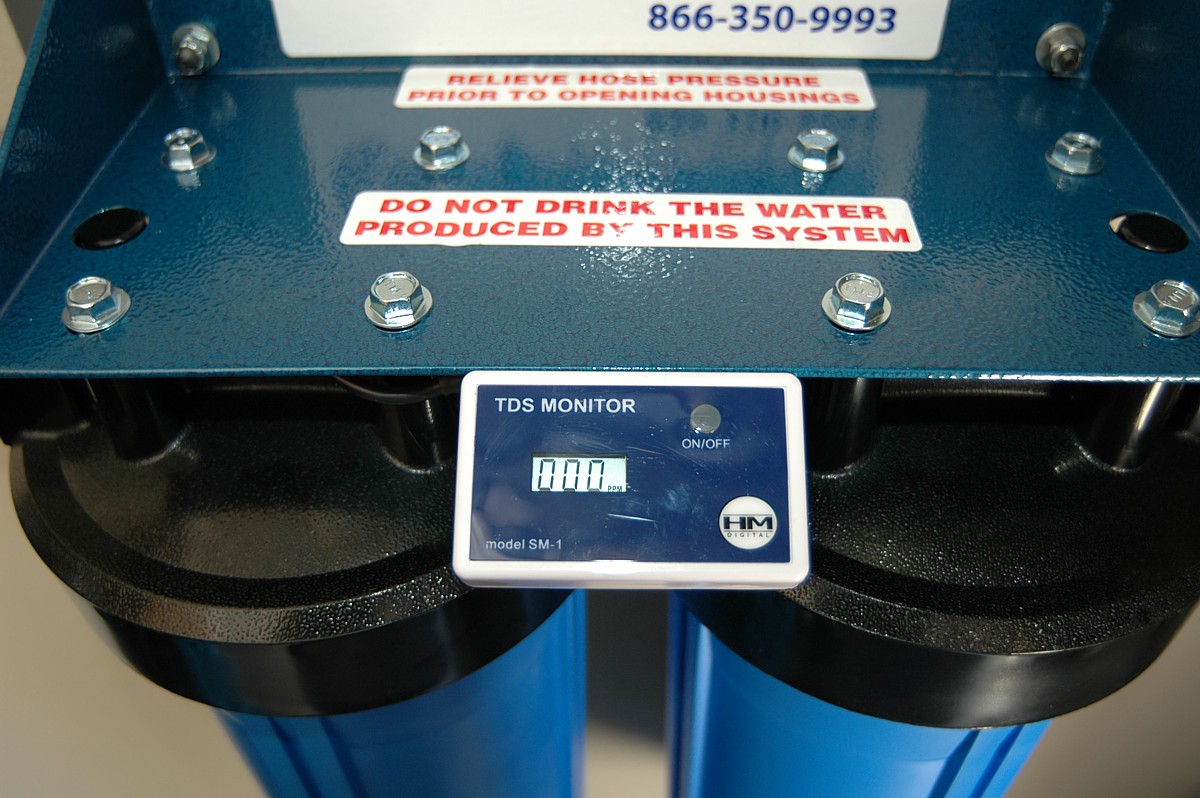
An electronic monitoring system lets you know when it's time to change the filters. Each filter charge gives you 300 gallons of deionized water - which is substantial since you only use the filtered water on the final rinse.
I modified an 8" x 8" x 4" electrical junction box to house the valve assembly and mounted it near the spigot. I included an anti-backflow valve inline with the unfiltered line to keep unfiltered water from flowing to the output side of the filters.
Verdict: Works great!
I decided to run a quick test when I washed my dd Mini Cooper today - it's black and white with black roof, mirrors and stripes. I waited until the sun was out in all it's glory around 11 AM and washed the car as I usually do on the weekend.
I could see the water leaving it's usual heavy spotting all over the black sections while I was washing it. Then I used the deionized water to do the final rinse and decide to slowly dry the passenger side of the car to see if a slow dry would still leave spots. I allowed the driver half of the car to air-dry on its own in the full-on baking sun. It was around noon by then and very, very hot. My OCD brain kept wanting to run over and wipe down the driver side - usually, even a couple of minutes of air-dry leaves huge, ugly spots that are nearly impossible to get out without re-washing the car and quickly drying it - but I stuck it out and monitored the air-drying process without messing with it while I slowly finished the passenger side.
Amazingly, here was virtually no difference in the two sides when both were completely dry. In fact, they both looked better than ever with most of the previous spotting gone on this first go-round. Normally, there is spotting that won't come off easily no matter how quickly I dry it. I tried the Mr. Clean system years ago and it worked, but I had my doubts this nasty water could be so thoroughly filtered by a small passive system like the CR Spotless setup.
What a relief! Now I'm no longer dreading doing our black Corvette next time it needs a wash.
We're entering our third summer here in SoCal and are loving it, but the crappy, mineral-laden water has given me fits whenever I wash the cars - especially our black Corvette. The water spots are the worst I've ever seen so I finally gave in and ordered a CRSpotless deionizer filtration system. (http://www.crspotless.com/)
Of course, being me, I couldn't just order a system and start using it. I decided I wanted to custom-mount it and install a diverter valve to make it convenient to switch back and forth between unfiltered and deionized water. So, I sketched out the circuit and then collected the items I'd need to finish it up. Here's what I ended up with.
I had some Gladiator mounting material left over from the cabinets so I made a bracket for the filter assembly. I can lift it off the bracket very easily if I need to work on it.
I also bought two extra filter sets to make it easier to switch in new media when it's time. You can buy the media seperately in bags for less and replace it in the inner canisters yourself. I thought two extra sets of canisters would make it more convenient to have a set ready to swap in.
The hoses go through the wall to the diverter valve box on the other side.
An electronic monitoring system lets you know when it's time to change the filters. Each filter charge gives you 300 gallons of deionized water - which is substantial since you only use the filtered water on the final rinse.
I modified an 8" x 8" x 4" electrical junction box to house the valve assembly and mounted it near the spigot. I included an anti-backflow valve inline with the unfiltered line to keep unfiltered water from flowing to the output side of the filters.
Verdict: Works great!
I decided to run a quick test when I washed my dd Mini Cooper today - it's black and white with black roof, mirrors and stripes. I waited until the sun was out in all it's glory around 11 AM and washed the car as I usually do on the weekend.
I could see the water leaving it's usual heavy spotting all over the black sections while I was washing it. Then I used the deionized water to do the final rinse and decide to slowly dry the passenger side of the car to see if a slow dry would still leave spots. I allowed the driver half of the car to air-dry on its own in the full-on baking sun. It was around noon by then and very, very hot. My OCD brain kept wanting to run over and wipe down the driver side
- usually, even a couple of minutes of air-dry leaves huge, ugly spots that are nearly impossible to get out without re-washing the car and quickly drying it - but I stuck it out and monitored the air-drying process without messing with it while I slowly finished the passenger side. Amazingly, here was virtually no difference in the two sides when both were completely dry.
In fact, they both looked better than ever with most of the previous spotting gone on this first go-round. Normally, there is spotting that won't come off easily no matter how quickly I dry it. I tried the Mr. Clean system years ago and it worked, but I had my doubts this nasty water could be so thoroughly filtered by a small passive system like the CR Spotless setup. What a relief! Now I'm no longer dreading doing our black Corvette next time it needs a wash.


Thread
Thread Starter
Forum
Replies
Last Post
IQRaceworks
R50/R53 :: Hatch Talk (2002-2006)
53
Jun 28, 2024 07:29 AM

