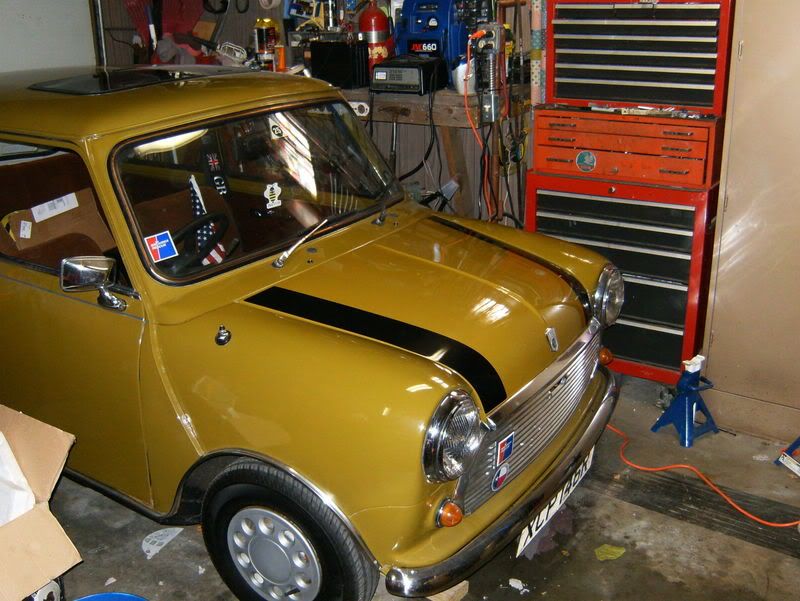
Bonnet Stripes


6th Gear
Joined: Sep 2005
Posts: 3,925
Likes: 2
From: Laurel MD
It is pretty easy if you do the wet method. You will need a spray bottle with a light mixture of soap and water. You will also need something to get the air bubbles out (I used a new plastic pot scraper).
1. Clean the area well and make sure it is dry (DO NOT APPLY WAX).
2. Best to try and see how it will fit first so I laid the graphic on the car to get a visual.
3. With help, peel back the paper off the vinyl and then lightly spray it with the soap and water. This will keep the sticker from adhering right away allowing you to float it into position.
4. Allow to dry throughly. You can use a hairdryer to help speed the process. If you have any areas that are not sticking, you can use the dryer to heat it and reapply it.
Overall, it was about 1 hour to install my stripes myself. Take your time and you won't muck them up.

6th Gear
Joined: Dec 2002
Posts: 1,539
Likes: 0
Strip the wax off for best adhesion. Rubbing alcohol on a cotton cloth does that. Make sure there's no dust or lint.
You want a new, soft plastic squeegee not a hard one.
Use a few drops of dish soap in a spray bottle, not a lot. This will allow the solution to let the stripe be movable for positioning. [if you need a part of a stripe to stick quickly, put some rubbing alcohol in the water instead - but be careful - once its pressed down its stuck]
On a classic there's a left & right stripe. They should follow the edge of the bonnet. If they turn in at the front edge of the bonnet, then you have them reversed.
The hair dryer use is optional. I never have needed one and you run the risk of overheating the plastic or worse if you are inexperienced. Lay it, squeegee it, and let it dry.
6th Gear
Joined: Sep 2005
Posts: 3,925
Likes: 2
From: Laurel MD
I should have noted that the scraper that I used was a pot scraper but I used the thin end. Also, do not apply heavy pressure as you could scratch the vinyl.
On the heat and soap, a little goes a long way.
On the heat and soap, a little goes a long way.
You will need two people to do this as mentioned above nothing like getting half way done and then finding this out. I did mine in the dry method and in hind sight the wet method is much easier and cleaner as long as you wait till they are dry...


Trending Topics
3rd Gear

Joined: Nov 2007
Posts: 208
Likes: 0
From: Las Cruces, NM
I'll be installing new bonnet stripes when the car and stripes arrive.
I appreciate this thread because I was worried that I should have had them done by the dealer. I am thinking of using one of those scrapers that come with the Lowe's reflective window film kits. Also, I see you guys say to remove the wax first, but do you go over with wax after everything's applied?
I appreciate this thread because I was worried that I should have had them done by the dealer. I am thinking of using one of those scrapers that come with the Lowe's reflective window film kits. Also, I see you guys say to remove the wax first, but do you go over with wax after everything's applied?

4th Gear
Joined: Dec 2004
Posts: 337
Likes: 0
From: Pelham AL
I applied my stripes and squeegeed the water out with the edge of a credit card. Worked great.
I think that applying vinyl stripes are a good way to see if you like the look - cheap and reversible. If you do like the look, then get real stripes painted professionally. They'll look better and be more durable.
I think that applying vinyl stripes are a good way to see if you like the look - cheap and reversible. If you do like the look, then get real stripes painted professionally. They'll look better and be more durable.

6th Gear
Joined: Jun 2006
Posts: 5,692
Likes: 2
Here's my BOOT STRIPE DIY guide - it's the exact same technique for bonnet stripes and I've done several sets just like this with great results. I recommend going DRY INSTALL for simple things like stripes on flat areas like the boonet.... With this technique, you only need one person. Classic Mini stripes are dead-simple because they go right beside the edge of the bonnet - wet technique will just slow you down and give the material more time to bubble. Wet is best for complex areas like bumpers and grilles (I used the wet technique when I did my 2005 MINI grille in black vinyl, for example - for flat areas like the bonnet though, it's simply overkill IMHO).
FYI- strip wax from the paint before applying. I'd clay bar the bonnet first. to be sure there's no grit or anything on the area that will be covered with the stripe. Once the stripes are applied, wait 2-3 days for best adhesion. After that time, you can wash the stripes and wax them just like the rest of the bonnet. I use Prima Epic wax and Detail Spray right on the stripes and they look great.
FYI- strip wax from the paint before applying. I'd clay bar the bonnet first. to be sure there's no grit or anything on the area that will be covered with the stripe. Once the stripes are applied, wait 2-3 days for best adhesion. After that time, you can wash the stripes and wax them just like the rest of the bonnet. I use Prima Epic wax and Detail Spray right on the stripes and they look great.
Last edited by ImagoX; Dec 26, 2007 at 11:30 PM.