When you click on links to various merchants on this site and make a purchase, this can result in this site earning a commission. Affiliate programs and affiliations include, but are not limited to, the eBay Partner Network.
Hit a pothole last night, and it looks like it hit the piece of trim that runs under the passenger side doors. Hit it pretty hard, and moved it backwards where it rubs the rear tire.
Anybody know if there's a trick to repositioning this? How do I remove it and replace it? Or do I need to get a whole new piece of trim?
What I suggest is removing the covers (#2 & 3) and taking a peak at the mounting hardware (#13, #18, #12, #16, #17) on the door sill piece (#1). It might be that some of the hardware got damaged and the sill is now loose, which allowed it to push back. You'll also want to check the condition of the mounting points for the hardware and make sure it's not crushed anywhere. I can help you with the hardware pieces that may be missing or damaged if needed. Just let me know what you find. New passenger side door sill is here if needed: http://www.pelicanparts.com/cgi-bin/...-9-813-636-BOE
Thanks, that diagram was very helpful. Is there a trick to removing the covers (#2 and #3)? I tried prying them off with a screw driver but they didn't come out. I didn't put too much force since I didn't know if I was doing it wrong.
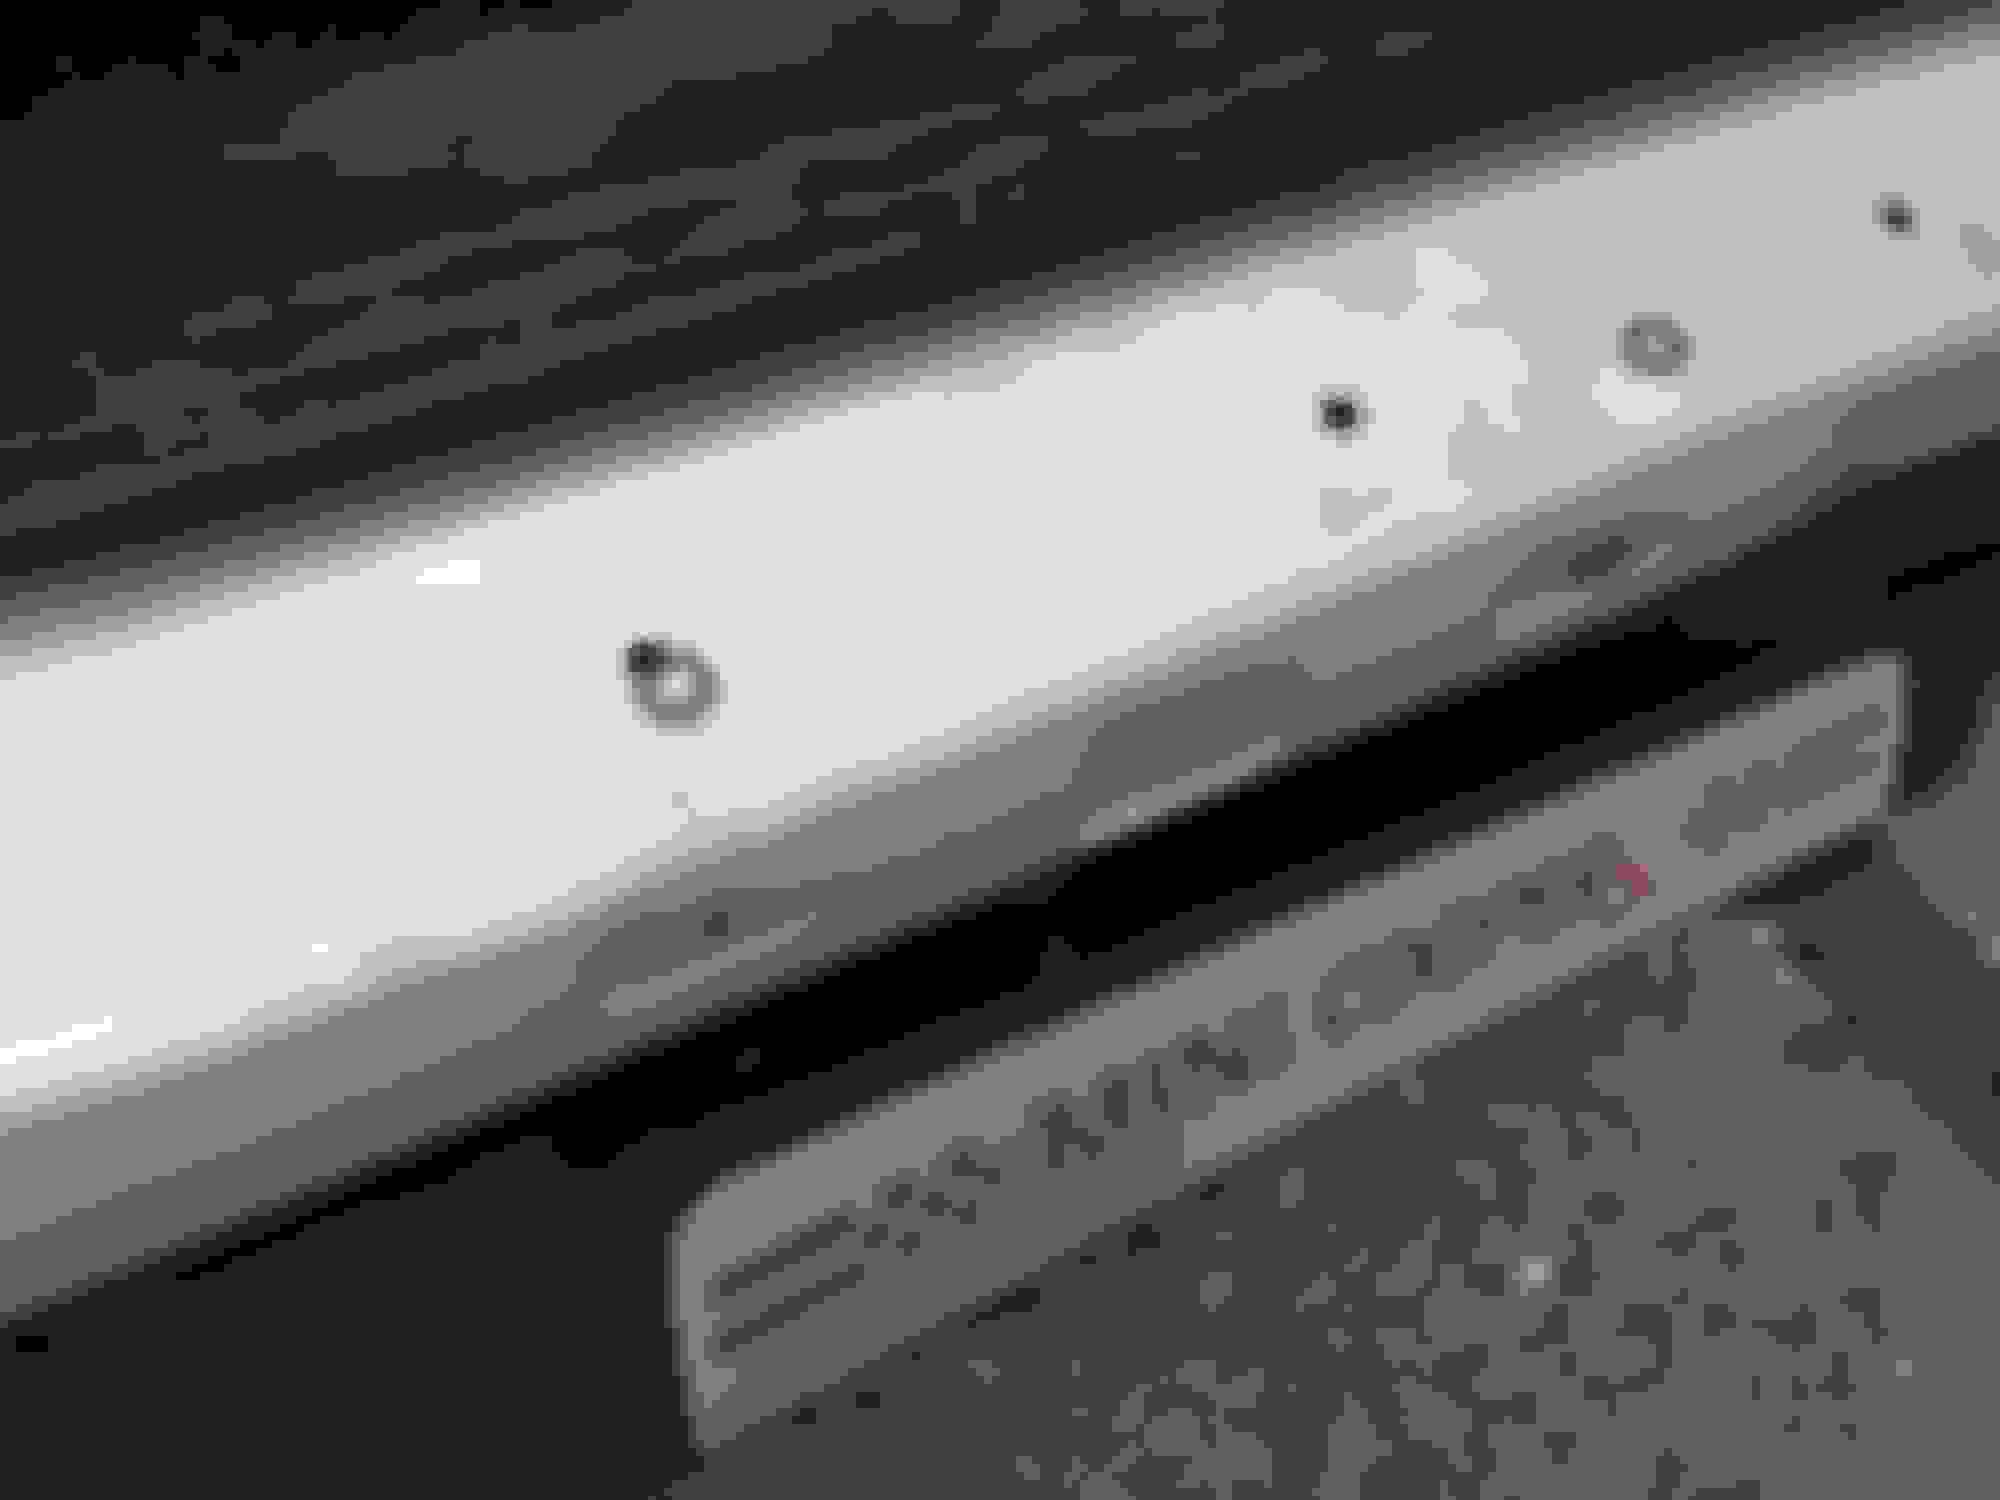
Anyhow, the whole thing came off, as you can see in this picture:
All the white clips were sheared off, except for 3 in the back. Another question, is there a trick or special tool to take those off when left in the body? I broke one of the 3 remaining ones when pulling them off the metal body with a screwdriver and pliers.
So I re-attached with the 2 left, I'm going to need to buy more clips to do the rest.
Also broken are the #12 attachment hardware, but luckily not the #1 part.
Of more concern is that the hole where #13 in the front goes is broken through. That looks like a different part not in the diagram.
-For future reference, the piece is called a "Rocker Panel" and/or "Side Skirt".
-Remove the entire assembly
-Use the Blow-Up Diagram to identify all bolts and/or plastic fasteners
-Purchase a whole new set of said fasteners
-You can use a heat gun and little plastic vise grips to realign all misaligned tabs on the piece.
-You can use plastic epoxy to reattach any partly broken tabs
Good Luck. Drive Safe & Drive Often. Rubber Side Down.
Sorry, #2 and #3 are just the door sill cover so it'll pop off without removing those. Looks like you got it undone. Using a trim panel removal tool like ones here: http://www.pelicanparts.com/More_Inf...PEL-TOL-ST9007 will help with removing retaining clips that are delicate and trim pieces. Some clips will break regardless, like for the wheel arches, most of the time, break off when removing. #16 black clips HERE and #17 white clips HERE. Expanding rivet, #12 HERE. Let me know if you need anything else or have any other questions.
I hope it's ok to revive an old thread. My passenger side rocker panel trim is missing a number of connectors. Referring to the parts diagram, all of #16 are missing and most of #17 are broken. I don't have a lot of experience reading those diagrams. Is it clear to anyone which connectors are used under #2 and #3 -- they aren't labeled on the diagram? I can see the holes in the sill but I have no idea which connectors should be there. Thanks.
Because we're moving in a few weeks, I decided that I don't have time to get this figured out and fix it myself (not having any experience with removing body trim). So today I called a body shop that had good reviews online. They said to bring it in. In about 10 minutes they had the side skirt properly attached -- and they refused to take any payment. So big thumbs up to Carsmetics on Adamo Drive in Tampa. I wish I was going to be in the area long enough to have them do a little cosmetic work the car needs.