Mini Cooper: How to Paint Your Brake Calipers
Are you tired of looking at those dingy old brake calipers peeking out behind your wheels? This article will walk you through the process of painting them and getting your calipers looking great again.
This article applies to the Mini Cooper (2001-present).
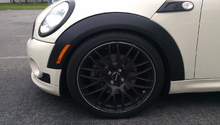
Modern sized wheels and tires, and open design multi spoke alloy wheels allow everyone to see your discs and calipers. The factory paints them with a dull aluminum metallic paint, just too keep the rust off, but it shows all the brake dust and grime, plus they don't do much for the look of your car. Thankfully Duplicolor, VHT and several other companies have come out with paints specially formulated to hold up to the heat, dust and brake fluid the calipers are likely to be exposed to. Whether you choose to spray them, or brush the paint on, in just a few hours you can have custom color brakes calipers that look much better peeking out from behind your wheels.

Materials Needed
- G2 Brake Caliper Paint System (or)
- Duplicolor caliper paint
- Brake cleaner
- Wire brush/toothbrush
- Jack and jack stands
- Masking tape/painter's tape (optional)
Like many projects with your car, start by loosening the lug nuts, jacking up the car and setting it on jack stands. Take off the wheels and set them somewhere so they don't get paint on them.
Step 1 – Remove the calipers (optional)
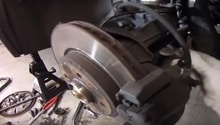
No matter if you are using a brush on kit, or a spray on kit, you may want to remove the calipers from the discs to make things easier. There really is no reason to undo the brake line, necessitating bleeding the brakes, but if you are doing a brake fluid flush anyway, that would be a great time to paint them. Simply unbolting the caliper from the bracket, sliding it off the rotor, and masking everything off makes cleaning and painting a breeze.
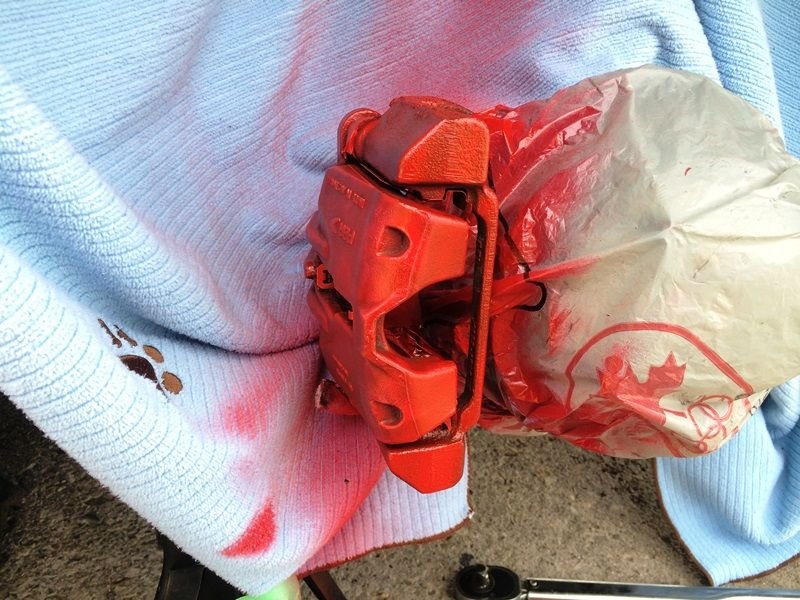
Step 2 – Clean and mask the calipers
Spray brake cleaner (included in many caliper paint kits like the G2 and Duplicolor) onto the calipers and scrub them well with a wire brush or toothbrush to get all the brake dust and grime off. Take your time and get in all the cracks and crevices, as you want a clean surface for the paint to properly adhere to. Allow the calipers to dry completely before moving on.
Mask the disc directly adjacent to the caliper to avoid getting paint on it, or the entire disc if you are using an aerosol spray can.
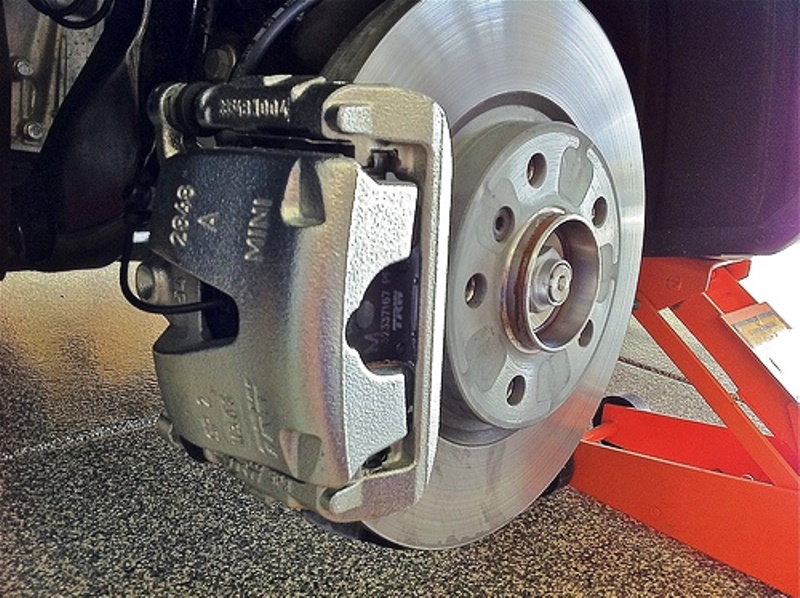
Figure 2. Spend enough time cleaning the calipers to make sure they are 100% clean before painting. 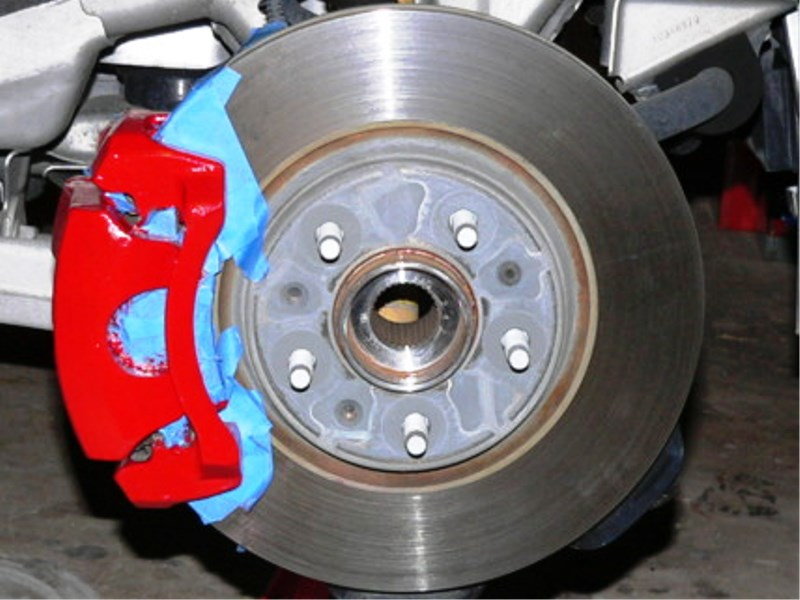
Figure 3. If you are brushing painting your caliper, this masking should be fine.
Step 3 – Paint the calipers
Brake caliper paint kits like the G2 allow for the calipers to be easily painted without removing them, but if you're concerned about getting paint on the rotors (a definite no no) or you purchased a spray kit, you can/should remove the calipers before painting them. Regardless, you will want to be very careful when applying the paint to avoid getting any on the surrounding parts.
Apply one coat of paint at a time, allowing at least 20 minutes of drying time between coats before applying another one. Take your time and be diligent when applying coats, making sure to go light and avoid drips. Get in all the cracks and crevices. Smooth out any spots that show brush marks, as this is a sign of a heavy coat. Once you have applied several coats, give the calipers plenty of time (several hours) to dry before reinstalling the wheels and tires.
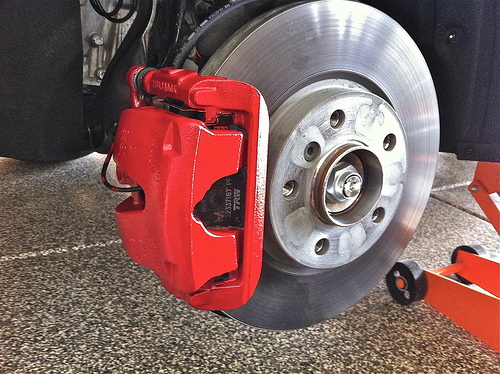
Figure 4. Apply several coats, allowing them plenty of time to dry in between coats. 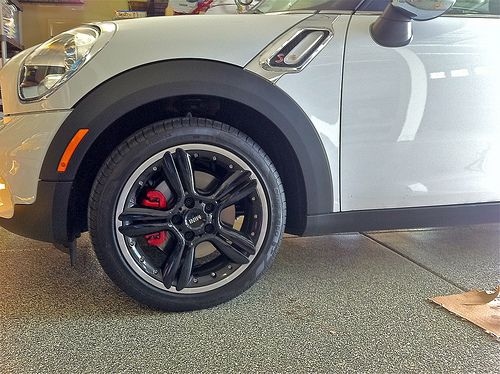
Figure 5. The finished product.
Featured Video: How to Paint Your Calipers
Related Discussions and Video
- Caliper Paints? - NorthAmericanMotoring.com
- Painted My Brake Calipers - NorthAmericanMotoring.com
- Painted Calipers - NorthAmericanMotoring.com
- Tips and Hints on Painting Calipers with G2 System - YouTube.com

