Mini Cooper 2001-2006: How to Replace Brake Lines
The brake system in the Mini Cooper S works off of pressure, so a leaking brake line means air can go into the system and ruin its performance. Read on to learn how to replace the brake lines.
This article applies to the Mini Cooper and Mini Cooper-S (2001-2006).
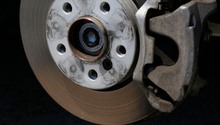
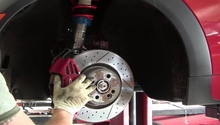
The brake lines in the Mini Cooper S are all sealed tightly; this prevents the brake fluid from leaking, as well as keep the air out of the brake system. Any small leak in one of the brake lines can cause the brake pedal to feel spongy, this is due to air going into the system. Since the brake system is crucial to your safety, taking care of this issue is extremely important to do in a timely manner, which means don't drive the car with a bad brake line. Before starting this procedure, use a flashlight to discover the source of the leak, as this will allow you to purchase the correct length and size brake line. Read on to learn how to replace your brake lines and bleed your system after.

Materials Needed
- Jack and jack stands
- Wrench
- Hose
- Bottle
- Brake fluid
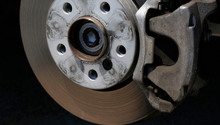
Step 1 – Remove the brake line
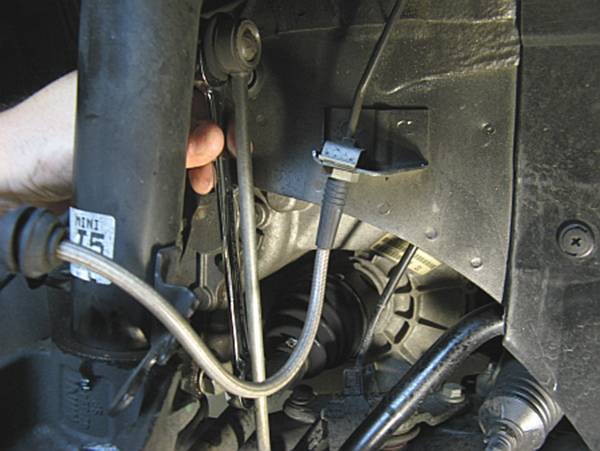
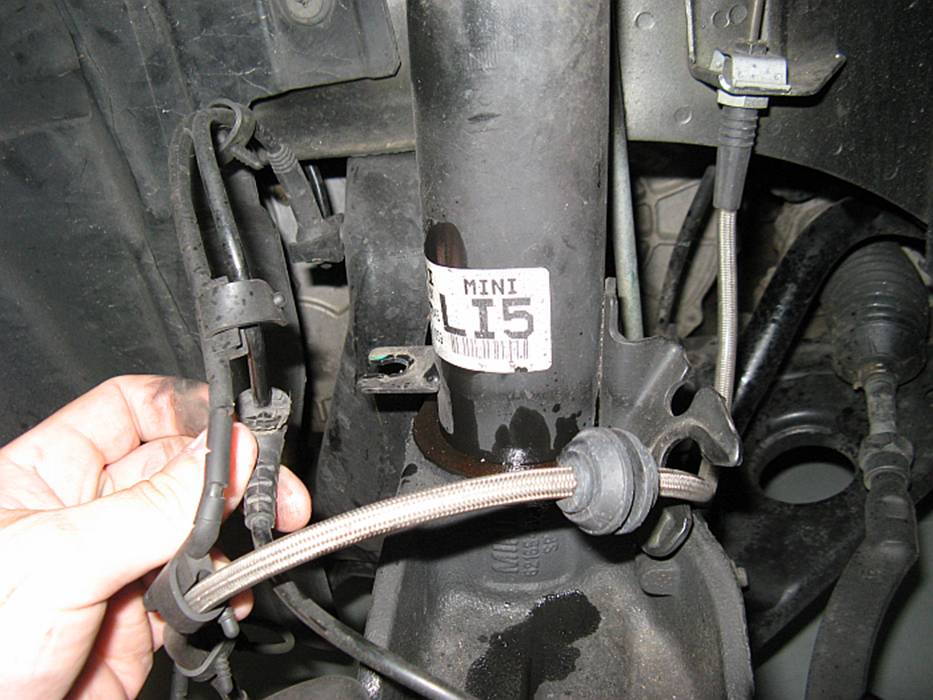
After you've discovered the bad brake line, now it's time to remove it. Use your wrench to remove the nut on each side of the line, you may have to remove the line brackets if equipped. Be sure to not get the fluid spill on your skin, eyes, or the car's paint. There's no way to avoid the brake fluid from leaking out, no matter how fast you plug the hole, so be sure to have a catch pan underneath you.
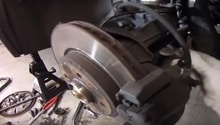
Step 2 – Install new brake line
The new brake line goes in the same way the old one was installed. Make sure you route it the correct way, using the original brackets, as this ensure the brake line doesn't rest on anything hot, or touch any moving part. Tighten the line nuts on each side.
Step 3 – Bleed the brakes
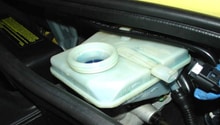
Whenever you remove a brake line, you have to bleed the brakes because air is now in the system. When it comes to bleeding the brake fluid, you need to start at the point furthest from the master cylinder and work your way towards it. That means going in the following order: passenger-rear, driver-rear, passenger-front, driver-front. Locate the bleeder screw on the back of each brake caliper, then connect the clear hose to it. Connect the other end of the clear hose into a bottle, then ask a friend to pump the brake pedal a few times. With the brake pedal pressed down, loosen the bleeder screw, and watch the fluid coming out. After a second or two, close the bleeder. Repeat this process several times until you stop seeing air bubbles in the fluid, tighten the bleeder screw, then let go of the brake pedal. Repeat the process for the rest of the brake calipers, but don't forget to top off the brake fluid reservoir between each caliper.
(Related Article: How to Bleed Brake Fluid - NorthAmericanMotoring.com)

Related Discussions
- Stainless Steel Brake Lines - NorthAmericanMotoring.com
- Bad Brake Line - NorthAmericanMotoring.com
- Braided Brake Lines - NorthAmericanMotoring.com